Hi friends! I am taking part in Altenew’s June 2024 Release Blog Hop. You should have arrived here from Michelle Short, and your next stop is Svitlana Shayevich. You can find the full hop list at the bottom of this post, or you can go to the Altenew Blog. This month’s new release (check out the full release HERE) is filled with beautiful new florals (of course), fabulous textures and Press Plates, and some truly stunning new Fresh Dye Ink families! I have two sweet and delicate cards to share with you today, so let’s get started with the details!

The new Botanical Brilliance Fresh Dye Ink families are some of my most favorite that have been released so far. The soft blush, buttery yellow, and fresh greens work so perfectly together as well as with other color families. I used all three color families for both of my cards today to create these very soft, ethereal, dreamy cards.

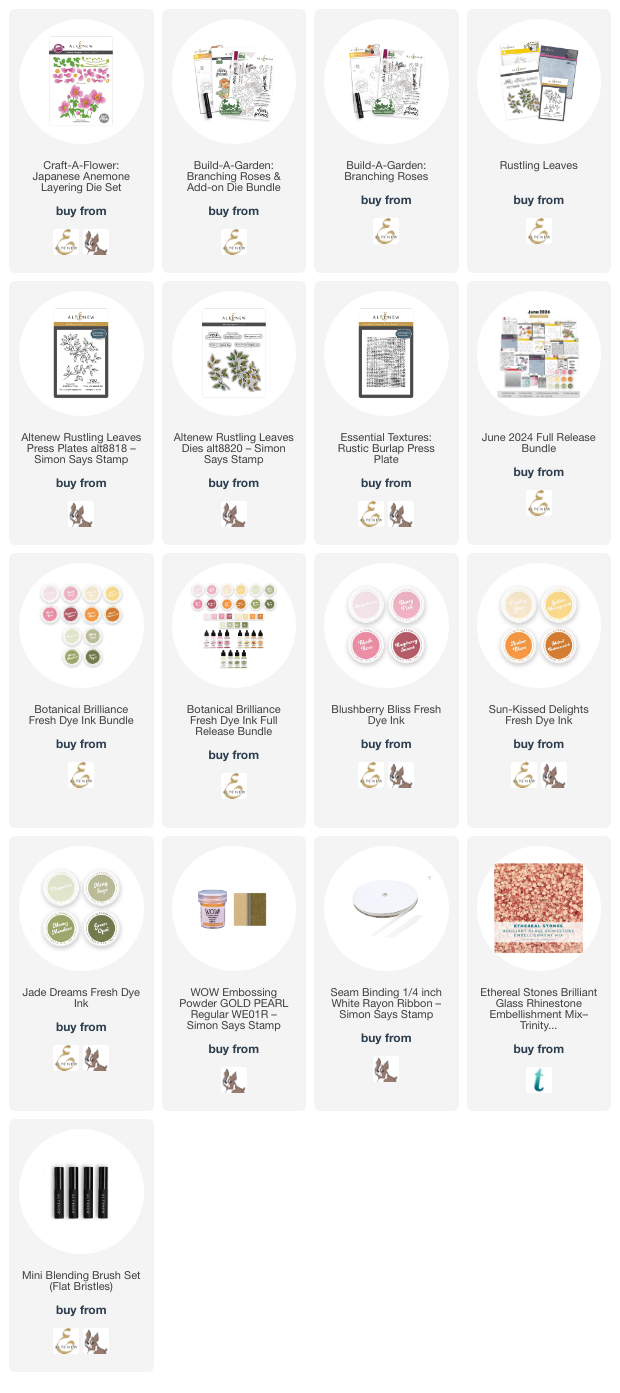
For my first card, I began by heat embossing the exceptionally beautiful and meandering floral arrangement from the new Build-A-Garden: Branching Roses onto a white, A2 card front using some gold pearl embossing powder. I then used the included coordinating layering stencils to blend Peachy Glow, Golden Honeycomb, Strawberry, Dusty Pink, Blush Rose, Pistachio, Misty Sage, and Mossy Meadow Fresh Dye Inks from the new Blushberry Bliss, Sun-Kissed Delights, and Jade Dreams Fresh Dye Ink families. I love these gentle colors, made even more subtle with a light hand while blending. After I had finished blending the images with the stencils, I used a larger blending brush to lightly blend Strawberry and Dusty Pink inks from the Blushberry Bliss ink quartet around the edges of the panel. The resulting panel is so soft and dreamy!

After I had finished creating the panel, I stamped some of the sentiments from the Build-A-Garden: Branching Roses stamp set onto some white cardstock using Raspberry Sunset ink from the Blushberry Bliss ink quartet, then stamped directly over the top with embossing ink, then added some more gold pearl embossing powder to create custom colored embossed sentiments. I fussy cut the larger sentiment with my sharp scissors, then used my trimmer to trim down the sentiment strip. I adhered the sentiment strip to a slightly larger piece of gold pearl cardstock, which coordinated nicely with the pretty gold pearl embossing. I popped up the greeting pieces with some foam adhesive, then added a smattering of Ethereal Stones Rhinestones from Trinity Stamps and a white silk ribbon to truly complete the feminine aesthetic of this card.

For my second project, I continued this airy feminine theme with the Craft-A-Flower: Japanese Anemone and older Rustling Leaves Press Plate and coordinating die. I began by die cutting all of the elements of the new Craft-A-Flower: Japanese Anemone from white cardstock, then used blending brushes to blend Strawberry, Dusty Pink, Pistachio, and Misty Sage inks from the new Blushberry Bliss, Sun-Kissed Delights, and Jade Dreams Fresh Dye Ink families to “color” them. The lovely soft colors of the inks were made even softer with the light ink blending, creating the prettiest pale pink anemones! I also used the Mossy Meadow ink from Jade Dreams to impress the leaf images from the Rustling Leaves Press Plate and die cut them with the coordinating die.

For the background, I wanted to keep the softness of the flowers but still add some minimal texture behind my floral bouquet, so I inked up the Rustic Burlap Press Plate with Strawberry ink and ran it through my Better Press system. The soft pink helps make the textured pattern a bit more visible than simply running the plate through without inking. I arranged the florals on the textured background and adhered them with both liquid and foam adhesive for lots of different textures and heights, then added a letter press greeting from the Rustling Leaves product suite, inked up with darker Green Opal ink from the Jade Dreams ink family to help it stand out amongst the florals. Finally, I added a few shimmering iridescent gems for a bit of sparkle!
Well, that’s all for my projects today. Now for some fun giveaway information!
$300 in total prizes! To celebrate this release, Altenew is giving away a $100 gift certificate to 1 lucky winner and a $50 gift certificate to 4 winners! Please leave a comment on the Altenew Card Blog and/or each designer’s blog post on the blog hop list below by June 12, 2024 for a chance to win. Altenew will draw 5 random winners from the comments left on each stop of this blog hop and announce the winners on the Altenew Winners Page on June 14, 2024.
*The winner of the $100 gift certificate will be chosen from comments left on the Altenew blog.
Here’s the full hop list:
Thanks so much for stopping by, and happy hopping!