Hi there! Today, Pinkfresh Studio is releasing their holiday collection, and boy is it a stunner! The August 2023 Release features so many beautiful sentiments, timeless holiday images, and elegant hot foil plates to create the most marvelous array of holiday cards! I have two wintry cards both featuring the new Large Snowflakes dies to share with you today, so let’s get started with the details!

I have quite the collection of snowflake dies in my stash of holiday cardmaking supplies. I can’t help it. Their elegance and intricate beauty entrance me. The new Large Snowflakes dies feature three different shapes in a small, medium, and large size, perfect for creating a variety of styles and projects. Both of my cards today also feature an icy color combination of Ocean Breeze, Aquamarine, and Slumber inks. I think these three colors create the loveliest frosty background for my shimmering snowflakes!

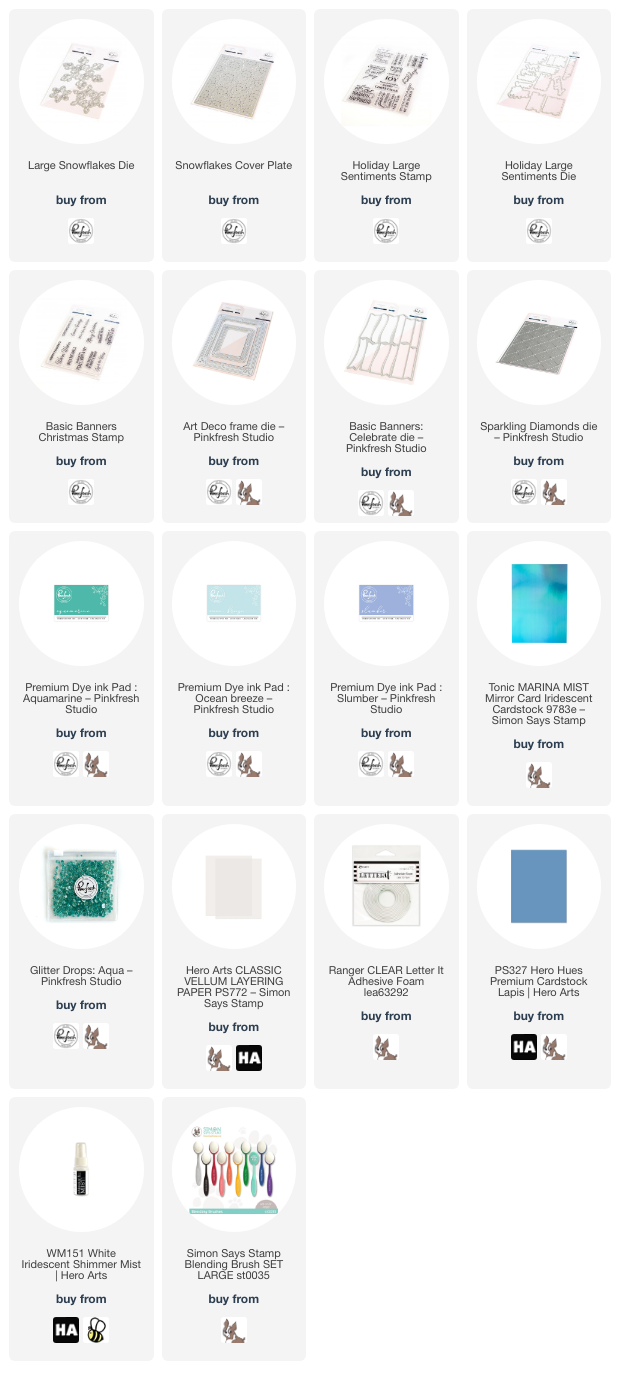
To start my first project, I blended Ocean Breeze, Aquamarine, and Slumber inks on a panel of white, A2 cardstock, blending super lightly at first, then gradually building up the layers to create a smooth transition between the colors. Once I had a blend that I liked, I ran the entire blended panel through my die cutting machine using the utterly gorgeous new Snowflakes Cover Plate die. The cutout and stitched details on this new cover plate are spectacular and so very unique!! Once I had die cut the blended panel, I spritzed some iridescent shimmer spray over the entire piece to add even more shimmer and sparkle.

I have a mild obsession with foiled/mirror cardstock. I have so many different styles and shades, because I am truly that picky when it comes to my color combinations. The colors have to be just right. Imagine my delight when I searched through my stash to find this beautiful shade of blue with a minty green iridescent coating (check it out HERE) that perfectly matched my icy, shimmery, ink blended background. I die cut as many snowflakes as I could from a 1/2 sheet of the cardstock, knowing that I would have plenty for another card. I also die cut an iridescent white mirror foil (say that three times fast!) frame using the Pinkfresh Studio Art Deco Frame die. I backed the blended, die cut background with a panel of coordinating blue cardstock, then popped up that shining frame around the outside edge with some foam adhesive.

After I had added my frame, it was time to arrange my snowflakes and add a sentiment! I heat embossed a greeting from the new Holiday Large Sentiments stamp set, which I heat embossed using some beautiful shimmery teal embossing powder on some heavyweight vellum cardstock. I die cut the finished sentiment using the coordinating die and placed it next to my frame, popping it up with some clear foam adhesive. I then tucked some of the medium and small foil Large Snowflakes dies around the sentiment and under the frame, finally adding some Aqua Glitter Drops for even more sparkle! I don’t think a holiday card, especially one with snowflakes, can ever have too much sparkle!

My second project is much simpler and utilizes the largest of the three Large Snowflakes dies. This largest die is so generously sized that it easily stands alone as a focal point for a card front! I began this card by masking off the edges of a white, A2 card front using painter’s tape. I then used blending brushes to blend Ocean Breeze, Aquamarine, and Slumber inks on the exposed area, creating a lovely monochromatic ombré down my card front. Once I’d finished blending and before removing the mask around the edges, I spritzed some more shimmer spray over the top of the ink blending to create a beautiful backdrop for my snowflake die cut. I removed the masking tape and was left with a crisp white frame around the edge of my shimmery, icy, blended background!

I felt like the background needed a bit of extra texture before adding my snowflake die cut, so I ran the blended panel through my die cut machine using the Sparkling Diamonds Cover Plate die. The “sparkles” at the apex of each diamond remind me of snowflakes, and I thought it worked perfectly with my icy card! To add a little extra height to my extra large Large Snowflakes die cut, I cut out two more from white cardstock and layered them together using liquid adhesive. This allowed me to add extra height without having to fuss with tiny pieces of foam adhesive! I adhered the snowflake to the center of the card front using liquid adhesive.

For the greeting, I used the new Basic Banners Christmas stamp set with the previously-released coordinating Basic Banners die. I heat embossed it in teal (if you don’t have teal embossing powder, you can always stamp the sentiment in your coordinating dye ink, then stamp again with embossing ink and cover with clear or pearlescent embssing powder! This won’t work on vellum, but it works beautifully on regular cardstock!), then die cut the sentiments with the handy-dandy one pass Basic Banners die. I now have a ton of leftover die cuts to use on futur projects! Hooray! I added it smack dab in the center of my snowflake with some foam adhesive, then added some more Aqua Glitter Drops at the tips of the snowflake for more sparkle.
Well, that’s all for my projects today! Now for some fun givewaway information:
We will be giving away the full release on the Pinkfresh blog & YouTube channel.
Pinkfresh Studio will be giving away a total of TEN $25 gift cards along the hop. As per usual with blog hops – the winners will be selected from the comments.
Winners will be announced on August 30, 2023 on our GIVEAWAY PAGE. Please mention that they must check that page & claim their prize within 2 weeks.
Here’s the full hop list below:
Thanks so much for stopping by, and have a marvelous day!