Hi friends! I am hopping along with my friends at Pinkfresh Studio to help introduce their new Joyful Blooms release! You should have arrived here from Anne, and your next stop is Nichol. You can also see the full hop list in the link list at the bottom of the post! It was so difficult to select which products to use for my projects today, because the entire release is absolutely delightful.
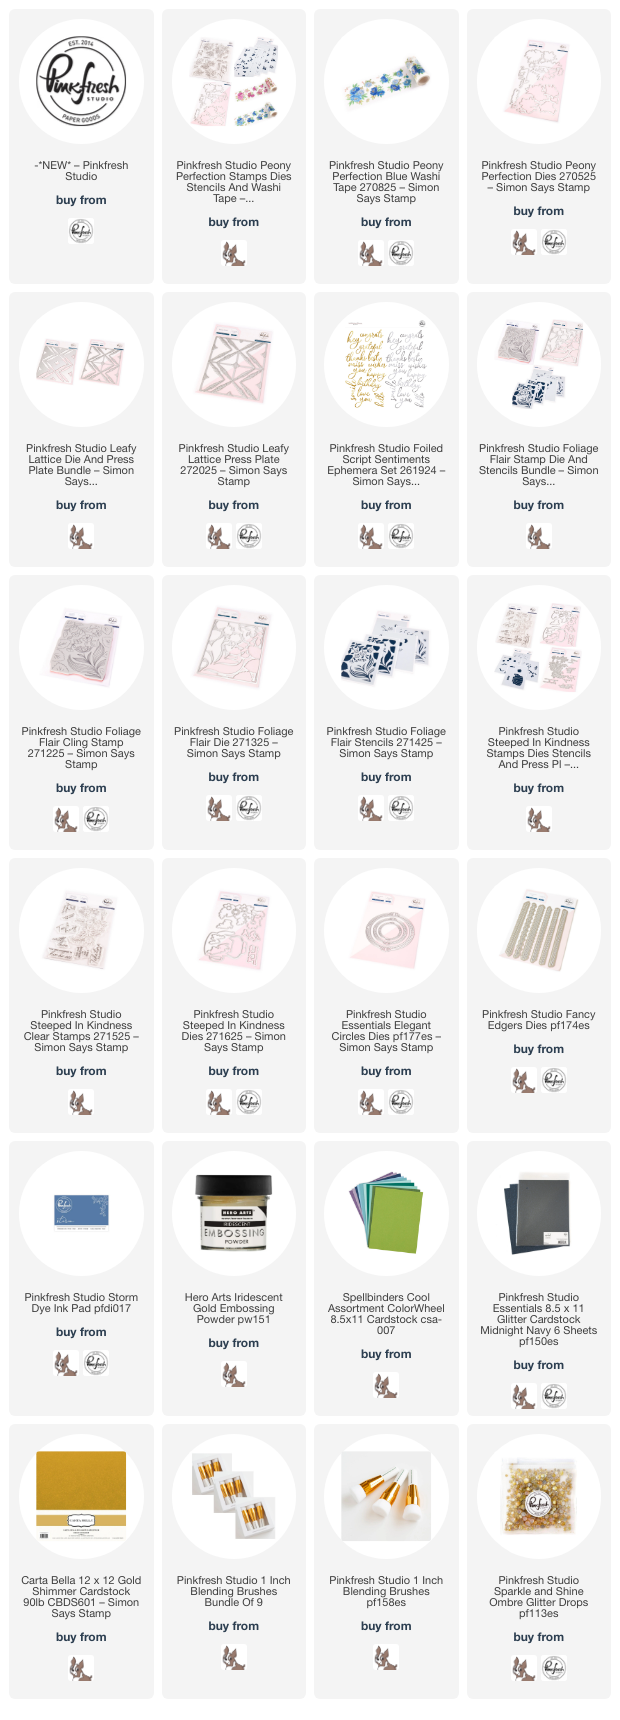
*I have gathered links to all of the products used at the bottom of the post for your convenience, using affiliate links. Thank you for shopping with my links! I truly appreciate your support for my work!*

Confession time: I have been a superfan of Dawn Woleslagle for just about the entire time I’ve been stamping, around fifteen years at this point, and I never tire of using her spectacular designs. It was Dawn’s watercoloring videos that set me down my own watercoloring path! I am lucky enough to have received a handmade watercolored card from her after meeting her in person and becoming “real” friends, which I have framed in my craft room along with a couple other really special cards that I’ve been sent. How amazing is it that we now have the ability to use Dawn’s lush paintings on our own cards thanks to her washi tape releases with Pinkfresh Studio!? I was immediately inspired by the uniqueness of her beautiful Blue Peony Perfection Washi Tape, struck both by the illustration itself and the beautifully unusual blue peonies. It was that blue and gold color palette on the washi tape that inspired my projects today. Let’s get started with the details!

When working with washi tapes, I like to adhere the washi tape to heavyweight vellum, which I think helps keep the images a little light and maintain the color palette behind the images a bit better. I adhered two panels of the Blue Peony Perfection Washi Tape to two strips of heavyweight vellum, then used the one-pass dies to die cut the images out. I love the ease of these dies that die cut multiple images at once; can you imagine how quickly mass-production would go with these super user-friendly dies?
I love pairing flowers with simple, elegant patterned backgrounds, and the gorgeous new Leafy Lattice Press Plate provided a fairly neutral background for these detailed watercolored peony images. I used a trick that I demonstrated in THIS video that I learned from another crafty rockstar, Carissa Wiley! In order to letterpress on regular weight colored cardstock, I adhered my colored cardstock panel to a piece of inexpensive watercolor cardstock to create a springy cushion, allowing me to impress the Leafy Lattice image using Storm ink into some pale blue colored cardstock. The effect of the letterpressed colored cardstock is magical and so elegant!

I trimmed the letterpressed blue panel down along the bottom of the panel, then added a shimmering gold Fancy Edgers die cut and lined it up with the edge of a complementary navy blue A2 card front, creating multiple layers for my background. I think it looks like something luxurious and decadent from the early 19th century with the gorgeous tone-on-tone leaf pattern and shimmering gold. I arranged several of the washi tape die cuts on the card front, adhering them with both liquid and foam adhesive, then added one of the sentiment ephemera die cuts from the new Foiled Script Sentiment Ephemera Pack. Finally, I added a few Sparkle & Shine Glitter Drops for added shimmer!

I carried the same blue and gold color palette into my second project, stamping the new Foliage Flair stamp set onto some more pale blue cardstock using Iridescent Gold embossing powder. I then used the marvelous Pinkfresh Studio Blending Brushes to blend Seaside, Storm, and Stargazer inks using the coordinating Foliage Flair stencils, then used the coordinating die to cut the whole image out in one piece! I added a bunch of foam adhesive squares to the back of the die cut image, then adhered it to a coordinating pale blue A2 card front, creating a gorgeous tone-on-tone background.

Now that the background was complete, I used two different frame die cuts to frame my gold embossed sentiment from the new Steeped in Kindness stamp set, which I heat embossed using more Iridescent Gold embossing powder onto some navy blue cardstock. I die cut the new Elegant Circles from some more shimmery gold cardstock, as well as a rectangular frame from some Midnight Navy Glitter Cardstock from Pinkfresh Studio. I arranged all of the die cuts on my card with some more foam adhesive, then added a few sparkling gems and a glittering gold twine bow!
Well, that’s all for my projects today! Now for some fun giveaway information:
Pinkfresh Studio is giving away the full release on the Pinkfresh blog and YouTube channel. They will also give away TEN $50 gift cards along the hop. The winners will be selected from the comments. The more comments you leave along the hop, the more chances you have to win!
Winners will be announced on March 19, 2025, on our GIVEAWAY PAGE. Winners must check that page and claim their prize within 2 weeks.
Here’s the full hop list in case you get lost:
Thanks so much for stopping by today, and happy hopping!