• Skip to main content
  • Skip to primary sidebar
  • Skip to secondary sidebar

Sixth Street Sundries

Emily Midgett

  • Home
  • About Me
  • Contact
  • OLO Marker Color Swatch Chart
  • Shop

ephemera

Simon Says Stamp Cozy & Bright Inspiration, Part Two!

October 2, 2026

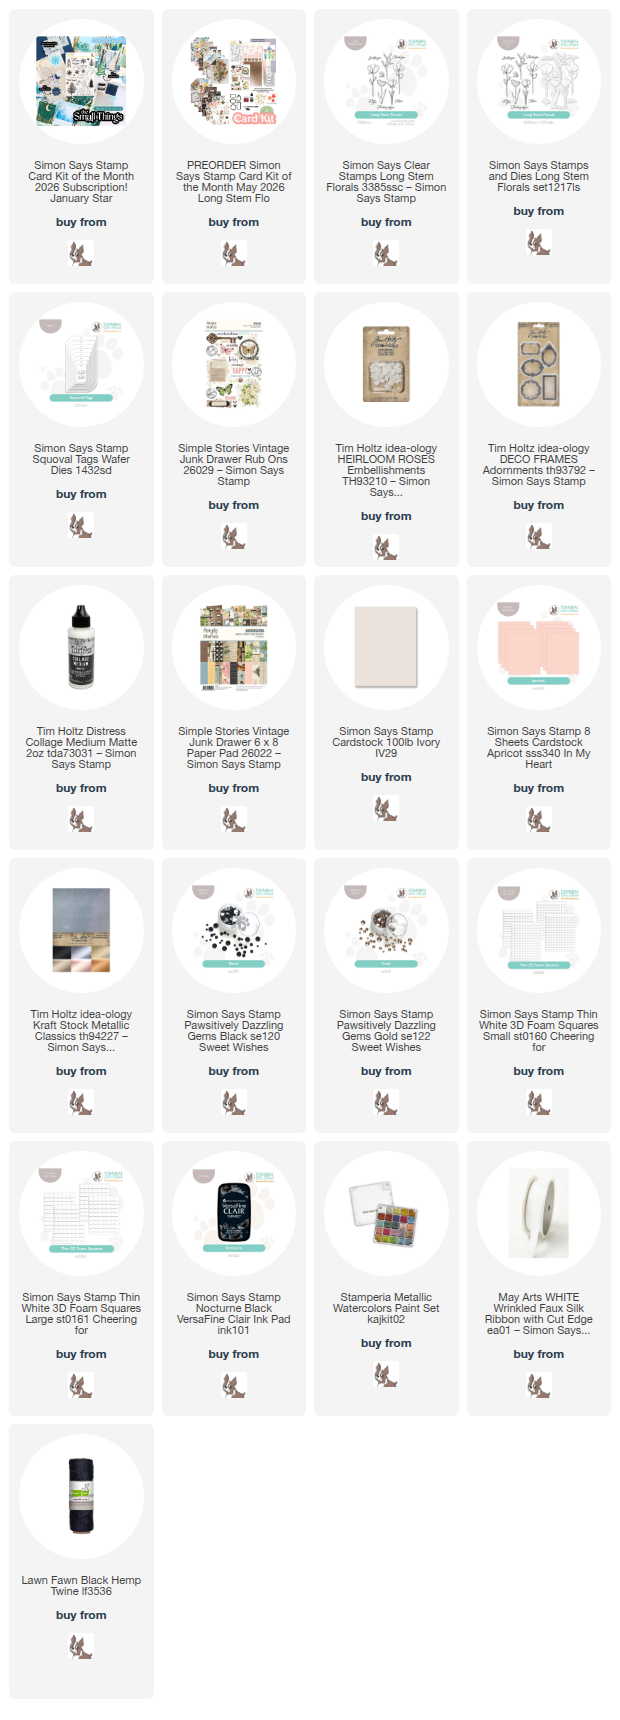
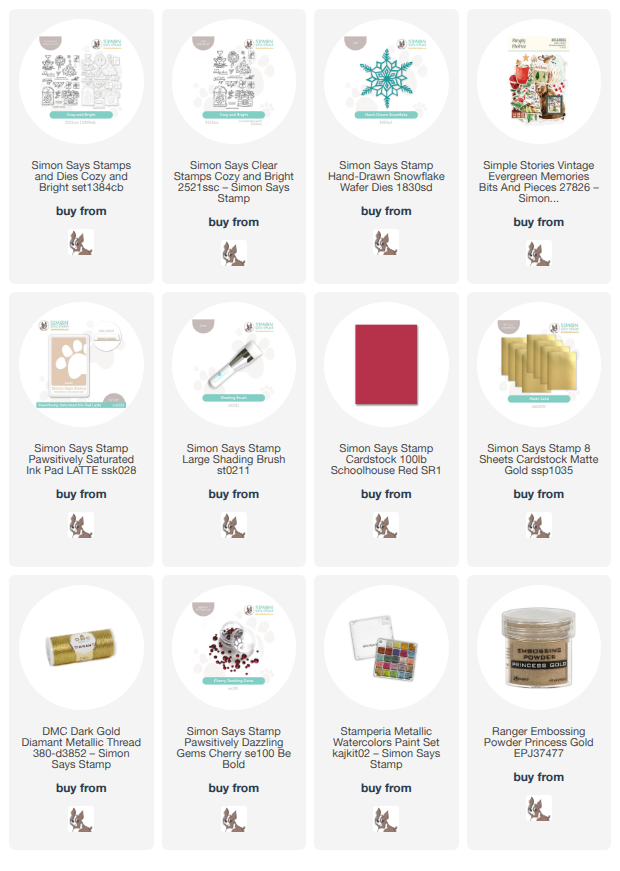
This post was sponsored by Simon Says Stamp. Thanks, Simon! *I have gathered links to all of the products used at the bottom of the post for your convenience, using affiliate links at no extra cost to you. Thank you for shopping with my links! I truly appreciate your support for my work!*

Hi friends! I am back a day later than expected…. my kiddos shared some germs with me, and I was pretty puny yesterday. But I’m back today to share more inspiration using the gorgeous new products from the Cozy & Bright kit, which is sadly sold out, but luckily the folks at Simon Says Stamp give us the option to purchase individual elements even after the kits sell out! I created another pair of cards using a completely different colorway from the previous projects; red and gold are the ultimate festive color palette, in my opinion! Let’s get started with the details on my projects.

I love the absolute ease with which you can create cards using ephemera packs. Simple Stories has some truly exquisite ephemera packs (click HERE to see them all!), chock full of traditional and whimsical imagery and with a huge amount and variety of pieces to make an insane amount of projects.

To begin my first card, I pulled out some of my favorite botanical die cuts from the Vintage Evergreen Memories ephemera pack to create a lush holiday swag, from which I could hang the coordinating baubles included with the pack, as well! Before arranging and adhering the pieces, however, I splattered some sparkling gold watercolor on the top left corner of my horizontal Lipstick Red A2 card front. I then layered the ephemera die cuts with a variety of heights of thin and thick foam adhesive.

For the greeting, I gold embossed a sentiment from the beautiful new Cozy & Bright stamp set, again using Lipstick Red cardstock, then used the detailed coordinating die to cut the sentiment out. I tucked the greeting amongst the baubles and foliage with some foam adhesive squares, then added a gold thread bow for added shimmer and texture. Finally, I wanted to add a little more interest the semi-bare area at the very bottom of the card front, so I trimmed a 1/4″ strip of Matte Gold Metallic cardstock and adhered it about 1/4″ from the bottom of the card front. The last step was a few shimmering Cherry Pawsitively Dazzling Gems!

For the next project, I kept the color palette simple and super festive with vibrant red and shiny gold. I stamped the champagne coupe tower and a sentiment from Cozy & Bright on more Lipstick Red cardstock with embossing ink and added gold embossing powder. I used the coordinating dies for the stamp set to cut both elements out, then used those same sparkling gold watercolors to add some shimmer to the cocktails within the champagne coupes!

For the background, I kept things simple, making this card one that could easily be mass-produced for the holidays. I trimmed 1/4″ of of each of the long sides of my A2 Lipstick Red card front, then blended Latte Pawsitively Saturated Ink along the long edges. While the Latte ink is a medium beige shade, it does add an “antique” element to the card, creating almost a vignette effect. I lightly splattered the blended edges with some more gold watercolors then adhered a few golden Hand-Drawn Snowflake die cuts along the edges, trimming off the excess. I popped up the two embossed die cuts with some foam adhesive in the center of the embellished card front, then placed the 3.75″ x 5.5″ card front in the center of a full size A2 Matte Gold Metallic card front, allowing strips of gold to peek out from each of the long sides. Finally, I added a few more Cherry Pawsitively Dazzling Gems for even more shimmer and shine!

Well, that’s all for my projects today! I am so excited to start delving into Christmas projects now. It’s the most wonderful time of the year! Thanks so much for stopping by today, and have a marvelous day!
Filed Under: simon says stamp Tagged With: christmas card, cozy and bright, ephemera, hand-drawn snowflake, heat embossing, holiday card, simple stories

Simon Says Stamp May 2026 Card Kit Reveal + Preorder!

April 14, 2026

This post was sponsored by Simon Says Stamp. Thanks, Simon! *I have gathered links to all of the products used at the bottom of the post for your convenience, using affiliate links at no extra cost to you. Thank you for shopping with my links! I truly appreciate your support for my work!*

Hi friends! The new Simon Says Stamp May 2026 Card Kit of the Month, called Long Stem Florals, has been revealed (click HERE to check it out!), and it’s so, so pretty! Filled with a sketchy floral stamp set, artistic coloring stencils, a unique new nesting tag shape die, gorgeous floral papers and rub ons, and lots of unique ephemera to allow you to create a plethora of unique cards. Here’s a peek at the contents of the kit:

These kits are always incredible value; the individual components of this kit retail for over $80, but you can preorder this kit for only $44.99! You can save even more by becoming a kit subscriber (click HERE to see the subscription details!). If you love receiving this type of curated kit filled to the brim with goodies to make your cardmaking even more simplified and enjoyable, you definitely want to hit that subscribe button!

I created a trio of pretty cards using several of the elements from the kit, focusing on those magnificent patterned papers and rub-ons included with the kit. Let’s get started with the details on my projects!

Whenever I am working with a new kit, I closely examine the patterned papers included with the kit, which frequently gives me tons of inspiration. My carpal tunnel doesn’t love fussy cutting, but my creative heart loves the effect of making these beautiful images from the patterned papers pop! I selected some of the gorgeous, larger-scale floral images and butterflies from the patterned papers and the rub-ons included with the kit and began cutting them out with my sharp scissors, creating a little pile of ephemera that I could use to put together these pretty cards and tag.

The first project featured the unique new Squoval Tag dies. I die cut the tag shape from the included sheet of Ivory cardstock, then layered some coordinating fussy cut ephemera, including the printed library card image, some extra butterflies, and a simple bubble hello, also cut from one of the patterned paper panels! I adhered each piece with some foam adhesive, doubling up on the sentiment to help it pop from the background. Finally, I added a few Black Pawsitively Dazzling Gems and a black cord loop to make a simple gift embellishment!

My next project features the pretty pink patterned papers and Apricot cardstock. I trimmed down one of the panels of cardstock and centered it on an A2 panel of Apricot cardstock from the kit. I also added some transitional strips of peachy foil cardstock, also included in the kit, which helps the eye transition from the busy patterned paper to the softer peach cardstock. I layered one of the Tim Holtz Deco Frames from the kit off to the side, then popped up a fussy cut floral bouquet in the center. I also used the included rub-ons to add some more accents, including some hearts, a butterfly, and a little label upon which I could place my stamped sentiment from the Long Stem Florals stamp set, stamped with black ink and heat embossed with clear powder to make it nice and crisp. I added a black cord bow and some more Black Pawsitively Dazzling Gems for a little added texture and shine!

For my final project, I went back to my shabby chic roots (I was obsessed with all things shabby chic when I first began making cards!) and used this gorgeous ivory rose bouquet as the focal point for my final project. I splattered the A2 Ivory cardstock panel with some platinum glitter watercolors, then popped up the bouquet on the card front using thin foam adhesive squares. I added a fussy cut butterfly and sentiment cut from the patterned papers, popping them up with a double layer of thin foam adhesive for extra height. I absolutely love the delicate little Heirloom Roses from Tim Holtz that are included with the kit, so I tied a fluffy white seam binding bow and adhered it to my bouquet with my hot glue gun, adorning it with one of the ivory Heirloom Roses. Finally, I added a touch more sparkle with some Gold Pawsitively Dazzling Gems!

Well, that’s all for my projects today!

The Simon Says Stamp Card Kits are such an incredible value; the value of the individual elements of each kit equals far more than the $44.99 price tag, so you’re getting incredible bang for your buck. If you are consistently interested in the Simon Says Stamp Card Kit of the Month, you can sign up HERE to become a subscriber for an even bigger discount on these carefully curated products. As always, Simon also makes each individual element of the kits available a la carte, so that you can pick and choose what you would like to purchase if buying the entire kit isn’t really your thing. Options galore! Who can say no to such incredible value though, right?

Thanks so much for stopping by today, and have a marvelous day!

Filed Under: simon says stamp, Uncategorized Tagged With: card kit of the month, ephemera, long stem florals, tag, tim holtz

Introducing Simon Says Stamp Limited Edition STAMPtember Holiday Kit!

September 30, 2025

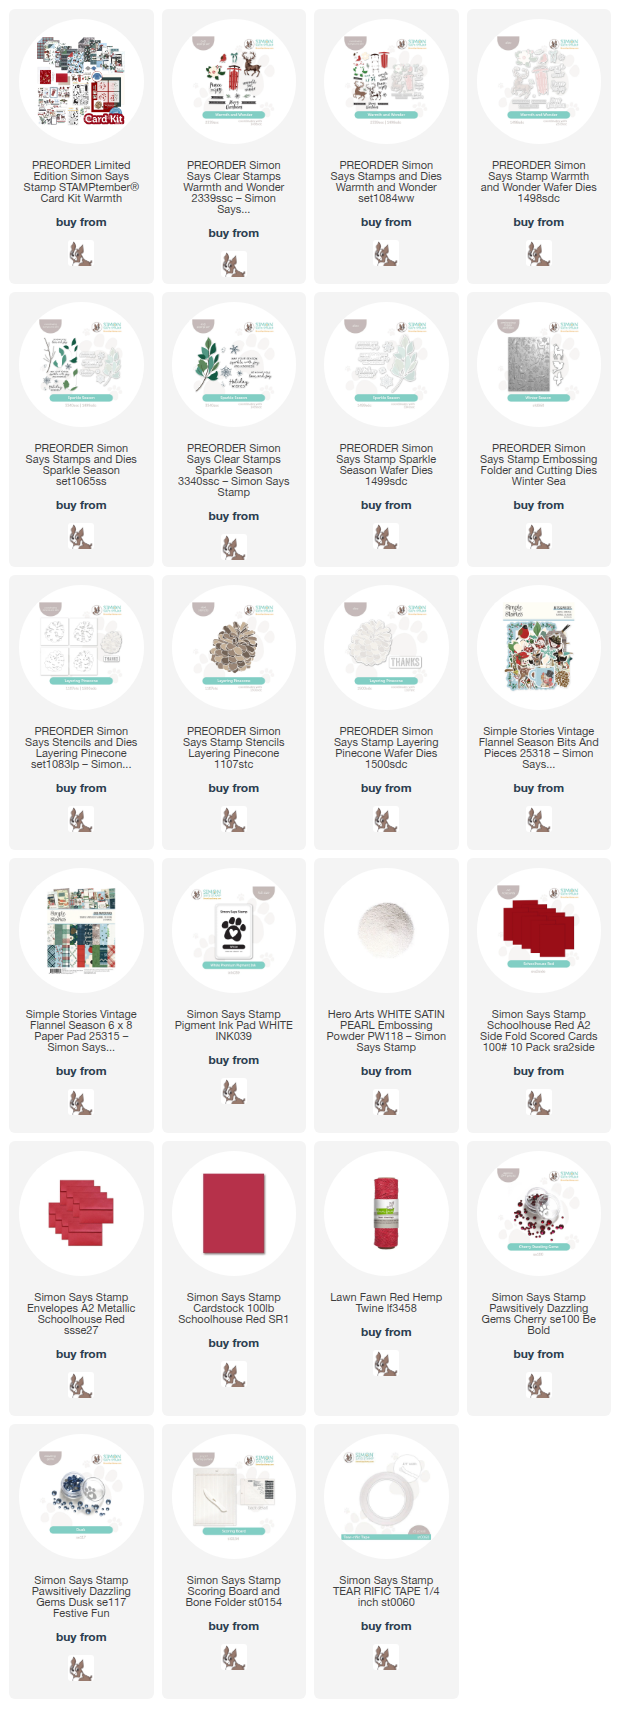
Hi friends! Simon Says Stamp has released the most fabulous of holiday kits as we end STAMPtember with a bang! The exclusive new limited edition Warmth and Wonder Card Kit is available for preorder right now (click HERE to see all of the details!), and my goodness is it absolutely jam packed with holiday cardmaking goodness!! I went a little crazy creating project after project using the goodies from the kit, and still have SO much left to use for even more cards. If you need a jumpstart to your holiday cardmaking, this kit is what you’ve been waiting for!

Here’s a rundown of everything included in the kit:

  • NEW & Exclusive Warmth and Wonder 6×8 Inch Clear Stamp Set
  • NEW & Exclusive Sparkle Season 4×6 Inch Clear Stamp Set
  • NEW & Exclusive Winter Sweater Die
  • NEW & Exclusive Layering Pine Cone Stencils Set
  • NEW & Exclusive Winter Season Embossing Folder with Dies Set
  • One sheet of each design from the Simple Stories Simple Vintage Flannel Season 6×8 Inch Paper Pack
  • One package of Simple Stories Simple Vintage Flannel Season Bits and Pieces Ephemera
  • Simon Says Stamp Exclusive Mocha Ink Cube (perfect for the Pine Cone Stencils)
  • Simon Says Stamp Exclusive Cappuccino Ink Cube (perfect for the Pine Cone Stencils)
  • 1 Tim Holtz Distress Mini Blending Brush
  • 1 Simon Says Stamp Exclusive A2 Envelope in Metallic Khaki
  • 1 Simon Says Stamp Exclusive A2 Envelope in Schoolhouse Red
  • 1 Sheet of Neenah Solar White 110 LB 8.5 x 11 Inch Cardstock
  • 1 Sheet of Simon Says Stamp Schoolhouse Red 100 LB 8.5 x 11 Inch Cardstock
  • 1 Sheet of Simon Says Stamp Midnight Green 100 LB 8.5 x 11 Inch Cardstock
  • 1 Sheet of Simon Says Stamp Dark Chocolate 100 LB 8.5 x 11 Inch Cardstock

The individual contents are valued at over $100, but the kit is available for preorder for only $69.99! I created no less than six different projects using the goodies in the kit, but SO many pieces of ephemera and patterned paper are left to create even more projects. And then you have multiple stamps and stencils with which to create infinite projects. Incredible, incredible value!

One of my favorite parts of the kit was the coordinating patterned papers and ephemera. I have never been huge on ephemera packs, simply because I prefer to use stamps and dies with my own unique color palettes, but I cannot say enough about the ease and absolute beauty of the ephemera included with the Limited Edition Warmth and Wonder Card Kit. The fact that the elements coordinate makes it even more useful and the finished projects even more polished!

I have a thing for deer on my holiday cards. I just find their elegant grace so appealing and peaceful. The ephemera pack included in the kit contains a multitude of beautifully illustrated deer along with colorful imagery that matches perfectly. I created this fun trifold card utilizing several of the patterned papers and the sweet beribboned deer, adding a greeting stamped on the deep Schoolhouse Red cardstock using White Pigment ink and embellished with White Satin Pearl embossing powder.

I used my Scoring Board to score a line about 1/2″ from the edge of my panel of A2 patterned paper, then added it to my Schoolhouse Red card base using Tear-rific Tape to create a tri-fold card. I selected patterned papers that would work nicely together, making sure that the patterns were contrasting enough so as not to overwhelm the eye. Plaids work beautifully with large floral patterns, and the coordinating color palette running through all of the papers included in the Warmth and Wonder Card Kit make it super easy to mix and match!

I think these tri-fold cards are such fun and such a fun way to send a unique holiday card.

My second card is in the same color family, this time with the sweet bird and anemone ephemera juxtaposed with the delicately patterned foliage patterned paper. I added a shining red foil mat around the framed “warm and cozy” patterned panel, adding a touch of shine and added texture amongst the matte printed ephemera. I selected several pre-printed sentiment strip pieces, arranging them around my bird and flower focal point in a cluster. Finally, I tucked a red twine bow and some Cherry Pawsitively Dazzling Gems amongst the cluster of focal points for additional sparkle and texture! These kinds of cards come together so very quickly, making your holiday cardmaking a breeze!

My next project for today shifts color palettes a bit, putting the beautiful blue pieces together with this vintage snowman image for a pretty and icy thank you card. I trimmed down a strip of the snowflake trellis, then added it to the side of my navy blue card base. I layered the snowflake printed piece on a piece of coordinating blue glitter cardstock, creating a sparkling blue frame and providing a visual barrier between the printed snowflake trellis strip and the patterned snowman panel. I popped this piece up on my card front with some foam adhesive.

This card didn’t need much additional embellishment (can you say fast thank you card?), so I simply popped up a few of the printed snowflake ephemera pieces and added a few sparkling Dusk Pawsitively Dazzling Gems. A simple, but super sweet and elegant, holiday thank you card finished lickety split!

Well, that’s all for my projects today! As with all Simon Says Stamp kits, each individual element is available for purchase separately from the kit, so you can mix and match as you see fit (or even pick up an extra ephemera and patterned paper set!). The kit’s value is incredible, but it’s only available for a limited time! These kits are anticipated to begin shipping in early October, so be sure to get your order in quickly so that you don’t miss out on this incredible value. Click HERE to preorder your own kit!

Thanks so much for stopping by today, and have a marvelous day!

Filed Under: simon says stamp Tagged With: card kit, christmas card, ephemera, holiday card, limited edition card kit, patterned paper, simple stories, sparkle season, vintage flannel, warmth and wonder, winter sea

Pinkfresh Studio “Joyful Blooms” Release Blog Hop

March 11, 2025

Hi friends! I am hopping along with my friends at Pinkfresh Studio to help introduce their new Joyful Blooms release! You should have arrived here from Anne, and your next stop is Nichol. You can also see the full hop list in the link list at the bottom of the post! It was so difficult to select which products to use for my projects today, because the entire release is absolutely delightful.

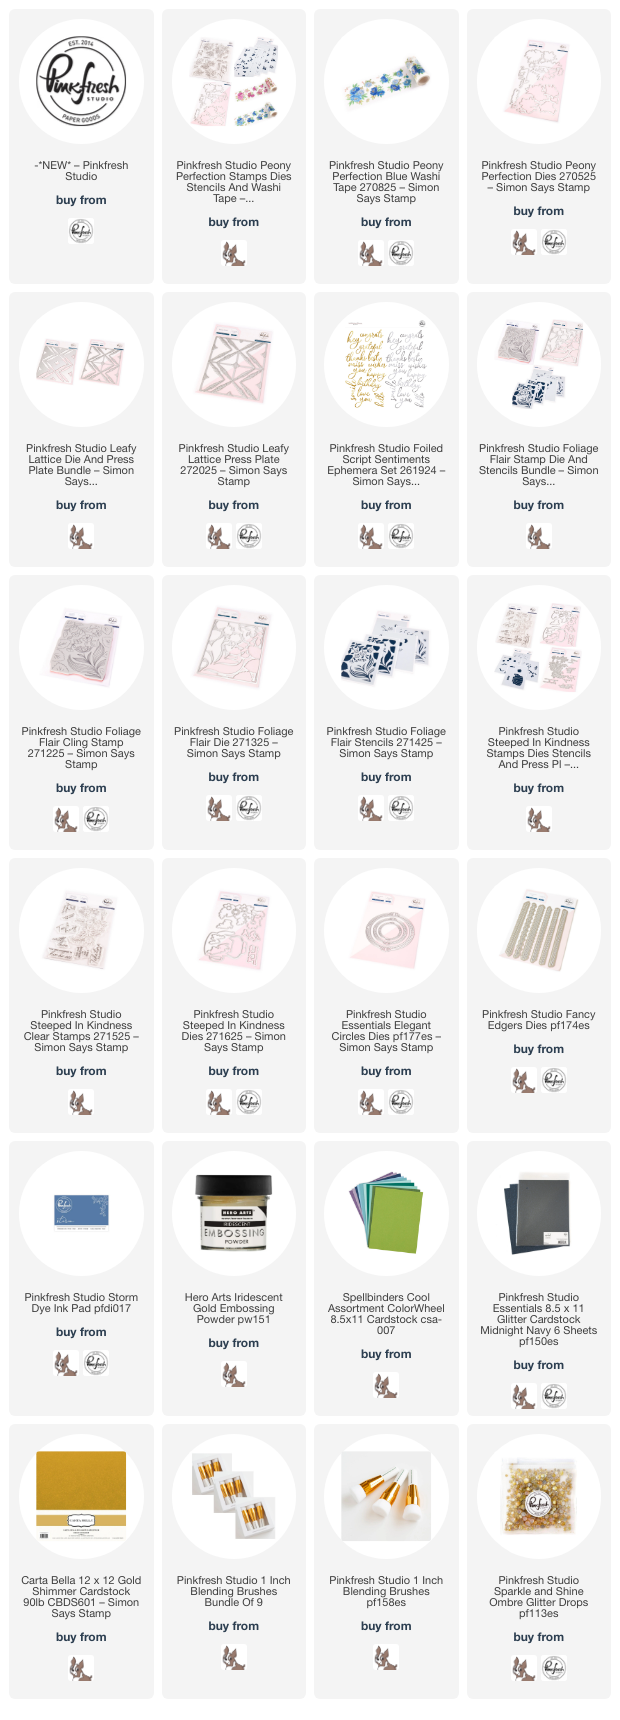
*I have gathered links to all of the products used at the bottom of the post for your convenience, using affiliate links. Thank you for shopping with my links! I truly appreciate your support for my work!*

Confession time: I have been a superfan of Dawn Woleslagle for just about the entire time I’ve been stamping, around fifteen years at this point, and I never tire of using her spectacular designs. It was Dawn’s watercoloring videos that set me down my own watercoloring path! I am lucky enough to have received a handmade watercolored card from her after meeting her in person and becoming “real” friends, which I have framed in my craft room along with a couple other really special cards that I’ve been sent. How amazing is it that we now have the ability to use Dawn’s lush paintings on our own cards thanks to her washi tape releases with Pinkfresh Studio!? I was immediately inspired by the uniqueness of her beautiful Blue Peony Perfection Washi Tape, struck both by the illustration itself and the beautifully unusual blue peonies. It was that blue and gold color palette on the washi tape that inspired my projects today. Let’s get started with the details!

When working with washi tapes, I like to adhere the washi tape to heavyweight vellum, which I think helps keep the images a little light and maintain the color palette behind the images a bit better. I adhered two panels of the Blue Peony Perfection Washi Tape to two strips of heavyweight vellum, then used the one-pass dies to die cut the images out. I love the ease of these dies that die cut multiple images at once; can you imagine how quickly mass-production would go with these super user-friendly dies?

I love pairing flowers with simple, elegant patterned backgrounds, and the gorgeous new Leafy Lattice Press Plate provided a fairly neutral background for these detailed watercolored peony images. I used a trick that I demonstrated in THIS video that I learned from another crafty rockstar, Carissa Wiley! In order to letterpress on regular weight colored cardstock, I adhered my colored cardstock panel to a piece of inexpensive watercolor cardstock to create a springy cushion, allowing me to impress the Leafy Lattice image using Storm ink into some pale blue colored cardstock. The effect of the letterpressed colored cardstock is magical and so elegant!

I trimmed the letterpressed blue panel down along the bottom of the panel, then added a shimmering gold Fancy Edgers die cut and lined it up with the edge of a complementary navy blue A2 card front, creating multiple layers for my background. I think it looks like something luxurious and decadent from the early 19th century with the gorgeous tone-on-tone leaf pattern and shimmering gold. I arranged several of the washi tape die cuts on the card front, adhering them with both liquid and foam adhesive, then added one of the sentiment ephemera die cuts from the new Foiled Script Sentiment Ephemera Pack. Finally, I added a few Sparkle & Shine Glitter Drops for added shimmer!

I carried the same blue and gold color palette into my second project, stamping the new Foliage Flair stamp set onto some more pale blue cardstock using Iridescent Gold embossing powder. I then used the marvelous Pinkfresh Studio Blending Brushes to blend Seaside, Storm, and Stargazer inks using the coordinating Foliage Flair stencils, then used the coordinating die to cut the whole image out in one piece! I added a bunch of foam adhesive squares to the back of the die cut image, then adhered it to a coordinating pale blue A2 card front, creating a gorgeous tone-on-tone background.

Now that the background was complete, I used two different frame die cuts to frame my gold embossed sentiment from the new Steeped in Kindness stamp set, which I heat embossed using more Iridescent Gold embossing powder onto some navy blue cardstock. I die cut the new Elegant Circles from some more shimmery gold cardstock, as well as a rectangular frame from some Midnight Navy Glitter Cardstock from Pinkfresh Studio. I arranged all of the die cuts on my card with some more foam adhesive, then added a few sparkling gems and a glittering gold twine bow!

Well, that’s all for my projects today! Now for some fun giveaway information:

Pinkfresh Studio is giving away the full release on the Pinkfresh blog and YouTube channel. They will also give away TEN $50 gift cards along the hop. The winners will be selected from the comments. The more comments you leave along the hop, the more chances you have to win!
Winners will be announced on March 19, 2025, on our GIVEAWAY PAGE. Winners must check that page and claim their prize within 2 weeks.

Here’s the full hop list in case you get lost:

You are invited to the Inlinkz link party!

Click here to enter

Thanks so much for stopping by today, and happy hopping!

Filed Under: pinkfresh studio Tagged With: elegant circles, ephemera, fancy edgers, foiled script sentiments, foliage flair, leafy lattice, peony perfection, steeped in kindness

Simon Says Stamp February Card Kit of the Month!

January 14, 2025

This post was sponsored by Simon Says Stamp. Thanks, Simon!

Hi friends! I have some pretty inspiration to share with you using the new Simon Says Stamp February 2025 Card Kit of the Month! These Card Kits are absolutely jam-packed with marvelous products, and the bundle of products is discounted down to make it super affordable and filled with enough products to make a wide variety of projects. All of the curated products in the kit work seamlessly together, but they can also be used (and purchased!) separately to make your crafting experience as easy and fulfilling as possible. You can check out all of the details, including individual items and more inspiration, on this month’s card kit HERE. I have two projects to share with you today created using elements of the February 2025 Card Kit of the Month as well as a few more individual products, so let’s get started with the details!

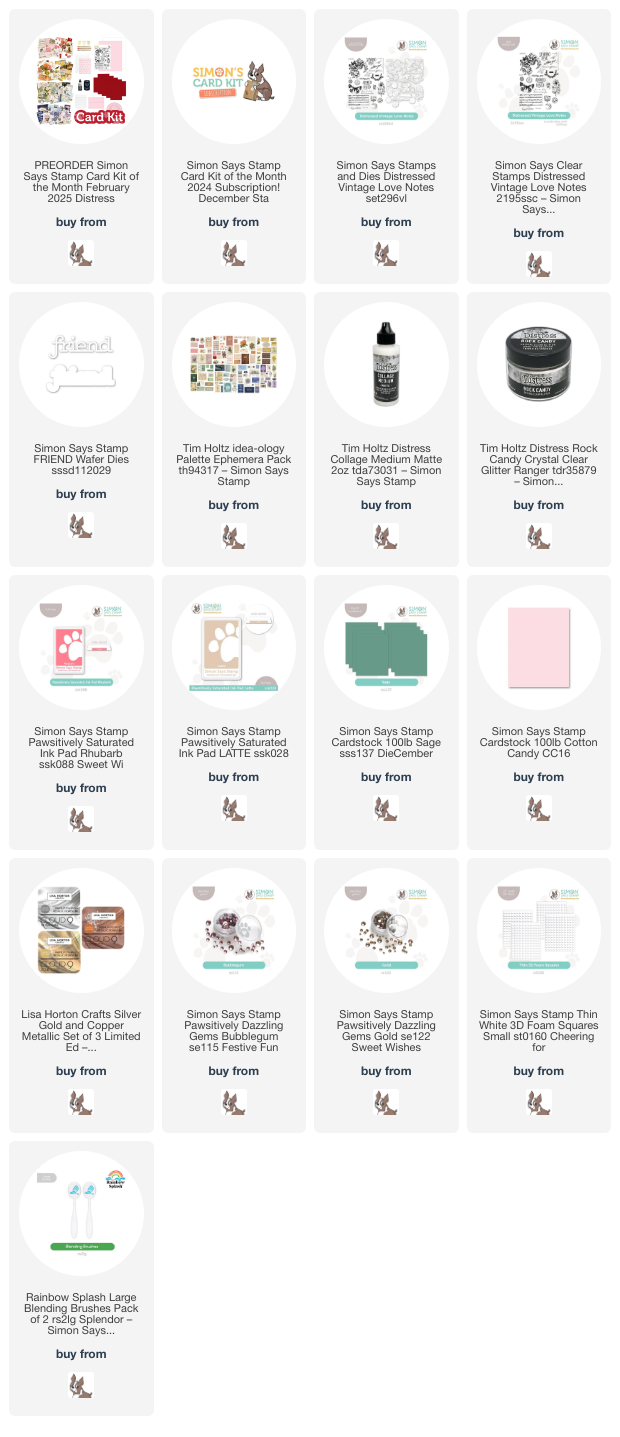
*I have gathered links to all of the products used at the bottom of the post for your convenience, using affiliate links. Thank you for shopping with my links! I truly appreciate your support for my work!*

The Simon Says Stamp February 2025 Card Kit of the Month features a gorgeous stamp set called Distressed Vintage Notes, and it has so many fabulous elements that work especially beautifully when layered together to create a dimensional, almost mixed media effect. I paired the stamp set with the gorgeous printed ephemera pack included with the kit, as well as some gold, pink, and taupe inks and other goodies from my stash to create this pair of feminine layered cards.

My first card is comprised mostly of the Tim Holtz printed ephemera pack (which I’ve linked individually below, so that you won’t hoard like I am always tempted to do-you can always buy more, Emily!). I selected a couple of the beautifully detailed images from the ephemera pack that I thought worked particularly nicely together, with similar pastel color palette and minimal distressing, then used the included Collage Medium (which is enormous and will last for quite a long time!) to strategically add some Rock Candy Glitter on both the flowers and the butterfly, adding a subtle touch of sparkle and texture to the elements. After allowing them to dry completely, which did not take long at all, I layered them on an A2 Sage card front, adhering them with foam adhesive squares in both a single and double layer for the butterfly.

For the greeting, I heat embossed the “love and affection” sentiment from the Distressed Vintage Notes stamp set using gold embossing powder on some of the Cotton Candy cardstock that was included with the kit, then cut the image out with the coordinating die. I also die cut the Friend die to enhance the sentiment, cutting the detail layer from Simon’s Matte Gold foil cardstock and the shadow layer from Simon Says Stamp Vellum, adhering the two layers together with liquid adhesive and tucking both sentiment pieces amongst the butterfly. I added some Bubblegum Pawsitively Dazzling Gems and a twine bow to finish everything off! Such a delicate card with the pretty pastels and shimmering accents.

My second card uses the large rose die cut from the ephemera pack as the focal point. I think the gorgeous image coupled with the detailed cut edge makes this beautiful printed piece exceptionally beautiful! Because the image screams “vintage” to me, I decided to pair it with a distressed mixed media feel in the background using several elements from the Distressed Vintage Notes stamp set. I used Rhubarb and Latte inks to stamp several elements from the stamp set, first stamping on a piece of scrap paper, then using the residual ink to get a lighter impression on my Cotton Candy A2 card front. After blending first Rhubarb and then Latte inks around the edge of my card front to increase the vintage feel on my card, I also used some sparkling gold pigment ink to layer some lacy florals from the stamp set, adding sparkle and texture to the background.

I popped the beautiful rose ephemera piece up on my finished background using foam squares, then used gold embossing powder to emboss the sentiments and gorgeous butterfly image. For the butterfly, I heat embossed the image on vellum to create a light and ethereal feel while also avoiding another heavy layer of cardstock. I popped up the greeting pieces with double and single layers of foam adhesive, then tucked the vellum butterfly next to the flower. Finally, I added some Gold Pawsitively Dazzling Gems and a sparkling gold twine bow for added shimmer!

Well, that’s all for my projects today. I so enjoyed stepping outside of my comfort zone to create these distressed but feminine cards. You can check out all of the details, including individual items and more inspiration, on this month’s card kit HERE. If you like the looks of the Card Kits of the Month, you can always subscribe to be able to get first dibs on these beautifully curated kits in addition to even better discounts! The value of the kits always far exceeds the individual purchase price, so it’s a great way to build your stash and get lots of bang for your buck. Thanks so much for stopping by today, and have a marvelous day!

Filed Under: simon says stamp Tagged With: card kit of the month, die cutting, distress, ephemera, ink blending, lisa horton metallic inks, metallic ink, mixed media, valentine

  • Page 1
  • Page 2
  • Go to Next Page »

Primary Sidebar

  • Facebook
  • Instagram
  • Pinterest
  • YouTube

Favorite Shops

Secondary Sidebar

Subscribe

Enter your email address to subscribe to this blog and receive notifications of new posts by email.

Instagram
Something is wrong.
Instagram token error.
Follow
Load More

Archives

Tags

3D embossing folder alcohol markers better press birthday birthday card blog hop card kit christmas christmas card christmas tag colored pencil copic copic coloring Daniel Smith die cutting embossing folder embroidery felt giveaway holiday holiday card hot foil ink blending karin brushmarker pro layered stencil masculine my monthly hero new release no line coloring no line watercolor OLO marker olo markers original illustration pawsitively saturated rainbow shaker card slimline stamping stamptember stencil thank you thinking of you valentine's day video watercolor

Popular Posts

Simon Says Stamp Sending Cheer Blog Hop- Day 2 + Freebie + Giveaway!
Altenew October 2026 Release Blog Hop + Giveaway!
Rustic Monochromatic Stars for Christmas with Rainbow Splash!
Waffleflower July Release Blog Hop!
Hero Arts Partners Blog Hop: Lawn Fawn!
March 2020 Essentials By Ellen Blog Hop+Giveaway!
December 2018 My Monthly Hero Blog Hop + Giveaway!
The Ton Stamps Summer Release: Day 1
The Ton Anniversary Release: Day 1!
Altenew Paint A Flower: Carnation Blog Hop+Giveaway!

Disclosure

Some affiliate links are used in my posts. This means that, should you click on one of my links and purchase something from that company, I will receive a small portion of the sale at no extra cost to you. I use the money earned from these sales to help maintain my blog. I so appreciate you visiting and, if you do choose to use one of my affiliate links, thank you so much for your support!
Copyright © 2026 ·Brunch Pro Theme · Genesis Framework by StudioPress · WordPress · Log in
Loading Comments...