This post was sponsored by Simon Says Stamp. Thanks, Simon!
Hi friends! I have some pretty inspiration to share with you using the new Simon Says Stamp February 2025 Card Kit of the Month! These Card Kits are absolutely jam-packed with marvelous products, and the bundle of products is discounted down to make it super affordable and filled with enough products to make a wide variety of projects. All of the curated products in the kit work seamlessly together, but they can also be used (and purchased!) separately to make your crafting experience as easy and fulfilling as possible. You can check out all of the details, including individual items and more inspiration, on this month’s card kit HERE. I have two projects to share with you today created using elements of the February 2025 Card Kit of the Month as well as a few more individual products, so let’s get started with the details!
*I have gathered links to all of the products used at the bottom of the post for your convenience, using affiliate links. Thank you for shopping with my links! I truly appreciate your support for my work!*

The Simon Says Stamp February 2025 Card Kit of the Month features a gorgeous stamp set called Distressed Vintage Notes, and it has so many fabulous elements that work especially beautifully when layered together to create a dimensional, almost mixed media effect. I paired the stamp set with the gorgeous printed ephemera pack included with the kit, as well as some gold, pink, and taupe inks and other goodies from my stash to create this pair of feminine layered cards.

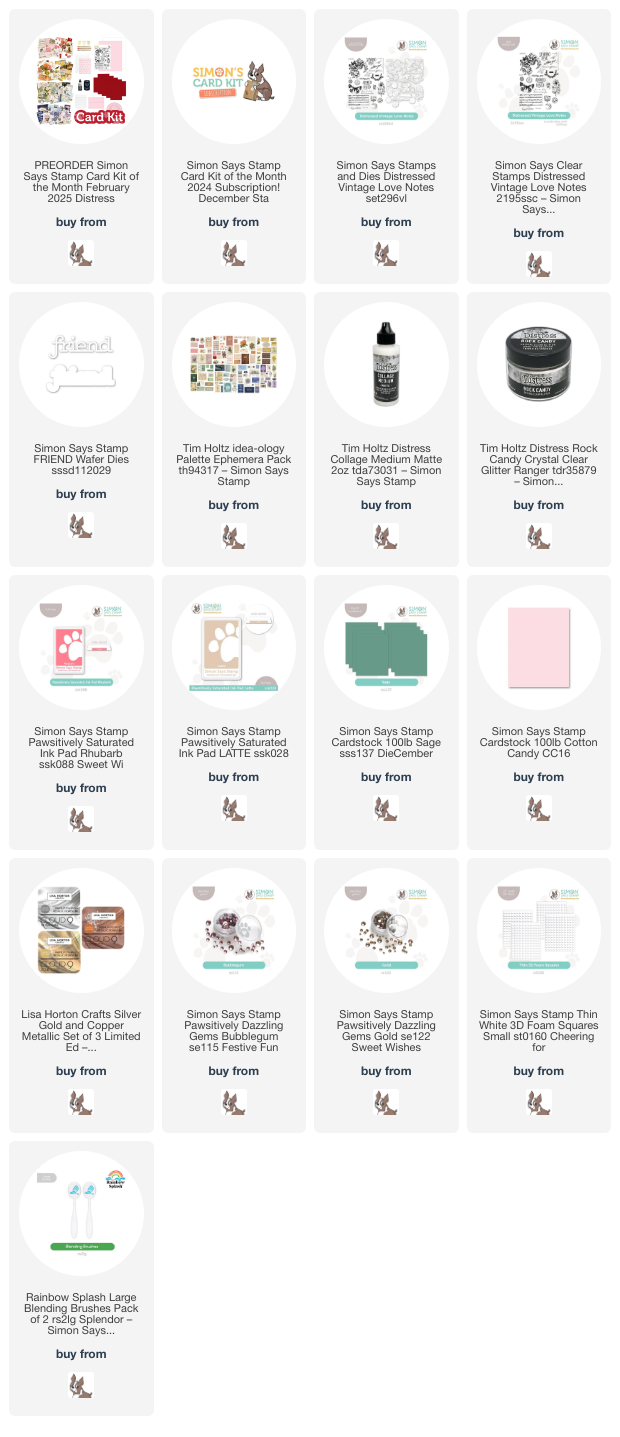
My first card is comprised mostly of the Tim Holtz printed ephemera pack (which I’ve linked individually below, so that you won’t hoard like I am always tempted to do-you can always buy more, Emily!). I selected a couple of the beautifully detailed images from the ephemera pack that I thought worked particularly nicely together, with similar pastel color palette and minimal distressing, then used the included Collage Medium (which is enormous and will last for quite a long time!) to strategically add some Rock Candy Glitter on both the flowers and the butterfly, adding a subtle touch of sparkle and texture to the elements. After allowing them to dry completely, which did not take long at all, I layered them on an A2 Sage card front, adhering them with foam adhesive squares in both a single and double layer for the butterfly.

For the greeting, I heat embossed the “love and affection” sentiment from the Distressed Vintage Notes stamp set using gold embossing powder on some of the Cotton Candy cardstock that was included with the kit, then cut the image out with the coordinating die. I also die cut the Friend die to enhance the sentiment, cutting the detail layer from Simon’s Matte Gold foil cardstock and the shadow layer from Simon Says Stamp Vellum, adhering the two layers together with liquid adhesive and tucking both sentiment pieces amongst the butterfly. I added some Bubblegum Pawsitively Dazzling Gems and a twine bow to finish everything off! Such a delicate card with the pretty pastels and shimmering accents.

My second card uses the large rose die cut from the ephemera pack as the focal point. I think the gorgeous image coupled with the detailed cut edge makes this beautiful printed piece exceptionally beautiful! Because the image screams “vintage” to me, I decided to pair it with a distressed mixed media feel in the background using several elements from the Distressed Vintage Notes stamp set. I used Rhubarb and Latte inks to stamp several elements from the stamp set, first stamping on a piece of scrap paper, then using the residual ink to get a lighter impression on my Cotton Candy A2 card front. After blending first Rhubarb and then Latte inks around the edge of my card front to increase the vintage feel on my card, I also used some sparkling gold pigment ink to layer some lacy florals from the stamp set, adding sparkle and texture to the background.

I popped the beautiful rose ephemera piece up on my finished background using foam squares, then used gold embossing powder to emboss the sentiments and gorgeous butterfly image. For the butterfly, I heat embossed the image on vellum to create a light and ethereal feel while also avoiding another heavy layer of cardstock. I popped up the greeting pieces with double and single layers of foam adhesive, then tucked the vellum butterfly next to the flower. Finally, I added some Gold Pawsitively Dazzling Gems and a sparkling gold twine bow for added shimmer!
Well, that’s all for my projects today. I so enjoyed stepping outside of my comfort zone to create these distressed but feminine cards. You can check out all of the details, including individual items and more inspiration, on this month’s card kit HERE. If you like the looks of the Card Kits of the Month, you can always subscribe to be able to get first dibs on these beautifully curated kits in addition to even better discounts! The value of the kits always far exceeds the individual purchase price, so it’s a great way to build your stash and get lots of bang for your buck. Thanks so much for stopping by today, and have a marvelous day!