Good morning! Happy Monday! It’s extra happy today, because it’s the Pinkfresh Studio 9th Birthday release day, and we are celebrating with a blog hop! You should have arrived here from Cheryl Espie, and your next stop is Heather Hoffman. You can also start at the beginning at the Pinkfresh Studio blog in case you get lost! The new collection celebrating Pinkfresh’s 9th birthday is absolutely darling, full of elegant birthday stamps, stencils, dies, and hot foil plates to make birthday cards such a joy to create! I have a fun shaker card to share with you today, so let’s get started with the details!

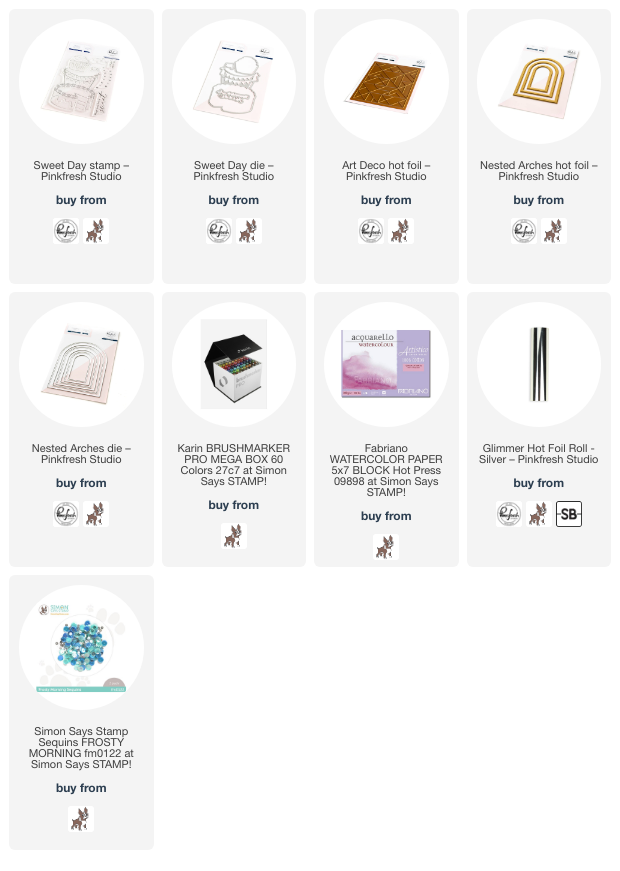
I started by silver embossing the adorable cake with the festive banner from the new Sweet Day stamp set onto some Fabriano Artistico hot press watercolor paper. The Fabriano Artistico is a nice, crisp white, so I like to use it when I’m going to be pairing watercolored images with white cardstock. I watch lots of cake decorating videos on Instagram, and cakes iced with colorful frosting and topped with drips of shiny chocolate are all the rage, so I thought that I would try to emulate that with the color scheme for my yummy-looking chocolate cake. I watercolored the image with my Karin Brushmarker Pro markers, scribbling the color out onto my glass mat and picking the color up with my damp paintbrush, allowing me to better control the saturation of color on my image. I die cut the image with the handy-dandy one piece Sweet Day die that die cuts the full cake, as well as the cupcake and candle on the stamped image! I used a black pen and a white gel pen to add some “crumb” texture to the interior of my chocolate cake, as well as some swipes with a white gel pen on the shiny chocolate ganache dripping down the cake. It’s making me hungry!

Nothing is quite as appropriate for a birthday card as a shaker card, so I hot foiled the Art Deco background onto some crisp white cardstock using silver hot foil to coordinate with my silver embossing on the cake. I also hot foiled a silver arch using the Nested Arches Hot Foil Plates and cut it out with the coordinating dies to create a shiny silver frame. I cut a window in the center of a white A2 card front using the smaller arch die, then backed it with acetate and adhered the hot foiled arch die cut around the window. I find it easier to line up the single die in the center of my card front than to try to perfectly line up my hot foil plate in the center of my card front. Plus, this adds a bit of extra dimension and texture!

I filled my shaker with some coordinating aqua sequins, adding in some iridescent stars to make things extra festive, then adhered the cake with another layer of foam adhesive. For the greeting, I used one of the perfect greetings from the new Foiled Sentiments 6, which is chock full of fabulously shiny birthday greetings that are so easy to add to your card!
Well, that’s all for my project today! Now for some fun giveaway information:
Pinkfresh Studio will be giving away the full release on the Pinkfresh blog & YouTube channel, so be sure to leave comments there to be entered to win! They will also be giving away a total of TEN $25 gift cards along the hop. The winners will be selected from the comments.Winners will be posted on May 3, 2023 on our GIVEAWAY PAGE. Winners must check that page & claim their prize within 2 weeks.
Here’s the full hop list:
Thanks so much for stopping by today, and happy hopping!