• Skip to main content
  • Skip to primary sidebar
  • Skip to secondary sidebar

Sixth Street Sundries

Emily Midgett

  • Home
  • About Me
  • Contact
  • OLO Marker Color Swatch Chart
  • Shop

Archives for January 2022

Craft Your Life Project Kit: Feathered Lilies Blog Hop+Giveaway!

January 12, 2022

Hi there! Today, Altenew is adding the Feathered Lilies to their Craft Your Life Project Kit lineup, and we’re celebrating with a blog hop! You should have arrived here from Teri Wilson and your next stop is Mindy Eggen. You can also start back at the Altenew Blog if you get lost! This month’s kit is absolutely gorgeous. The main image from Feathered Lilies is gigantic, and so, so fun to color! Here’s a peek at this month’s kit:

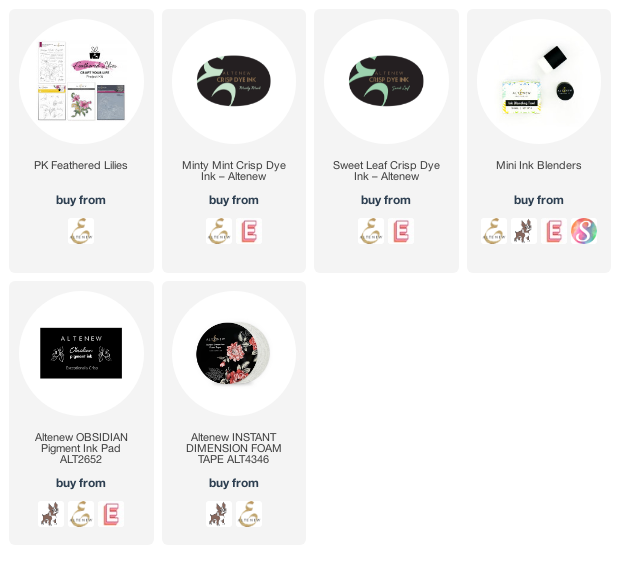
I love that all of the components work beautifully individually but seamlessly together. And check out how massive that coordinating die is!! Wowzers! If you are finding these kits irresistible month after month, you can always subscribe to ensure that you get first dibs on them when they’re released and, bonus, you get them at a discount with your subscription! Check out the details here. I chose to do some Copic coloring with those gigantic flowers, so let’s get started with the details!

I began this project by stamping the large main image in the corner of a white A2 card panel using Copic-friendly black ink. I was in need of some artistic “comfort food” recently, so I chose my all-time favorite Copic blend for pinks: RV99, RV69, RV17, RV09 and went to town on these huge flowers. The bigger the flower, the more fun they are to color! (If coloring isn’t your thing, the kit includes some fabulous layering stencils, as well.) I colored the foliage using BG75, YG45, YG41, G12. Don’t be afraid to mix your color families; they just take a little extra care when blending.

I die cut the finished colored image using the gigantic coordinating die. I love that they included a coordinating die for the entirety of the large image, so that you can orient it any direction you want and still have those crisp die cut edges!

I blended some Minty Mint and Sweet Leaf inks on the corner of an A2 white card base using blending brushes, then adhered the colored floral die cut using Instant Dimension Foam Tape. Having die cut the image exactly in the corner of the card made placement super simple-just match it up with the corner! I added a greeting from the Feathered Lilies stamp set using Obsidian ink. The pigment ink showed up perfectly crisp over the top of the blended ink in the corner!

Well, that’s all for my project today. Now for the giveaway details!

$300 in total prizes! To celebrate this release, Altenew is giving away a $50 gift certificate to 2 lucky winners and a $25 gift certificate to 8 winners! Please leave a comment on the Altenew Card Blog and/or each designer’s blog post on the blog hop list below by 01/18/2022 for a chance to win. Altenew will draw 10 random winners from the comments left on each stop of this blog hop and announce the winners on the Altenew Winners Page on 01/20/2022.

Your next stop on the hop is Mindy Eggen. Thanks so much for stopping by today, and happy hopping!
Filed Under: altenew Tagged With: copic coloring, craft your life project kit, feathered lilies, ink blending, project kit

January 2022 Hero Arts My Monthly Hero Blog Hop+Giveaway!

January 10, 2022

Hi there! Today, Hero Arts is releasing their first My Monthly Hero collection for the new year, and we are hopping along to give you lots of romantic Valentine’s inspiration! You should have arrived here from Debi Adams, and your next stop is Ilina Crouse. You can also start back at the beginning at the Hero Arts Blog. This month’s kit features a beautiful layering stamp set and dies, in addition to a gorgeous, super detailed cover plate die. Here’s a peek at the contents of the January 2022 kit:

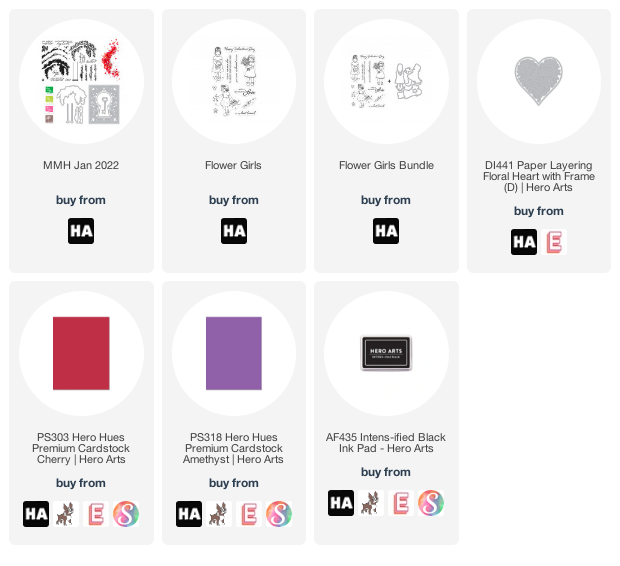
This month’s kit includes : 6″ x 8″ Clear Stamp Set, 3 Coordinating Frame Cuts, 4.25″ x 5.5″ Fancy Cover Plate Die, 1 Key Fancy Die, 4 Ink Cubes (Key Lime Fizz, Taffy, Green Apple, Cup O’ Joe), and Red Iridescent Gems. So many beautiful products in this month’s kit, valued at over $80, but is available to you for $34.99! You can also subscribe to be guaranteed to receive these beautiful kits each month. I have a pair of projects using this month’s kit, so let’s get started with the details!

The beautiful fancy dies included in this month’s kit are so gorgeous that they can easily stand on their own, and I thought they’d be perfect to create some valentines for my big kiddos! I used some fancy glitter and foil cardstocks to really allow the details in the cover plate die to shine. I cut the fancy keyhole cover plate once from red glitter cardstock and once from shiny purple foil and backed it with some leftover stamp packaging to create a pocket for a shaker card. I adhered some coordinating Hero Hues colored cardstock on the back (Cherry for the red glitter card, Amethyst for the purple foil) and filled it with some coordinating sequins.

I heat embossed one of the darling greetings from the main kit onto some more coordinating Hero Hues cardstock using white embossing powder so that the sentiment would really pop. I also die cut two white keys using the fancy key die included in the kit.

I adhered the sentiments and the key die cut to the flat shaker card fronts using foam adhesive to help them stand out even more. I love the simplicity of the color schemes for both of these projects! I was going to try to do my favorite white-on-white, but I thought it would be more fun for Valentine’s Day for my minions to make things sparkly, shiny, and colorful.

My next project uses one of the sweet add-on sets: Flower Girls. The sweet images in this set are perfect for Valentine’s Day or just to send a sweet card to a friend or loved one! I began by stamping one of the little girls on some white, Copic-friendly cardstock using Intens-ified Black ink, then colored her in with my Copic markers, adding little black polka dots to her tights using a fine-tipped black pen. I cut the finished image out with the coordinating Flower Girls Frame Cuts.

I wanted to allow her bright raspberry colored frock to really pop from the card front, so I die cut a Paper Layering Floral Heart with Frame die cut from some more white cardstock. I offset the die cut to the right side of my card front, trimming off the edge with my sharp scissors. I adhered the white die cut to the white card base using foam tape to really allow those lovely details in the die cut to pop on the monochromatic background.

I stamped a greeting from Flower Girls on a strip of white cardstock, then trimmed around the sentiment using my sharp scissors to help keep things super delicate. (Isn’t that sentiment just precious?) I adhered the Flower Girls die cut and sentiment over the top of the heart die cut with some more foam tape, creating a double layer of foam tape in some spots and helping to create tons of dimension on this project!

Well, that’s all for my projects today. To celebrate this release, Hero Arts is hosting a giveaway!

Hero Arts will give away a $50 gift card, drawn from the comments left across the hop. Enter by Sunday, January 16th at 11:59pm Pacific, and the winner will be announced on the Hero Arts blog the following week.

Your next stop on the hop is Ilina Crouse. Thanks so much for stopping by today, and happy hopping!

Filed Under: Hero Arts Tagged With: copic coloring, flat shaker, my monthly hero, shaker card, valentine, valentine's day

Altenew Vintage Galore Collection Release Blog Hop + Giveaway ($300 in total prizes)

January 4, 2022

Hi there! Altenew is celebrating their new Vintage Galore release with a blog hop chock full of inspiration, and I’m excited to share with you what I’ve created using the new goodies both here and on the Altenew Blog! You should have arrived here from Therese Calvird, and your next stop is Michelle Short. You can also start at the beginning at the Altenew Blog, where I have a third project featuring this gorgeous Golden Days product suite! I have two pretty in purple projects to share with you today, so let’s get started with the details!

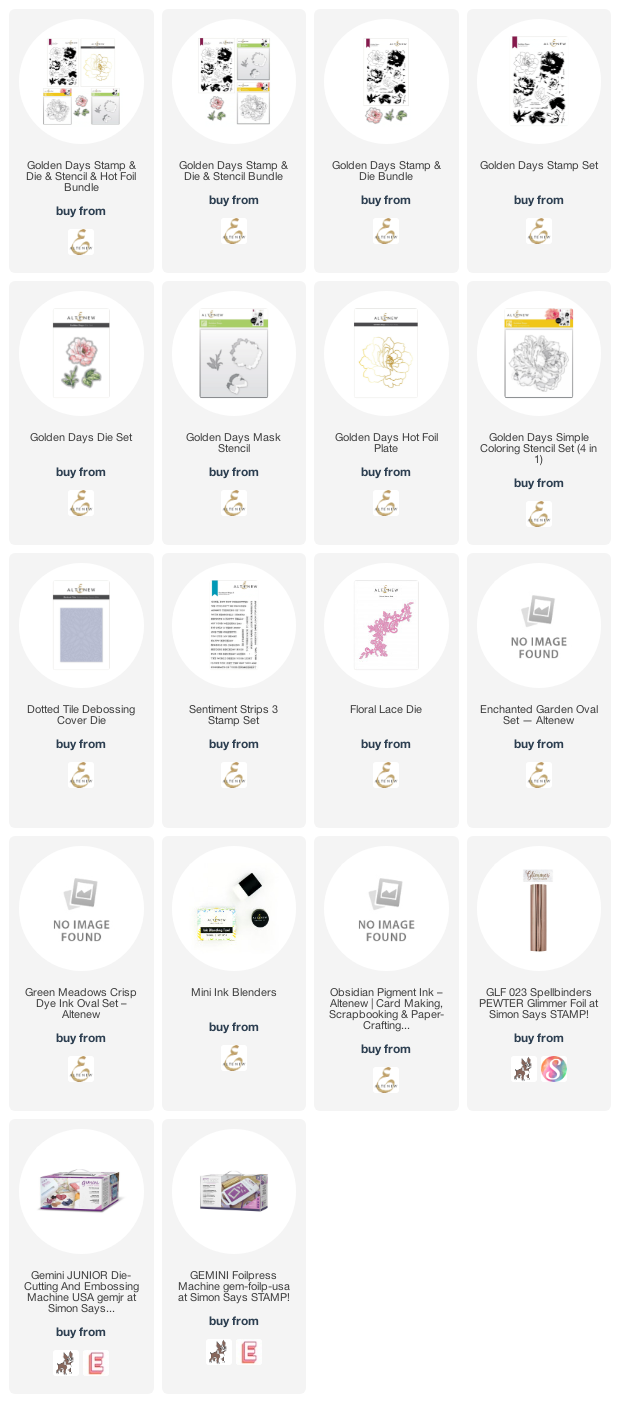
Both of these projects feature the Golden Days product suite and the Enchanted Garden ink suite for those beautiful shades of purple. I love that the main images from the hot foil/stencil set and the stamp/stencil/die set from the Golden Days product suite coordinate, but create such very different looks! Let’s get started with the details on my projects.

My first project utilizes the Golden Days Stamp/Die/Stencil bundle. I used the mask stencil with the lightest shade of ink from the Enchanted Garden ink suite to create the base layer for my layered, stamped flower, then added the stamped details with the darker shades of ink to create this beautifully detailed layered flower. I stenciled and stamped the leaves using the Green Meadows ink set for some lovely, springy foliage. I die cut the finished blooms using the coordinating dies.

For the card base, I used the beautiful new Dotted Tile Debossing Die. This die partially cuts a beautifully subtle stitched design on the background. I love the understated but elegant interest that this adds to the card front!

I stamped a greeting from the new Sentiment Strips 3 using some deep purple ink on a thin strip of white cardstock. I arranged the bloom and foliage in a small swag, then adhered it and the sentiment strip using  Instant Dimension Foam Tape. So simple, but still elegant with the white-on-white and pop of pretty purple!

My second card is a bit more involved. I don’t have enough space on my desk to keep my hot foiling products out all the time, so I had to get everything out and set it up to be able to use the Golden Days Hot Foil Plate, but let me tell you… it was so worth it! I used some metallic pewter colored foil with the white Hammermill cardstock with my Gemini foil system and got beautiful results. I love how massive this bloom is!

I used Altenew’s Mini Blending Tools and the Enchanted Garden ink suite to blend the gorgeous Golden Days Simple Coloring Stencils over the hot foiled image. I think the stencils are such a clever product to add with this giant foil plate; there’s no way we could ever fit all of those layering stamps in one stamp set for this enormous flower, so the stencils are a great alternative! Plus there are so many fun techniques that you can do with them!

Because the image is so extraordinarily large, I decided to take full advantage and create a full size slimline card using the Golden Days foiled and stenciled flower as the focal point. I trimmed my flower down to 3.5″ wide, then added it to a white slimline card front with some foam adhesive. I tucked some “foliage” cut from white cardstock using the Floral Lace die behind the huge flower, leaving some of the edges adhesive-free so that they could be curled up just a touch and add extra dimension! I added a greeting from Sentiment Strips 3, stamped with Obsidian pigment ink and heat embossed with white pearl embossing powder to coordinating with the charcoal foil. The final touch was to add some iridescent white pearls to make this wedding card look extra special!

Well, that’s all for my projects today! Now for some giveaway information:

$300 in total prizes! To celebrate this release, Altenew is giving away a $50 gift certificate to 2 lucky winners and a $25 gift certificate to 8 winners! Please leave a comment on the Altenew Card Blog and/or each designer’s blog post on the blog hop list below by 01/10/2022 for a chance to win. Altenew will draw 10 random winners from the comments left on each stop of this blog hop and announce the winners on the Altenew Winners Page on 01/12/2021.

Your next stop is Michelle Short. Thanks so much for stopping by, and happy hopping!

Filed Under: altenew Tagged With: dotted tile, floral lace, golden days, hot foil, ink blending, slimline, stencil

Altenew Build-A-Flower: Candystripe Cosmos Release Blog Hop + Giveaway ($200 in total prizes)

January 1, 2022

Hi there! Happy 2022! We’re kicking off the new year with a blog hop to help introduce the new Build-A-Flower Candystripe Cosmos. You should have arrived here from Svitlana Shayevich, and your next stop is Lilith Eeckels. You can also start back at the beginning at the Altenew Card Blog if you get lost along the way! Here’s a peek at this new addition to the Build A Flower family:

I love that Altenew gives you the option to use the layered stamps or take some time to do some coloring. You can always subscribe to the Build A Flower series to receive the sets each month at a discounted rate! I chose to do some watercoloring on this giant bloom for my project today, so let’s get started with the details!

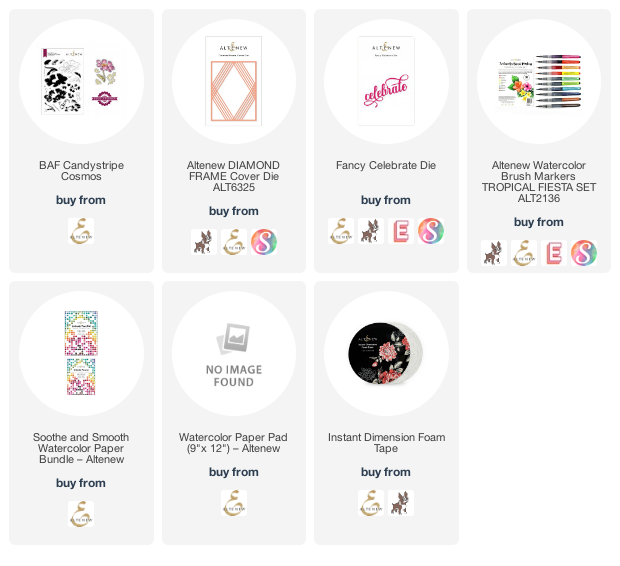
I began by heat embossing the main flower image from Build-A-Flower Candystripe Cosmos twice on some Watercolor Paper using white embossing powder, then used the Tropical Fiesta Watercolor Brush Markers to add lots of vibrant color. I die cut the watercolored images using the included coordinating die.

For the card base, I die cut a white Diamond Frame Cover Plate die and layered it on some more white cardstock for a subtly textured background. I also die cut a Fancy Celebrate word die from some olive green cardstock and adhered it to a strip of white cardstock to help stabilize the delicate die cut and create a ground from which my bouquet could spring.

Once all of my stamping, watercoloring, and die cutting had been completed, I began arranging my card. I did some selective trimming on the foliage of the watercolored Build-A-Flower Candystripe Cosmos to create a focal point that filled the majority of the card front. I arranged the flowers so that they were sprouting up from behind the die cut sentiment strip and adhered them using Instant Dimension Foam Tape. The final touch was to add some coordinating coral gems for added texture and sparkle!

Well, that’s all for my project today! Now for some fun giveaway information.

$200 in total prizes! To celebrate this release, Altenew is giving away a $50 gift certificate to 2 lucky winners and a $20 gift certificate to 5 winners! Please leave a comment on the Altenew Card Blog and/or each designer’s blog post on the blog hop list below by 01/07/2022 for a chance to win. Altenew will draw 7 random winners from the comments left on each stop of this blog hop and announce the winners on the Altenew Winners Page on 01/09/2022.

Your next stop on the hop is Lilith Eeckels. Thank so much for dropping by today, and happy hopping!

Filed Under: altenew Tagged With: build a flower, candystripe cosmos, watercolor, watercolor brush m

  • « Go to Previous Page
  • Page 1
  • Page 2

Primary Sidebar

  • Facebook
  • Instagram
  • Pinterest
  • YouTube

Favorite Shops

Secondary Sidebar

Subscribe

Enter your email address to subscribe to this blog and receive notifications of new posts by email.

Instagram
Something is wrong.
Instagram token error.
Follow
Load More

Archives

Tags

3D embossing folder alcohol markers better press birthday birthday card blog hop card kit christmas christmas card christmas tag colored pencil copic copic coloring Daniel Smith die cutting embossing folder embroidery felt giveaway holiday holiday card hot foil ink blending karin brushmarker pro layered stencil masculine my monthly hero new release no line coloring no line watercolor OLO marker olo markers original illustration pawsitively saturated rainbow shaker card slimline stamping stamptember stencil thank you thinking of you valentine's day video watercolor

Popular Posts

Simon Says Stamp Joy For You Blog Hop- Day 1!
Simon Says Stamp Joy For You Release-Now Available!
Frozen Fractals All Around with New Simon Says Stamp Joy For You Release!
Shaped Holiday Shaker Card with New Simon Says Stamp Jolly Season Card Kit of the Month!
Holiday Postage with New Simon Says Stamp!
Simon Says Stamp Glory to the Newborn King Holiday Kit-Part II!
Holiday Joy in Pink and Green with New Simon Says Stamp DieCember!
Pinkfresh Studio 5th Birthday!
Altenew Build A Flower: Fuchsia Blog Hop+Giveway!
July My Monthly Hero Blog Hop+Giveaway!

Disclosure

Some affiliate links are used in my posts. This means that, should you click on one of my links and purchase something from that company, I will receive a small portion of the sale at no extra cost to you. I use the money earned from these sales to help maintain my blog. I so appreciate you visiting and, if you do choose to use one of my affiliate links, thank you so much for your support!
Copyright © 2026 ·Brunch Pro Theme · Genesis Framework by StudioPress · WordPress · Log in
Loading Comments...