• Skip to main content
  • Skip to primary sidebar
  • Skip to secondary sidebar

Sixth Street Sundries

Emily Midgett

  • Home
  • About Me
  • Contact
  • OLO Marker Color Swatch Chart
  • Shop

Archives for January 2022

Video: Loose Watercoloring on Hot Foiled Images with Pinkfresh Studio!

January 26, 2022

Hi there! I am excited to share that I have re-joined the Pinkfresh Studio team as part of their Video Team! I am so thrilled to be working with the beautiful and innovative products from Pinkfresh each month, and I can’t wait to share some of what we’ve been working on, including lots of new sets that I have illustrated. (Eeep!) Tons of fun stuff coming this year!

For today’s post, I have a new video on the Pinkfresh Studio YouTube Channel sharing some simple ways to add watercolor to your standalone die cuts and hot foiled pieces. Click here to watch the video on YouTube or watch here on my blog!

I share the details of how I created this project in the video, but in case you can’t watch, here’s a quick synopsis of the process:

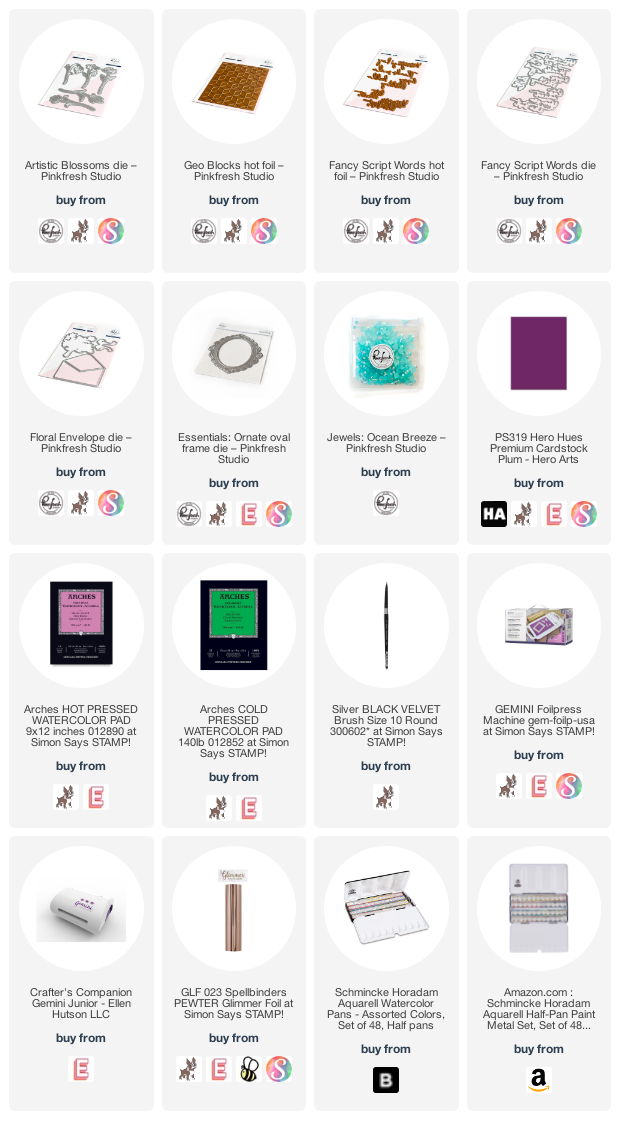
I began by die cutting the new Artistic Blossoms dies from some Arches Cold Press watercolor paper. I reserved the negative and after checking to be sure that the intricate dies had cut all the way through, I placed the die cuts back in their negative die cut spaces and used Schmincke watercolors to add some lovely shades of green, blue, and purple to the images. I was very loose with the watercoloring, not taking too much time to do any of my regular meticulous shading.

Next, I did some watercoloring on a panel of Arches Hot Press paper, on which I had used the gorgeous new Geo Blocks foil plate with some shiny charcoal foil. While I tend to use cold press paper for the vast majority of my watercoloring, I like to use hot press paper with foiling, because it is super smooth and reacts with the foil beautifully. I taped my foiled background down to my watercolor board using some low-tack washi tape, then covered it with clean water. On this wet background, I added an ombré background using the same three shades of Schmincke watercolors, maneuvering the color until I had a smooth gradient.

While my background was drying, I die cut a vellum envelope using the Floral Envelope die and some heavyweight vellum cardstock. I arranged my watercolored die cuts inside the envelope, adhering them to the vellum using liquid adhesive. Once my watercolored foil background had dried, I adhered it to an A2 cardstock base in a coordinating shade of purple to create a mat around the edge. I popped up an Ornate Oval Frame die cut from glittering white cardstock to the watercolored card front using foam adhesive, then added my vellum envelope of watercolored flowers. To help hide the adhesive and keep it from ruining the vellum envelope die cut, I adhered my foiled Fancy Script Words sentiment die cut directly to the vellum with liquid adhesive. I then added the foam adhesive, hiding it behind the solid die cuts that I’d adhered to the vellum envelope. The final touch was to add some Ocean Breeze Essentials Jewels to the card front to fill in any gaps left in the design.

Well, that’s all for my project today! If you enjoyed this video, please give a thumbs up, and you can also subscribe to the Pinkfresh Studio YouTube channel to get tons of gorgeous content from the entire team. Thanks so much for stopping by today, and have a marvelous day!
Filed Under: pinkfresh studio Tagged With: artistic blossoms, fancy script words, floral envelope, geo blocks, hot foil, schmincke, video, watercolor

Altenew Fabulous Flora Collection Release Blog Hop + Giveaway ($300 in total prizes)

January 25, 2022

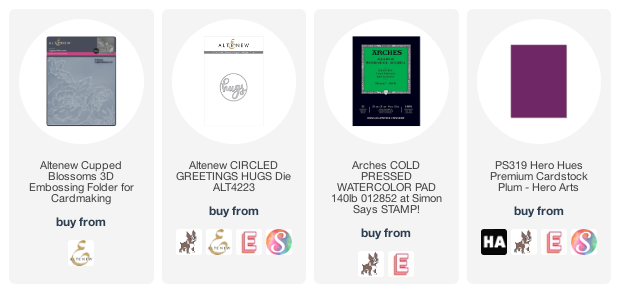
Hi there! Altenew released their gorgeous new Fabulous Flora collection, and we’re hopping to celebrate! You should have arrived here from Terri Koszler, and your next stop is Linda Parker. You can also start back at the beginning at the Altenew Blog in case you get lost! I can’t get enough of watercolored 3D embossing folders, so my project today features some vivid watercoloring using the new Cupped Blossoms 3D Embossing Folder, so let’s get started with the details!

I began by running the Cupped Blossoms 3D Embossing Folder through my die cut machine with some Arches Cold Press Watercolor Paper. I like using this super thick, textured paper with my embossing folders, because it holds up really well to the intense pressure and added texture that the folders provide.

I wanted to add tons of intense color to my panel, allowing those stunning peony images to really pop from the page, so I began by doing some almost reverse psychology on my watercolored image, adding the intense teal background around the edges of the plain flowers. This allows me to more accurately gauge the level of intensity when I start to add pigment to the flowers. I struggle with keeping things light enough to add bright highlights, and that dark background helps put things in better perspective. Painting the embossed images is done similarly to doing no-line painting on a stamped image; work in sections, keeping the wet areas well away from each other so that they don’t bleed into each other. Once each section is dry, you can work in the section directly next to it. It does take a bit of strategy, but the finished result is so beautiful, I think!

Once my watercolored panel had dried, I matted it on an A2 piece of coordinating deep magenta cardstock, giving it just a touch of color around the edge of the frame. I die cut the Circled Greetings: Hugs die from white cardstock three times, adhering them all together using liquid adhesive to create a dimensional die cut. The stark white contrasts beautifully with the intense teal background. Simple, but those spectacular, massive peonies deserve to be the star of the show!

Well, that’s all for my project today! Now for some fun giveaway information:

$300 in total prizes! To celebrate this release, Altenew is giving away a $50 gift certificate to 2 lucky winners and a $25 gift certificate to 8 winners! Please leave a comment on the Altenew Card Blog and/or each designer’s blog post on the blog hop list below by 01/27/2022  for a chance to win. Altenew will draw 10 random winners from the comments left on each stop of this blog hop and announce the winners on the Altenew Winners Page on 02/01/2022.

Your next stop is Linda Parker. Thanks so much for stopping by, and happy hopping!

Filed Under: altenew Tagged With: 3D embossing folder, cupped blossoms, no line watercolor, watercolor

And Back Again Release Blog Hop-Day 2!

January 21, 2022

Hello and welcome to Day 2 of the Simon Says Stamp And Back Again blog hop! I’m so excited to be a part of this month’s hop, particularly because I was lucky enough to illustrate two of the stamp sets in the release that we’re celebrating in today’s hop- To the Moon (released in December 2021) And Back Again (released January 2022)! You should have arrived here from Dilay Nacar, and your next stop is Jennifer Kotas. You can also start back at the beginning at the Simon Says Stamp blog in case you get lost! I have two lovely lavender projects to share with you today using some of the new goodies, so let’s get started with the details!

The new Pantone Color of the Year for 2022 is a lovely shade of purple called Very Peri. I used that color as my inspiration for both projects today.

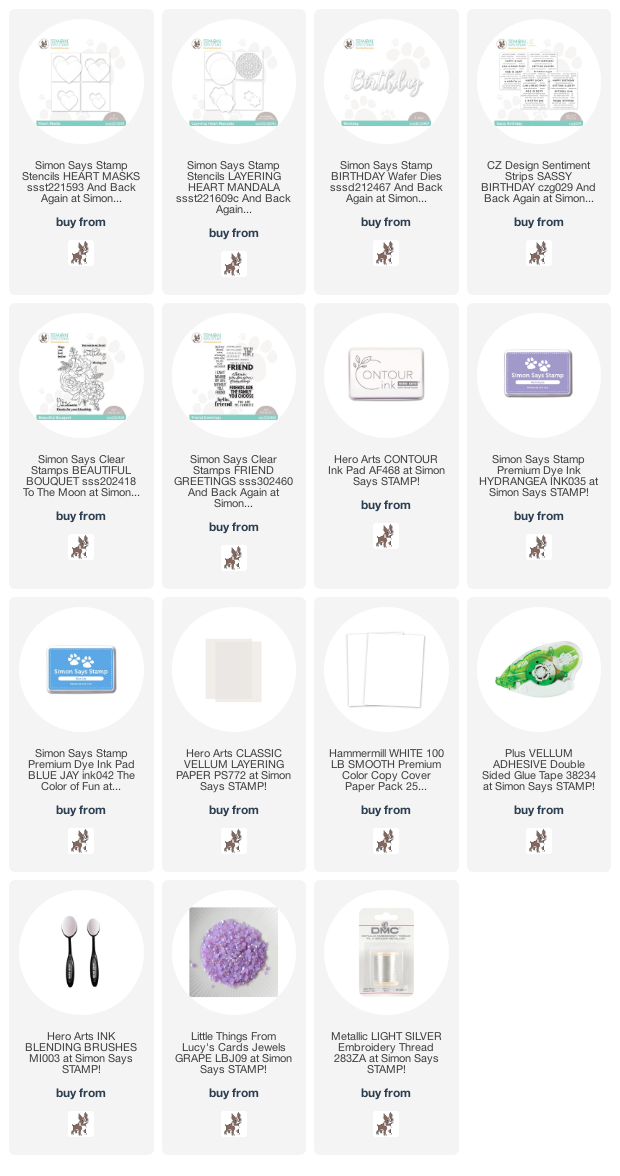
My first project uses some of the fabulous stencils to create a mini slimline (3.5″x6″) card. I began by placing one of the Heart Stencil Masks offset on a white mini-slimline card base. I blended some Hydrangea ink using a blending brush, concentrating the color around the edges and leaving the center of the heart lighter. While the solid heart stencil was still taped in place on my card base, I centered the detailed Layering Heart Mandala Stencil over the blended heart, then blended some more Hydrangea ink to add a tone-on-tone pattern to the stenciled heart. Lifting the double stencil away was magical!!

For the greeting, I combined the new Birthday die and Sassy Birthday Sentiment Strips. I die cut the detailed layer of the Birthday die three times from some coordinating lavender cardstock, then adhered them together using liquid adhesive to create a dimensional die cut. I die cut the sentiment halo from some vellum, then adhered the dimensional die cut with some more liquid adhesive. I adhered both the sentiment strips and the word die cut using foam adhesive for lots of dimension.

To create a visual cascade down the front of my card, I adhered some leftover glittery heart die cuts and some lavender gems. I love the added texture and sparkle this adds to the card front!

My second project features the Beautiful Bouquet stamp set that I illustrated that was released for the To The Moon release in December, 2021. I previously created some watercolored projects (you can see them both here), so I thought it would be fun to pull out my Copic markers and do some no-line coloring. I began by stamping the bulk of the Beautiful Bouquet image on a full-size white slimline card base using Hero Arts Contour Ink.

I colored the images with my Copic markers, keeping the color palette nice and cool, and allowing that huge anemone and hydrangea to be the focus of my card front. I used Copic shades BV04, B66, BV02, and BV01 with touches of T7 for the anemone, with B28, FB2, and B12 for the hydrangea. Once I had finished coloring, I masked around the edges of the slimline card front using low-tack washi tape, lining up the edge of the card base with the edge of th washi tape to create a nice thick border. I used a blending brush to lightly blend some Blue Jay ink around the edge, tapering off as it got closer to the center of the card and around the colored image. I peeled the masking tape away to reveal a crisp white frame highlighting my Copic colored image!

I didn’t want to cover up my meticulous Copic coloring with a giant sentiment, so I heat embossed the greeting from the new Friend Greetings on some heavyweight vellum cardstock using white embossing powder. I used a vellum adhesive tape runner to add small dots of adhesive to the back of the embossed greeting and adhere it to the card front. Finally, I added a delicate silver thread bow, tucked beneath the sentiment panel and trailing down the card front, just to add a bit of extra texture and some shine to the card front.

Well, that’s all for my projects today! Now, I have some fun promo codes and giveaway information to share with you!

Add the code GNOMIE to your shopping cart receive the cute 3×4 Love Gnome stamp set FREE with purchase! This promotion will expire 1/23 at 11:59 pm EST.

Simon Says Stamp is giving away one $25 gift certificate to each stop on the hop. To enter, simply leave a comment on each hop stop. The more comments you leave, the more chances you have to win!

Your next stop on the hop is Jennifer Kotas. Thanks so much for stopping by, and happy hopping!

Filed Under: simon says stamp Tagged With: beautiful bouquet, birthday card, blog hop, copic, giveaway, ink blending, mask, no line coloring, no line copic coloring, stencil

Pinkfresh Studio January 2022 Release Blog Hop+Giveaway!

January 17, 2022

Hi there! Today, Pinkfresh Studio is releasing their January 2022 product lineup, and we’re hopping along with lots of inspiration for you! You can find the full blog hop list in the inLinkz at the bottom of the post. I have two new projects to share with you today, including a video for how I created this foiled pastel watercolored project!

If you’d like to watch this video in HD over on YouTube, click here.

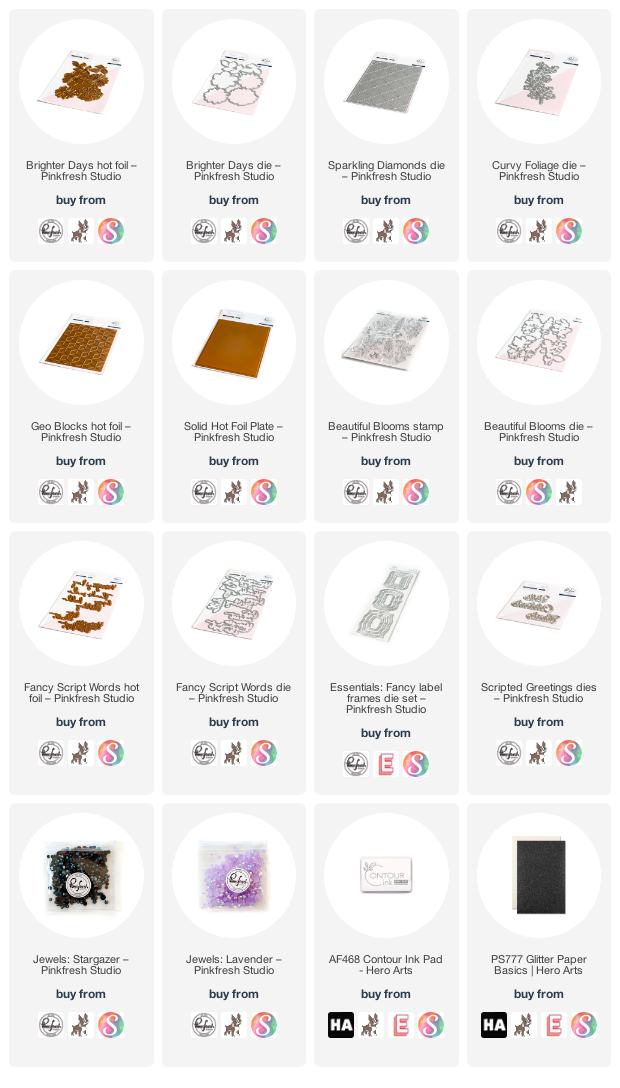
I began by hot foiling the new Brighter Days Hot Foil Plate onto some Arches Hot Press watercolor paper. This paper is very smooth, which makes it great for hot foiling. I love that this product suite foils, stamps, and die cuts everything using one piece, so you can foil everything at once, stamp everything with one stamp, and die cut everything with one pass through your machine. Ingenious! Once I’d hot foiled my floral images onto the hot press paper, I used Holbein Artist Watercolors to add some loose watercoloring to the images. I die cut the finished watercolored images using the coordinating Brighter Days die.

Next, I turned my attention to the card base. I began by die cutting the new Sparkling Diamonds Cover Plate die from some creamy cardstock, then did some ink blending on the card base using Candy Violet, Ballet Slipper, and Peach Fuzz inks. The addition of the ink blending on the card base really helps to enhance the beautiful stitching details in the die cut cover plate background!

Once my ink blending had been completed, I began to assemble the card. I combined the new Fancy Script Words Foil Plate and coordinating dies with the Solid Hot Foil Plate from Pinkfresh Studio to create the inverse foiled die cut. I thought that the metallic charcoal foil looked beautiful against the delicate pastels on the rest of the project! I also used the leftovers from the solid foil plate panel to die cut a charcoal metallic Lacey Edgers 1 die. This creates the third charcoal metallic element to complete the “rule of three.” I added a vellum Blanket Stitched Oval die cut, then arranged my watercolored flowers and adhered all of the elements with foam adhesive. Finally, I added a few Lavender Essentials Jewels for one more added touch of sparkle!

For my second project, I used the new Beautiful Blooms stamps and coordinating dies to create this super graphic project. I began by stamping the images from Beautiful Blooms a few times using no-line coloring ink on some Copic-friendly white cardstock. I used Copic markers to add some deep raspberry pink to the blooms and crisp blue for the foliage. I die cut the finished colored images using the coordinating dies.

Next, I used the fabulous new Geo Blocks Hot Foil plate with some coordinating hot pink foil to create this geometric background. This relatively delicate background image is so versatile, especially when paired with the coordinating layering stencils! I trimmed the background down slightly and matted it on a light blue A2 card base.

I die cut a greeting from the Scripted Greeting dies, the base layer from white cardstock and the top detailed layer from deep, intense sapphire blue, and layered them together using liquid adhesive. I adhered those to a glittery Fancy Label Frames die cut, which I used to ground my Copic-colored blooms. I adhered all of the die cut pieces using lots of foam adhesive for extra dimension, then decided to fill in a few of the blank spots in the arrangement with some Curvy Foliage die cuts, cut from the same sapphire blue cardstock that was used for the greeting. The final touch was to add some Stargazer Essentials Jewels for one last touch of blue and sparkle!

Well, that’s all for my projects today. Now we have some fun giveaways to celebrate the newest release!

Giveaway information:

Pinkfresh Studio will be giving away the full release on the Pinkfresh blog & YouTube channel. In addition, Pinkfresh Studio will be giving away a total of TEN $25  gift cards along the hop. The winners will be selected from the comments. The more comments you leave, the more chances you have to win!

***Winners will be posted on January 25, 2022 on our GIVEAWAY PAGE. You must check that page, then claim your prize within 2 weeks.

The full hop list is linked below. Thanks so much for reading today, and happy hopping!

You are invited to the Inlinkz link party!

Click here to enter

Filed Under: pinkfresh studio Tagged With: brighter days, fancy script words, hot foil, ink blending, sparkling diamonds cover plate, watercolor

Introducing Orchid Rose Bouquet from Simon Says Stamp!

January 14, 2022

Hi friends! I am incredibly excited today to share that my newest stamp illustration for Simon Says Stamp, Orchid Rose Bouquet, is part of the February 2022 Card Kit, called Season of Sentiments! I am so honored to have my design used in this card kit. I have a project to share with you today using the new Orchid Rose Bouquet, so let’s get started with the details!

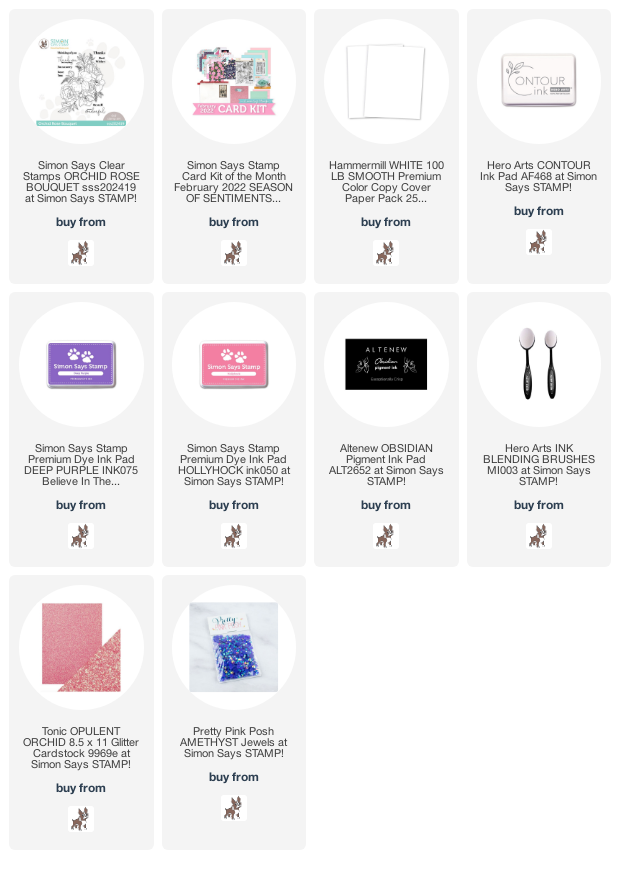
I began by stamping the Orchid Rose Bouquet from the Season of Sentiments kit on Hammermill cardstock using Hero Arts’s Contour Ink for some no-line Copic coloring. I used some vibrant pink, purple, and green Copic markers to add lots of intense color to the image, allowing the large orchid to be the star of the show!

Once I had finished coloring my image, I lightly blended some Hollyhock and Deep Purple inks from Simon Says Stamp in the opposite corner to coordinate with the shades in the colored bouquet. I then stamped one of the sentiments included in the Orchid Rose Bouquet using Obsidian black pigment ink from Altenew to get a really crisp stamped image over the top of the ink blending.

Before mounting the colored panel on my A2 glitter paper card base, I adhered it to a slightly larger panel of some deep purple cardstock to add a bit of contrast between the edge of the colored panel and the similarly-colored pink glitter paper, appropriately named Opulent Orchid. The shades were a similar level of vibrancy, so without that contrasting deep purple edge, the two cardstocks would have blended into each other. The final touch was to add some iridescent purple gems for some added sparkle and texture!

Well, that’s all for my card today. I am so thrilled that my illustration was included in the Season of Sentiments card kit. The Simon Says Stamp team have absolutely knocked it out of the park with their own projects; I highly encourage you to go check them out on the post on the Simon Says Stamp blog! Thank so much for reading, and have a marvelous day!

Filed Under: simon says stamp Tagged With: card kit, copic, copic coloring, no line copic coloring, Orchid Rose Bouquet, original illustrations, watercolor

  • Page 1
  • Page 2
  • Go to Next Page »

Primary Sidebar

  • Facebook
  • Instagram
  • Pinterest
  • YouTube

Favorite Shops

Secondary Sidebar

Subscribe

Enter your email address to subscribe to this blog and receive notifications of new posts by email.

Instagram
Something is wrong.
Instagram token error.
Follow
Load More

Archives

Tags

3D embossing folder alcohol markers better press birthday birthday card blog hop card kit christmas christmas card christmas tag colored pencil copic copic coloring Daniel Smith die cutting embossing folder embroidery felt giveaway holiday holiday card hot foil ink blending karin brushmarker pro layered stencil masculine my monthly hero new release no line coloring no line watercolor OLO marker olo markers original illustration pawsitively saturated rainbow shaker card slimline stamping stamptember stencil thank you thinking of you valentine's day video watercolor

Popular Posts

Simon Says Stamp Joy For You Blog Hop- Day 1!
Simon Says Stamp Joy For You Release-Now Available!
Frozen Fractals All Around with New Simon Says Stamp Joy For You Release!
Shaped Holiday Shaker Card with New Simon Says Stamp Jolly Season Card Kit of the Month!
Holiday Postage with New Simon Says Stamp!
Simon Says Stamp Glory to the Newborn King Holiday Kit-Part II!
Holiday Joy in Pink and Green with New Simon Says Stamp DieCember!
Pinkfresh Studio 5th Birthday!
Altenew Build A Flower: Fuchsia Blog Hop+Giveway!
July My Monthly Hero Blog Hop+Giveaway!

Disclosure

Some affiliate links are used in my posts. This means that, should you click on one of my links and purchase something from that company, I will receive a small portion of the sale at no extra cost to you. I use the money earned from these sales to help maintain my blog. I so appreciate you visiting and, if you do choose to use one of my affiliate links, thank you so much for your support!
Copyright © 2026 ·Brunch Pro Theme · Genesis Framework by StudioPress · WordPress · Log in
Loading Comments...