
Hi friends! I am happy to be hopping along with this month’s My Monthly Hero release for my friends at Hero Arts. You can find the full hop list on the Hero Arts Blog! This month, Hero Arts has released a collection of gorgeous and unique folk-themed products that you can use for so many different occasions!! (Click HERE to see the whole release!) Here’s a peek at this month’s My Monthly Hero Classic Kit:

And here’s a peek at the My Monthly Hero Premium Kit, which contains all of the components of the Classic Kit plus a bunch of marvelous coordinating products:

I have created a trio of projects using lots of different goodies from this release, so let’s get started with the details!

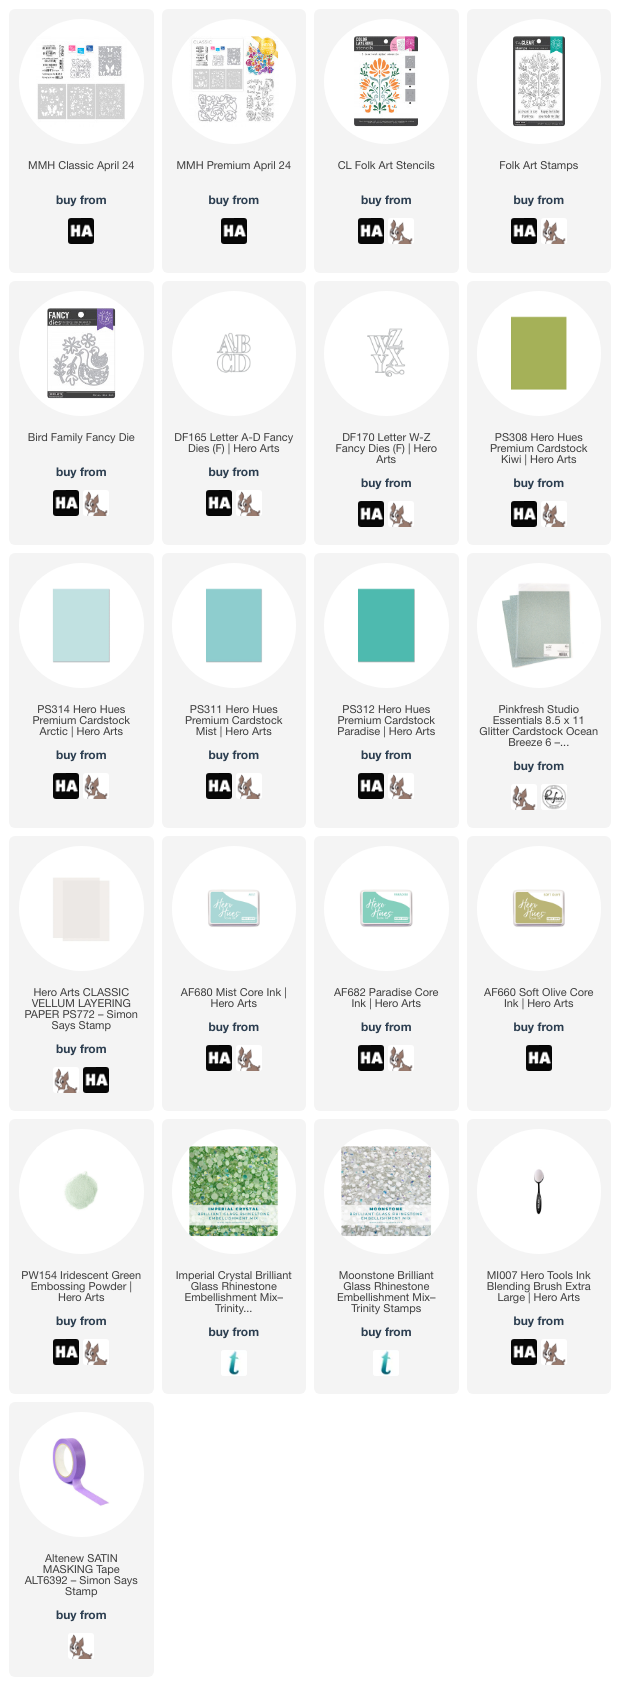
If you have followed my blog at all, you’ll know that I struggle with masculine cards, preferring instead to make basically every project pretty, pink, and covered in flowers. Well, the graphic images in this month’s kit may contain flowers, but when paired with the right color combination, I think these Scandinavian-inspired images create excellent gender-neutral cards! Whenever I am starting a card set, I like to set my color palette first, so I pulled out Mist, Paradise, and Soft Olive ink and lots of different coordinating shades of cardstock and got to work!

For my first project, I paired the new My Monthly Hero Classic Kit with Mist, Paradise, and Soft Olive ink, first die cutting the intricate cover plate die, which only cuts partial outlines so that the entire piece stays intact. I then used blending brushes to blend Mist, Paradise, and Soft Olive with the included layering stencils, centering the images with their die cut outlines. So simple and so fast! I think these stencils would be so fun to use with glitter paste or even some DecoFoil gel and add some shining foil accents. Stencils are such a workhorse for your craft room!

After I had finished blending the pretty folk patterns on the die cut background, I used the standalone dies included in the Classic Kit to die cut some vellum butterflies and floral accents from colored cardstock, layering the floral accents on top of the vellum butterflies to help make them extra special and to help them be even more visible amongst the busy background. I think vellum and butterfly dies were made for each other; the semi-transparent vellum definitely conveys the lightness of fluttering butterflies! For the greeting, I stamped one of the sentiments from the Classic Kit onto some Mist cardstock using Paradise ink, then stamped it again using embossing ink and covered it with the new Iridescent Green Embossing Powder. This embossing powder adds such a beautiful, luminous shimmer to my sentiment and helps it to stand out from the Mist cardstock so well! I matted the sentiment strip on some Paradise cardstock, then popped up the greeting with some foam adhesive and added the butterflies using some tiny dots of liquid adhesive. Such a pretty kit with so many different elements that you can mix & match!

My next card uses the same shades of ink, this time paired with the new Folk Art Stamp and coordinating layering stencil. I first stamped the new Folk Art Stamp onto some white cardstock using embossing ink, then used the Iridescent Green Embossing Powder to emboss the image. Using the Iridescent Green Embossing Powder alone without any colorful ink beneath creates almost a tone-on-tone effect, very subtle, but beautiful when the light catches it just right. After embossing, I used the coordinating Folk Art layering stencil to blend Mist, Paradise, and Soft Olive inks.

After my focal point was finished, I trimmed the panel down and matted it on a slightly larger panel of Pinkfresh Studio Ocean Breeze glitter cardstock, creating a super delicate glittery border around my stenciled background. I adhered it to a full size A2 panel of Kiwi cardstock using liquid adhesive. For the greeting, I kept things super simple, heat embossing a “happy birthday” sentiment onto some more Kiwi cardstock using white embossing powder and matting the greeting with some Paradise cardstock. I popped the sentiment up with some foam adhesive, then added a few Trinity Stamps Imperial Crystal Rhinestone amongst the embossed and stenciled pattern. I love that this pattern is symmetrical, a hallmark of Scandinavian folk art. It makes my symmetrical-loving, right angled design brain happy!

For my last card, I used the adorable new Bird Family Fancy Die set to create a baby card! I stuck with the same color palette, allowing the pretty aquas to be the star of the show on this project, which I think are basically gender-neutral at this point and can be used for both boys and girls. I die cut the momma and baby bird from some iridescent white shimmer cardstock to make them extra special, then die cut the flowers and foliage from the Bird Family Fancy Die set using iridescent white mirror cardstock and some scraps of Kiwi and Paradise cardstock.

For the greeting, I used some of the recently-released A-D Alphabet dies and W-Z Alphabet Dies to create a large “BABY” word die cut. I cut these larger letters from Arctic cardstock, and because these letters are so large, they suit an A7 card beautifully! I trimmed down an A7 panel of Mist cardstock, then used some masking tape to mask the edges of one corner and blended some Paradise ink in just one corner. I also stamped and embossed an appropriate greeting from a stamp set that has sadly been discontinued. I popped all of the different die cut elements up on my blended background, using the bottom blended line as my guide for my die cut letters to keep them nice and straight. Finally, I added some Moonstone rhinestones for extra sparkle. This would be a super easy card to customize for twins or multiples! (those cards are so difficult to find; ask me how I know haha!!)
Well, that’s all for my projects today. Now for some fun giveaway information:
Hero Arts will give away a $50 gift card, drawn from the comments left across the hop. Enter by Sunday, April 7th at 11:59pm Pacific, and the winner will be announced on the Hero Arts blog the following week.
You can see the full hop list on the Hero Arts Blog. Thanks so much for stopping by today, and happy hopping!
Beautiful!
Love the baby card! Very creative!
I love the color scheme you used. Works very well with these cards. Beautiful
So pretty!
These cards are awesome… what a great color palette! I love the shadow effect you created around the “BABY” sentiment as well as the swans. It’s the little things that give projects that WOW factor. You’ve mastered it beautifully. Thanks for the inspiration.
Cute set of cards. I like the colors. The baby card is adorable.
LOVE all of these. The duck dies are really sweet. I love the details!
Oh that baby card….just perfect. Your color schemes are so pretty in all of them. TFS!
Beautiful cards! Such a sweet baby card!
OMG! Love all these cards using my favorite color blue!! Your adorable baby card is my favorite!
Adorable cards and love the color palette.
I love these beautiful designs! The baby card is so sweet!
All 3 card are stunning.
I love all the cards you did this month. The colors are gentle and elegant. The baby card is just precious!
Such pretty cards with these designs! I love the colors and style of your beautiful cards!
Your color selections are lovely and your cards are gorgeous…I love them all!
So many beautiful cards using these new folk art inspired kit! Thanks for the terrific inspiration!
Perfect Earth Day card!! Love your technique. Inspired me to try it!
Perfect Earth Day cards. Inspired me to try the technique.