This post was sponsored by Simon Says Stamp. Thanks, Simon!
Hi friends! I have a pretty springtime card to share with you today using some new and old goodies from Simon Says Stamp. I had the gorgeous Divine Peony die set out for another project and wanted to put the leftovers to use again, so I thought I’d use it to embellish a pretty “thanks” sentiment from the new With Thanks stamp and die set. I am always trying to keep things fresh in my craft room with interesting color palettes, and one of the first things that I do with any project is determine the color combination for the card. Because I had a pearlescent blush peony already die cut, I decided to pair it with some gorgeous mint and rose gold to create this unique project. Let’s get started with the details on how I created this card!
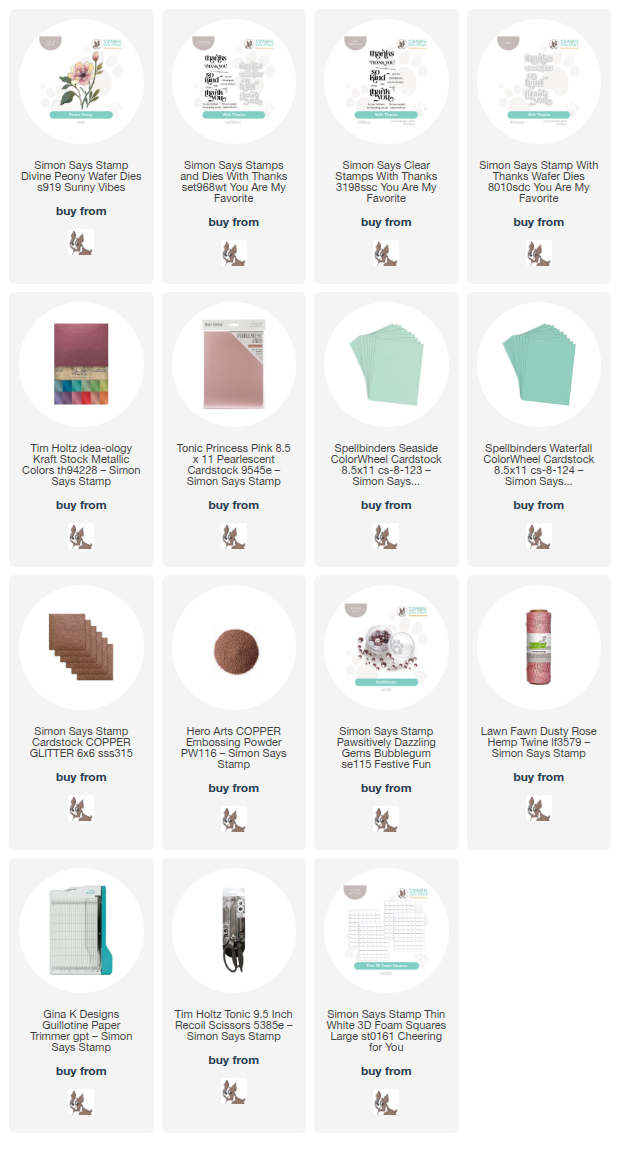
*I have gathered links to all of the products used at the bottom of the post for your convenience, using affiliate links. Thank you for shopping with my links! I truly appreciate your support for my work!*
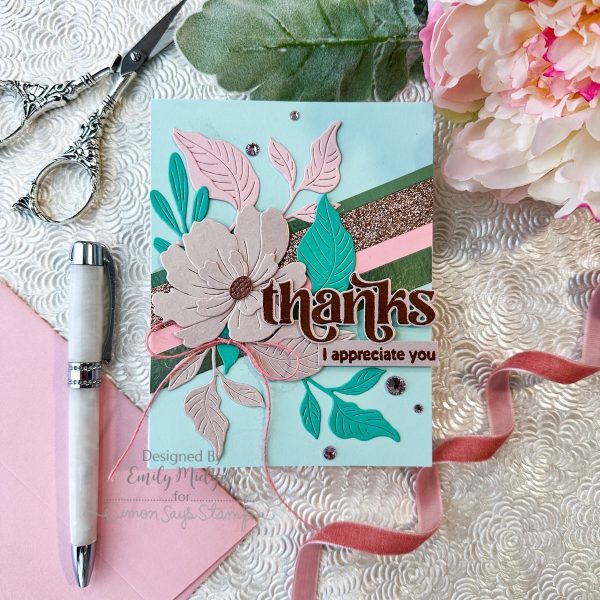
To begin, I used some strips of cardstock to create a background for my floral arrangement and sentiment. I seem to always gravitate towards a textured background for my florals, so I thought that I would create something a bit more streamlined and graphic, rather than textured and subtle. To coordinate with the blush/mint/rose gold palette that I envisioned, I used my trimmer to trim colorful foil, glitter, and matte cardstock strips in multiple widths in my overall color palette, then placed them at a diagonal on my light turquoise card front. I adhered the strips with super strong double sided adhesive, then used my scissors to trim the excess and make the edges flush with the A2 card front.
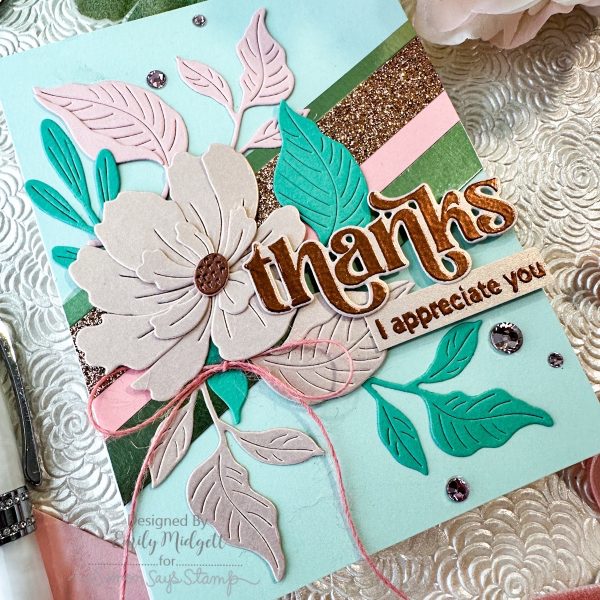
For the focal point, I used my leftover die cut the Divine Peony with some pearlescent pink cardstock and die cut some foliage using a matte cotton candy pink and vibrant turquoise green cardstock from scraps that I had lying on my desk. (Sometimes when creativity strikes, my messy desk comes in handy!) Whenever I am working with a floral arrangement with multiple colors, I try to keep things balanced, making sure that the colors are not concentrated more in one area than another and applying the “rule of three” to ensure visual balance. I adhered the peony and foliage in a cascading cluster on my striped card front using a mixture of liquid and foam adhesive for lots of dimension.
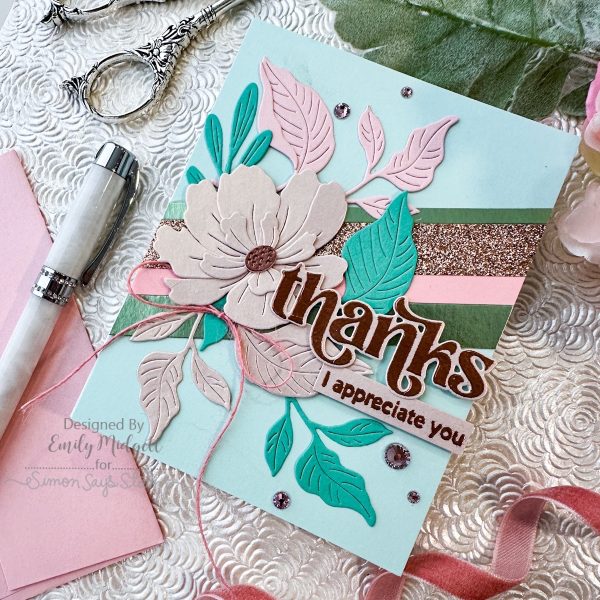
For the greeting, I used Copper embossing powder to heat emboss sentiments from the new With Thanks onto some more pearlescent pink cardstock. The super smooth surface of the pearly cardstock makes heat embossing a dream! I used my trimmer and the coordinating die to cut everything out, then nestled them amongst my floral bouquet and popped them up on my card front with a double layer of foam tape. Finally, I added a smattering of Bubblegum Pawsitively Dazzling Gems and a pretty pink twine bow to add some additional texture and sparkle to the card front!
Well, that’s all for my project today. I just love this striped background… I am definitely going to have to remember this technique! It’s such a great way to pull all of the colors from the color palette into my card without adding a ton of extra weight or visual bulk. Thanks so much for stopping by today, and have a marvelous day!
Gorgeous!!!! Love the colors!!!!