• Skip to main content
  • Skip to primary sidebar
  • Skip to secondary sidebar

Sixth Street Sundries

Emily Midgett

  • Home
  • About Me
  • Contact
  • OLO Marker Color Swatch Chart
  • Shop

always and forever

Blue Valentine with Simon Says Stamp!

February 6, 2026


This post was sponsored by Simon Says Stamp. Thanks, Simon! *I have gathered links to all of the products used at the bottom of the post for your convenience, using affiliate links at no extra cost to you. Thank you for shopping with my links! I truly appreciate your support for my work!*

Hi friends! As we are closing in on Valentine’s Day, I thought it would be fun to showcase some pretty valentine inspiration using old and new stamps from Simon Says Stamp! I spent some time reorganizing my stamp storage, and this is always such a great jumpstart for my creativity. It gives me an opportunity to “shop my stash” and remind me of products that I maybe haven’t had a chance to use yet or didn’t get to complete all of the ideas that I had germinating! The Always & Forever stamp set is an older set (I think from last year?) but it’s such a lovely set, with such lovely feminine details. Bows are *everywhere* right now, and I couldn’t resist that pretty bow on the floral heart! I decided to do a bit of an unusual color palette for a valentine, pairing pastel pink with a vibrant mid-blue and some shimmering iridescent embossing powder for added luxury. Let’s get started with the details!

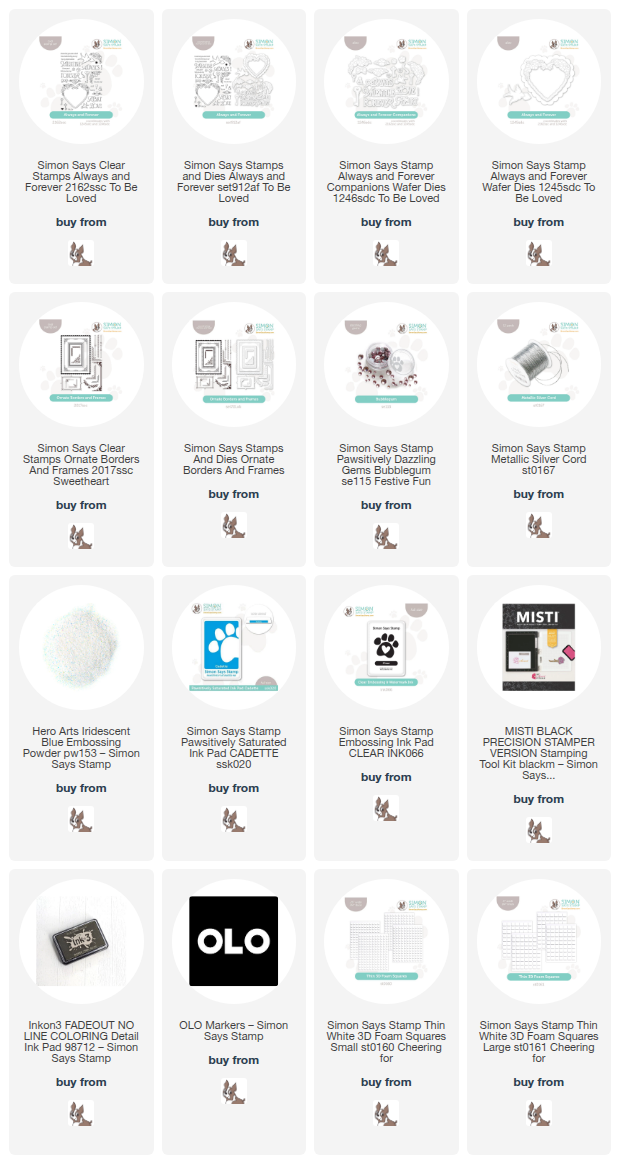
To begin, I stamped the floral heart and some individual floral bouquets from Always & Forever onto some white Hammermill cardstock using no line coloring ink. I used OLO Markers to color the images, creating delicate pink blooms with soft green foliage, and a beautiful cornflower blue ribbon heart! I used the coordinating dies to cut each finished image out, then used a glittery gray gel pen to add small dots to the flower centers. The pale shade of the blooms made it easy to add that pop of dark gray for the flower centers.

To adorn the background of my pretty floral heart frame, I stamped one of the rectangular frames from the older Ornate Borders & Frames set, first stamping it with Cadette Pawsitively Saturated Ink, then stamped embossing ink again directly over the top with the help of my MISTI. I added some shimmering Iridescent Blue embossing powder to the frame so that it would have a luminous, iridescent quality. I just love the effect that this translucent, shimmering embossing powder adds when stamped over colored ink! I also created the greeting from Always & Forever with this same ink/embossing powder combination, then trimmed and die cut the finished sentiments.

With all of my elements complete, it was time to assemble! I adhered the beautiful frame die cut in the center of my A2 white card front using thin foam adhesive, then added the other die cuts on top of the frame, creating a double layer of thin adhesive for the main focal points. I tucked the individual floral bouquets beneath my sentiments, then added a dainty Simon Says Stamp Silver Cord bow and some pretty Bubblegum Pawsitively Dazzling Gems for a bit of added texture and sparkle!

Well, that’s all for my project today! We are only 8 days away from Valentine’s Day… I can’t believe how quickly and yet also how slowly this year seems to be moving. Have you made your valentines yet? Thanks so much for stopping by today, and have a marvelous day!
Filed Under: simon says stamp Tagged With: always and forever, no line coloring, olo markers, ornate borders and frames, valentine

The Key To My Heart with Simon Says Stamp!

January 19, 2025

This post was sponsored by Simon Says Stamp. Thanks, Simon!

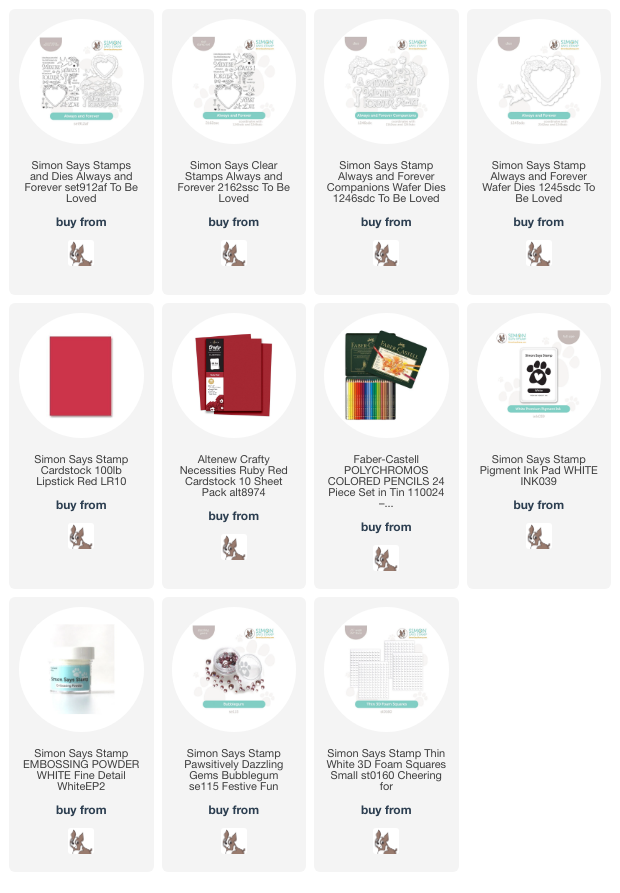
Hi friends! I have a vibrant red card today perfect for a valentine for a special someone! I have mentioned before that I sometimes find it difficult to use red outside of holiday crafting, preferring instead a more jewel-toned or pastel color palette, but the Lipstick Red cardstock from Simon Says Stamp is absolutely lush and so vibrant that I couldn’t resist pairing it with the new Always & Forever stamp set. I love using colored pencils with colored cardstock to truly saturate the card with vibrancy, “drenching” it with vivid color. Let’s get started on the details for my project!

*I have gathered links to all of the products used at the bottom of the post for your convenience, using affiliate links. Thank you for shopping with my links! I truly appreciate your support for my work!*

To begin my project, I stamped several images from the Always & Forever stamp set onto Lipstick Red cardstock using Simon Says Stamp White Pigment Ink, then sprinkled white embossing powder over the top to create super crisp lines on the vibrant red cardstock. I used my colored pencils to add shadows and details to the images, using plenty of white colored pencil to create smooth blending on the images. I used the coordinating dies to die cut the finished colored images; I just love how beautifully detailed and intricate the die cuts are!

After I had finished coloring the images, I decided to help those colored die cuts stand out a bit while still keeping true to my red color drenching, so I die cut the scalloped heart using some Ruby Red cardstock from Altenew. This shade of red is just slightly darker and a bit more muted than the Lipstick Red, beautifully accenting the vibrant cherry red! I layered the scalloped heart in the center of my Lipstick Red A2 card front, adhering it with some thin foam adhesive squares.

Before I began arranging the colored die cuts on my scalloped heart, I heat embossed a sentiment from the Always & Forever stamp set onto some more Lipstick Red cardstock using white pigment ink and white embossing powder. I die cut the large sentiment piece with it’s coordinating die (don’t you love when you can cut such detailed sentiments so quickly and easily?) and then began arranging all of the different die cut pieces on the card front. For a final sparkling touch, I added a few Bubblegum Pawsitively Dazzling Gems!

Well, that’s all for my project today! Color drenching is one of my most favorite techniques, and I hope you enjoyed reading my process. Thanks so much for stopping by today, and have a marvelous day!

Filed Under: simon says stamp Tagged With: always and forever, color drenched, colored pencils, die cutting, valentine

Primary Sidebar

  • Facebook
  • Instagram
  • Pinterest
  • YouTube

Favorite Shops

Secondary Sidebar

Subscribe

Enter your email address to subscribe to this blog and receive notifications of new posts by email.

Instagram
Something is wrong.
Instagram token error.
Follow
Load More

Archives

Tags

3D embossing folder alcohol markers better press birthday birthday card blog hop card kit christmas christmas card christmas tag colored pencil copic copic coloring Daniel Smith die cutting embossing folder embroidery felt giveaway holiday holiday card hot foil ink blending karin brushmarker pro layered stencil masculine my monthly hero new release no line coloring no line watercolor OLO marker olo markers original illustration pawsitively saturated rainbow shaker card slimline stamping stamptember stencil thank you thinking of you valentine's day video watercolor

Popular Posts

Simon Says Stamp Sending Cheer Blog Hop- Day 2 + Freebie + Giveaway!
Joyful Snowman with New Simon Says Stamp Sending Cheer Release!
Simon Says Stamp Sending Cheer Release: Now Available!
Special Release: Simon Says Stamp Limited Edition STAMPtember Christmas Card Kit!
February 2018 My Monthly Hero Blog Hop!
Altenew March 2020 Release Blog Hop+Giveaway!
Simon Says Stamp Cozy & Bright Inspiration, Part Two!
Essentials By Ellen September Blog Hop!
Waffleflower December Release Blog Hop!
Altenew Build A Flower Japanese Mum Blog Hop!

Disclosure

Some affiliate links are used in my posts. This means that, should you click on one of my links and purchase something from that company, I will receive a small portion of the sale at no extra cost to you. I use the money earned from these sales to help maintain my blog. I so appreciate you visiting and, if you do choose to use one of my affiliate links, thank you so much for your support!
Copyright © 2026 ·Brunch Pro Theme · Genesis Framework by StudioPress · WordPress · Log in
Loading Comments...