• Skip to main content
  • Skip to primary sidebar
  • Skip to secondary sidebar

Sixth Street Sundries

Emily Midgett

  • Home
  • About Me
  • Contact
  • OLO Marker Color Swatch Chart
  • Shop

ornate borders and frames

Blue Valentine with Simon Says Stamp!

February 6, 2026


This post was sponsored by Simon Says Stamp. Thanks, Simon! *I have gathered links to all of the products used at the bottom of the post for your convenience, using affiliate links at no extra cost to you. Thank you for shopping with my links! I truly appreciate your support for my work!*

Hi friends! As we are closing in on Valentine’s Day, I thought it would be fun to showcase some pretty valentine inspiration using old and new stamps from Simon Says Stamp! I spent some time reorganizing my stamp storage, and this is always such a great jumpstart for my creativity. It gives me an opportunity to “shop my stash” and remind me of products that I maybe haven’t had a chance to use yet or didn’t get to complete all of the ideas that I had germinating! The Always & Forever stamp set is an older set (I think from last year?) but it’s such a lovely set, with such lovely feminine details. Bows are *everywhere* right now, and I couldn’t resist that pretty bow on the floral heart! I decided to do a bit of an unusual color palette for a valentine, pairing pastel pink with a vibrant mid-blue and some shimmering iridescent embossing powder for added luxury. Let’s get started with the details!

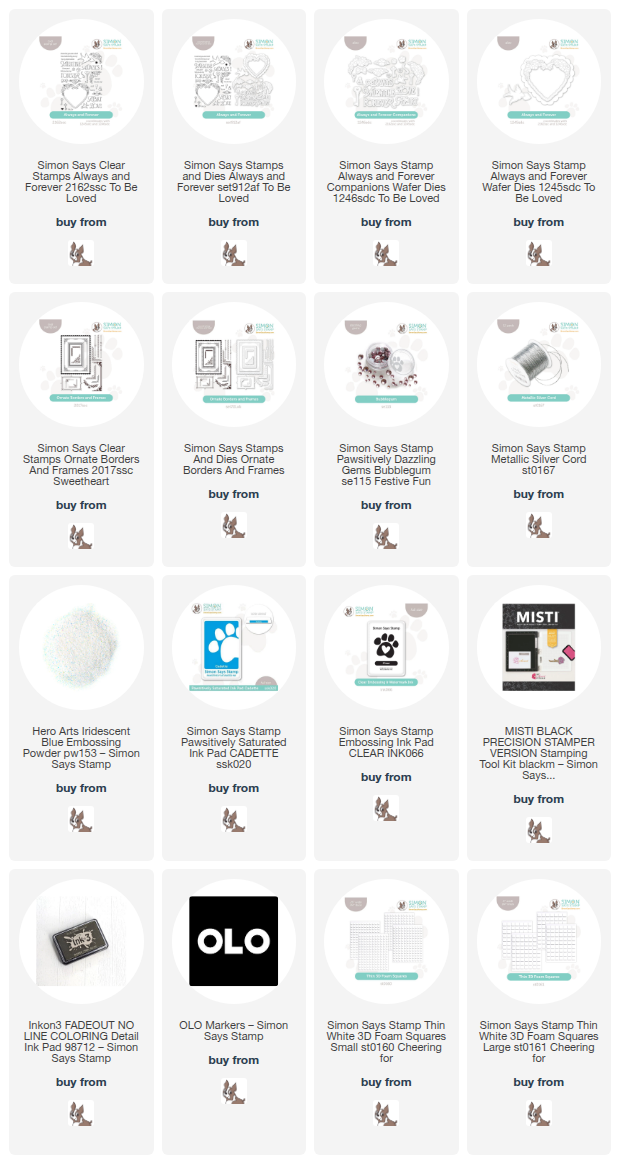
To begin, I stamped the floral heart and some individual floral bouquets from Always & Forever onto some white Hammermill cardstock using no line coloring ink. I used OLO Markers to color the images, creating delicate pink blooms with soft green foliage, and a beautiful cornflower blue ribbon heart! I used the coordinating dies to cut each finished image out, then used a glittery gray gel pen to add small dots to the flower centers. The pale shade of the blooms made it easy to add that pop of dark gray for the flower centers.

To adorn the background of my pretty floral heart frame, I stamped one of the rectangular frames from the older Ornate Borders & Frames set, first stamping it with Cadette Pawsitively Saturated Ink, then stamped embossing ink again directly over the top with the help of my MISTI. I added some shimmering Iridescent Blue embossing powder to the frame so that it would have a luminous, iridescent quality. I just love the effect that this translucent, shimmering embossing powder adds when stamped over colored ink! I also created the greeting from Always & Forever with this same ink/embossing powder combination, then trimmed and die cut the finished sentiments.

With all of my elements complete, it was time to assemble! I adhered the beautiful frame die cut in the center of my A2 white card front using thin foam adhesive, then added the other die cuts on top of the frame, creating a double layer of thin adhesive for the main focal points. I tucked the individual floral bouquets beneath my sentiments, then added a dainty Simon Says Stamp Silver Cord bow and some pretty Bubblegum Pawsitively Dazzling Gems for a bit of added texture and sparkle!

Well, that’s all for my project today! We are only 8 days away from Valentine’s Day… I can’t believe how quickly and yet also how slowly this year seems to be moving. Have you made your valentines yet? Thanks so much for stopping by today, and have a marvelous day!
Filed Under: simon says stamp Tagged With: always and forever, no line coloring, olo markers, ornate borders and frames, valentine

On Wednesdays, We Wear Pink with Simon Says Stamp and Concord & 9th!

June 5, 2024

This post was sponsored by Simon Says Stamp. Thanks, Simon!

Hi friends! Confession: I have never seen the movie “Mean Girls.” I think it’s somewhat sacrilegious for a woman of my generation, but it is what it is. (Jane Austen books/movies were more my speed in high school, ha.) However, I think you would have to have lived under a rock to not know one of the most famous lines from the movie: “On Wednesdays, we wear pink!” and I thought that it was too perfect to ignore for this pinkalicious pair that I am posting on a Wednesday! A bit of a meandering explanation to introduce these pretty pink cards, teehee. My ink collection is, shall we say, extensive, and I am particularly susceptible to shades of pink. The pinks from Concord and 9th are exceptionally gorgeous, with Dragonfruit being a particular favorite amongst all of the shades of pink in my possession. I used that vivacious pink as the creative springboard for these two pink pretties. Let’s get started with the details!

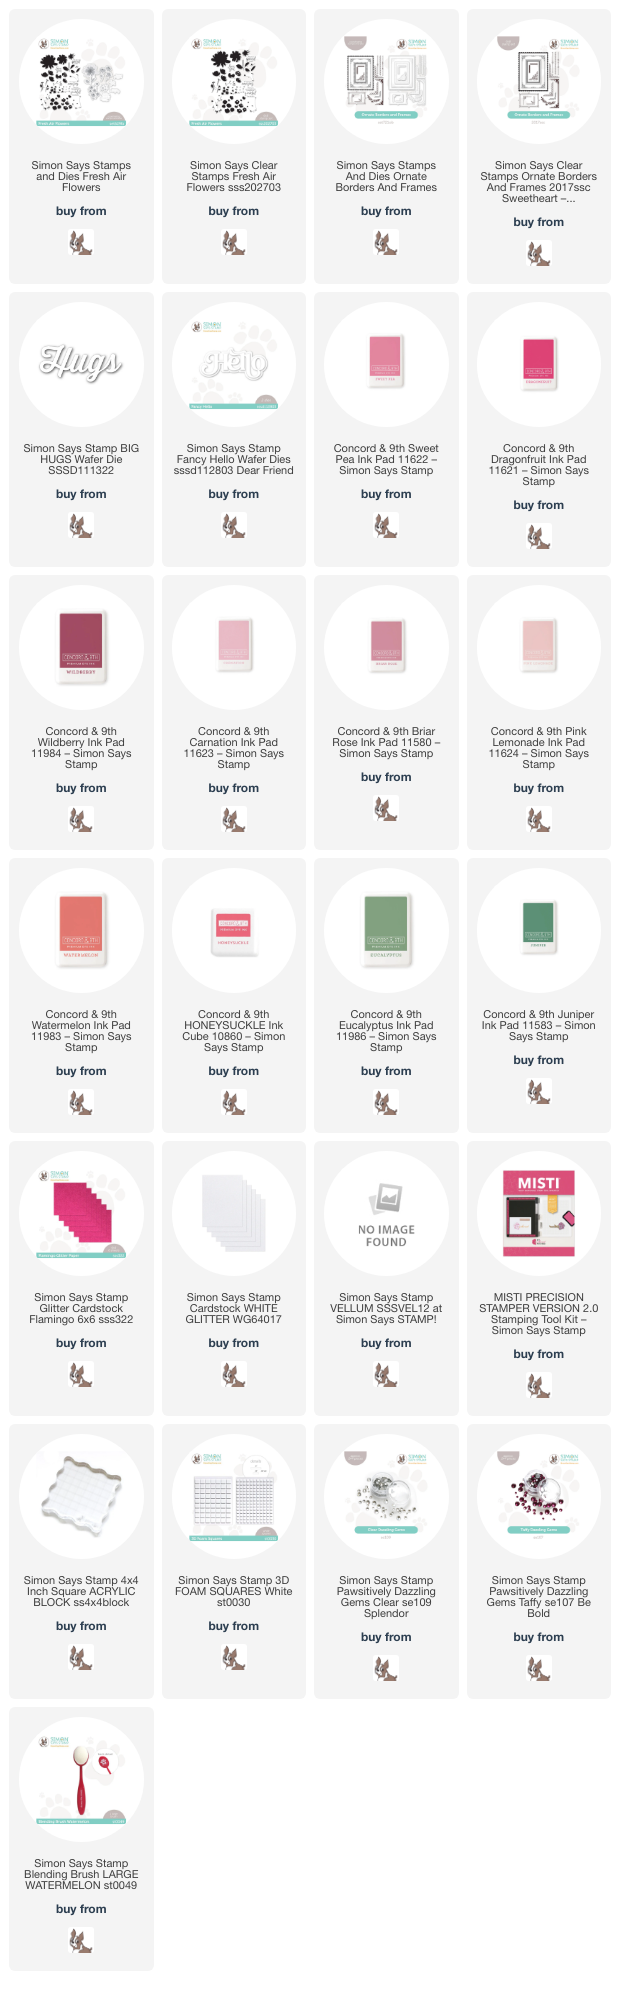
For both of my cards today, I paired the beautiful, artistic blooms from the Fresh Air Flowers layering stamp set with inks from Concord and 9th: Sweet Pea, Dragonfruit, and Wildberry for the large blooms, Carnation and Briar Rose for the medium round blooms, Pink Lemonade, Watermelon, and Honeysuckle for the tiny coral sprigs, and Eucalyptus and Juniper for the foliage. I wasn’t 100% sure how much I loved the combination of flowers after I had stamped the individual die cuts, but once I put them all together, I thought the combination was lovely! Using my MISTI, I stamped individual die cuts using the ink combination listed above, then used a traditional acrylic stamping block to stamp a pretty floral background on another A2 panel of white cardstock.

For my first card, I used the Fresh Air Flowers die cuts to adorn a pretty frame from the Ornate Borders and Frames. I stamped the uniquely detailed frame using Dragonfruit ink, then die cut it with the coordinating die. I popped up the frame on a plain white A2 card front with foam adhesive squares and arranged the floral die cuts in a swag in the corner of the frame.

For the greeting, I wanted to go bold with a large die cut, so I die cut the Big Hugs die from some Flamingo glitter cardstock. The glitter in this cardstock has an iridescent sheen to it, making it a perfect match for the varying shades of pink of my floral bouquet! I popped up the greeting with another layer of foam tape to add some extra height and help it stand out from my colorful floral bouquet. Finally, I added a smattering of Clear Pawsitively Dazzling Gems for added shimmer!

For my second project, I used the bold patterned paper that I created using the Fresh Air Flowers stamps. Whenever I am stamping custom patterned paper, I always start with my largest image first, stamping it usually three times and rotating the stamp before stamping again to create a more random effect, rather than precise and calculated. I work from the largest to the smallest images, filling in the bare spots with each subsequent stamp. After I had finished stamping the pattern, I used a blending brush to blend Dragonfruit ink around the edges, creating a pretty pink glow on the card.

After I had finished my background, I used the individual bracket stamp in the Ornate Borders and Frames set with Wildberry ink, stamping the image twice to create a full frame. I popped the frame die cuts up with foam adhesive, then added a leftover Fresh Air Flowers die cut and a greeting cut using the Fancy Hello die set with white glitter cardstock for the detail layer and vellum for the shadow. Finally, a few Taffy Pawsitively Dazzling Gems added some extra sparkle.

Well, that’s all for my projects today! I am not wearing pink today, but my cards are surely following the rules set down by Regina George and her crew, haha! Thanks so much for stopping by, and have a marvelous day!

Filed Under: simon says stamp, Uncategorized Tagged With: big hugs die, fancy hello, fresh air flowers, ornate borders and frames

Creeping Kitty with Simon Says Stamp Sweetheart!

January 11, 2024

This post was sponsored by Simon Says Stamp. Thanks, Simon!

The new Sweetheart Release went live last night over at Simon Says Stamp, and I have a cheeky card using the new Hello There Animals stamp set. I have two kitties, Joey and Chandler (named after my favorite characters from Friends!), and while Ms. Chanandler Bong is a bit of an antisocial and grumpy old lady, my Joey is as friendly and loving as his namesake on the show. Sometimes a little too friendly, haha! He follows me everywhere, and if I am sitting still for more than a few seconds, he is trying to get himself into my lap. As soon as I saw the kitty in the new Hello There Animals, I was immediately reminded of my Joey. Let’s get started with the details on my project!

I started by die cutting the large frame from Ornate Borders and Frames. Because these frame stamps are a bit delicate, I find it better to use the negative space from the die cut with my Misti to make sure that the lines are straight. To do this, I die cut the coordinating die, then place the negative space in my MISTI and hold it down with the magnets. Before placing my die cut back into the space, I place my stamp inside the negative space to ensure proper placement. I close the lid on my stamp, then replace the die cut, and stamp as normal! I used Intense Black ink to stamp this delicate scalloped frame from Ornate Borders and Frames.

After I had created my frame die cut, I placed my peeking kitty from the Hello There Animals stamp set in the bottom right corner and stamped it with more Intense Black ink. I used OLO markers to color the kitty like my Joey, with his little black nose, white face, and gray back, adding some white gel pen to his eyes and nose to help them stand out a bit more. For some subtle color in the background, I placed some Very Very Low Tack Tape along the edges of my scalloped frame and lightly blended Morning Pawsitively Saturated Ink along the outside of the white space. This added just the tiniest hint of color and interest behind my kitty!

For the greeting, I paired the “I am always here for you” sentiment strip from the new Bestie CZ cards with the “Oh Hello There” from the Hello There Animals. (This definitely sums up my relationship with Joey, haha! He literally has his paws wrapped around my leg as I am writing this post.) I stamped the greeting using Obsidian pigment ink and clear embossed over the top, then die cut it with the coordinating die. I popped up the both greeting pieces with foam squares. Finally, as the scalloped frame is just slightly smaller than A2, I mounted it on a black A2 card base so that the black frame was just peeking out around the edge of the scalloped piece.

Well, that’s all for my project today! Be sure to stop back by on Saturday for the second day of the Sweetheart Blog Hop. Thanks so much for stopping by today, and you can check out the full Sweetheart release HERE. Have a marvelous day!

Filed Under: simon says stamp, Uncategorized Tagged With: hello there animals, ink blending, kitty, olo markers, ornate borders and frames

Primary Sidebar

  • Facebook
  • Instagram
  • Pinterest
  • YouTube

Favorite Shops

Secondary Sidebar

Subscribe

Enter your email address to subscribe to this blog and receive notifications of new posts by email.

Instagram
Something is wrong.
Instagram token error.
Follow
Load More

Archives

Tags

3D embossing folder alcohol markers better press birthday birthday card blog hop card kit christmas christmas card christmas tag colored pencil copic copic coloring Daniel Smith die cutting embossing folder embroidery felt giveaway holiday holiday card hot foil ink blending karin brushmarker pro layered stencil masculine my monthly hero new release no line coloring no line watercolor OLO marker olo markers original illustration pawsitively saturated rainbow shaker card slimline stamping stamptember stencil thank you thinking of you valentine's day video watercolor

Popular Posts

Simon Says Stamp Sending Cheer Blog Hop- Day 2 + Freebie + Giveaway!
Joyful Snowman with New Simon Says Stamp Sending Cheer Release!
Simon Says Stamp Sending Cheer Release: Now Available!
Altenew October 2026 Release Blog Hop + Giveaway!
Special Release: Simon Says Stamp Limited Edition STAMPtember Christmas Card Kit!
February 2018 My Monthly Hero Blog Hop!
Altenew March 2020 Release Blog Hop+Giveaway!
Simon Says Stamp Cozy & Bright Inspiration, Part Two!
Essentials By Ellen September Blog Hop!
Waffleflower December Release Blog Hop!

Disclosure

Some affiliate links are used in my posts. This means that, should you click on one of my links and purchase something from that company, I will receive a small portion of the sale at no extra cost to you. I use the money earned from these sales to help maintain my blog. I so appreciate you visiting and, if you do choose to use one of my affiliate links, thank you so much for your support!
Copyright © 2026 ·Brunch Pro Theme · Genesis Framework by StudioPress · WordPress · Log in
Loading Comments...