• Skip to main content
  • Skip to primary sidebar
  • Skip to secondary sidebar

Sixth Street Sundries

Emily Midgett

  • Home
  • About Me
  • Contact
  • OLO Marker Color Swatch Chart
  • Shop

fresh air flowers

On Wednesdays, We Wear Pink with Simon Says Stamp and Concord & 9th!

June 5, 2024

This post was sponsored by Simon Says Stamp. Thanks, Simon!

Hi friends! Confession: I have never seen the movie “Mean Girls.” I think it’s somewhat sacrilegious for a woman of my generation, but it is what it is. (Jane Austen books/movies were more my speed in high school, ha.) However, I think you would have to have lived under a rock to not know one of the most famous lines from the movie: “On Wednesdays, we wear pink!” and I thought that it was too perfect to ignore for this pinkalicious pair that I am posting on a Wednesday! A bit of a meandering explanation to introduce these pretty pink cards, teehee. My ink collection is, shall we say, extensive, and I am particularly susceptible to shades of pink. The pinks from Concord and 9th are exceptionally gorgeous, with Dragonfruit being a particular favorite amongst all of the shades of pink in my possession. I used that vivacious pink as the creative springboard for these two pink pretties. Let’s get started with the details!

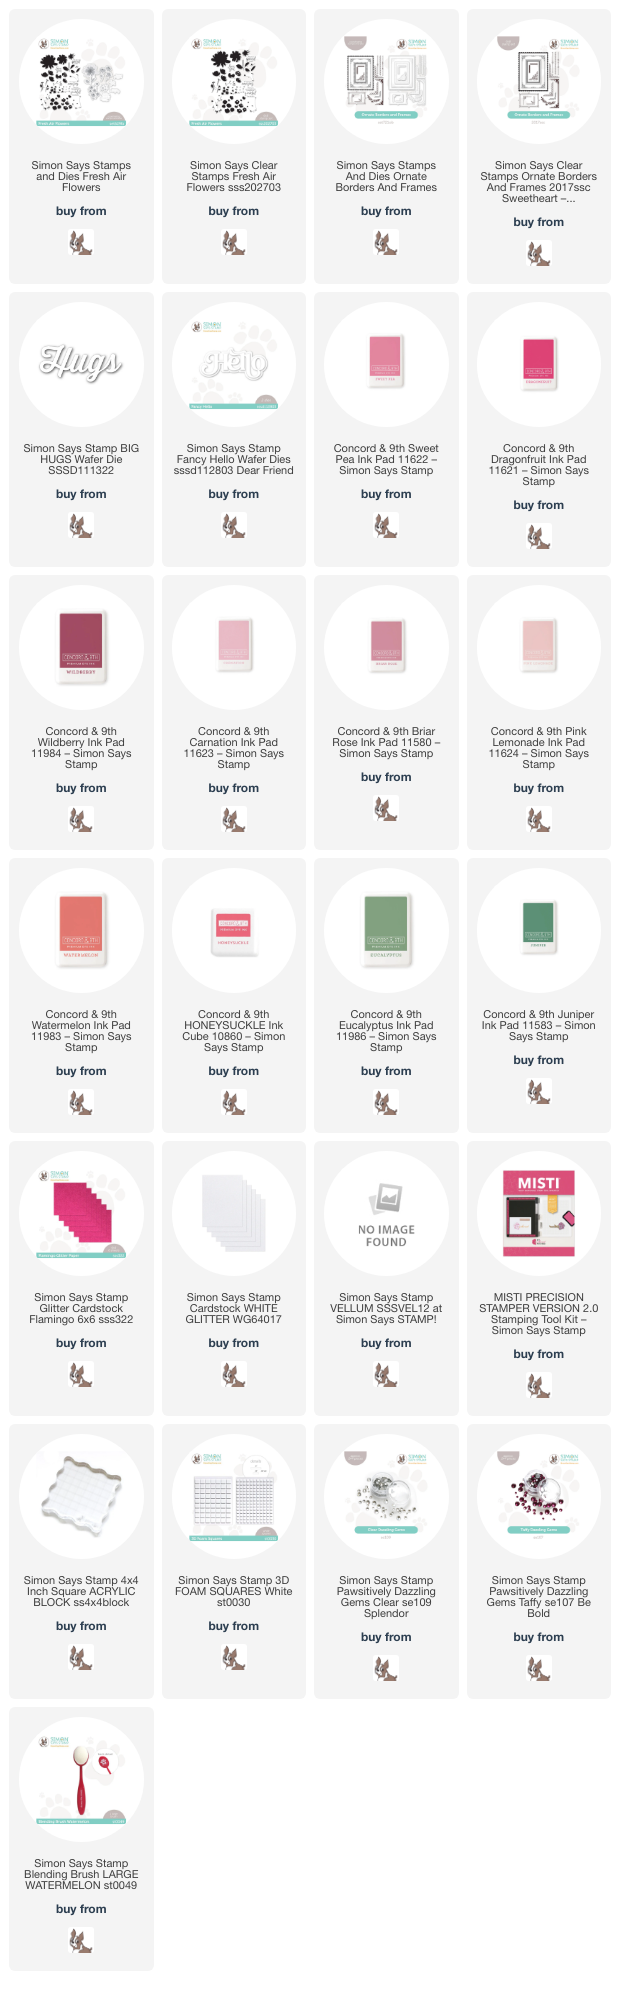
For both of my cards today, I paired the beautiful, artistic blooms from the Fresh Air Flowers layering stamp set with inks from Concord and 9th: Sweet Pea, Dragonfruit, and Wildberry for the large blooms, Carnation and Briar Rose for the medium round blooms, Pink Lemonade, Watermelon, and Honeysuckle for the tiny coral sprigs, and Eucalyptus and Juniper for the foliage. I wasn’t 100% sure how much I loved the combination of flowers after I had stamped the individual die cuts, but once I put them all together, I thought the combination was lovely! Using my MISTI, I stamped individual die cuts using the ink combination listed above, then used a traditional acrylic stamping block to stamp a pretty floral background on another A2 panel of white cardstock.

For my first card, I used the Fresh Air Flowers die cuts to adorn a pretty frame from the Ornate Borders and Frames. I stamped the uniquely detailed frame using Dragonfruit ink, then die cut it with the coordinating die. I popped up the frame on a plain white A2 card front with foam adhesive squares and arranged the floral die cuts in a swag in the corner of the frame.

For the greeting, I wanted to go bold with a large die cut, so I die cut the Big Hugs die from some Flamingo glitter cardstock. The glitter in this cardstock has an iridescent sheen to it, making it a perfect match for the varying shades of pink of my floral bouquet! I popped up the greeting with another layer of foam tape to add some extra height and help it stand out from my colorful floral bouquet. Finally, I added a smattering of Clear Pawsitively Dazzling Gems for added shimmer!

For my second project, I used the bold patterned paper that I created using the Fresh Air Flowers stamps. Whenever I am stamping custom patterned paper, I always start with my largest image first, stamping it usually three times and rotating the stamp before stamping again to create a more random effect, rather than precise and calculated. I work from the largest to the smallest images, filling in the bare spots with each subsequent stamp. After I had finished stamping the pattern, I used a blending brush to blend Dragonfruit ink around the edges, creating a pretty pink glow on the card.

After I had finished my background, I used the individual bracket stamp in the Ornate Borders and Frames set with Wildberry ink, stamping the image twice to create a full frame. I popped the frame die cuts up with foam adhesive, then added a leftover Fresh Air Flowers die cut and a greeting cut using the Fancy Hello die set with white glitter cardstock for the detail layer and vellum for the shadow. Finally, a few Taffy Pawsitively Dazzling Gems added some extra sparkle.

Well, that’s all for my projects today! I am not wearing pink today, but my cards are surely following the rules set down by Regina George and her crew, haha! Thanks so much for stopping by, and have a marvelous day!
Filed Under: simon says stamp, Uncategorized Tagged With: big hugs die, fancy hello, fresh air flowers, ornate borders and frames

Springtime Gift Ensemble with Simon Says Stamp!

March 6, 2024

This post was sponsored by Simon Says Stamp. Thanks, Simon!

Hi friends! I am popping in to share this sweet springy gift ensemble created using a bunch of goodies from Simon Says Stamp. I love a good floral layering stamp set, and the beautiful, painterly blooms in the Fresh Air Flowers set creates such lovely, unique flora that I just went crazy stamping a ton of blooms, leaving me with enough floral die cuts to create not just a card, but also a sweet coordinating gift bag! Let’s get started on the details for my projects.

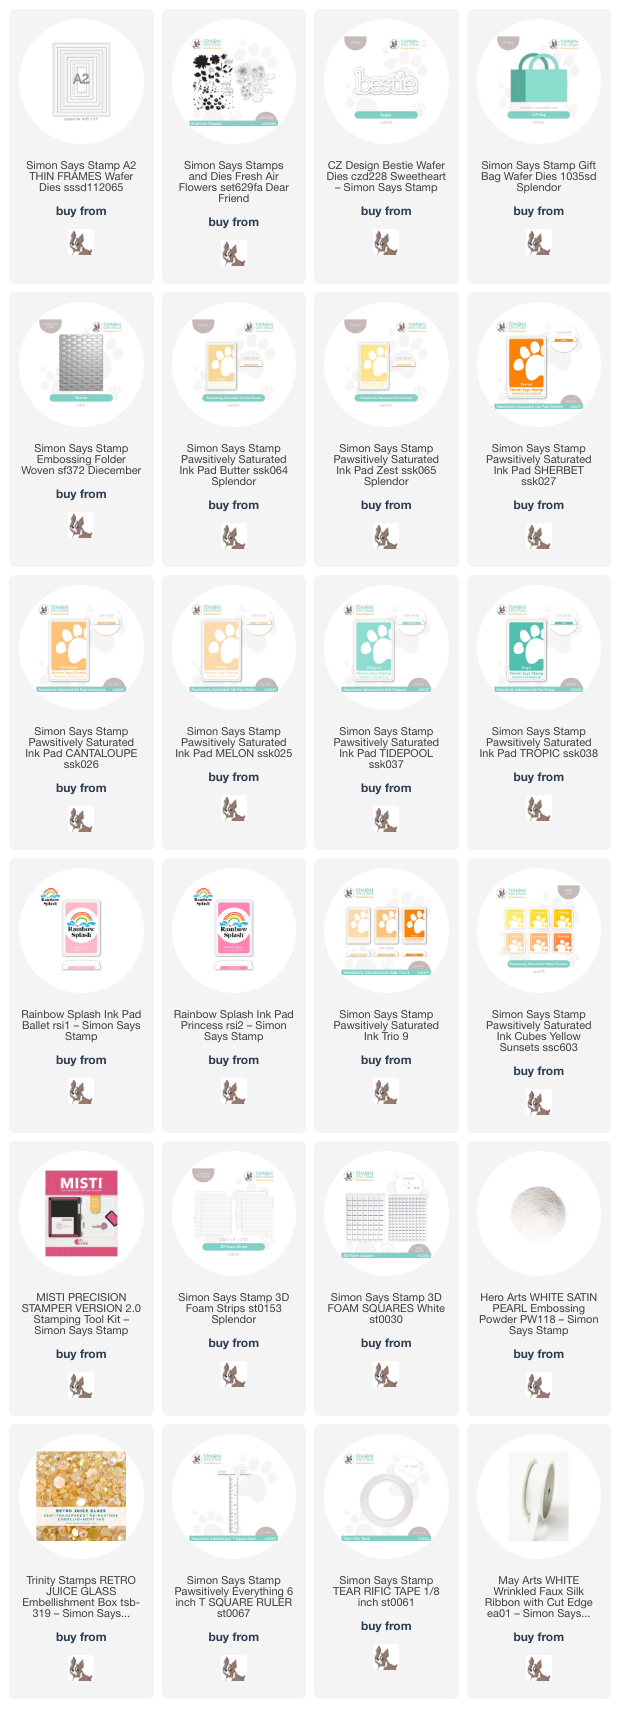
To start my project, I used my MISTI to stamp the florals from Fresh Air Flowers with bunches of inks from Simon Says Stamp, including Pawsitively Saturated Inks in shades of Butter, Zest, Sherbet, Cantaloupe, Melon, Tidepool, Tropic and Ballet, as well as Princess Rainbow Splash Inks. I wanted to create some super delicate pastel blooms, but the Pawsitively Saturated inks are super vivid and concentrated, so I used an oldie-but-goodie trick for stretching your ink colors to create a larger color gradient: stamping off. I simply inked up my stamp as normal, then stamped the image off on a piece of scrap paper, then stamped it again on my good cardstock, creating a very pale version of the same color!

The first layer of stamped-off color was very pale, so I used my MISTI to stamp the first layer of each image at 2-3 times, building up that super pale pastel so that it had a little more intensity while still staying significantly lighter than the full-strength version. I used the full-strength version on my second layer of each flower, then moved on to the next darkest color in the ink family for my darkest layer. All of the flowers, except the large peach daisy, were stamped with only two shades of ink! The peach daisy had four layers, so I used all three colors in Ink Trio 9.

After stamping and die cutting all of my stamped flowers from Fresh Air Flowers, I began assembling the floral arrangement on the card front so that I knew how many flowers I had left to use on the gift bag. I wanted to create a super springy “flower basket,” so I trimmed down a panel of white cardstock and ran it through my die cutting machine using the Woven Embossing Folder. I adhered this embossed panel in the center of my A2 card front using strong double sided tape.

I find that “framing” my focal point always adds such classy interest to the my floral arrangements, so I die cut a white A2 Thin Frame and popped it up on my woven card front using 3D Foam Strips, which made it super easy to add this delicate frame to my card front! I arranged my pastel flower garden on the card front, adhering all of the elements with foam squares. For the greeting, I die cut a white Bestie die and adhered it along the bottom of the frame using tiny pieces of foam tape. I also created a custom embossed sentiment using a greeting from Fresh Air Flowers, stamping it first with Cantaloupe ink, then again with embossing ink, and heat embossing with pearlescent embossing powder. I popped up the greeting die cut with a double layer of foam tape, then added a few iridescent peach gems for sparkle!

For the coordinating gift bag, I die cut the Gift Bag Die twice from white cardstock, (love that it only takes one sheet of cardstock to create this adorable gift bag!) then used my T-square to measure the large front panel and cut a piece of cardstock down to the same size. I nestled this piece into the coordinating spot on the Gift Bag Die, then ran the panel through my die cut machine in order to create the scalloped top edge. I finally ran this extra panel through my die cut machine with the Woven Embossing Folder to create that textured background, then assembled the bag using some super sticky double sided tape.

After assembling my gift bag, I added the leftover peach floral die cuts with some foam adhesive. I created another sentiment (perfect for a gift bag!) using Cantaloupe ink and white pearl embossing powder and tucked it amongst the flowers, finally embellishing the bag with a white faux silk bow and some more peach gems!

Well, that’s all for my projects today! One of my favorite parts about stamping is being able to create coordinating card and gift ensembles… I just love it when everything matches! Thanks so much for stopping by today, and have a marvelous day!

Filed Under: simon says stamp Tagged With: A2 thin frames, bestie, fresh air flowers, gift bag, layered stamping, rainbow splash, woven embossing folder

Primary Sidebar

  • Facebook
  • Instagram
  • Pinterest
  • YouTube

Favorite Shops

Secondary Sidebar

Subscribe

Enter your email address to subscribe to this blog and receive notifications of new posts by email.

Instagram
Something is wrong.
Instagram token error.
Follow
Load More

Archives

Tags

3D embossing folder alcohol markers better press birthday birthday card blog hop card kit christmas christmas card christmas tag colored pencil copic copic coloring Daniel Smith die cutting embossing folder embroidery felt giveaway holiday holiday card hot foil ink blending karin brushmarker pro layered stencil masculine my monthly hero new release no line coloring no line watercolor OLO marker olo markers original illustration pawsitively saturated rainbow shaker card slimline stamping stamptember stencil thank you thinking of you valentine's day video watercolor

Popular Posts

Simon Says Stamp Joy For You Blog Hop- Day 1!
Simon Says Stamp Joy For You Release-Now Available!
Frozen Fractals All Around with New Simon Says Stamp Joy For You Release!
Shaped Holiday Shaker Card with New Simon Says Stamp Jolly Season Card Kit of the Month!
Holiday Postage with New Simon Says Stamp!
Simon Says Stamp Glory to the Newborn King Holiday Kit-Part II!
Altenew Build A Flower: Fuchsia Blog Hop+Giveway!
Holiday Joy in Pink and Green with New Simon Says Stamp DieCember!
Pinkfresh Studio 5th Birthday!
Honey Bee Stamps September Release Blog Hop!

Disclosure

Some affiliate links are used in my posts. This means that, should you click on one of my links and purchase something from that company, I will receive a small portion of the sale at no extra cost to you. I use the money earned from these sales to help maintain my blog. I so appreciate you visiting and, if you do choose to use one of my affiliate links, thank you so much for your support!
Copyright © 2026 ·Brunch Pro Theme · Genesis Framework by StudioPress · WordPress · Log in
Loading Comments...