• Skip to main content
  • Skip to primary sidebar
  • Skip to secondary sidebar

Sixth Street Sundries

Emily Midgett

  • Home
  • About Me
  • Contact
  • OLO Marker Color Swatch Chart
  • Shop

fantastic florals

Embossed Pencil Florals with New Simon Says Stamp!

April 30, 2025

This post was sponsored by Simon Says Stamp. Thanks, Simon!

Hi friends! I am back with another floral project using new goodies from the You Are My Favorite Release. I shared THIS project during the blog hop using the spectacular new Fantastic Florals Embossing Folder, and while that project uses only the embossing folder, I knew that I wanted to allow those gorgeous die cut floral images to have their moment in the sun, as well! I love using my coloring mediums to color those deeply-embossed images; I feel like the addition of the super-detailed coloring makes them almost jump off of the card with their almost life-like qualities. Let’s get started with the details on my card!

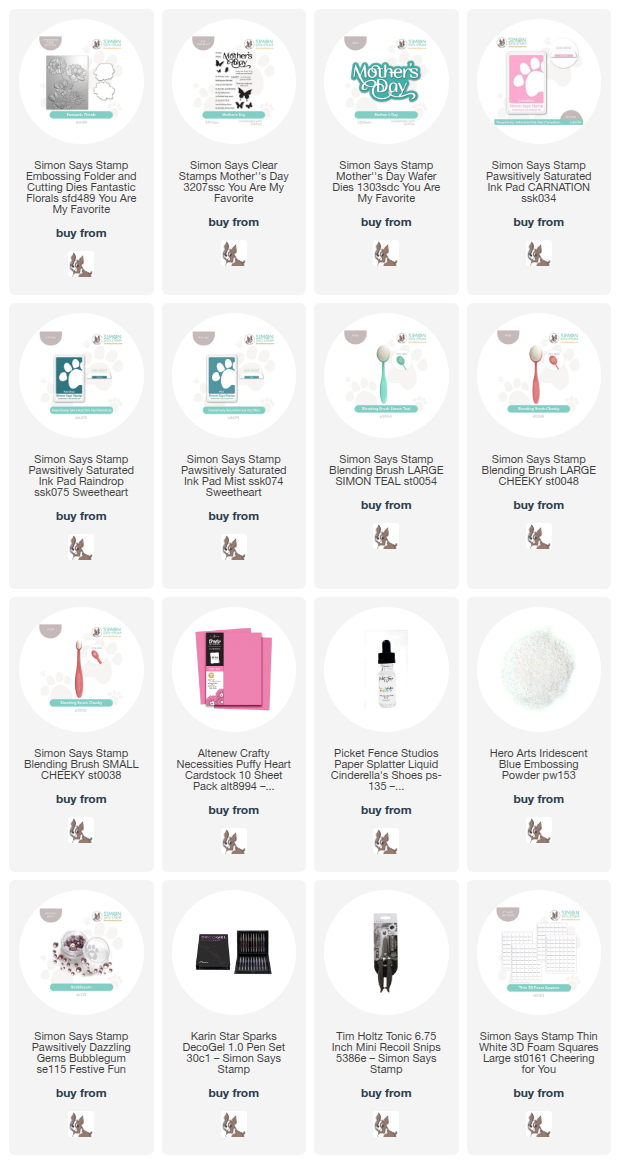
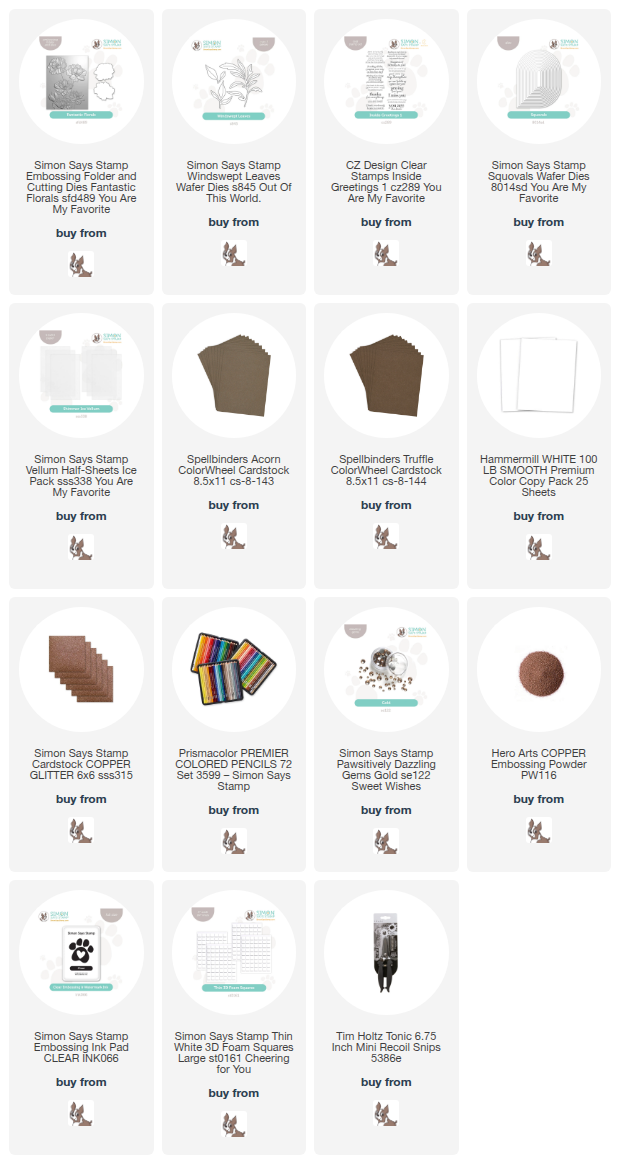
*I have gathered links to all of the products used at the bottom of the post for your convenience, using affiliate links. Thank you for shopping with my links! I truly appreciate your support for my work!*

To begin, I die cut two of the blooms from the Fantastic Florals Embossing Folder product suite using white cardstock, then placed them in their coordinating spot in the embossing folder and ran it through my die cutting machine. I then used my favorite colored pencils to add vibrant bubblegum pink to the blooms, leaving the edges of the petals practically white to allow for maximum contrast and depth of shadows and light. I used a sparkling gel pen to add shimmery details to the floral stamens in the center, as well.

To ground my florals, I decided to die cut a piece of the new Simon Says Stamp Ice Vellum using the new Squovals Nested Dies, then ran it through my die cutting machine using the Fantastic Florals Embossing Folder to add some lovely, coordinating texture behind my meticulously-colored floral die cuts. I also die cut one of my favorite foliage sets, called Windswept Leaves, from Copper Glitter Cardstock, arranging the flowers and foliage off to the side of the textured vellum die cut and adhering with both liquid and foam adhesive squares for extra dimension. Once I had adhered the botanical pieces to the vellum panel, I flipped them all over and added liquid adhesive behind the solid die cut pieces to keep the visible vellum nice and clean, then adhered them to a chocolatey brown A2 panel of cardstock. Pink and brown are such a classic combination, in my opinion!

For the greeting, I heat embossed a sentiment from the new Inside Greetings 1 stamp set using Copper embossing powder on dark chocolate cardstock, allowing for maximum contrast between the metallic sentiment and the deep brown cardstock. I used my sharp scissors to fussy cut the sentiment, then used a double layer of thin foam adhesive squares to pop the sentiment up on my card front, nestling it amongst the flowers and foliage. Finally, I added some Gold Pawsitively Dazzling Gems to the card front to add a bit more sparkle and to fill in any blank spots on my floral arrangement.

Well, that’s all for my project today! I can’t believe that tomorrow is May 1 (it’s gonna be MAY-iykyk). This year is simultaneously flying by and moving at a glacial pace! It will be time to start designing holiday product soon… no joke! But for now, I will keep playing with pretty flowers and enjoying the sunshine. Thanks so much for stopping by today, and have a marvelous day!
Filed Under: simon says stamp Tagged With: 3D embossing folder, colored pencils, die cutting, fantastic florals, inside greetings 1, nesting dies, no line coloring, squovals, thank you card, windswept leaves

Simon Says Stamp You Are My Favorite Release Blog Hop + Giveaway!

April 25, 2025

This post was sponsored by Simon Says Stamp. Thanks, Simon!

Hi friends! I am hopping along with my friends at Simon Says Stamp to share inspiration with you using the new You Are My Favorite Release! You should have arrived here from Lisa Addesa, and your next stop is Emma Williams. You can also start back at the beginning at the Simon Says Stamp Blog for the full hop list! I was just in love with the beautiful new 3D embossing folders and gorgeous fonts in this release, so I decided to combine them with some ink blending to create this colorful Mother’s Day card. Let’s get started with the details!

*I have gathered links to all of the products used at the bottom of the post for your convenience, using affiliate links. Thank you for shopping with my links! I truly appreciate your support for my work!*

To begin, I used the new Fantastic Florals Embossing Folder to emboss the gorgeous floral background on a panel of white cardstock. I then used blending brushes to blend a pretty combination of Pawsitively Saturated Ink in shades of Carnation, Raindrop, and Mist. I blended the pink directly on the flowers, keeping a light hand and concentrating the color in the center of each flower. After I had made the flowers pink, I used blending brushes to lightly blend the Mist ink all around the edges of the card, then I blended Raindrop ink around just the edges of the card, creating a gorgeous turquoise halo around the delicate pink blooms.

To “gild” the florals, I used some super shimmery iridescent watercolors along the edge of each petal. The addition of the glittery watercolors on the edge of each petal has the added bonus of adding some dimension and differentiation between the petals on the flowers with their simplistic blending. I also added some sparkly gel pen to the centers of each flower for the stamens.

For the greeting, I used the new Mother’s Day stamp set and Mother’s Day die to create a super shiny and iridescent sentiment. I die cut the detail layer of the Mother’s Day die from some super shiny foil cardstock and the shadow layer from some heavyweight vellum, adhering the two together with liquid adhesive. I embossed a sentiment from the Mother’s Day stamp set with some super shiny Iridescent Blue embossing powder onto some strips of coordinating bubblegum pink cardstock, then adhered the sentiment components in the center of the sparkling blended card front with thin foam adhesive. I also used the same Iridescent Blue embossing powder to heat emboss a few solid butterflies from Mother’s Day stamp set and fussy cut them with my sharp scissors. I popped up the butterflies with some foam adhesive squares and added a few Bubblegum Pawsitively Dazzling Gems for some added sparkle!

Well, that’s all for my project today. Now for some fun giveaway and freebie information!

To celebrate the new You Are My Favorite Release, Simon Says Stamp is giving away a $25 coupon to every stop on the hop from your blog comment section. Winners will be selected and posted on the Simon Says Stamp blog on Wednesday the 30th of April. Winners can email Simon Says Stamp to claim his/her prize 🙂

You can also receive a fun freebie with purchase for a limited time! Simply purchase $30 from the new You Are My Favorite Release and receive the beautiful Sunny Fern Emboss & Cut Folder with your order for free! What a fun incentive to go shopping, right? (As though most of us really need an excuse, ha!)

Your next stop on the hop is Emma Williams. Thanks so much for stopping by today, and happy hopping!

Filed Under: simon says stamp, Uncategorized Tagged With: die cutting, fantastic florals, ink blending, mother's day, mother's day dies

Primary Sidebar

  • Facebook
  • Instagram
  • Pinterest
  • YouTube

Favorite Shops

Secondary Sidebar

Subscribe

Enter your email address to subscribe to this blog and receive notifications of new posts by email.

Instagram
Something is wrong.
Instagram token error.
Follow
Load More

Archives

Tags

3D embossing folder alcohol markers better press birthday birthday card blog hop card kit christmas christmas card christmas tag colored pencil copic copic coloring Daniel Smith die cutting embossing folder embroidery felt giveaway holiday holiday card hot foil ink blending karin brushmarker pro layered stencil masculine my monthly hero new release no line coloring no line watercolor OLO marker olo markers original illustration pawsitively saturated rainbow shaker card slimline stamping stamptember stencil thank you thinking of you valentine's day video watercolor

Popular Posts

Simon Says Stamp October 2026 Card Kit of the Month: Homespun Gratitude!
February 2018 My Monthly Hero Blog Hop!
Altenew Craft A Flower: Poppy Blog Hop+Giveaway!
Felted Gourd Wall Hanging with Simon Says Stamp!
Sunflower Home Decor with Simon Says Stamp!
Craft Your Life Project Kit: Feathered Lilies Blog Hop+Giveaway!
Simon Says Stamp October 2025 Card Kit of the Month!
Altenew Standalone Die Blog Hop+Giveaway!
The Ton Anniversary Release- Day 2
Honey Bee Stamps Cheerful Love Blog Hop!

Disclosure

Some affiliate links are used in my posts. This means that, should you click on one of my links and purchase something from that company, I will receive a small portion of the sale at no extra cost to you. I use the money earned from these sales to help maintain my blog. I so appreciate you visiting and, if you do choose to use one of my affiliate links, thank you so much for your support!
Copyright © 2026 ·Brunch Pro Theme · Genesis Framework by StudioPress · WordPress · Log in
Loading Comments...