• Skip to main content
  • Skip to primary sidebar
  • Skip to secondary sidebar

Sixth Street Sundries

Emily Midgett

  • Home
  • About Me
  • Contact
  • OLO Marker Color Swatch Chart
  • Shop

floral festoon

Golden Birthday with Simon Says Stamp!

June 23, 2025

This post was sponsored by Simon Says Stamp. Thanks, Simon!

Hi friends! It’s sunny and super hot here. I hope you’re staying cool! I have a golden birthday card to share with you today. I am always looking to stretch my creativity with my color palettes, and I seem to always gravitate towards cool pinks, purples, and blues. I thought that for today’s card, I would use an oft-neglected color in my craft room: golden yellow! Let’s get started with the details.

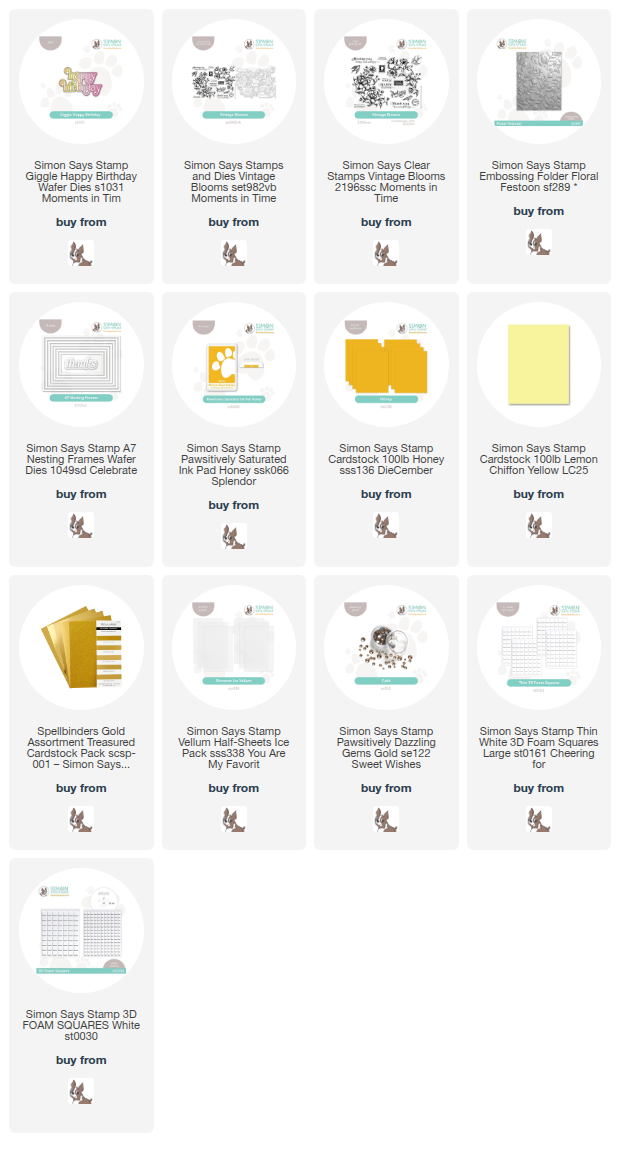
*I have gathered links to all of the products used at the bottom of the post for your convenience, using affiliate links. Thank you for shopping with my links! I truly appreciate your support for my work!*

To start, I stamped one of the large bouquets from Vintage Blooms on Simon Says Stamp’s Lemon Chiffon cardstock using Honey Pawsitively Saturated ink. The dark Honey ink on the pale yellow cardstock creates an elegant tone-on-tone effect! I used the coordinating, super detailed die to cut the image out. I love how closely these new dies cut to the stamped image; the resulting die cut is so intricate and professional-looking!

For the background, I ran a panel of Simon Says Stamp Honey cardstock through my die cutting machine using the Floral Festoon Embossing Folder, creating a detailed and beautifully textured background that perfectly matched the deep golden yellow stamped image. I also die cut a set of frames using the A7 Nesting Frames from some pearlescent golden yellow cardstock and adhered it to the textured card front using thin foam adhesive squares.

For the greeting, I die cut the detail layer of the new Giggle Happy Birthday die set from some coordinating deep gold pearlescent cardstock and the shadow layer from some Simon Says Stamp Shimmer Ice Vellum, adhering the two with liquid adhesive. I arranged the stamped floral bouquet around the edges of the die cut frame, adhering the die cut with thick foam adhesive squares, then nestled the die cut sentiment amongst the floral arrangement. For a final sparkling touch, I added a few Gold Pawsitively Dazzling Gems.

Well, that’s all for my project today! I start all of my projects with my color palette, so it was fun stretching my creativity with a unique-to-me color palette. Thanks so much for stopping by today, and have a marvelous day!
Filed Under: simon says stamp Tagged With: A7 nesting frames, birthday card, die cutting, floral festoon, giggle happy birthday, honey, vintage blooms

NEW Simon Says Stamp Cozy Hugs Release!

October 5, 2022

Hi there! The new Simon Says Stamp Cozy Hugs Collection is now live, and it’s full of beautiful products for your fall, holiday, and regular crafting! I love trying out new color combinations, and I cannot get enough of the beautiful Midnight Green cardstock from Simon Says Stamp, so I paired it with some pinks, greens, and golds to create some festive holiday cards using the new products. Let’s get started with the details!

I began by running the new Floral Festoon Embossing Folder through my die cut machine with an A2 panel of Midnight Green cardstock. Using Altenew’s Antique Gold pigment inkpad, I lightly brushed the raised areas of the embossed background to help make the pattern stand out. I also gently swiped the inkpad around the edge of the panel. The rich gold ink stands out beautifully on the deep green cardstock! I also splattered some handmade gold watercolor on the background to create an artistic look for my card front.

Next, I die cut the Layered Warbler and Etched Berry Branch dies from some Arches Cold Press watercolor paper. I used the Altenew Artists’ 24 Pan Watercolors to add lots of vibrant color to the die cut pieces, keeping the color combination bright and cool and allowing plenty of light highlights to contrast with the dark, saturated background. I put the bird together, adding the wing with some thin foam adhesive to help give it extra dimension.

I heat embossed a greeting from the new Painted Christmas Wreath stamp set using gold embossing powder on some more Midnight Green cardstock. I fussy cut the sentiment, then added a solid strip of the Midnight Green cardstock over the top of the embossed background using some thin foam pieces, then added the sentiment, watercolored bird, and sprigs of holiday greenery using thicker foam tape. The final step was to add a few Matte Gold Pearls to finish it off!

My second project uses the same gouache technique that I illustrated in this video. After stamping the new Painted Christmas Wreath using Hero Arts Dove White ink, I used white gouache mixed with liquid watercolors to paint over the top of the stamped image. The images are a bit simpler, and so it was very quick work to add some simple painting over the top of the white image! After the painting had dried, I splattered a bit more of the sparkling handmade gold watercolors for an artistic, festive feel.

For the greeting, I used the older Season’s Greetings die to cut a sparkling gold greeting from some gold glitter foam from Spellbinders. The foam makes it super simple to create a dimensional die cut greeting with just one pass through your die cut machine!

The final touch was to add a few Twinkling Tourmaline gems; the purple coordinates nicely with the purple berries, and the iridescent coating catches the green foliage beautifully!

Well, that’s all for my projects today! I have one more to share with you, but I will save that one for later this week. You can check out the full Cozy Hugs Collection HERE. Thanks so much for stopping by, and have a marvelous day!

Filed Under: simon says stamp Tagged With: floral festoon, layered warbler, painted christmas wreath

Primary Sidebar

  • Facebook
  • Instagram
  • Pinterest
  • YouTube

Favorite Shops

Secondary Sidebar

Subscribe

Enter your email address to subscribe to this blog and receive notifications of new posts by email.

Instagram
Something is wrong.
Instagram token error.
Follow
Load More

Archives

Tags

3D embossing folder alcohol markers better press birthday birthday card blog hop card kit christmas christmas card christmas tag colored pencil copic copic coloring Daniel Smith die cutting embossing folder embroidery felt giveaway holiday holiday card hot foil ink blending karin brushmarker pro layered stencil masculine my monthly hero new release no line coloring no line watercolor OLO marker olo markers original illustration pawsitively saturated rainbow shaker card slimline stamping stamptember stencil thank you thinking of you valentine's day video watercolor

Popular Posts

Simon Says Stamp Joy For You Blog Hop- Day 1!
Simon Says Stamp Joy For You Release-Now Available!
Frozen Fractals All Around with New Simon Says Stamp Joy For You Release!
Shaped Holiday Shaker Card with New Simon Says Stamp Jolly Season Card Kit of the Month!
Holiday Postage with New Simon Says Stamp!
Simon Says Stamp Glory to the Newborn King Holiday Kit-Part II!
Pinkfresh Studio 5th Birthday!
Altenew Build A Flower: Fuchsia Blog Hop+Giveway!
Holiday Joy in Pink and Green with New Simon Says Stamp DieCember!
Honey Bee Stamps September Release Blog Hop!

Disclosure

Some affiliate links are used in my posts. This means that, should you click on one of my links and purchase something from that company, I will receive a small portion of the sale at no extra cost to you. I use the money earned from these sales to help maintain my blog. I so appreciate you visiting and, if you do choose to use one of my affiliate links, thank you so much for your support!
Copyright © 2026 ·Brunch Pro Theme · Genesis Framework by StudioPress · WordPress · Log in
Loading Comments...