Hi friends! I am hopping along with Pinkfresh Studio today to share their latest release of washi tapes, stamps, stencils, and dies, called Artsy Floral! You can find the full hop list at the link list at the bottom of this post. I pulled out some favorite shades of pink, purple, and green with lots of shimmering gold to create a classic Pinkfresh look, with lots of crisp white, shiny metallics, and a pop of vibrant color! Let’s get started with the details for my cards.

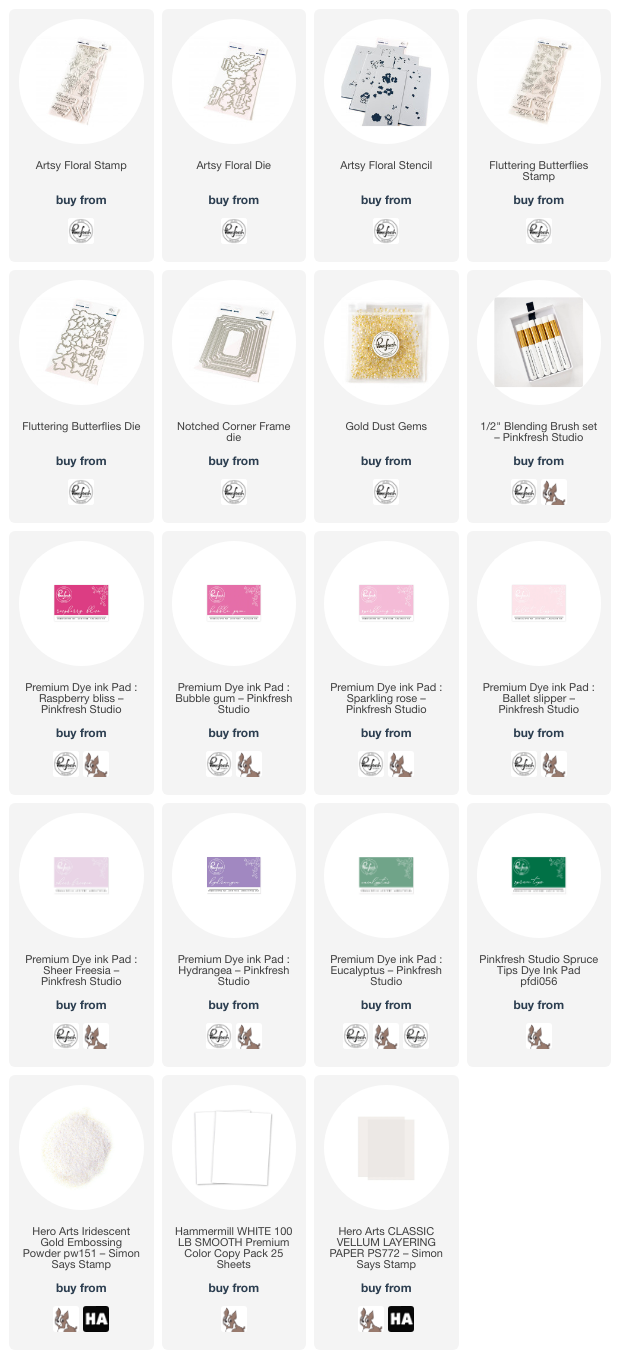
For my projects today, I used the beautiful new Artsy Floral Stamps, Dies, and Coordinating Stencils, along with the delicate Fluttering Butterflies Stamps and Dies, finally paired with the Notched Corner Frames dies, all products from the Artsy Floral release. I heat embossed the lush blooms from Artsy Floral onto some white cardstock using Iridescent Gold embossing powder, which I find to be a rich, lustrous gold. Some of my other gold embossing powders are a bit dull by comparison! I blended some of my favorite shades from Pinkfresh on these beautiful blooms using the Coordinating Stencils: Ballet Slipper, Sparkling Rose, Raspberry Bliss, Bubble Gum, Sheer Freesia, Hydrangea, Eucalyptus, and Spruce Tips. I will link all of the individual colors in the link list at the very bottom of the post!
Because the images were stamped/embossed and stenciled using the single stamp and layered stenciling sets, it was easy to die cut the finished images with the one-fell-swoop Coordinating Die and have a ton of beautiful floral die cuts to use on my project. I ended up with enough flowers to create not one, but two cards!

For my first project, I selected two different floral bouquets from the Artsy Floral product suite. I also heat embossed the single stamp with the butterflies and foliage from the Fluttering Butterflies Stamp set, embossing with the same lustrous gold embossing powder, this time on vellum to add some ethereal whimsy to the card without adding additional visual weight.

I trimmed down a panel of white cardstock, sized 4″ x 5.25″, and then placed one of the Notched Corner Frames dies that impressed the blanket-stitched design but did not cut out a shape on the interior of the panel. This created a subtle, textured background as a foil for my colorful flowers. I arranged the stenciled flowers on the textured background, allowing some of the vellum leaves to peek out from behind the arrangement to add more shine and interest to the card front. I added a couple of delicate butterflies to the arrangement, finishing everything off with a gold embossed greeting and some new Clear Gems with Gold Dust!

My second project uses up the Artsy Floral “leftovers” from my first project, this time on a bit larger canvas to allow my gold butterflies a bit more room for their fluttering. I trimmed down a white A7 card front and splattered it with some gold glitter watercolors. I also die cut a white Notched Corner Frame, which is intended to proportionally fit an A2 card, but the size works perfectly when the medium sized frame is offset on an A7 card front!

I popped the frame up on my splattered background using some foam adhesive, then arranged my flowers over the top of the frame, allowing a bit of vellum foliage to peek out from behind my floral arrangement. I added a trio of the butterflies, letting them fill up the white space surrounding my flowers and frame. A heat embossed greeting from Artsy Floral and some more Clear Gems with Gold Dust finished everything off! Is there anything more classic than pink, white, and gold?
Well, that’s all for my projects today! Now for some fun giveaway information:
Pinkfresh Studio will be giving away the full release on the Pinkfresh blog & YouTube channel. They also will be giving away a total of TEN $25 gift cards along the hop. The winners will be selected from the comments along the hop, so the more comments you leave, the more chances you have to win!
Winners will be announced on April 2, 2024 on our GIVEAWAY PAGE. Winners must check that page & claim their prize within 2 weeks.
Here’s the full hop list in case you get lost:
Thanks so much for stopping by today, and happy hopping!