• Skip to main content
  • Skip to primary sidebar
  • Skip to secondary sidebar

Sixth Street Sundries

Emily Midgett

  • Home
  • About Me
  • Contact
  • OLO Marker Color Swatch Chart
  • Shop

retirement

More Cardstock Stripes for End of School with Simon Says Stamp!

May 12, 2026

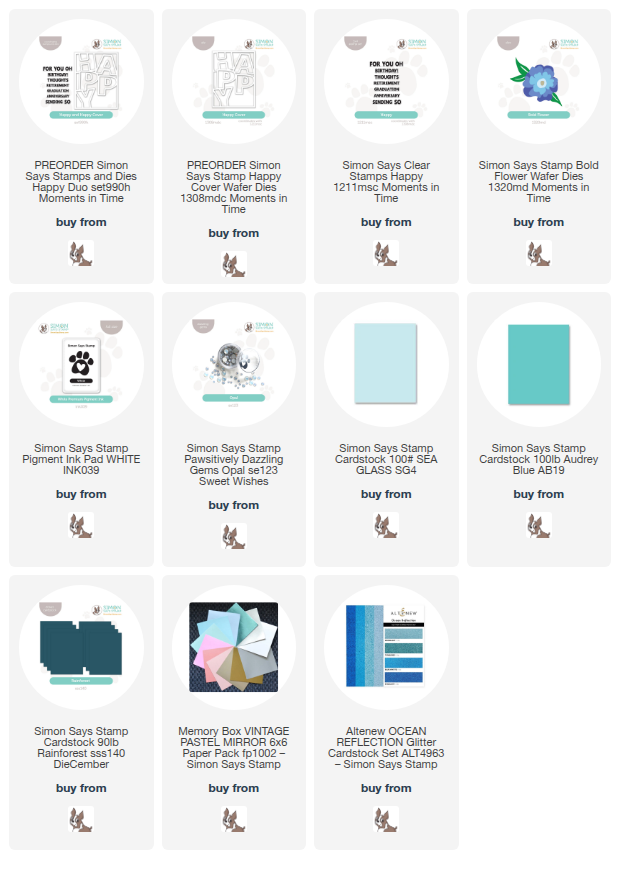
This post was sponsored by Simon Says Stamp. Thanks, Simon! *I have gathered links to all of the products used at the bottom of the post for your convenience, using affiliate links at no extra cost to you. Thank you for shopping with my links! I truly appreciate your support for my work!*

Hi friends! We are eight days away from school beginning to let out here in my neck of the woods, and so that means it’s time for teacher thank you cards, graduation card, and teacher retirement cards! I think one of the best parts of being a cardmaker is being able to customize your project to perfectly suit the colors of your event. Wedding card? Make it match the invitation! Birthday card? Recipient’s favorite shades! Graduation card? School colors! One of our local schools has a royal blue and yellow color palette that is just so pretty, so I thought I’d make some fun and bold cards using the cardstock strip method from THIS project and THIS project, inspired by the projects in my CITI booth from Simon Says Stamp’s CREATE event! I even made a simple teacher retirement card using the same colors, this time with ink blending to make it go super quick. Let’s get started with the details!

To create this bold pair of cards, I used the Happy Cover die and it’s coordinating stamp set, aptly called Happy. The large cover plate die leaves the perfect space for a stamped sentiment from the mini stamp set, and makes it super easy to do paper piecing in your choice of colors!

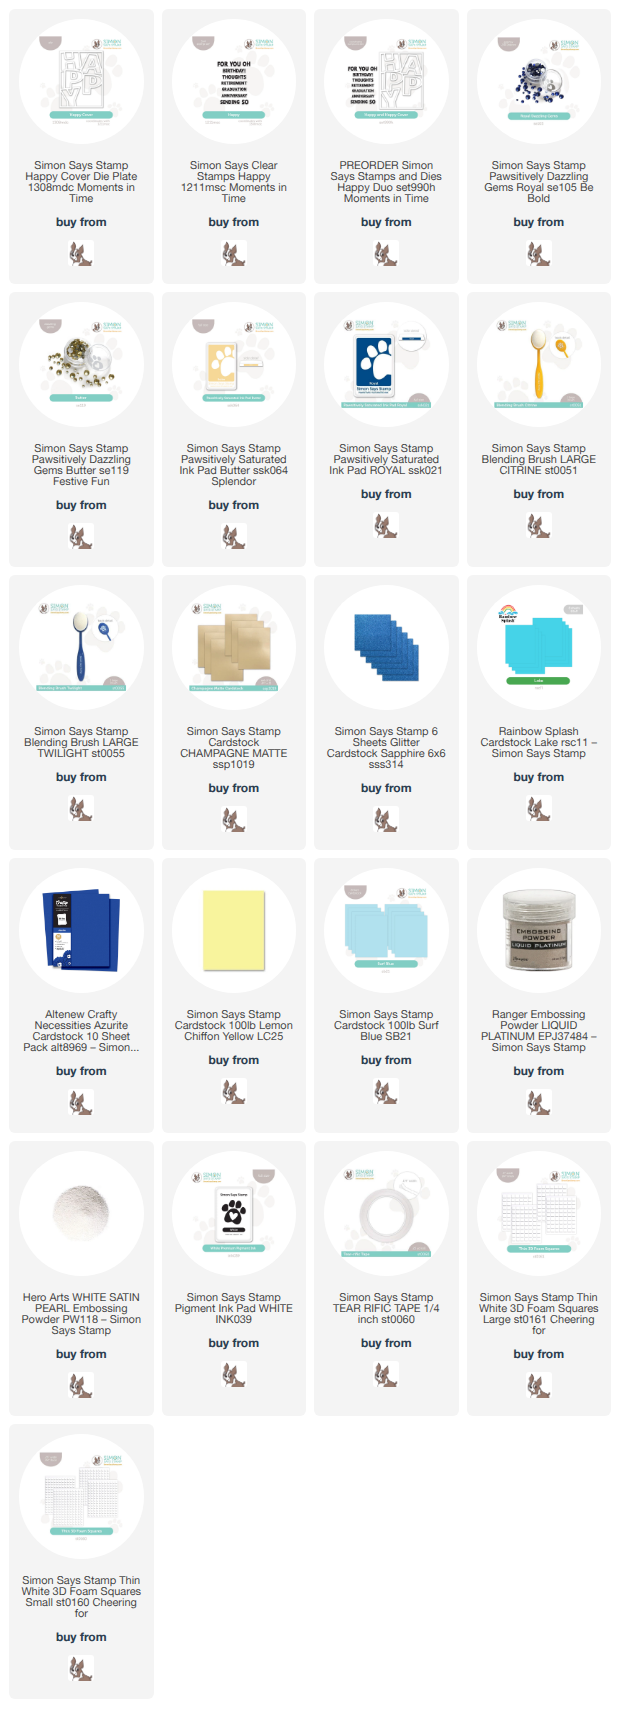
For my first card, I die cut the Happy Cover die from Simon Says Stamp’s Sapphire Glitter Cardstock as well as Lemon Chiffon. Before paper piecing, I selected a variety of blue cardstock shades and trimmed them into strips of different thicknesses using my guillotine trimmer, as well as some Lemon Chiffon strips. Using the same technique from THIS post, I laid down three strips of adhesive vertically on my card base, then laid the strips horizontally all down the front of my card in my selected pattern. The different widths of the strips add some interest behind the bold die cut sentiment! After I had finished adhering all of the strips and trimmed off any excess, I adhered the glittering cover plate die cut directly over the top with liquid adhesive. I inlaid the individual die cut Lemon Chiffon letters, popping them up with thin foam adhesive squares, then added a heat embossed sentiment and some Butter Pawsitively Dazzling Gems for added sparkle!

My second card features the same yellow and blue color palette, this time putting those glittering blue letters to work inside the cover plate die cut. Waste not, want not! I blended Pawsitively Saturated Inks in shades of Butter and Royal on a white A2 card front, keeping the two colors separate with a section of white in the center so as not to create green. (Those color mixing lessons from gradeschool are definitely important ones to remember!) I adhered my Matte Champagne Foil cardstock Happy outline die cut on my blended card front with liquid adhesive, then placed the leftover blue glitter letters in their appropriate space. To complete the greeting, I thought a teacher’s retirement card would be a perfect occasion for a card with these colors! It’s even more fun to receive something so personalized, right? I added the embossed sentiment strip with thin foam adhesive squares for the tiniest bit of height, then added some Royal Pawsitively Dazzling Gems to the card fron for added sparkle.

Well, that’s all for my projects today! Are you churning out graduation and teacher thank you cards? I know that I am!! We’re getting to the age that our friends’ children are starting to graduate from high school…. and boy does that make me feel old! Yikes! Thank so much for stopping by today, and have a marvelous day!
Filed Under: simon says stamp Tagged With: cardstock stripes, die cutting, graduation, happy, happy cover die, ink blending, retirement

Happy Retirement with Leftover Die Cuts from Simon Says Stamp!

June 11, 2025

This post was sponsored by Simon Says Stamp. Thanks, Simon!

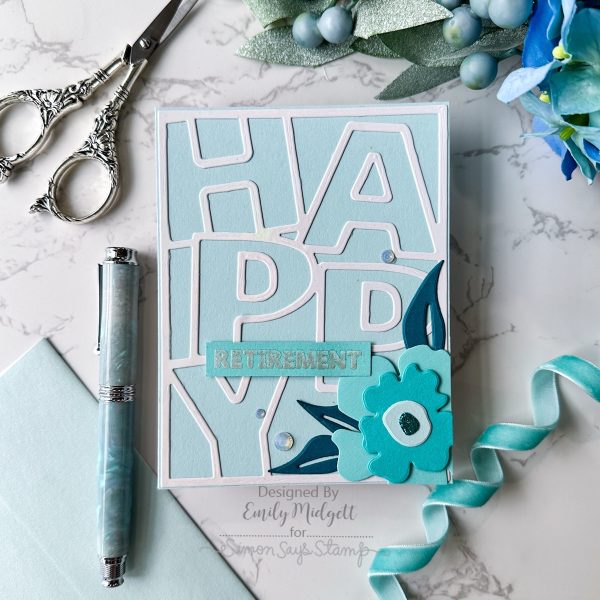
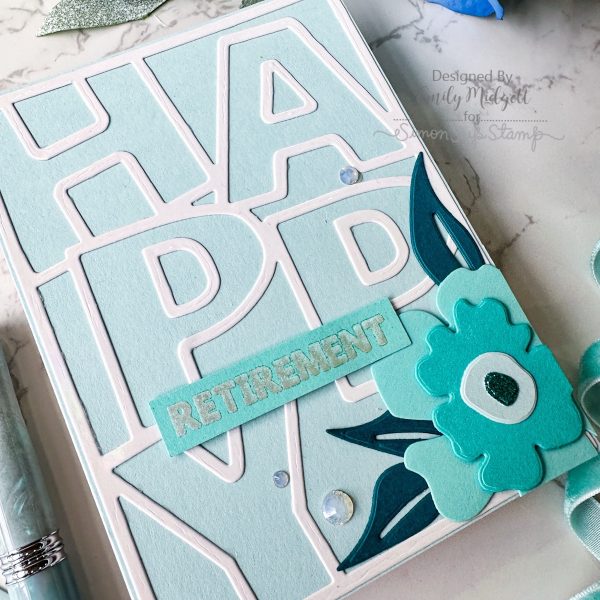
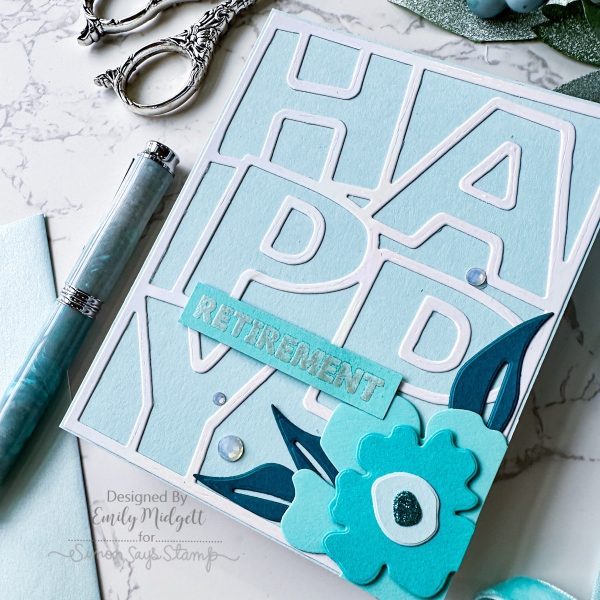
Hi friends! I am back today with a project using the leftover “happy” cover plate die cut that I created for THIS card. Because I was using specialty iridescent mirror cardstock, I wanted to make sure that I used as much of the cardstock as possible, and so created a project with the negative die cuts as well as the positive die cuts. For today’s project, I created a serene retirement card using a variety of shades of turquoise to complement my shimmery iridescent white die cut. Let’s get started with the details!

*I have gathered links to all of the products used at the bottom of the post for your convenience, using affiliate links. Thank you for shopping with my links! I truly appreciate your support for my work!*

To begin, I used some pearlescent white mirror foil cardstock to die cut the new Happy Cover die. I reserved the positive pieces for the card linked above, then adhered the negative single die cut to an A2 panel of Simon Says Stamp Sea Glass cardstock using liquid adhesive. I also stamped a coordinating sentiment from the Happy stamp set onto a strip of Audrey Blue cardstock using Simon Says Stamp White Pigment Ink, then added White Satin Pearl embossing powder over the top to add a lovely pearlescent sheen.

Because the sentiment takes up such a large portion of the card front, I created a coordinating turquoise Bold Flower die cut and nestled it in the corner of the card front, trimming off the excess with my sharp scissors. To keep the color palette cohesive throughout the card, I used the same Sea Glass and Audrey Blue cardstocks, along with another medium shade of turquoise as well as a glittery flower center.

After I had created all of the elements of the card, I adhered the die cut floral and the sentiment strip to the card front using foam adhesive, finally adding some extra sparkle to this elegant card with a smattering of Opal Pawsitively Dazzling Gems.

Well, that’s all for my project today! I love when I can use all of the parts of a die cut to create multiple projects, don’t you? Thanks so much for stopping by today, and have a marvelous day!
Filed Under: simon says stamp Tagged With: audrey blue, bold flower, die cutting, happy cover, happy duo, retirement, sea glass, white satin pearl

Orange Ombré Shaker with Simon Says Stamp + SALE!

April 5, 2024

This post was sponsored by Simon Says Stamp. Thanks, Simon!

Hi friends! I have a fairly gender-neutral card to share with you today featuring several different goodies from the latest Simon Says Stamp Be Bold release. I am always on the lookout for a way to incorporate my typical style into a more masculine or gender-neutral project, because I know that I am not the only one who struggles with minimizing the flowers on my cards!! I had created several ombré ink blended panels using the new Pawsitively Saturated Ink Trio 28, using a couple of them for projects in THIS post. I had a leftover ombré frame, so I thought that I would put it to use with a shaker card instead of tossing it, which happened to make a perfect gender-neutral card. Let’s get started with the details!

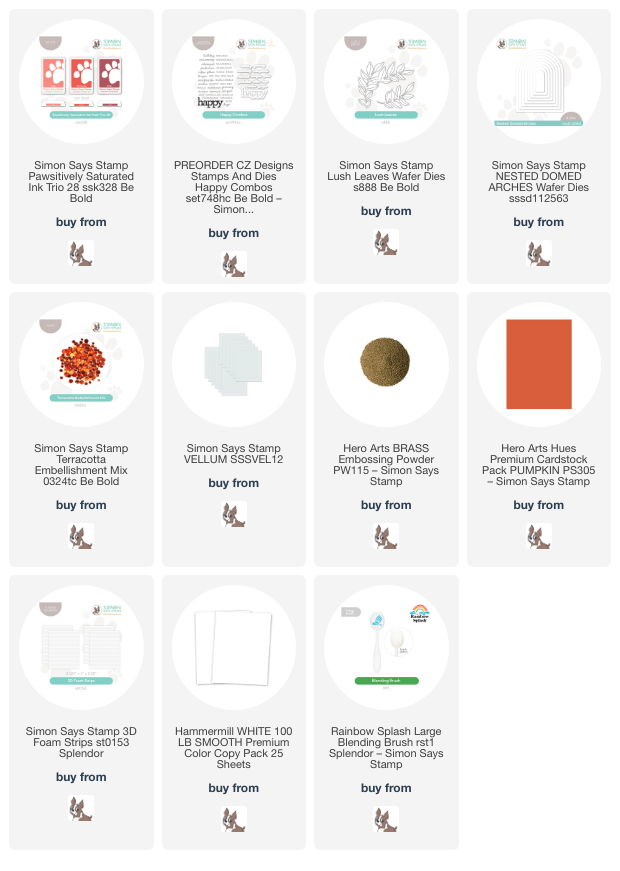
To start, I used blending brushes to smoothly blend Ink Trio 28 down a panel of A2 white cardstock. I die cut the center using a die from the Nested Domed Arches dies, leaving a warm sunset window. I backed the window panel with vellum to create a semi-transparent window for my shaker. I added a seal of foam adhesive strips around the back side of the opening using the 3D Foam Strips from Simon Says Stamp, then filled the shaker with the new Terracotta Confetti. I backed the window with a panel of deep orange cardstock, the contrast of which allowed the sparkly confetti to shine through the vellum window.

The graphic boldness of the shaker frame and color combination inspired me to add some contrast with some simple botanical accents, so I die cut the new Lush Leaves die twice from some metallic brown foil cardstock. The matte blended background paired with the matte vellum contrasts beautifully with the shining foil die cuts. I am always on the lookout for fun specialty papers whenever I am shopping; you never know when you might need just the right shade of cardstock to perfectly match your color palette!

After I had added the leaf die cuts, I heat embossed two sentiment stamps from the new Happy Combos onto some more deep orange cardstock using Brass embossing powder. I think this sunset color palette is just right for a retirement card… the symbolism of being retired and watching the sun set is perfect! I used the coordinating dies to die cut the embossed pieces, then popped them up over the top of the foil leaf die cuts using foam squares for extra dimension.

Well, that’s all for this project today! I so enjoyed putting all of the different components for this project together. Orange is not a color that is usually within my mind’s eye, but I was so inspired by the new Pawsitively Saturated Ink Trio 28 and really leaned into it. Thanks so much for stopping by today, and have a marvelous day!
P.S.- Simon Says Stamp is having a springtime sale!!

Take $10 off your order of $75 or more with code TNBKS. Happy shopping!

Filed Under: simon says stamp Tagged With: lush leaves, nested domed arches, pawsitively saturated ink, retirement, shaker card

Hero Arts February 2023 My Monthly Hero Kit+NEW Premium Kit Launch+Giveaway!

February 6, 2023

Happy Monday, friends! Today is an extra fun Monday, because it’s Hero Arts Premium My Monthly Hero Kit launch day, and we’re celebrating with a blog hop! You should have arrived here from Dana Joy, and your next stop is Ilina Crouse. The new Premium Kit features all of the goodies that you love each month from the My Monthly Hero kit with some fabulous extras to give you even more amazing creative options and extend the fun!

Here’s a peek at this month’s Classic My Monthly Hero Kit:

And here’s a peek at the new Premium Kit:

So many wonderful goodies in each kit, but the new Premium Kit has even more incredible value with those gorgeous (and super plentiful) new dies and coordinating rub-ons! As a fun bonus for current subscribers (people who subscribed before January 31), you will receive the Premium Kit upgrade for free to try it out! If you’re interested in subscribing, here are a few details as to why a subscription might be a good route to take for you:

You can check out the subscription packages HERE.

I have three projects to share with you today, so let’s get started with the details!

My first two projects use items from the Classic My Monthly Hero Kit and the Premium Kit in a lovely, feminine color combination of Peony, Pink Grapefruit, and Pale Tomato. I blended several panels using this combination in various levels of intensity using Ink Blending Brushes from Hero Arts.

My first project uses elements from the Classic My Monthly Hero Kit. I die cut the beautiful, super detailed window die from the center of one of the lightly blended panels, then used the coordinating layering stencils with the same Peony, Pink Grapefruit, and Pale Tomato shades of ink to create a very subtle, monochromatic blend on the die cut areas.

To add a little extra shimmer and interest to the card front, I used a blending brush to add Embossing Ink (that I’ve dedicated only to use with my Embossing Ink by labeling the back of it) for the top detailed layer of stencils, then pounced some shimmery pigment powder over the top of the sticky ink, combining Perfect Pearls Gold and Pink Gumball. I love using Embossing Ink with stencils-it adds such a fun and interesting element to your layered stencil cards!

For the window opening, I decided to use another super lightly blended panel of cardstock, heat embossing one of the greetings from the included 3×4 stamp set with gold embossing powder in the center of the blended A2 panel. I did some second generation stamping with the little butterfly stamp that is also included in the 3×4 stamp set. I inked up the butterfly with some Pale Tomato ink, stamped it off once on some scratch paper, then stamped it on the blended sentiment panel so that the butterflies looked like they were fluttering behind the sentiment in the sunset. I popped the stenciled die cut panel up with some foam tape over the top of the sentiment panel, popping the wings of the partially-die-cut butterflies up a bit for extra dimension!

My second project features some of the super detailed Fancy Dies from the Premium Kit. These dies are super versatile because they come with a removable detail layer as well as the simple outline frame, which coordinates with the rub-ons that are included in the Premium Kit . I die cut several of the detailed butterflies from some brushed gold foil cardstock and gold glitter cardstock.

For the card base, I wanted to create an ethereal, feminine, mixed-media feel, so I stamped the script background stamp from the new Background Texture Strips stamp set on the more vibrant of the blended background panels using Embossing Ink, again pouncing the Perfect Pearls Gold and Pink Gumball mixture to create subtle shimmer on my background. I also mixed some water in with the pigment powder and splattered it, along with some gold watercolor, on the card front for lots of artsy sparkle and shimmer. To add one final layer of interest and color to the background, I used the butterfly and diamond stamps from the small stamp set in the Kit, stamping full strength on the bottom and stamping off once as the background blending became lighter in color. So many layers on this background!

I popped up the golden butterflies with some foam tape, slightly curving the wings up to add extra dimension. I heat embossed a greeting from that same small stamp set (it packs a lot of punch for only a 3×4 stamp set!) using gold embossing powder, then trimmed it with my sharp scissors and added some coordinating blending to the bottom and edges. A few shiny gems added a bit more sparkle and texture!

My last card today uses a couple of the add-ons. I loved the combination of the shiny gold, Peony, and Pale Tomato inks, so I kept that color scheme going throughout this card, as well! I began by heat embossing the beautiful new Fluttering Butterflies Bold Prints stamp onto an A2 panel of white cardstock. I then blended Peony ink at the top and Pale Tomato ink at the bottom, slackening my pressure towards the center of the card so that the colors blended beautifully together in a smooth ombré.

Next, I heat embossed some of the super detailed butterflies from the aptly-named Beautiful Butterflies stamp set, embossing them in gold on some of Hero Arts’s Vellum cardstock and die cutting them with the coordinating dies (which you can purchase in a bundle with the stamp set HERE). I love using vellum for images like butterflies… I think it makes them so light and ethereal! I also heat embossed a greeting from the new Monarch and Milkweed bundle, die cutting it with the coordinating dies.

I die cut a glittery gold frame using the Museum Frame Fancy Die and popped it up on the blended butterfly background using foam adhesive. I arranged the butterflies so that they were fluttering on the card front, adding some tiny pieces of foam tape behind the solid embossed portions to keep the translucent vellum as clean as possible. I also added the blended greeting die cut, tucking it amongst the fluttering butterflies. The final touch was a few shimmering iridescent pink pearls for some more shine and texture!

Well, that’s all for my projects today. Now for some fun giveaway information!

Hero Arts will give away a $50 gift card, drawn from the comments left across the hop. Enter by Sunday, February 12th at 11:59pm Pacific, and the winner will be announced on the Hero Arts blog the following week.

The new February Collection from Hero Arts is a marvelous array of products that has something for everyone-and the new Premium Kit is going to add so many more options to your crafty time! Your next stop is Ilina Crouse. Thanks so much for reading today, and happy hopping!

Filed Under: Hero Arts Tagged With: beautiful butterflies, butterflies, fluttering butterflies, ink blending, layered stencil, monarch and milkweed, my monthly hero, perfect pearls, pigment powder, retirement

Primary Sidebar

  • Facebook
  • Instagram
  • Pinterest
  • YouTube

Favorite Shops

Secondary Sidebar

Subscribe

Enter your email address to subscribe to this blog and receive notifications of new posts by email.

Instagram
Something is wrong.
Instagram token error.
Follow
Load More

Archives

Tags

3D embossing folder alcohol markers better press birthday birthday card blog hop card kit christmas christmas card christmas tag colored pencil copic copic coloring Daniel Smith die cutting embossing folder embroidery felt giveaway holiday holiday card hot foil ink blending karin brushmarker pro layered stencil masculine my monthly hero new release no line coloring no line watercolor OLO marker olo markers original illustration pawsitively saturated rainbow shaker card slimline stamping stamptember stencil thank you thinking of you valentine's day video watercolor

Popular Posts

Simon Says Stamp Joy For You Blog Hop- Day 1!
Simon Says Stamp Joy For You Release-Now Available!
Frozen Fractals All Around with New Simon Says Stamp Joy For You Release!
Shaped Holiday Shaker Card with New Simon Says Stamp Jolly Season Card Kit of the Month!
Holiday Postage with New Simon Says Stamp!
Simon Says Stamp Glory to the Newborn King Holiday Kit-Part II!
Pinkfresh Studio 5th Birthday!
Altenew Build A Flower: Fuchsia Blog Hop+Giveway!
Holiday Joy in Pink and Green with New Simon Says Stamp DieCember!
Honey Bee Stamps September Release Blog Hop!

Disclosure

Some affiliate links are used in my posts. This means that, should you click on one of my links and purchase something from that company, I will receive a small portion of the sale at no extra cost to you. I use the money earned from these sales to help maintain my blog. I so appreciate you visiting and, if you do choose to use one of my affiliate links, thank you so much for your support!
Copyright © 2026 ·Brunch Pro Theme · Genesis Framework by StudioPress · WordPress · Log in
Loading Comments...