• Skip to main content
  • Skip to primary sidebar
  • Skip to secondary sidebar

Sixth Street Sundries

Emily Midgett

  • Home
  • About Me
  • Contact
  • OLO Marker Color Swatch Chart
  • Shop

happy cover

Happy Retirement with Leftover Die Cuts from Simon Says Stamp!

June 11, 2025

This post was sponsored by Simon Says Stamp. Thanks, Simon!

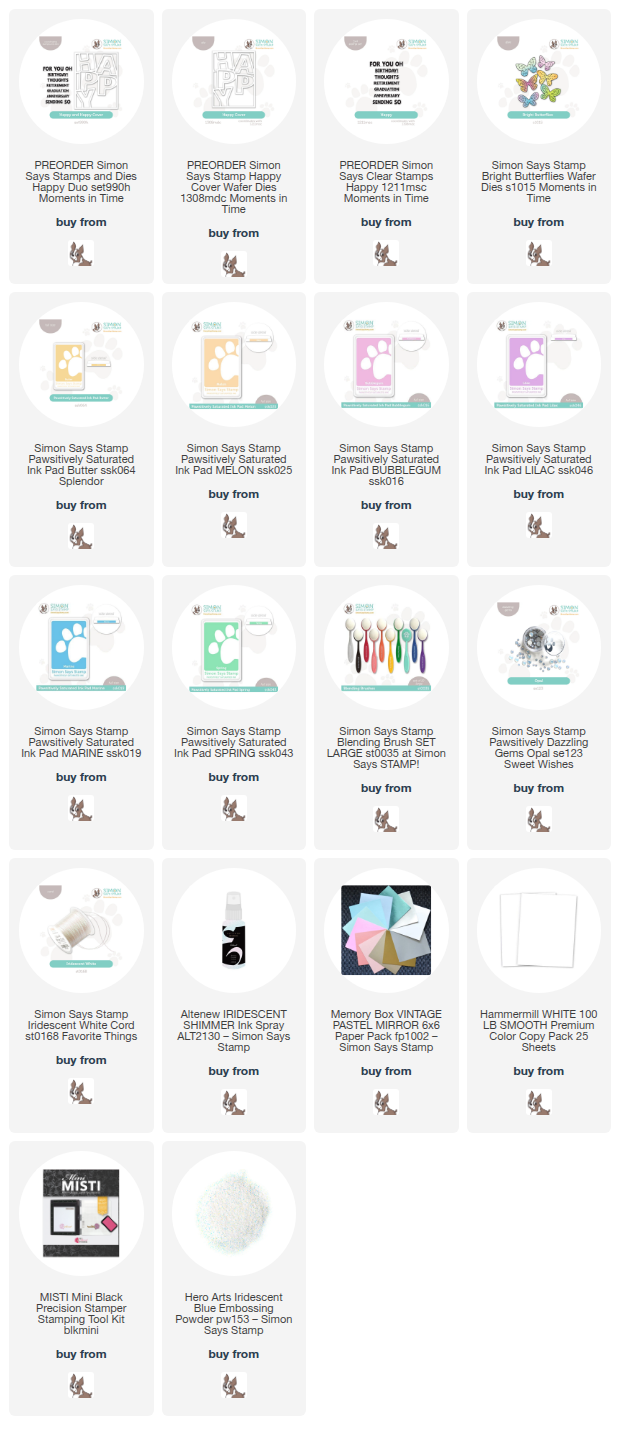
Hi friends! I am back today with a project using the leftover “happy” cover plate die cut that I created for THIS card. Because I was using specialty iridescent mirror cardstock, I wanted to make sure that I used as much of the cardstock as possible, and so created a project with the negative die cuts as well as the positive die cuts. For today’s project, I created a serene retirement card using a variety of shades of turquoise to complement my shimmery iridescent white die cut. Let’s get started with the details!

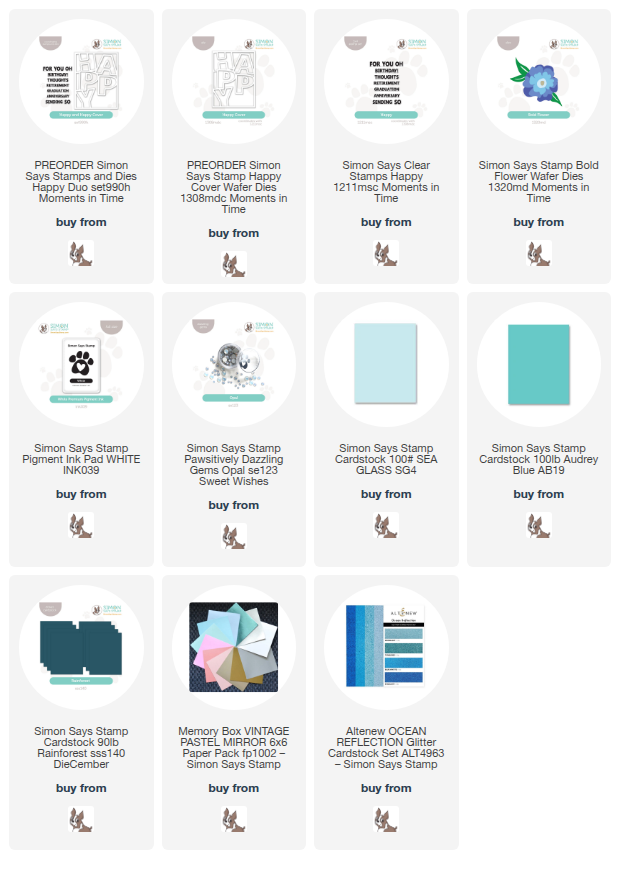
*I have gathered links to all of the products used at the bottom of the post for your convenience, using affiliate links. Thank you for shopping with my links! I truly appreciate your support for my work!*
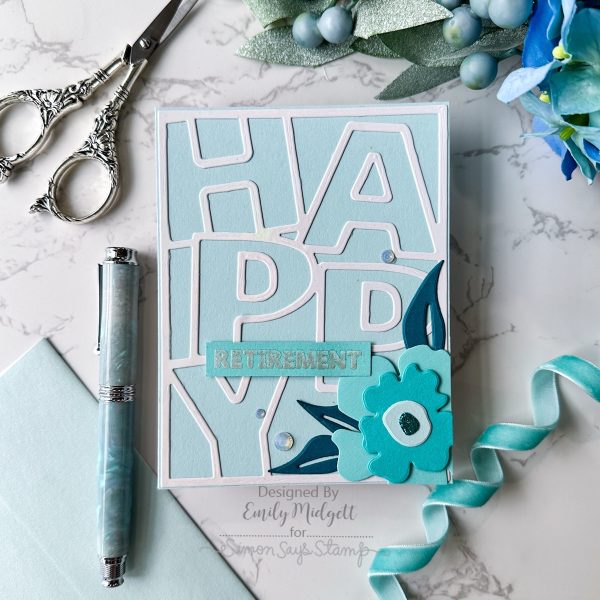
To begin, I used some pearlescent white mirror foil cardstock to die cut the new Happy Cover die. I reserved the positive pieces for the card linked above, then adhered the negative single die cut to an A2 panel of Simon Says Stamp Sea Glass cardstock using liquid adhesive. I also stamped a coordinating sentiment from the Happy stamp set onto a strip of Audrey Blue cardstock using Simon Says Stamp White Pigment Ink, then added White Satin Pearl embossing powder over the top to add a lovely pearlescent sheen.
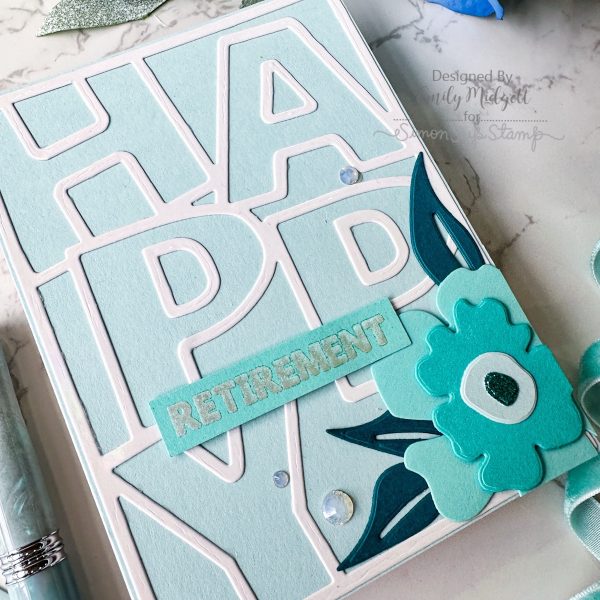
Because the sentiment takes up such a large portion of the card front, I created a coordinating turquoise Bold Flower die cut and nestled it in the corner of the card front, trimming off the excess with my sharp scissors. To keep the color palette cohesive throughout the card, I used the same Sea Glass and Audrey Blue cardstocks, along with another medium shade of turquoise as well as a glittery flower center.
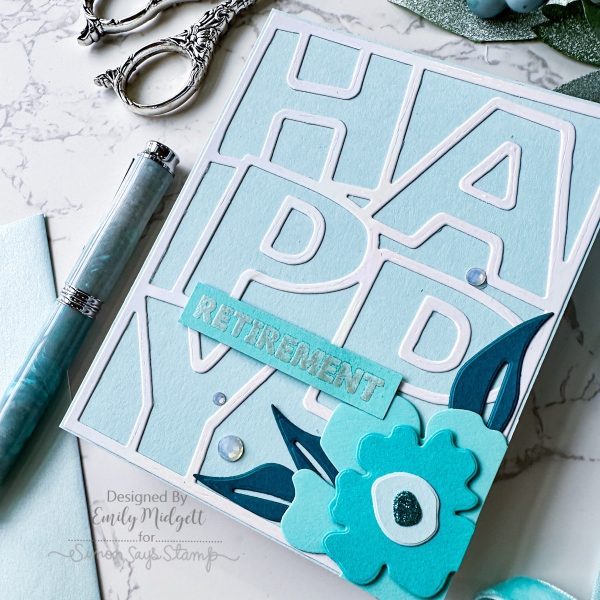
After I had created all of the elements of the card, I adhered the die cut floral and the sentiment strip to the card front using foam adhesive, finally adding some extra sparkle to this elegant card with a smattering of Opal Pawsitively Dazzling Gems.

Well, that’s all for my project today! I love when I can use all of the parts of a die cut to create multiple projects, don’t you? Thanks so much for stopping by today, and have a marvelous day!
Filed Under: simon says stamp Tagged With: audrey blue, bold flower, die cutting, happy cover, happy duo, retirement, sea glass, white satin pearl

Wishing You A Colorful Future, Grad with New Simon Says Stamp!

June 10, 2025

This post was sponsored by Simon Says Stamp. Thanks, Simon!

Hi friends! I am back today with a super colorful graduation card using the versatile Happy Duo cover plate + coordinating stamp set. This product pair works together seamlessly to cover a huge variety of occasions… truly a huge bang for your buck! You can also pair the smaller stamp set with other standalone happy dies, as well; who doesn’t love that kind of versatility? For today’s project, I did some negative paper piecing, paired with colorful rainbow ink blending, to create an eye-catching graduation card. Let’s get started with the details!

*I have gathered links to all of the products used at the bottom of the post for your convenience, using affiliate links. Thank you for shopping with my links! I truly appreciate your support for my work!*

To start, I blended a panel of white A2 cardstock using Pawsitively Saturated Inks: Butter, Melon, Bubblegum, Lilac, Marine, Spring lightly in rainbow order around the edges of my card front. I love the rainbow effect this creates, almost like an iridescent halo!

After I had created my rainbow background, I die cut the new Happy Cover die from some iridescent white mirror cardstock. I wanted to use every piece of this die cut, so I made sure to reserve all of the pieces. I used some light tack tape to temporarily adhere the die cut frame to the blended background, then used that as a guide to place the die cut letters in their negative spaces with liquid adhesive. Once the letters had all been adhered to the panel, I removed the cover plate die cut, leaving a unique rainbow background around the edges of the die cut letters.

After adhering the die cut letters to the background, I used my MISTI to stamp the “graduation” greeting from the coordinating Happy stamp set. To create this iridescent rainbow sentiment, I inked up just part of the sentiment stamp with the same ink colors that I used to blend the background, tapping the sharp edges of the ink line with a microfiber cloth to blur the lines and create a more seamless blend between colors. The MISTI is invaluable for this technique, helping to ensure that each new color is stamped perfectly in line with the previous color, creating a crisp sentiment. Once I had stamped the entirety of the sentiment, I stamped the entire image once more with embossing ink, then covered it with some iridescent embossing powder to add more shimmer and shine to this card.

To add a bit more ethereal magic to this card, I used residual ink left over on my blending brushes on some scrap white cardstock, then sprayed it with some iridescent shimmer spray. After allowing the blended iridescent panel to dry completely, I used the new Bright Butterflies die to die cut some tiny rainbow butterflies. I adhered the sentiment strip on the background with foam adhesive, then arranged the delicate pastel butterflies in a visual cascade down the card front, curling up the edges of the die cuts slightly to add extra dimension. Finally, I added a few Opal Pawsitively Dazzling Gems and a bow tied with Simon Says Stamp Iridescent White Cord for additional sparkle and texture!

Well, that’s all for my project today. I think this card is so special with all of the different iridescent elements, adding tons of subtle sparkle and shine to the card front. Perfect to celebrate a graduate! Thanks so much for stopping by today, and have a marvelous day!

Filed Under: simon says stamp Tagged With: bright butterflies, die cutting, graduate, happy cover, happy duo, ink blending, rainbow

Primary Sidebar

  • Facebook
  • Instagram
  • Pinterest
  • YouTube

Favorite Shops

Secondary Sidebar

Subscribe

Enter your email address to subscribe to this blog and receive notifications of new posts by email.

Instagram
Something is wrong.
Instagram token error.
Follow
Load More

Archives

Tags

3D embossing folder alcohol markers better press birthday birthday card blog hop card kit christmas christmas card christmas tag colored pencil copic copic coloring Daniel Smith die cutting embossing folder embroidery felt giveaway holiday holiday card hot foil ink blending karin brushmarker pro layered stencil masculine my monthly hero new release no line coloring no line watercolor OLO marker olo markers original illustration pawsitively saturated rainbow shaker card slimline stamping stamptember stencil thank you thinking of you valentine's day video watercolor

Popular Posts

Simon Says Stamp Joy For You Blog Hop- Day 1!
Simon Says Stamp Joy For You Release-Now Available!
Frozen Fractals All Around with New Simon Says Stamp Joy For You Release!
Shaped Holiday Shaker Card with New Simon Says Stamp Jolly Season Card Kit of the Month!
Holiday Postage with New Simon Says Stamp!
Simon Says Stamp Glory to the Newborn King Holiday Kit-Part II!
Altenew Build A Flower: Fuchsia Blog Hop+Giveway!
Holiday Joy in Pink and Green with New Simon Says Stamp DieCember!
Pinkfresh Studio 5th Birthday!
Honey Bee Stamps September Release Blog Hop!

Disclosure

Some affiliate links are used in my posts. This means that, should you click on one of my links and purchase something from that company, I will receive a small portion of the sale at no extra cost to you. I use the money earned from these sales to help maintain my blog. I so appreciate you visiting and, if you do choose to use one of my affiliate links, thank you so much for your support!
Copyright © 2026 ·Brunch Pro Theme · Genesis Framework by StudioPress · WordPress · Log in
Loading Comments...