This post was sponsored by Simon Says Stamp. Thanks, Simon!
Hi friends! We are charging ever closer to Christmas with just a few more days to get everything ready, wrapped, baked, mailed, etc etc etc! My immune system decided check out, so I have been sickly for the last two weeks… not ideal with four kiddos and all of the school activities, plus work and house remodeling! Because of this, I am on an extra tight time crunch this year, so I can always appreciate a quick and simple project that still adds that little handmade touch to my holiday gifts without a huge time investment. The new 4-for-1 Christmas product suite offers an opportunity to create beautifully detailed and illustrated tags that you can customize to perfectly match your wrapping, but with the added bonus of stamping and die cutting four individual tags with one go! I have created a little tag gift set with this new suite using ink and white cardstock as well as white embossing powder and colored cardstock. Let’s get started with the details on my project!
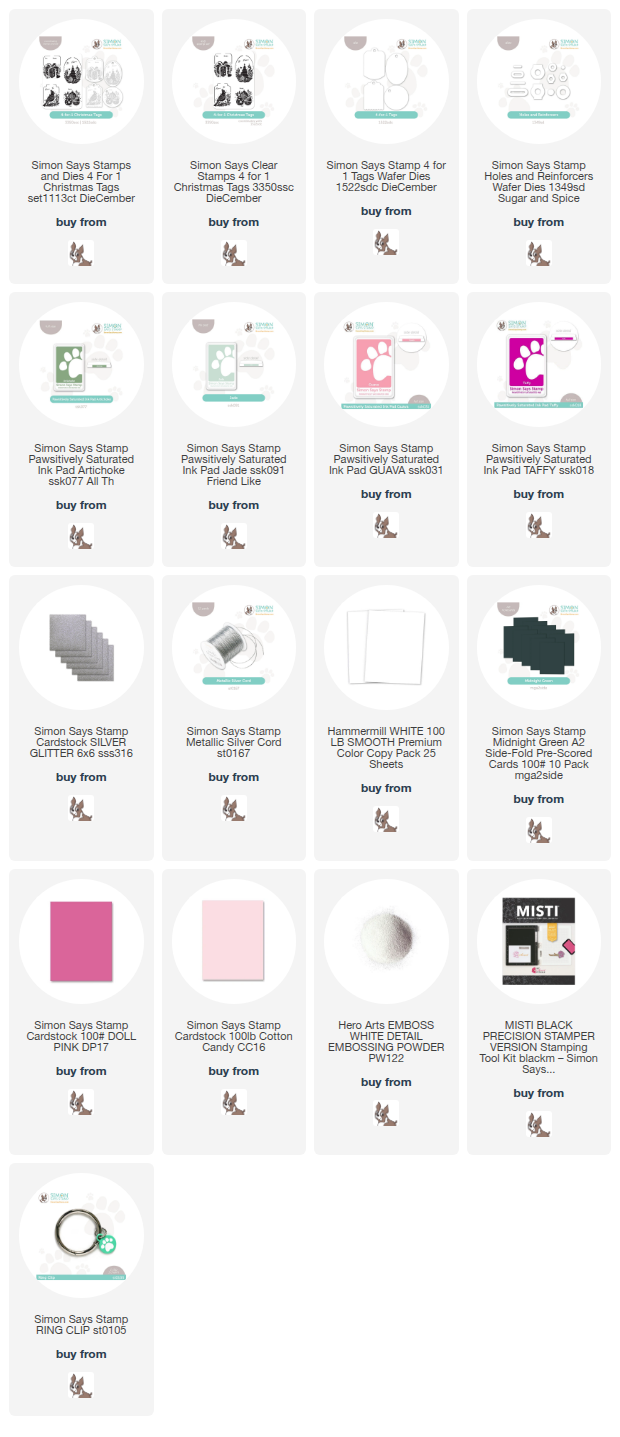
*I have gathered links to all of the products used at the bottom of the post for your convenience, using affiliate links at no extra cost to you. Thank you for shopping with my links! I truly appreciate your support for my work!*

I find that the older I get, the more I appreciate a truly useful and thoughtful gift. Giving handmade projects as gifts is one of my favorite ways to show people that I care about them, and if they are truly useful gifts, so much the better! I decided to put the new 4-for-1 Christmas suite to the test to create sets of tags to give as gifts (and maybe to keep a few for my own gifts!). The images are on one large stamp, so you stamp one time and have a full sheet of tags ready to be die cut (with the handy dandy 4-for-1 Christmas Tag Die that cuts all four images in one fell swoop!) and added to your gift!

For this set, I stamped the 4-for-1 Christmas suite eight different times on eight sheets of A2 cardstock, which sounds like a lot, but when using the MISTI, it went quite quickly! I stamped the first four using embossing ink on different shades of pink and green cardstock, then embossed them with white detail embossing powder. For the next batch, I stamped the tags using Pawsitively Saturated Inks in shades of Jade, Artichoke, Guava, and Taffy, continuing my pink and green theme. Which technique do you like better: embossed or inked?

After I had stamped, embossed, and die cut all of the tags, I die cut the newer Holes & Reinforcers dies from silver glitter cardstock, then added them to the top of each tag. Not only does this addition reinforce the tag’s hanger, it adds a little extra bling to the tag and makes it look so professional, I think!

Finally, I added loops of Simon Says Stamp Silver Cord to each reinforced hole, creating an easy way to add your handmade tags to a gift. To give these as a gift, I simply strung a variety of the tags onto a Simon Says Stamp Ring Clip and added a pretty coordinating pink bow to make it extra festive!
Well, that’s all for my projects today! Are you feeling the last minute holiday crunch or are you more prepare (and healthier! Cough cough) than me? My kiddos get out of school early today for their Christmas break… nearly 3 weeks of fun and plenty of cookies, chaos, and celebrating! Thanks so much for stopping by today, and happy holidays!