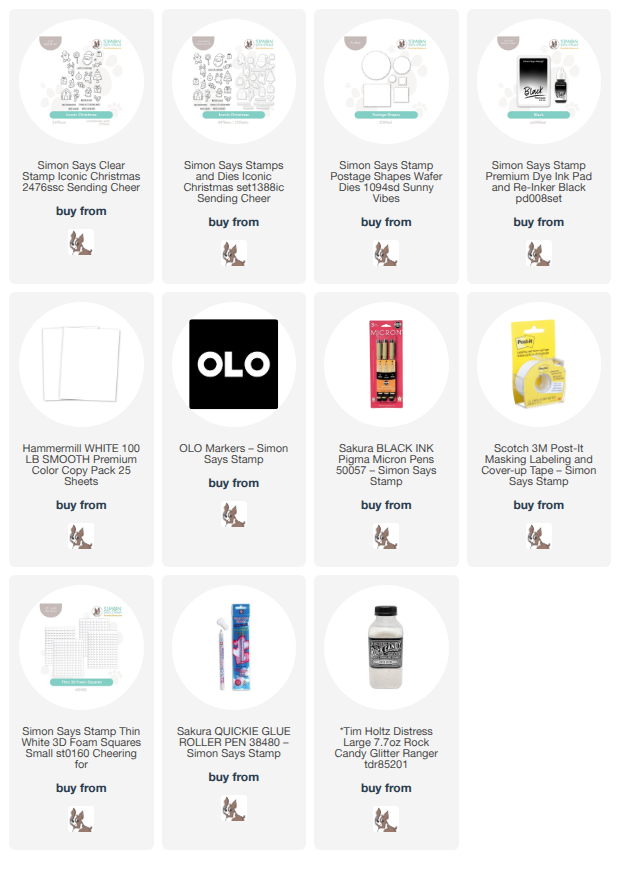
This post was sponsored by Simon Says Stamp. Thanks, Simon! *I have gathered links to all of the products used at the bottom of the post for your convenience, using affiliate links at no extra cost to you. Thank you for shopping with my links! I truly appreciate your support for my work!*
Hi friends! I am back today with possibly one of my favorite holiday cards that I’ve made. The postage stamp craze has ebbed and flowed, but I am always on the lookout for stamp sets with smaller images that would work perfectly for a postage collage. I loved the new Iconic Christmas stamp set from the Simon Says Stamp Sending Cheer Release (Click HERE to see everything!) and initially thought “wow, those would make some adorable tags!” But then I realized that, with a little masking, those fabulous images would work beautifully as a postage collage. Let’s get started on the details for my project!
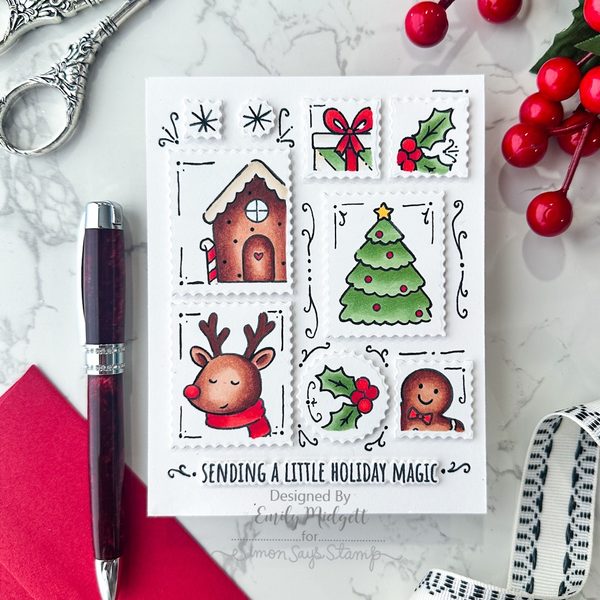
The main products used on this card are the new Iconic Christmas, the older Postage Shapes dies, and light adhesive masks. I used Post-It Notes for my masks, but Post-It Tape would also work perfectly! I die cut a bunch of different shapes from the Postage Shapes die set using plain white cardstock, then laid them out on my card front in a collage to give me an idea of layout, color palettes, and sizes.
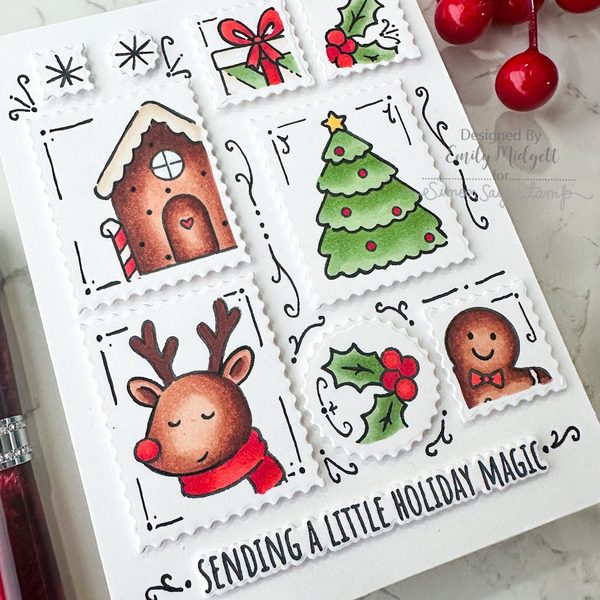
After I had the die cut layout set, I arranged the stamps from Iconic Christmas on the individual die cuts so that the images would be evenly balanced on the card. This also allowed me to determine which images would need the be masked on the edges to create that crisp white scalloped edge that is synonymous with the postage stamp image. I stamped all of the images using alcohol marker-friendly black ink, then used my OLO Markers to color the images, keeping the color palette consistent with each image to make sure that the collage was cohesive! After I had colored the die cuts, I adhered them to the card front with thin foam adhesive squares for a bit of added dimension, which helps to keep the white die cuts from blending into the white card front.
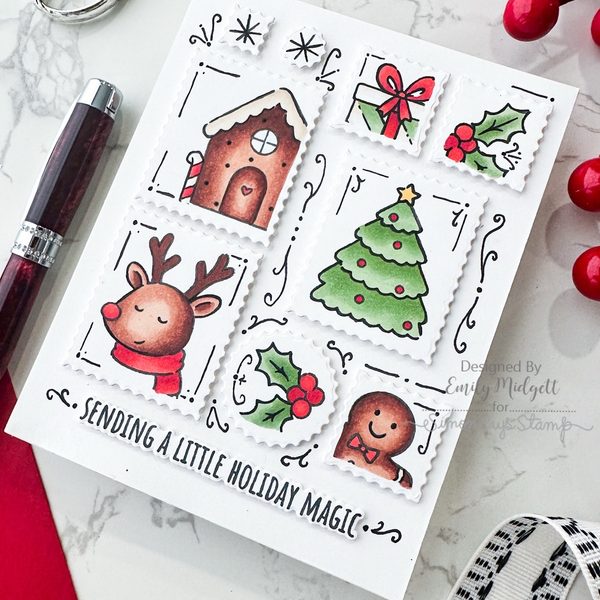
There was a bit too much white space for my taste, so after stamping, die cutting, and adhering a greeting from Iconic Christmas, I used a black pen to add some whimsical doodles to the card front. I kept things simple with some dots, curlicues, and straight lines (those were more difficult than the curlicues!), adding just a bit of whimsy to the card. In hindsight, I wish that I’d added some shimmering glitter to the images with a glue pen and Rock Candy glitter, but c’est la vie.
Well, that’s all for my project today! I just love how clean and crisp this card came out; it’s whimsical, but still elegant and so festive! Thank so much for stopping by today, and have a marvelous day!