• Skip to main content
  • Skip to primary sidebar
  • Skip to secondary sidebar

Sixth Street Sundries

Emily Midgett

  • Home
  • About Me
  • Contact
  • OLO Marker Color Swatch Chart
  • Shop

leaf flourish

A Good Egg with Simon Says Stamp!

March 13, 2024

This post was sponsored by Simon Says Stamp. Thanks, Simon!

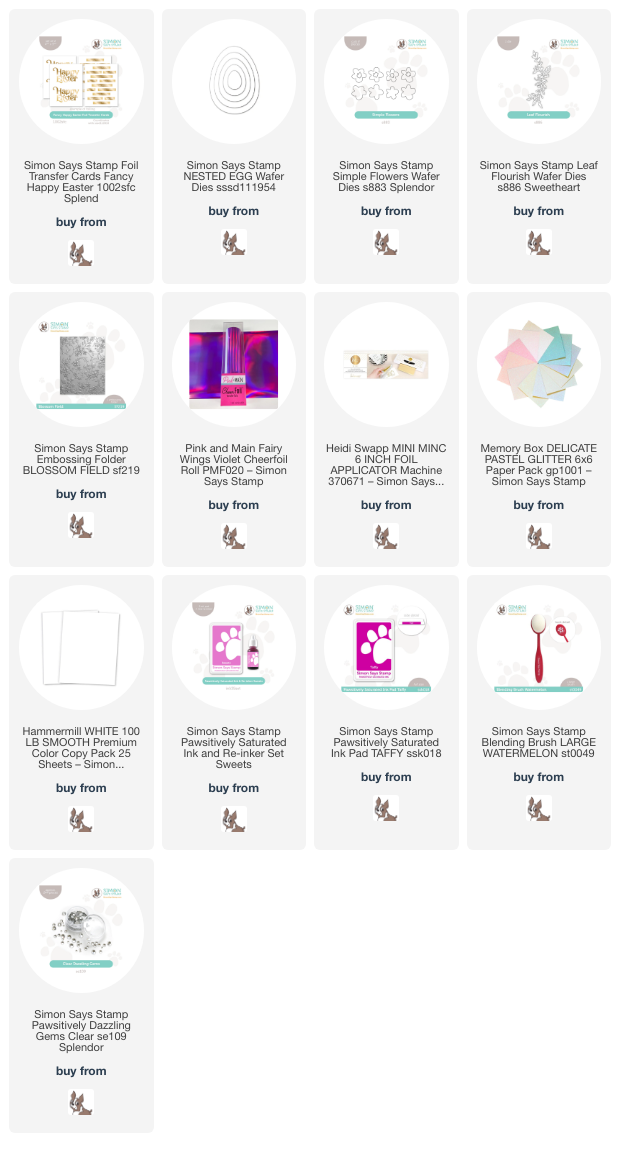
Hi friends! I am back today with some Easter inspiration using some new products from the Simon Says Stamp Splendor Release. This release featured something exciting from Simon Says Stamp: Foil Transfer Cards! You know that the sentiment cards from CZ Design are printed with toner ink, and so work perfectly with your Minc, laminator, or other toner hot foiling machine, but now Simon has started offering even more toner-printed options for us! The new Fancy Happy Easter Foil Transfer Cards feature two different designs, one with a large and fancy Happy Easter sentiment in a pretty font, and some sentiment strips with coordinating greetings. I have been adding to my stash of toner foils lately, and I couldn’t resist the splendid iridescent pink Fairy Wings Violet Cheerfoil from Pink & Main. I love a good magenta, and the iridescent shimmer on top makes it even better! I used the colors in the iridescent coating as my color palette for my project, so let’s get started with the details!

To start, I used that Fairy Wings Violet Cheerfoil to foil the Fancy Happy Easter Foil Transfer Cards with my Minc machine. I was so pleased at how crisp and smooth the foiled images were! I used my scissors and trimmer to cut the foiled sentiments out. I also used the colors in the iridescent coating to select a cool rainbow of pink, purple, and blue cardstocks.

After I had selected my colorful cardstocks, I used the new Simple Flowers dies to cut a rainbow of delicate little flowers, cutting the detailed top layer with the colorful cardstocks and the solid back layer with white glitter cardstock. I also die cut some leafy sprigs with the Leaf Flourish die using iridescent white foil cardstock from my stash. To go along with my Easter sentiment, I die cut a white egg using on of the Nested Egg dies and Hammermill cardstock. Using a blending brush, I blended Sweets and Taffy Pawsitively Saturated Inks around the edge of my die cut egg, leaving the center part very light to create a highlight and some curvature on the flat shape.

For the background, I added some dimensional, tone-on-tone texture with the Blossom Field 3D Embossing Folder. I added this 3.75″ x 5″ embossed panel to the center of a white A2 card front, then arranged my die cuts and foiled sentiments on the front using both liquid and foam adhesive for lots of dimension. Finally, I added a few Pawsitively Dazzling Clear Gems for added sparkle!

Well, that’s all for my project today. I love moving from super color saturated projects to crisp white projects with pops of texture and color to keep them interesting! Thanks so much for stopping by today, and have a marvelous day!
Filed Under: simon says stamp Tagged With: blossom field, cheerfoil, easter, embossing folder, foil transfer cards, ink blending, leaf flourish, minc, simple flowers, toner foil

Channeling Springtime with Feminine Flowers!

January 15, 2024

This post was sponsored by Simon Says Stamp. Thanks, Simon!

Hi friends! Happy Monday! We are starting this week with some bitterly cold temperatures, so I thought I’d share some springy project inspiration using new goodies from Simon Says Stamp’s Sweetheart release! The new Gentle Blooms dies and Leaf Flourish dies are so delicate and lovely, and create the prettiest swag when paired together. I love cutting standalone dies like these from plain white cardstock and using various coloring mediums to add color to them, making the possibilities for color combinations truly endless! Let’s get started with the details on my card.

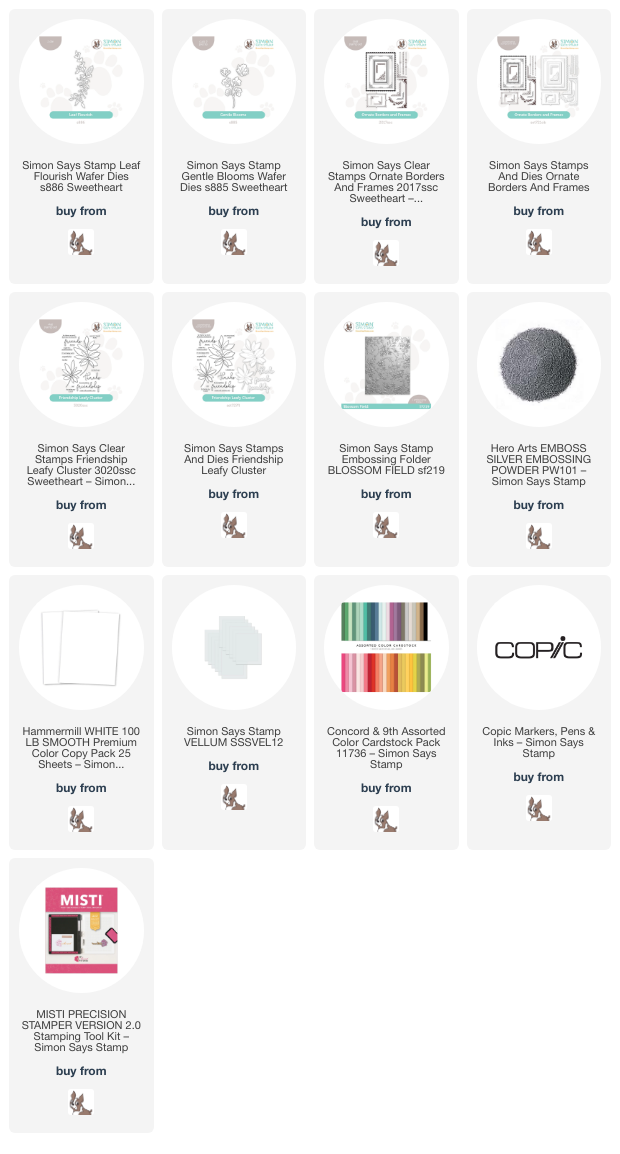
I began my project by die cutting the new Leaf Flourish die and Gentle Blooms dies three times from Hammermill white cardstock. I pulled out various shades of Copic markers in a lovely pinky lavender and beautiful jade greens and colored the plain white die cuts, using the debossed lines on the die cuts as a guide for where to add shadows and depth.

As a base for my springy floral swag, I first die cut one of the beautiful, feminine frames from the new Ornate Borders and Frames stamp from some vellum. These frame stamps are extremely delicate, and so I have found the best way to make sure that they’re straight is to die cut the image first, then use the negative space with my MISTI to place the stamp perfectly, then replace the die cut in the negative space and do my stamping. I heat embossed this lovely filigree frame using silver embossing powder; I think that the metallic shine on the silver embossing is a perfect foil for the colorful flowers and foliage.

For the greeting, I heat embossed some sentiments from the new Friendship Leafy Cluster stamp, using the coordinating die to cut the flourished “friendship.” Before arranging my die cuts, I ran a panel of Juniper cardstock through my die cut machine using the Blossom Field embossing folder. The delicate floral pattern on this embossing folder was a great way to add subtle texture behind the pretty flowers. I arranged the colored floral die cuts and sentiment on my stamped vellum die cut and adhered them using liquid and foam adhesive. To keep the vellum clean, I flipped the embellished frame die cut over and added more foam adhesive to the back of my frame, hiding it behind the solid die cuts. I added this to the embossed panel, finally adding a few celadon green gems for a touch of sparkle!

Well, that’s all for my project today! I hope you’re keeping warm if you’re experiencing these super cold temps like we are. I won’t lie; I love having an excuse to stay huddled at home under a blanket next to the fireplace. Thanks so much for stopping by today, and have a marvelous day!

Filed Under: simon says stamp Tagged With: blossom field, copic coloring, friendship leaf cluster, gentle blooms, leaf flourish, ornate borders

Primary Sidebar

  • Facebook
  • Instagram
  • Pinterest
  • YouTube

Favorite Shops

Secondary Sidebar

Subscribe

Enter your email address to subscribe to this blog and receive notifications of new posts by email.

Instagram
Something is wrong.
Instagram token error.
Follow
Load More

Archives

Tags

3D embossing folder alcohol markers better press birthday birthday card blog hop card kit christmas christmas card christmas tag colored pencil copic copic coloring Daniel Smith die cutting embossing folder embroidery felt giveaway holiday holiday card hot foil ink blending karin brushmarker pro layered stencil masculine my monthly hero new release no line coloring no line watercolor OLO marker olo markers original illustration pawsitively saturated rainbow shaker card slimline stamping stamptember stencil thank you thinking of you valentine's day video watercolor

Popular Posts

Simon Says Stamp Joy For You Blog Hop- Day 1!
Simon Says Stamp Joy For You Release-Now Available!
Frozen Fractals All Around with New Simon Says Stamp Joy For You Release!
Shaped Holiday Shaker Card with New Simon Says Stamp Jolly Season Card Kit of the Month!
Holiday Postage with New Simon Says Stamp!
Simon Says Stamp Glory to the Newborn King Holiday Kit-Part II!
Pinkfresh Studio 5th Birthday!
Altenew Build A Flower: Fuchsia Blog Hop+Giveway!
Holiday Joy in Pink and Green with New Simon Says Stamp DieCember!
Honey Bee Stamps September Release Blog Hop!

Disclosure

Some affiliate links are used in my posts. This means that, should you click on one of my links and purchase something from that company, I will receive a small portion of the sale at no extra cost to you. I use the money earned from these sales to help maintain my blog. I so appreciate you visiting and, if you do choose to use one of my affiliate links, thank you so much for your support!
Copyright © 2026 ·Brunch Pro Theme · Genesis Framework by StudioPress · WordPress · Log in
Loading Comments...