• Skip to main content
  • Skip to primary sidebar
  • Skip to secondary sidebar

Sixth Street Sundries

Emily Midgett

  • Home
  • About Me
  • Contact
  • OLO Marker Color Swatch Chart
  • Shop

pretty bows 2

Wee Ghosties with New Simon Says Stamp!

September 24, 2025

This post was sponsored by Simon Says Stamp. Thanks, Simon!

Hi friends! I am back today with a pair of cutesy Halloween projects featuring some new goodies from Simon Says Stamp! I am not typically a huge fan of Halloween, preferring instead to skip from autumnal aesthetic to Christmas, but the little ghosties in the new My Boo set from the Simon Says Stamp STAMPtember release (check it out HERE) were just too cute to pass up! I always enjoy a good gift set, so I decided to create a shaker card with a matching embroidery hoop that could be hung for Halloween. Let’s get started with the details on my projects!

*I have gathered links to all of the products used at the bottom of the post for your convenience, using affiliate links. Thank you for shopping with my links! I truly appreciate your support for my work!*

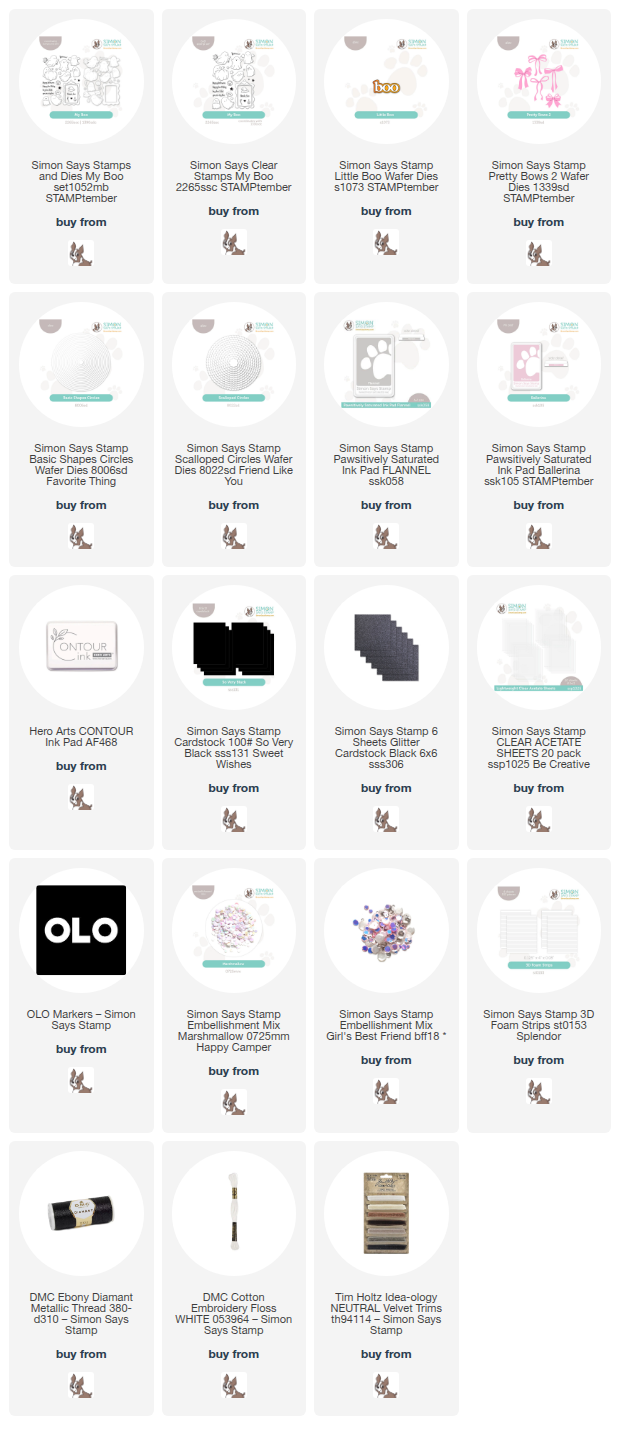
The My Boo stamp set features wee ghosties in a variety of positions and activities, but I thought that the bat ghost was so darling that I used it twice! To fit my own personal aesthetic preferences, I decided to keep the colors pastel and pretty, focusing on black, white, and pastel pink, with touches of silver thrown in for sparkle.

For the shaker card, I stamped the ghost from My Boo on some Hammermill cardstock using Hero Arts Contour Ink, then used my OLO Markers to color the image in no-line style, liberally using the colorless blending marker to soften the edges of the shadows, keeping the ghost as white as possible. I used the coordinating die to cut the finished image, then created my card base. I stamped a variety of stars using Pawsitively Saturated Inks in shades of Flannel & Ballerina to create a subtly patterned background upon which my ghostie could float. When creating custom patterned paper like this, I like to turn the stamp block and the cardstock with each new stamp so that I can create the random, continuous pattern over the entire panel.

To create my shaker, I die cut a black Scalloped Circles die cut, then cut out the center using Basic Shapes Circles to create a sweet scalloped frame. I also die cut another scalloped circle from some clear acetate and backed the black frame with this die cut of the same size. I used Simon Says Stamp Foam Adhesive Strips to create a full seal around the back of the frame, filling the shaker with both Simon Says Stamp Marshmallow Sequins and Girl’s Best Friend Sequins. To add a little extra sparkle and fill in the bare spot above the ghost, I die cut a fluffy bow from Pretty Bows 2 twice from black glitter cardstock. I trimmed off the ends of the second die cut’s bow, tucking them beneath the full bow to create an even fluffier look. I popped up the colored ghost in the center of my shaker window, finally adding a stamped greeting beneath. Isn’t this just so cute!!? It would work perfectly as a complement to the embroidered gift!

To create my embroidered gift, I stamped the little bat-ghost from My Boo onto some finely-woven green fabric using Flannel ink, then used black and white embroidery floss to embroider the cute little fella. I added a few star sequins and some beads around him, finally adding a black foil felt die cut Little Boo beneath. I cleaned up the back of my embroidery hoop with my glue gun, adding a die cut cardstock circle over the top to hide the somewhat messy back of the embroidery, then added a black velvet bow to the top and a loop of coordinating sage green ribbon so that the hoop can be easily hung for decoration!!

Well, that’s all for my projects today! I can handle Halloween if it’s filled with cute little ghosts like these! Thanks so much for stopping by today, and have a marvelous day!
Filed Under: simon says stamp Tagged With: basic shapes circles, embroidery, halloween, little boo, my boo, no line coloring, olo markers, pretty bows 2, scalloped circles, shaker card

Wedding Day Bows with Simon Says Stamp!

September 9, 2025

This post was sponsored by Simon Says Stamp. Thanks, Simon!

Hi friends! I have some super feminine inspiration to share with you today using a couple of new goodies from the Simon Says Stamp STAMPtember mega-release that kicked off our month-long STAMPtember celebration! (Check it out HERE!) We’re celebrating all things stamping, so throughout the month of September, Simon Says Stamp will have exclusive collaborations with some of our favorite stamping companies, releasing a limited edition stamp set designed in collaboration with a different company nearly every day! (Click HERE to see the Collaboration Sets page, and be sure to bookmark it so that you don’t miss out on any of the amazing limited edition sets!!) My project for today, however, focuses on the gorgeous new Pretty Bows 2 die set. We’re celebrating all things stamping during STAMPtember, but we can’t forget about the fabulous dies that open up whole new worlds of creativity. Let’s get started on the details for my wedding card!

*I have gathered links to all of the products used at the bottom of the post for your convenience, using affiliate links. Thank you for shopping with my links! I truly appreciate your support for my work!*

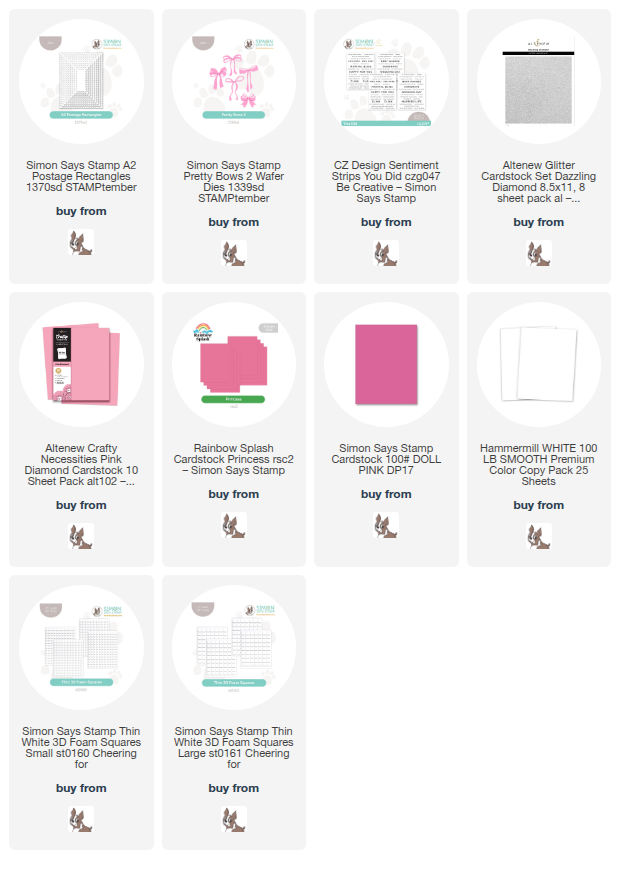
Bows are all the rage right now… in hair, on clothes, in artwork… so I thought I’d pair them with one of my favorite design tricks: when in doubt, use the same image repeatedly to create a focal point! I die cut three of the new Pretty Bows 2 twice each using light, medium, and dark shades of pink cardstock. I decided to use two of each bow, layering them together, to create a full, fluffy bow, but you could easily do this with a single die cut image. I think they look so pretty next to each other!!

I wanted to give the visual of a postage stamp collage with the bows, so I die cut three A2 Postage Rectangles from plain white cardstock and adhered them to a panel of white cardstock using foam adhesive. I arranged the bow die cuts on each postage stamp with some foam adhesive for extra dimension.

After I had created the central focal point, it was time to add a sentiment and some sparkling accents. I trimmed down a wedding sentiment from the You Did Sentiment Strips and popped it beneath the bows, then trimmed down some very thin strips of Dazzling Diamond glitter cardstock, centering these strips on some slightly wider strips of plain white cardstock. I popped these strips up with foam adhesive, placing them above and below the row of bow postage stamps. I think the crisp, straight lines work beautifully with the bold, graphic aesthetic of the row of postage stamps!

Well, that’s all for my project today. If you’re ever stuck on how to use a particular image, try repeating it on your card front. It’s one of my favorite techniques! Thanks so much for stopping by today, and have a marvelous day!

Filed Under: simon says stamp, Uncategorized Tagged With: a2 postage stamp rectangles, pretty bows 2, wedding card

Primary Sidebar

  • Facebook
  • Instagram
  • Pinterest
  • YouTube

Favorite Shops

Secondary Sidebar

Subscribe

Enter your email address to subscribe to this blog and receive notifications of new posts by email.

Instagram
Something is wrong.
Instagram token error.
Follow
Load More

Archives

Tags

3D embossing folder alcohol markers better press birthday birthday card blog hop card kit christmas christmas card christmas tag colored pencil copic copic coloring Daniel Smith die cutting embossing folder embroidery felt giveaway holiday holiday card hot foil ink blending karin brushmarker pro layered stencil masculine my monthly hero new release no line coloring no line watercolor OLO marker olo markers original illustration pawsitively saturated rainbow shaker card slimline stamping stamptember stencil thank you thinking of you valentine's day video watercolor

Popular Posts

Simon Says Stamp October 2026 Card Kit of the Month: Homespun Gratitude!
Honey Bee Stamps Cheerful Love Blog Hop!
Altenew Craft A Flower: Poppy Blog Hop+Giveaway!
Simon Says Stamp Cozy & Bright Inspiration, Part Two!
February 2018 My Monthly Hero Blog Hop!
Autumn Legs with Colorado Craft Company and Catherine Pooler!
Simon Says Stamp STAMPtember Surprise: Boo Bundle Halloween Card Kit!
The Ton Anniversary Release- Day 2
Hero Arts Spring 2020 Catalog Release Blog Hop+Giveaway!
Altenew Standalone Die Blog Hop+Giveaway!

Disclosure

Some affiliate links are used in my posts. This means that, should you click on one of my links and purchase something from that company, I will receive a small portion of the sale at no extra cost to you. I use the money earned from these sales to help maintain my blog. I so appreciate you visiting and, if you do choose to use one of my affiliate links, thank you so much for your support!
Copyright © 2026 ·Brunch Pro Theme · Genesis Framework by StudioPress · WordPress · Log in
Loading Comments...