Hi there! Each month, OLO Markers comes out with a trio of colors that you can purchase (or use the markers that you already have) to participate in their Color of the Month Challenge! These Color of the Month markers (which you can check out HERE) are always three different colors that, when blended together or used separately, help to expand your blending trios and create a new perspective on your markers!! I found the May 2023 Colors of the Month markers to be extremely inspiring; they were colors that I would not normally have used together, certainly not for coloring, but I thought the blue, turquoise, and lime green were so modern, chic, and fresh that I started creating with them and couldn’t stop! I have been carefully collecting different products from Honey Bee Stamps over the last several months and was inspired to pull a bunch of them out to create a quartet of cards using this fun color combination. Let’s get started with the details!

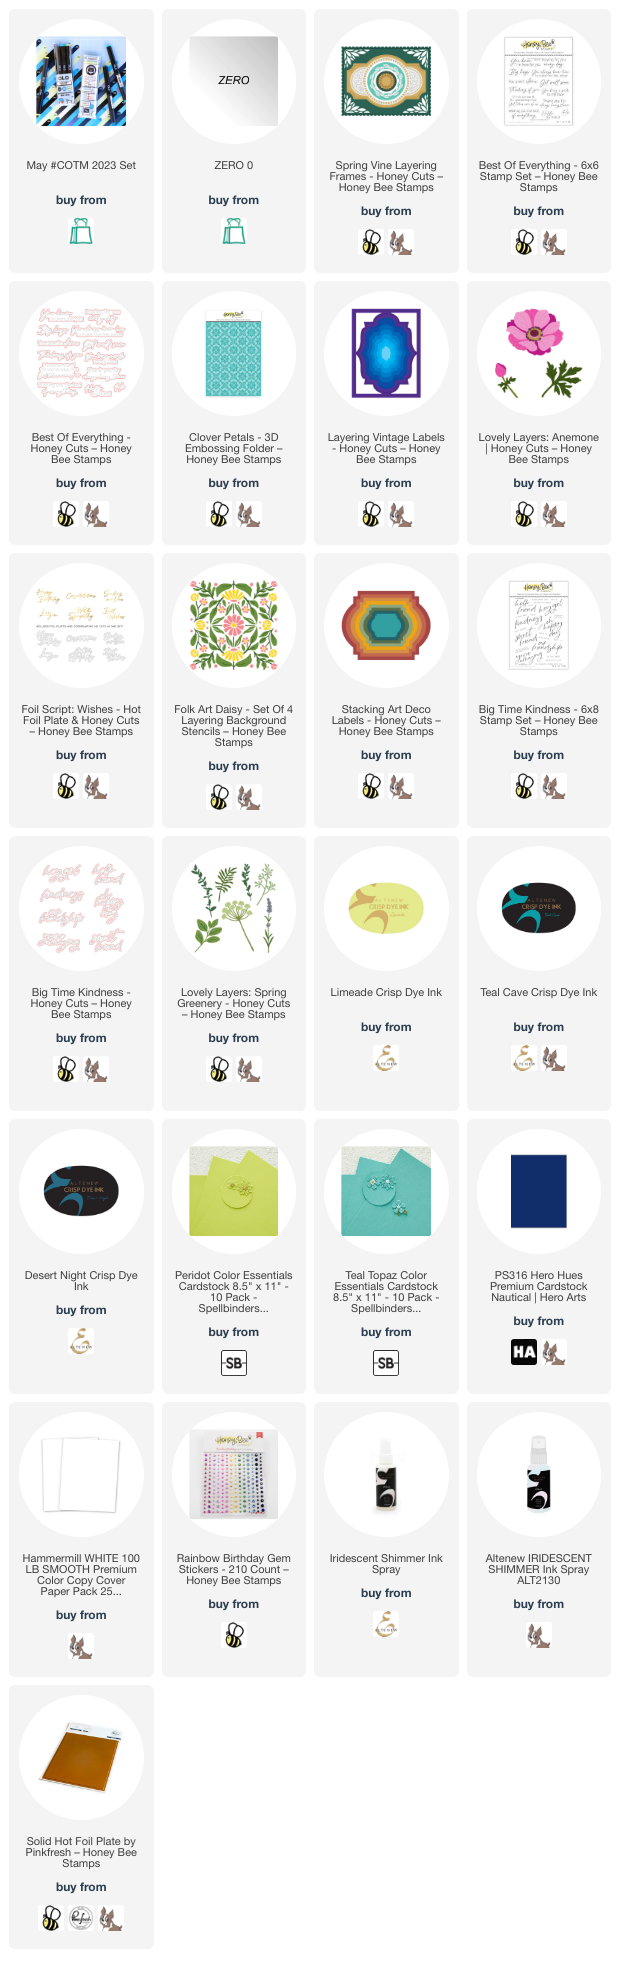
I began by pulling coordinating ink and cardstock colors that would match the May 2023 Colors of the Month. I grabbed Limeade, Teal Cave, and Desert Night inks from Altenew, as well as Teal Topaz and Peridot cardstocks from Spellbinders and Nautical cardstock from Hero Arts.

For my first project, I used the absolutely beautiful Lovely Layers: Spring Greenery standalone dies from Honey Bee Stamps with the May 2023 Colors of the Month. I die cut the images from plain white cardstock, then used only the May 2023 Colors of the Month to add color to the images. Being limited to only the three markers meant that I had to get creative in order to create multiple colors that still worked with the images themselves. I did some “glazing” to create custom colors, laying down one solid layer of color, then adding another color over the top to create a completely unique color. I also was able to increase the intensity of the colors by adding multiple layers of the same color (as I did on the sprigs of lavender). I used all three colors on the larger eucalyptus leaves, laying down the blue in the center of each leaf, blending out with the aqua, then glazing the entire leaf with the lime green marker. The only additional marker that I used was the zero marker from OLO, which I used to add highlights and to lessen the intensity of some of the colors, as well as add tiny dots of white on the Queen Anne’s Lace flowers. I was amazed and really pleased at the variety of colors that I was able to create using just four markers that I would never have normally put together!

After I’d finished coloring the images, I die cut the largest detail frame from the breathtaking Spring Vine Layering using Nautical cardstock, backing it with Teal Topaz cardstock to coordinate with the turquoise tones in the coloring. I die cut a Sentiment Frames frame from some matte silver foil cardstock, which I adhered with foam tape for extra dimension, then arranged my colored floral die cuts around the frame, adhering them with both liquid and foam adhesive for lots of different dimension and height. I added a greeting from the Best of Everything stamp set, heat embossed in silver on navy cardstock and die cut with the coordinating die. Finally, I added a few gems for some sparkle!

For my second card, I blended the three shades of ink (Limeade, Teal Cave, and Desert Night) to create a crazy vivid background. After I blended the three colors together on a panel of plain white A2 cardstock, I ran the entire thing through my die cut machine using the Clover Petals embossing folder from Honey Bee Stamps and spritzed it with some iridescent shimmer spray to enhance the pattern even further.
I die cut the Lovely Layers: Anemone, cutting the flower layers from white cardstock and the foliage from two different shades of green cardstock. I swiped the lime green marker from May 2023 Colors of the Month in the center of each layer of the white flower, smoothing the edges with the zero marker to create just the lightest hint of lime green in the center of the anemone. I die cut some leaves in coordinating shades of bright green.

To create the frame around which I could build my bouquet, I used the Layering Vintage Labels die to create this uniquely-shaped frame, cutting it from Nautical cardstock to coordinate with the navy blending on the background and adhering it with some foam adhesive to give it extra height and help it pop from the background. I arranged the flowers and foliage in a bouquet around the edge of the frame and added a greeting created with the Foil Script: Wishes hot foil plate and die, creating the reverse sentiment using the leftover foil with a solid hot foil plate. The final touch was to add a few bits of bling in a coordinating shade of iridescent lime green!

For my next card, I paired the three ink shades (Limeade, Teal Cave, and Desert Night) that coordinate beautifully with the OLO Colors of the Month with the Folk Art Daisy layering stencil set. I use blending brushes to blend the layers, keeping the flowers that lovely shade of pale lime green, with turquoise leaves and deep navy accents. I trimmed the stenciled panel down and matted with an ever-so-slightly larger panel of navy cardstock, creating a very thin navy blue frame around the edge. I popped these two layers up on a Peridot cardstock card front.

For the greeting, I stamped one of the sentiment strips and a large scale sentiment from Big Time Kindness using the Desert Night ink, then die cut it with the coordinating die. To help the greeting stand out from the busy patterned background, I die cut one of the Stacking Art Deco Label dies from some vellum, slightly offsetting it to the right. I used dimensional foam adhesive to adhere the sentiments to the vellum piece, then hid my liquid adhesive behind these solid die cuts so as not to mar the semi-transparent vellum. Finally, I added a few iridescent gems for some sparkle!

My last card is an homage to the beauty of the Spring Vines Layering Frame die set. I cut the different layers from Teal Topaz, Peridot, and Nautical cardstock, layering them together in a striking combination, using foam adhesive for the largest interior label layer and liquid adhesive for the remaining layers.

I also heat embossed a simple but poignant greeting from the Best of Everything stamp set, heat embossed in silver on some more navy cardstock and die cut with the coordinating die. I used one last layer of foam adhesive to add the sentiment, giving it a little bit of extra height amongst all of the die cut layers. Finally, I added some gems to the four corners for a tiny bit of sparkle!
Well, have you made it this far? That was a lot of cards for one post! I got rolling with that beautiful color ocmbination from OLO and just couldn’t stop! I love when something simple brings on such a flood of inspiration. You can check out more information about the May 2023 Colors of the Month challenge by clicking on the link. Thanks so much for reading today, and have a marvelous day!