• Skip to main content
  • Skip to primary sidebar
  • Skip to secondary sidebar

Sixth Street Sundries

Emily Midgett

  • Home
  • About Me
  • Contact
  • OLO Marker Color Swatch Chart
  • Shop

teardrop pinpoint frames

Love You So Much Mom in Shades of Aqua with Simon Says Stamp!

May 7, 2026

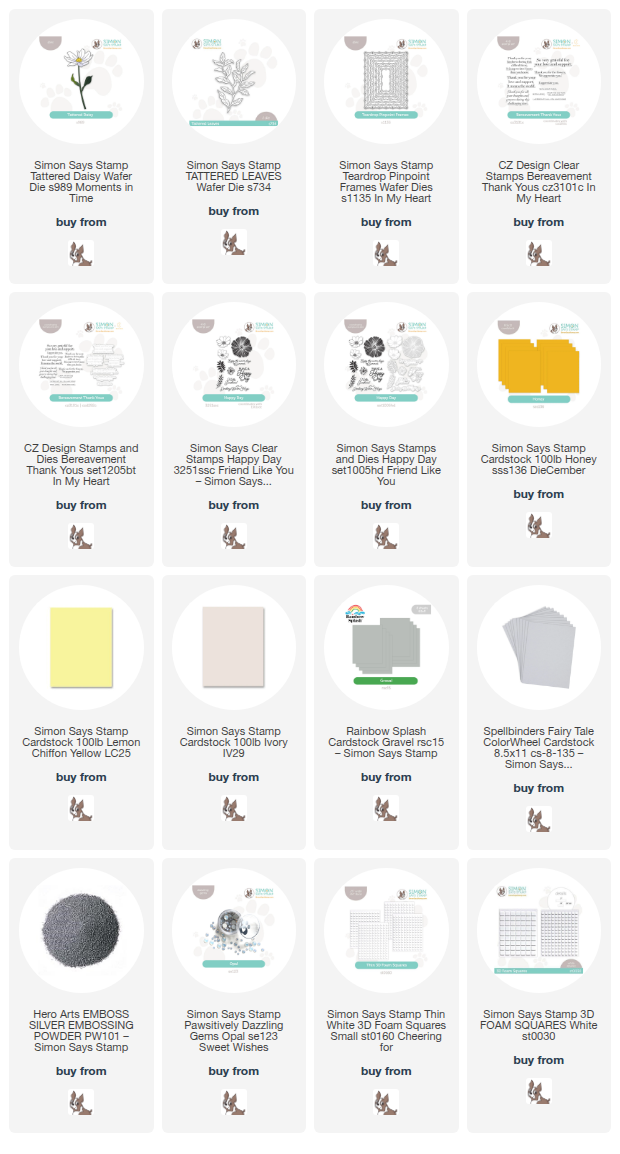
This post was sponsored by Simon Says Stamp. Thanks, Simon! *I have gathered links to all of the products used at the bottom of the post for your convenience, using affiliate links at no extra cost to you. Thank you for shopping with my links! I truly appreciate your support for my work!*

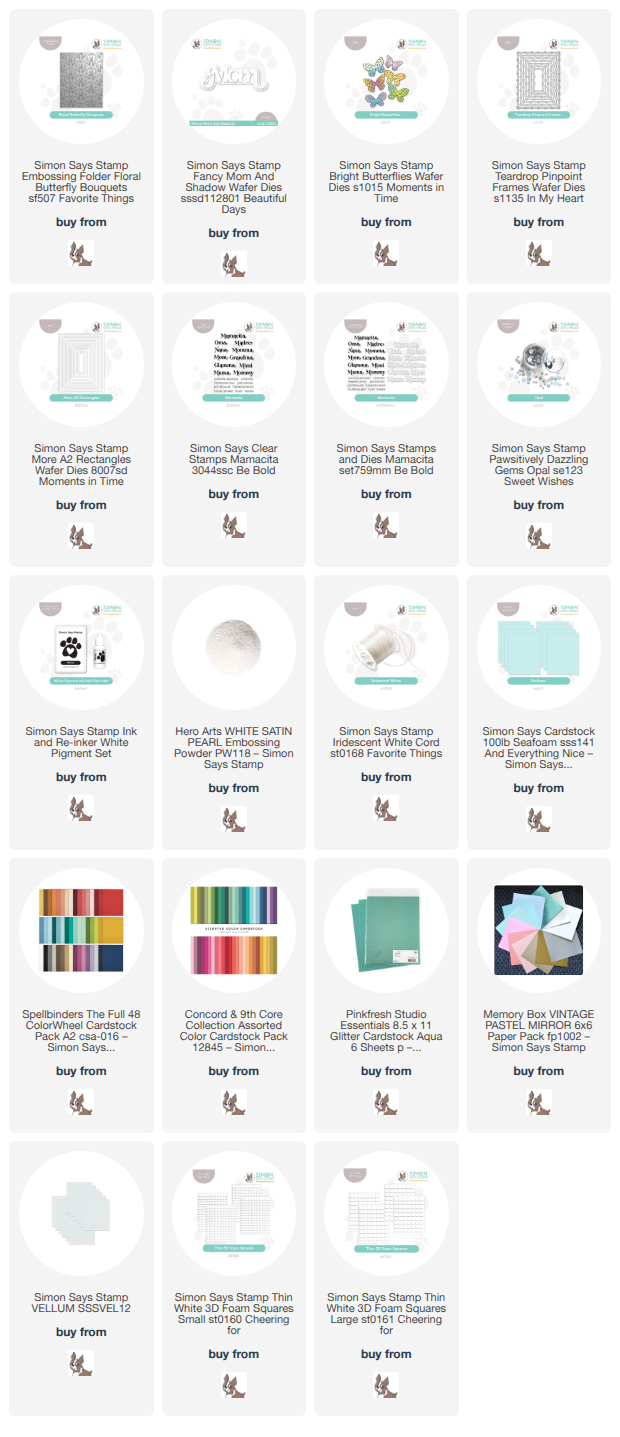
Hi friends! I have another project to share for those who might need a last-minute Mother’s Day card for this weekend! I used my favorite shades of aqua, teal, and turquoise to create this monochromatic project with tons of texture and delicate little details. I used an embossing folder that I haven’t had a chance to use yet: Floral Butterfly Bouquets, which paired beautifully with the Bright Butterflies. Embossing on colored cardstock always lends such an air of sophistication to your cards, in my opinion, and the texture on this gorgeous turquoise cardstock is exquisite. Let’s get started on the details for my project!

To begin, I ran an A2 panel of vibrant turquoise cardstock through my die cutting machine using the Floral Butterfly Bouquets, a super detailed and perfectly springy pattern that works beautifully for Mother’s Day! I trimmed the panel down so that it was 3.25″ x 5.5″ and layered some strips of deep teal and pale pool blue cardstock along the long edge of the card front, creating some monochromatic stripes on my card front.

I knew that I wanted a spotlight on the die cut and embossed sentiment pieces, so I die cut one of the Teardrop Pinpoint Frames from that same deep teal cardstock used on the stripes so that it would pop beautifully from the textured background. I used one of the More A2 Rectangles dies to cleanly cut the center from the decorative frame. I also die cut a few Bright Butterflies from some iridescent white foil cardstock. I popped up the frame with a double layer of thin foam adhesive to add a little extra dimension on the card front and added a trio of butterflies with some more thin foam adhesive squares.

For the greeting, I paired the Fancy Mom & Shadow dies with a sentiment strip from Mamacita. I die cut the detail layer of the Fancy Mom & Shadow from some glittering aqua cardstock, then added it to the shadow layer cut from vellum. I used thin strips of thin foam adhesive squares to add the detail cut to the vellum for a little added texture and height. For the sentiment strip, I stamped the “love you so much” from Mamacita onto some more of the deep teal cardstock using white pigment ink, then added some White Satin Pearl embossing powder over the top to add that little extra shimmer. I adhered the sentiment pieces in the center of the die cut frame, then added some Opal Pawsitively Dazzling Gems and tucked an Iridescent White Cord bow beneath the sentiment!

Well, that’s all for my project today! If you are grieving this Mother’s Day or not celebrating for any reason, I hope that you are able to find some peace. I know this is a hard day for some, and I apologize if my posts have brought any sadness. Sending hugs!! Thanks so much for stopping by today, and have a marvelous day!
Filed Under: simon says stamp, Uncategorized Tagged With: bright butterflies, butterfly bouquets, fancy mom and shadow, mamacita, more A2 rectangles, mother's day, teardrop pinpoint frames

Sunshine and Daisies with Simon Says Stamp!

April 29, 2026

This post was sponsored by Simon Says Stamp. Thanks, Simon! *I have gathered links to all of the products used at the bottom of the post for your convenience, using affiliate links at no extra cost to you. Thank you for shopping with my links! I truly appreciate your support for my work!*

Hi friends! I am still having a love affair with the beautiful decorative frame dies from Simon Says Stamp, which I’ve used in THIS post and THIS post. They work so beautifully with all things floral! Today, I’ve paired the gorgeous Teardrop Pinpoint Frames with some fun colors, “tattered” floral and greenery dies, and some pretty sentiment stamps and dies to create this cheery appreciation card. Let’s get started with the details on my project!

To begin, I selected a fun color palette of ivory, sunny yellow, and two different shades of muted gray cardstock, juxtaposing the cheery yellows with the somber shades of gray. I love making a dramatic visual impact with non-traditional colored foliage! I die cut the bloom from the Tattered Daisy die set twice from two different shades of buttery yellow cardstock, then cut the Tattered Leaves die set (a lovely and delicate swag of foliage that pairs beautifully with the Tattered Daisy blooms) using some mid-gray cardstock for something different! I switched up the colors of the daisy during assembly, adding the lighter yellow flower center to the Honey bloom and the darker yellow center to the Lemon Chiffon bloom.

To ground my florals and foliage, I die cut the beautiful Teardrop Pinpoint Frames from a lighter shade of gray cardstock, which would allow my blooms and foliage to pop from the background. I used thin foam adhesive squares to adhere my decorative rectangle die cut to the center of an Ivory A2 card front, adding a touch of height to the card front.

For the greeting, I silver heat embossed sentiments from both the Bereavement Thank Yous and Happy Day sets onto Ivory cardstock, then die cut them with their coordinating dies. I also trimmed a thick rectangular strip of cardstock and flagged the end with my scissors to draw extra attention to the sentiments since they were small in comparison to the floral focal points. I arranged all of the foliage and flowers on the decorative rectangle die cut, adhering the pieces with a mixture of foam adhesive and liquid adhesive, then tucked the flagged strip between the daisies. I popped up the sentiments with some more foam adhesive, placing the scripty sentiment at a jaunty angle to draw attention to it. Finally, I added lots of sparkling Opal Pawsitively Dazzling Gems, placing a trio amongst the focal points as well as in between the scallops of the decorative rectangle die cut. I think it looks so dainty and feminine with all of the extra little details added!

Well, that’s all for my project today! It’s such fun to make a project pop with a unique and interesting color palette and some sparkling accents. Thanks so much for stopping by today, and have a marvelous day!

Filed Under: simon says stamp, Uncategorized Tagged With: bereavement thank yous, die cutting, happy day, tattered daisy, tattered leaves, teardrop pinpoint frames

Sending Love and Butterflies with New Simon Says Stamp!

March 24, 2026

This post was sponsored by Simon Says Stamp. Thanks, Simon! *I have gathered links to all of the products used at the bottom of the post for your convenience, using affiliate links at no extra cost to you. Thank you for shopping with my links! I truly appreciate your support for my work!*

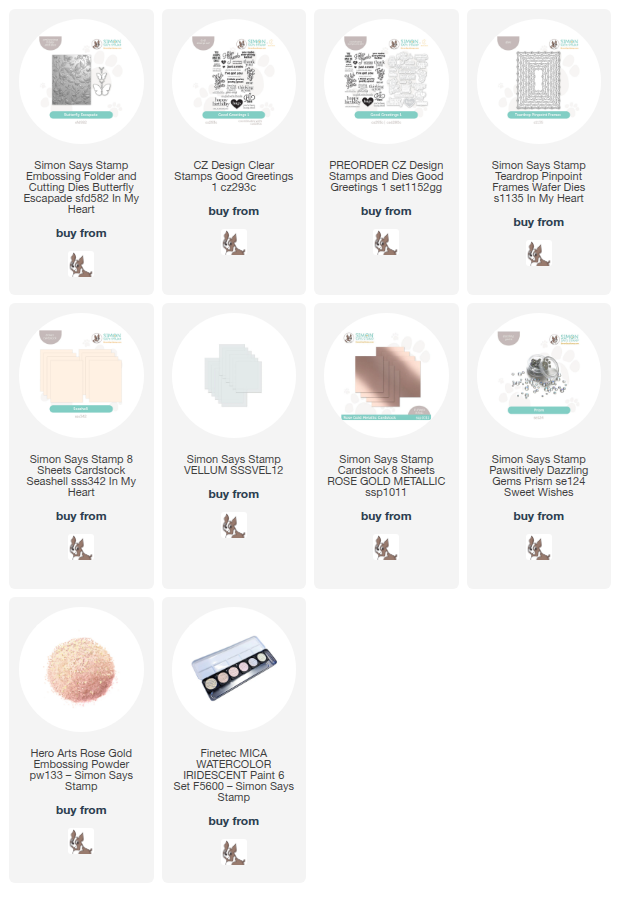
Hi friends! I have another card to share with you today that features lots of beautiful new goodies from the Simon Says Stamp n My Heart release! (Click HERE to see the entire new release!) The new pastel cardstock included with the release is absolutely stunning, and truly perfect for pairing with so many different techniques. I love pairing colorful cardstock with embossing folders and iridescent accents, creating ethereal projects with a touch of whimsy. Let’s get started with the details on my project!!

I began my project today by embossing a panel of the new Seashell cardstock with the new Butterfly Escapade embossing folder. This embossing folder comes equipped with coordinating dies so that you can cut and emboss individual, beautifully detailed butterflies! I die cut a pair of butterflies from the same Seashell cardstock and placed them in their appropriate spot in the embossing folder. After I had finished embossing and die cutting, I used some beautiful iridescent glitter watercolors to add some gorgeous shimmer to the butterflies on both the embossed panel and the individual die cuts, as well as splattering the background with more shimmery watercolors. You can see the shimmer really well in the photo below!

While the butterflies dried, I created the sentiment for the card, heat embossing a lovely greeting from Good Greetings 1 onto some more Seashell cardstock using Rose Gold embossing powder. I used the coordinating die to cut it out, then die cut a small vellum rectangle using the new Teardrop Pinpoint Frames, which come with a large array of sizes all nested together to give you tons of options! The vellum rectangle helps provide some visual stillness behind the greeting so that it pops from the busy textured background!

To assemble the card, I trimmed off the top and bottom 3/4″ from the embossed panel, then placed it in the center of another full size A2 panel of Seashell cardstock. To help create a visual barrier, I found some iridescent blush cardstock from my stash (it’s super old, and I’m unsure of the brand, but I’ve linked a pretty rose gold mirror cardstock that would work nicely!) and cut two thin strips, adhering them at the top and bottom of the embossed panel. I placed the die cut and embossed sentiment in the center of my vellum rectangle using foam adhesive, then flipped the vellum piece over and added more thin foam adhesive behind the solid die cut to keep the vellum clean. I placed that in the center of the embossed panel, then adhered the individual butterfly die cuts around the greeting using more foam adhesive. Finally, I added some sparkling Prism Pawsitively Dazzling Gems for one final sparkling accent!

Well, that’s all for my project today! I just love how whimsical, yet elegant, this project came out. The colored cardstock does a lot of the work for you; all you need to do is add the shimmering accents and some simple die cuts to create this pretty card! Thanks so much for stopping by today, and have a marvelous day!

Filed Under: simon says stamp Tagged With: butterflies, butterfly escapade, die cutting, embossing folder, good greetings 1, iridescent watercolor, teardrop pinpoint frames

Primary Sidebar

  • Facebook
  • Instagram
  • Pinterest
  • YouTube

Favorite Shops

Secondary Sidebar

Subscribe

Enter your email address to subscribe to this blog and receive notifications of new posts by email.

Instagram
Something is wrong.
Instagram token error.
Follow
Load More

Archives

Tags

3D embossing folder alcohol markers better press birthday birthday card blog hop card kit christmas christmas card christmas tag colored pencil copic copic coloring Daniel Smith die cutting embossing folder embroidery felt giveaway holiday holiday card hot foil ink blending karin brushmarker pro layered stencil masculine my monthly hero new release no line coloring no line watercolor OLO marker olo markers original illustration pawsitively saturated rainbow shaker card slimline stamping stamptember stencil thank you thinking of you valentine's day video watercolor

Popular Posts

Simon Says Stamp October 2026 Card Kit of the Month: Homespun Gratitude!
Altenew Craft A Flower: Poppy Blog Hop+Giveaway!
Honey Bee Stamps Cheerful Love Blog Hop!
Autumn Legs with Colorado Craft Company and Catherine Pooler!
Simon Says Stamp Cozy & Bright Inspiration, Part Two!
February 2018 My Monthly Hero Blog Hop!
The Ton Anniversary Release- Day 2
Sunflower Home Decor with Simon Says Stamp!
Simon Says Stamp STAMPtember Surprise: Boo Bundle Halloween Card Kit!
Hero Arts Spring 2020 Catalog Release Blog Hop+Giveaway!

Disclosure

Some affiliate links are used in my posts. This means that, should you click on one of my links and purchase something from that company, I will receive a small portion of the sale at no extra cost to you. I use the money earned from these sales to help maintain my blog. I so appreciate you visiting and, if you do choose to use one of my affiliate links, thank you so much for your support!
Copyright © 2026 ·Brunch Pro Theme · Genesis Framework by StudioPress · WordPress · Log in
Loading Comments...