• Skip to main content
  • Skip to primary sidebar
  • Skip to secondary sidebar

Sixth Street Sundries

Emily Midgett

  • Home
  • About Me
  • Contact
  • OLO Marker Color Swatch Chart
  • Shop

twining berries

Holiday Lilies with Simon Says Stamp!

November 15, 2023

This post was sponsored by Simon Says Stamp. Thanks, Simon!

Hi friends! I am back today with another project featuring the lily stamp from my new Festive Bouquets illustrations. When researching flowers for my drawing, I always look at different floral arrangements for weddings and holidays, and I was struck by how frequently large lilies are used in holiday bouquets. I couldn’t remember ever seeing a holiday lily stamp before, so I created a large arrangement to use on your holiday cards and was super fun to color!! Let’s get started with the details on my project.

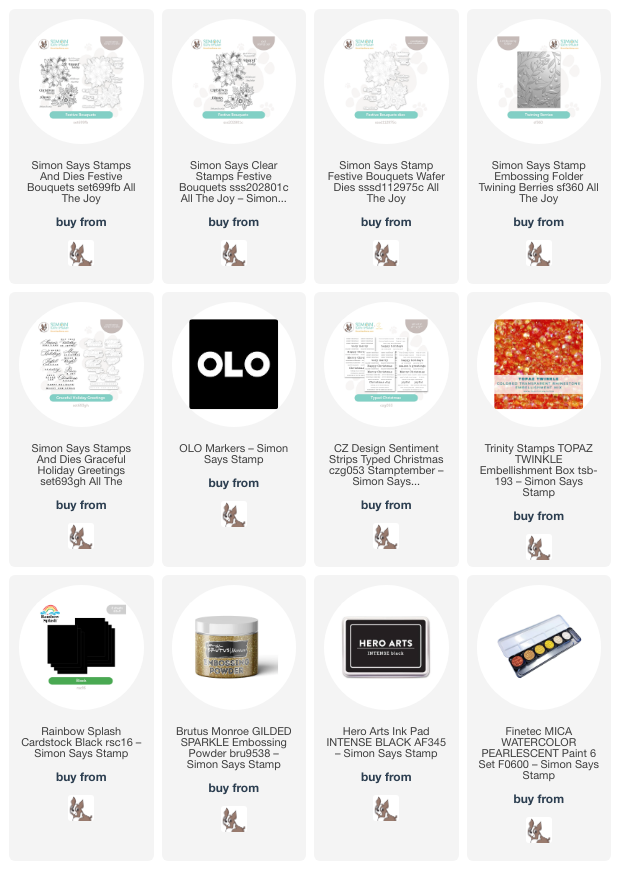
I began by stamping the lily image from the Festive Bouquets stamp set onto some Hammermill white cardstock using Intense Black ink. I then used OLO markers to create vivid red, almost a bright coral, lilies and lime green foliage. This image would be beautiful in no-line style, as well, but I think that the crisp black lines with the vivid red flowers are such a classic pairing that I couldn’t resist using it for this project. I die cut the image with the coordinating die.

To add some subtle, but still festive, texture behind my floral bouquet, I ran an A2 panel of Hammermill white cardstock through my die cut machine using the new Twining Berries embossing folder. This embossing folder has such classic holiday botanical imagery and added such lovely texture behind my floral bouquet. The only enhancement that I made was to add some shimmering gold watercolor splatters to the embossed panel, though this panel would also be gorgeous colored with your choice of medium!! I added my floral bouquet to the bottom corner of my card front and trimmed off the excess from the edges. To coordinate with the gold splatters on the background, I also added some shimmering gold to the centers of the lilies.

For the sentiment, I heat embossed a greeting from the Graceful Holiday Greetings set onto some black cardstock using gold sparkle embossing powder. I die cut the greeting with the coordinating die, then added a sentiment strip from the CZ Design Typed Christmas Sentiment Strips cards. These cards are printed with toner, so they can be foiled using a Minc or a laminator. Such fun to add that little extra bit of shine! I popped up the greeting pieces on the embossed card front using foam adhesive, then added a few iridescent red gems for extra sparkle.

Well, that’s all for my project today! Simple, elegant, and lots of shimmer and shine to make it extra festive. Thanks so much for stopping by today, and have a marvelous day!
Filed Under: original illustrations, simon says stamp Tagged With: alcohol markers, christmas card, festive bouquets, graceful holiday greetings, holiday card, olo markers, original illustration, twining berries

Greenery Swag with All the Joy!

November 14, 2023

This post was sponsored by Simon Says Stamp. Thanks, Simon!

Hi friends! I have been dealing with a stomach bug (thanks kiddos for sharing those germs… not what I meant when I said I wanted you to share!!), but I wanted to pop in quickly with this project featuring some dramatic die cutting using goodies from the new Simon Says Stamp All the Joy release. This card doesn’t have a smidge of stamping on it, just lots of die cuts and textures from different cardstocks. Let’s get started with the details!

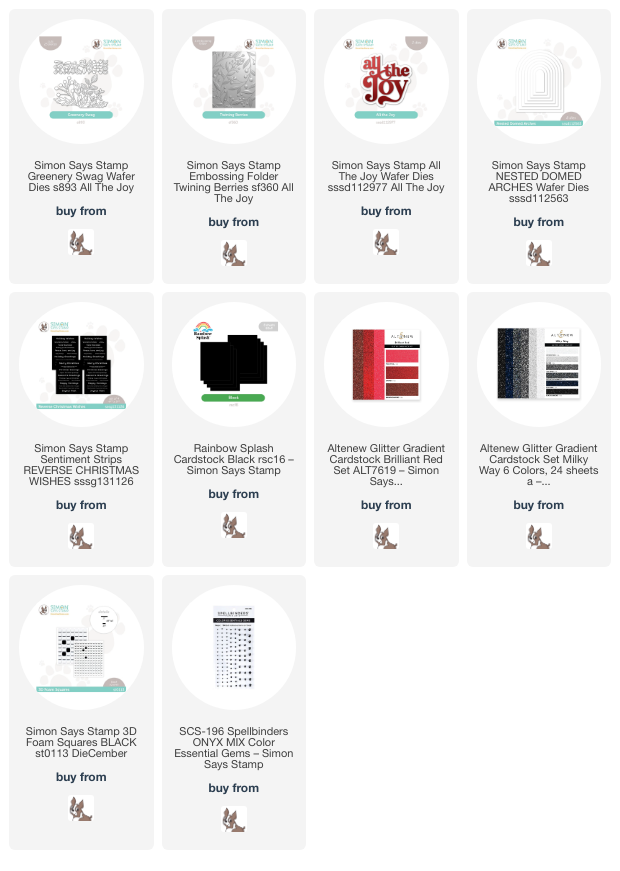
To start, I die cut the different elements using the new Greenery Swag die from some different shades of green and sparkling red glitter cardstock. I love adding botanical elements to holiday cards, and the Greenery Swag die set features some classic holiday botanical imagery in a lovely swag. I always like to customize my die cut cards by snipping them apart to create unique arrangements, and there are lots of elements in the Greenery Swag die set that can easily stand alone depending on where you snip them off!

To add some interesting texture behind my botanical arrangement, I ran a panel of Rainbow Splash Black cardstock through my die cut machine with the new Twining Berries embossing folder. I also die cut the center of another A2 panel of black cardstock using the Nested Domed Arches die, reserving the actual die cut for another project and adhering the frame from the negative space to my embossed panel using black foam adhesive. I arranged the botanical die cuts to the bottom of the frame, adding some more individual leaves off of another die cut to allow them to peek from behind the arched frame.

After I had added all of the leafy bits to my card, I die cut the detail layer of the new All the Joy die cut from black glitter paper, then die cut the background outline piece from heavyweight vellum. I added the die cut greeting to the card with more black foam tape, then added a sentiment strip trimmed down from the Reverse Christmas sentiment card set. Finally, I accented the centers of the flowers and a few other spots with some Onyx gems for a bit of extra sparkle!

Well, that’s all for my project today. Do you like to customize your die cuts by trimming them and arranging them on your project in a unique group? It’s one of my favorite ways to customize my cards! Thanks so much for stopping by today, and have a marvelous day!

Filed Under: simon says stamp Tagged With: 3D embossing folder, christmas card, greenery swag, holiday card, nested domed arches, twining berries

Primary Sidebar

  • Facebook
  • Instagram
  • Pinterest
  • YouTube

Favorite Shops

Secondary Sidebar

Subscribe

Enter your email address to subscribe to this blog and receive notifications of new posts by email.

Instagram
Something is wrong.
Instagram token error.
Follow
Load More

Archives

Tags

3D embossing folder alcohol markers better press birthday birthday card blog hop card kit christmas christmas card christmas tag colored pencil copic copic coloring Daniel Smith die cutting embossing folder embroidery felt giveaway holiday holiday card hot foil ink blending karin brushmarker pro layered stencil masculine my monthly hero new release no line coloring no line watercolor OLO marker olo markers original illustration pawsitively saturated rainbow shaker card slimline stamping stamptember stencil thank you thinking of you valentine's day video watercolor

Popular Posts

Simon Says Stamp Joy For You Blog Hop- Day 1!
Simon Says Stamp Joy For You Release-Now Available!
Frozen Fractals All Around with New Simon Says Stamp Joy For You Release!
Shaped Holiday Shaker Card with New Simon Says Stamp Jolly Season Card Kit of the Month!
Holiday Postage with New Simon Says Stamp!
Simon Says Stamp Glory to the Newborn King Holiday Kit-Part II!
Pinkfresh Studio 5th Birthday!
Altenew Build A Flower: Fuchsia Blog Hop+Giveway!
Holiday Joy in Pink and Green with New Simon Says Stamp DieCember!
Honey Bee Stamps September Release Blog Hop!

Disclosure

Some affiliate links are used in my posts. This means that, should you click on one of my links and purchase something from that company, I will receive a small portion of the sale at no extra cost to you. I use the money earned from these sales to help maintain my blog. I so appreciate you visiting and, if you do choose to use one of my affiliate links, thank you so much for your support!
Copyright © 2026 ·Brunch Pro Theme · Genesis Framework by StudioPress · WordPress · Log in
Loading Comments...