• Skip to main content
  • Skip to primary sidebar
  • Skip to secondary sidebar

Sixth Street Sundries

Emily Midgett

  • Home
  • About Me
  • Contact
  • OLO Marker Color Swatch Chart
  • Shop

Archives for February 2022

Altenew Craft Your Life Project Kit: Never Stop Dreaming Release Blog Hop + Giveaway ($300 in total prizes)

February 12, 2022

Hi there! Altenew is adding another beautiful installment to the Craft Your Life Project Kit line today: Never Stop Dreaming, and we have a blog hop to inspire you! You should have arrived here from the Altenew Card Blog, and your next stop is Yasmin Diaz. Here’s a peek at this month’s kit:

This kit features a huge variety of beautiful sentiments to complement the lovely rose line image, which you can color with your choice of medium or use with the layering stencils, included in the kit! The stencils for this kit are a bit different than the typical layering stencil; these create more of a stained glass effect. The kit also includes a gorgeous, super detailed embossing folder, as well as a die set that cuts the floral image and a super useful little tag image. The tag has a debossed edge, which is super classy and will be really versatile! If you are finding these kits irresistible month after month, you can always subscribe to ensure that you get first dibs on them when they’re released and, bonus, you get them at a discount with your subscription! Check out the details here. I have a crisp, pretty-in-pink project for you today using all of the elements of the kit, so let’s get started with the details!

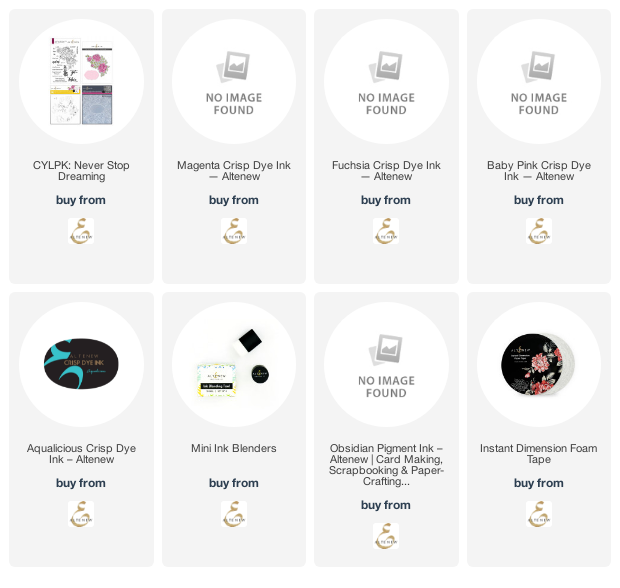
I began by stamping the main rose image in the Never Stop Dreaming kit using Jet Black ink onto some white cardstock. I then used the coordinating layering stencils, included in the kit, and used Magenta, Fuchsia, and Baby Pink inks for the roses, Aqualicious ink for the foliage. I die cut the floral spray with the coordinating die. The stained glass effect that is created with the stencils is so unique and lovely; instead of adding a gradual fade to each petal, it adds shading to entire petals for a different and fun look!

Next, I die cut the debossed label die from some more white cardstock. I stamped one of the charming, poignant greetings included in the Never Stop Dreaming kit using Obsidian pigment ink for a super crisp and intense black sentiment. I also embossed an A2 panel of white cardstock using the included embossing folder, centering the card base over the embossed label on the folder.

Next, it was time to arrange all of the different elements on my card front. I popped up the die cut sentiment label using  Instant Dimension Foam Tape. I arranged my floral die cut so that it was draped around the sentiment as well as hanging over the edge, trimming off the sections that were hanging over the edge and adding them around the edge of the card and peeking out from beneath the sentiment label. I used plenty of foam tape for tons of dimension. The final touch was to add a few black gems to tie together the black sentiment and black outline of the flowers.

Well, that’s all for my project today! To celebrate the release of the Never Stop Dreaming kit, Altenew is hosting a giveaway:

$300 in total prizes! To celebrate this release, Altenew is giving away a $50 gift certificate to 2 lucky winners and a $ 25 gift certificate to 8 winners! Please leave a comment on the Altenew Card Blog and/or each designer’s blog post on the blog hop list below by 02/18/2022 for a chance to win. Altenew will draw 10 random winners from the comments left on each stop of this blog hop and announce the winners on the Altenew Winners Page on 02/20/2022.

Your next stop is Yasmin Diaz. Thanks so much for stopping by today, and happy hopping!
Filed Under: altenew Tagged With: craft your life project kit, never stop dreaming

Colorado Craft Company February 2022 Release- Introducing a New Collection!

February 10, 2022

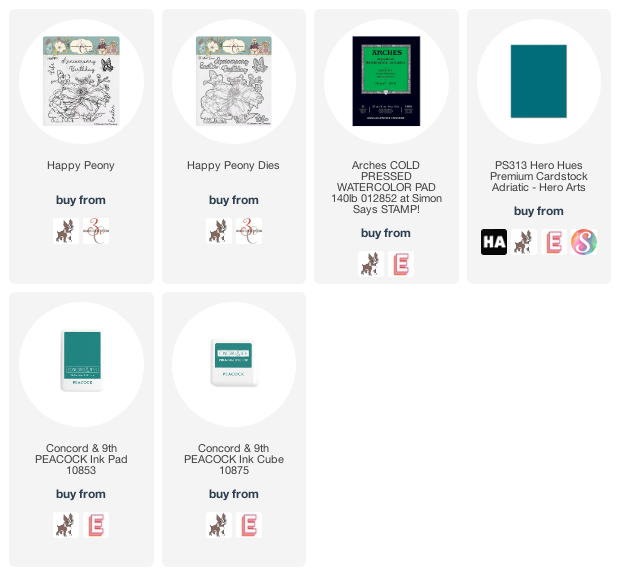
Hi there! I am so excited to be helping my friends at Colorado Craft Company to introduce their new illustrator and a darling new line of stamps for their February 2022 release! You should have arrived here from Donna Hitz, and your next stop is Jasleen Kaur. You can also start back at the beginning at Adrienne Kennedy CCC. I loved the sweet little mice in the new release, but you know me and flowers… I couldn’t resist doing some painting with the absolutely stunning Happy Peony stamp set, so let’s get started with the details!

I began by silver embossing the main image from Happy Peony onto the back of some Arches Cold Press watercolor paper. I find that, when stamping and embossing really detailed images like this onto watercolor paper, the back side of the cold press has slightly less texture, and thus gives a smoother embossed image. After embossing, I taped the panel down to my watercolor board to reduce warping, then added a thick wash of clean water to the panel followed by a diluted layer of purple, blue, and teal Daniel Smith watercolors. I was very free with this pale watercolors, allowing the colors to bleed and blend into each other, not caring whether I was painting a leaf or a flower petal. This diluted layer dried, as all watercolors do, much lighter than when I laid it down, creating a lovely base layer of color for my image.

Once the base layer was dry (I did use my heat gun to speed up the process), I added details using more intense shades of the same colors, painting the peonies blue (who says we can’t have blue peonies?), with touches of purple and teal. I die cut the finished watercolored piece using the coordinating dies.

Once I had finished painting, I blended some deep teal ink on a corner of a coordinating teal A2 card base, then splattered the background with some pearlescent white gouache. The base layer of the peony, painted freely and without attention to the edges of the image, creates a colorful edge around the die cut image, which avoids the white die cut edge that I try to avoid if possible. (Ha! I hate having that stark white edge against a richly colored card base, especially if there is not other white on the card front.) I popped up the die cut using foam adhesive, then added a greeting from Happy Peony with some more foam tape, double layering in some spots to get tons of dimension. The final step was to add some iridescent purple gems for sparkle.

Well, that’s all for today’s project! To celebrate their new release, Colorado Craft Company is sponsoring a giveaway for each stop on the blog hop. To enter, simply leave a comment on this blog post by February 14, 2022. The winners will be announced on the Colorado Craft Company blog on February 16th.

I hope you’ll check out the new stamps from Kris Lauren at Colorado Craft Company; the entire line is absolutely charming. Your next stop on the hop is Jasleen Kaur. Thanks so much for stopping by today, and happy hopping!

Filed Under: colorado craft company Tagged With: Daniel Smith, happy peony, watercolor

Guest Post: Simon Says Stamp and Copics on Neenah Desert Storm!

February 8, 2022

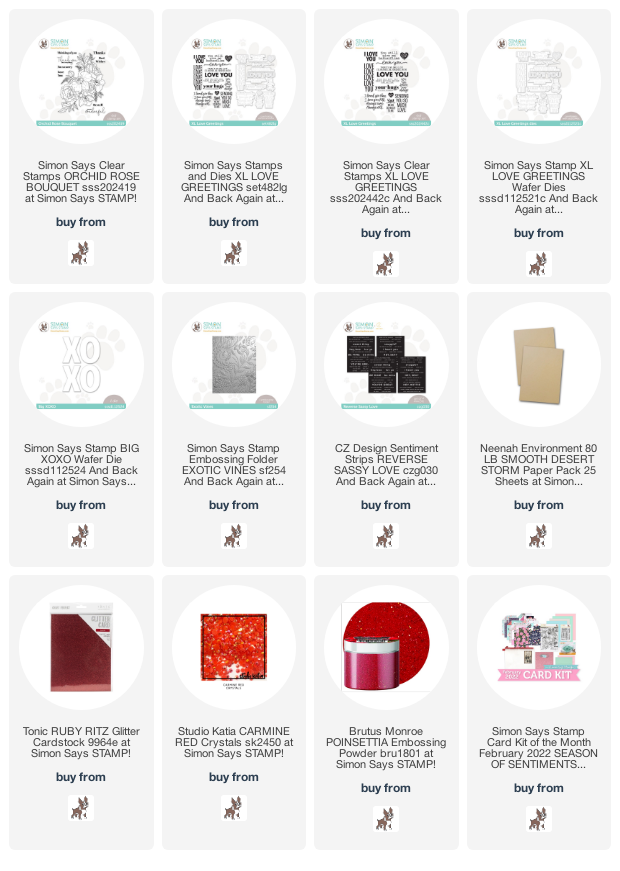
Hi there! I’m so excited to be a guest for Simon Says Stamp this month, and I’ve got a couple of projects to share with you today featuring some new goodies from the January And Back Again release, as well as one of the stamp sets I illustrated, Orchid Rose Bouquet (which also was part of the February Card Kit). I have never colored on Neenah Desert Storm cardstock, and I love the look of red with Kraft cardstock, so I thought this would be the perfect opportunity to do some experimenting! Let’s get started with the details.

The Orchid Rose Bouquet is a huge stamp, great for cutting into pieces and use on multiple projects. I stamped the entirety of the bouquet on a panel of Desert Storm cardstock using Hero Arts’ Intens-ified Black ink. I used Copic markers in several RV shades: T6, RV29, RV25, RV13, RV21 for the orchids, and V06, RV14, RV13, and RV21 for the roses. I had never worked with Desert Storm cardstock before, and I was absolutely stunned at how vibrant the coloring was on this relatively dull color of cardstock! So much fun to work with something different than my usual crisp white cardstock. I fussy cut the entire piece and trimmed it into a few different pieces, edging around the orchids that were fully visible.

My first card is an A7. It takes full advantage of the size of the Orchid Rose Bouquet stamp. I began by die cutting the XO with the Big XOXO die from some glittery red cardstock. I also trimmed one of the fabulous sentiment strips from the Sassy Love Sentiment Strips. (This is my first time using these pre-printed sentiments; they are so much fun and make adding a greeting so darn simple!)

I am a bit of a stickler for cohesive color scheme; once I decide on a color scheme, I like to do my best to make sure that there are no other colors to detract from the overall color palette, like an unseemly white edge to a die cut piece on a colorful cardstock background. Keeping this in mind, I cut an A7 card base from some more Desert Storm cardstock upon which I could arrange my different die cut and colored elements.

I arranged the different elements on the large card front and adhered them using both liquid and foam adhesive to add lots of dimension to the project. The final touch was to add some iridescent red jewels for some more sparkle.

My second card features the leftover portion of the Copic colored Orchid Rose Bouquet as an accent. This piece was trimmed from around one of the fully visible orchids in the bouquet, so portions of the flower were missing. In order to cover this up, I heat embossed one of the greetings from XL Love Greetings on Desert Storm cardstock using Brutus Monroe Poinsettia Embossing Powder. I die cut the sentiment using the coordinating die.

For the card base, I created a subtly textured background by running an A2 panel of Desert Storm cardstock through my die cut machine with the Exotic Vines Embossing Folder. This delicate texture is a perfect backdrop for the brightly colored flowers and sparkly cherry red greeting!

To add a touch more texture and some sparkle to the card base, as well as to create a sort of ground for my greeting and florals, I trimmed a few strips of glittery red cardstock and mounted them vertically on the textured card base. I added the floral piece and greeting die cut using foam adhesive, then added some more sparkling jewels for one last hint of sparkle.

Well, that’s all for my projects today! I hope that you will give Desert Storm cardstock and Copics a try if you haven’t already… what an unexpected delight! Thank you so much for stopping by today, and have a marvelous day!

Filed Under: original illustrations, simon says stamp Tagged With: copic coloring, embossing folder, Orchid Rose Bouquet, XL love greetings, xoxo die

Hero Arts February 2022 My Monthly Hero Release+Giveaway!

February 7, 2022

Hi there! Today, Hero Arts is releasing their fabulous new My Monthly Hero collection for February 2022, and we’re celebrating with a blog hop! You should have arrived here from Debi Adams, and your next stop is Ilina Crouse. Here’s a peek at this month’s tribute to the masters of Surrealism:

This month’s kit includes: 6” x 8” Clear Stamp Set, 15 Coordinating Frame Cuts, 2 Sheets of Black Watercolor Paper (5.5″ x 8.5″), Watercolor Dot Dream Palette (18 Dots), and Water Flow Brush. The total retail value is $74, but the kit is yours for only $34.99! These kits frequently sell out quickly, so if you’d like to be guaranteed to receive a kit each month, you can subscribe here! Each of the individual images in this kit are so wonderful and can be used for so many different themes. I’ve chosen to use the lovely beribboned moon to create some shimmery metallic baby cards with a celestial twist. Let’s get started with the details!

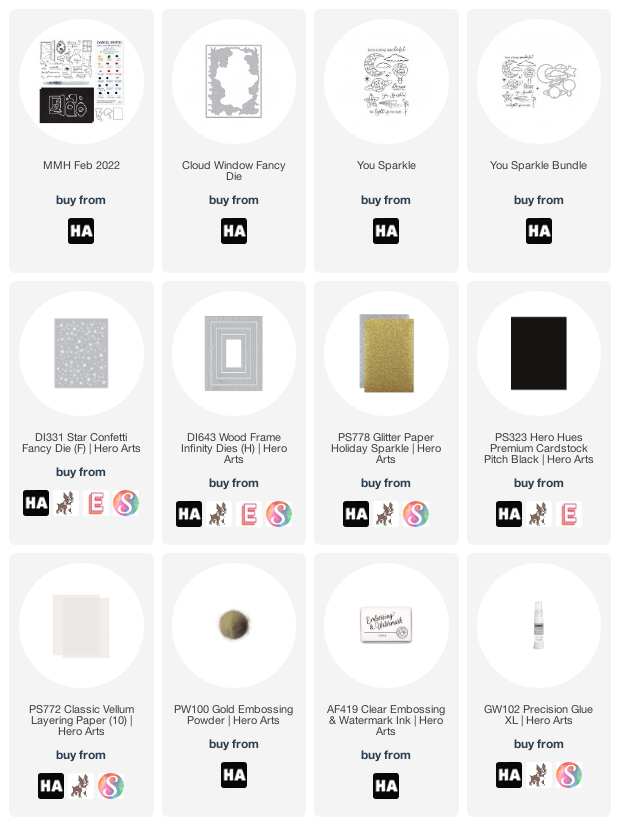
The Daniel Smith dot card and black watercolor paper that are included in this kit are absolutely marvelous. I began by gold heat embossing the beribboned moon on some of the black watercolor paper, then used the Duochrome Hibiscus, Iridescent Sapphire, and Iridescent Gold paints to the images. The Duochrome Hibiscus changes shades depending on the angle at which you’re looking at the image! So neat! I die cut the watercolored images with the coordinating dies and turned my attention to the backgrounds. I used the metallic shades included on the dot card to create a celestial aurora borealis sky for one background, then splattered metallic gold “stars” on the background of both A2 backgrounds. Those metallic watercolors pop so beautifully on the black watercolor paper!

For the first card, I used the new Cloud Window Fancy Die to die cut some clouds from Pitch Black cardstock, then trimmed it down to fit only the bottom portion of the metallic watercolored background. I popped it up with some foam tape to help it stand out a bit more, then added the metallic moon die cut and a gold embossed sentiment. (This kit has seriously some of the best sentiments-so many occasions and the fonts are so pretty!) I added a couple of shiny metallic gold jewels for even more added texture.

For the second project, I had the phrase “hung the moon” in my head. I conveyed that by combining the splattered starry night background with a glittering gold frame, cut using the Wood Frame Infinity Dies and some gold glitter paper. I popped the frame up with some foam adhesive and added the die cut moon and gold embossed sentiment. (Seriously, the sentiments in this month’s kit are amazing!!) The metallics pop so beautifully from the black paper. Such a fun and unique kit.

My second card uses the new You Sparkle to create this monochrome birthday card! I began by white embossing several of the images from You Sparkle on to some Pitch Black cardstock, then cut them out using the coordinating Frame Cuts.

Next, I cut the Star Confetti cover plate from some more Pitch Black cardstock and backed it with some white iridescent glittery cardstock. To create a more neutral backdrop for the black and white die cuts, I trimmed down a rectangle of Hero Arts’s Heavyweight Vellum. This semi-sheer paper creates a solid backdrop for the shooting star and clouds, while also softening the busy, glittery star background.

I adhered the You Sparkle die cuts to the vellum rectangle with Precision Glue, then flipped it over and added foam tape to the back of the solid die cuts. This hides the adhesive so that you can’t see it behind the sheer vellum! I adhered the vellum and die cut piece to the starry background, then added a few iridescent jewels to add some more sparkle.

Well, that’s all for my projects today! Now, Hero Arts is sponsoring a fun giveaway to celebrate this new release:

Hero Arts is giving away a $50 gift card, drawn from the comments left across the hop. Enter by Sunday, February 13th at 11:59pm Pacific, and the winner will be announced on the Hero Arts blog the following week.

Your next stop on the hop is Ilina Crouse. Thanks so much for stopping by, and happy hopping!

Filed Under: Hero Arts Tagged With: galaxy, my monthly hero, watercolor

Altenew Craft-A-Flower: Magnolia Release Blog Hop + Giveaway ($200 in total prizes)

February 7, 2022

Hi there! Today, Altenew is hopping along to celebrate their new Craft-A-Flower: Magnolia release, and I’m happy to be one of the stops! You should have arrived here from LauraJane, and your next stop is Michelle Short. You can also start back at the Altenew Card Blog to see the full hop list. I have a sparkly, super textured monochromatic project for you today, so let’s get started with the details!

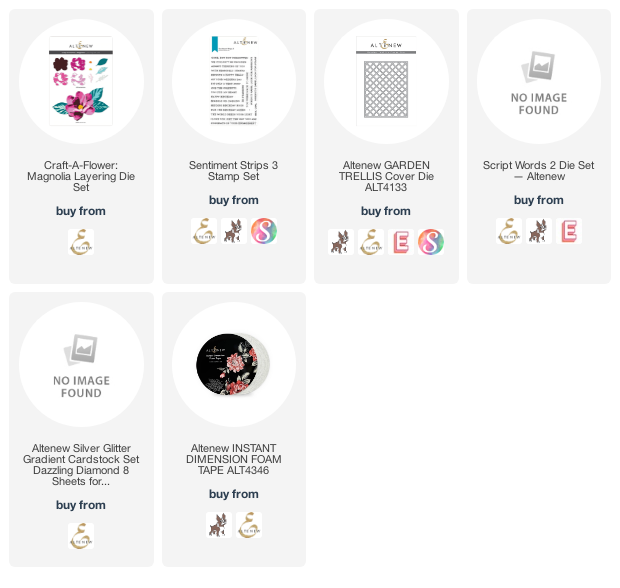
White magnolias are stunning, so I used a pure white magnolia image as the basis for my all-white project. I began by cutting the base layer for my Craft-A-Flower: Magnolia flower and foliage from some Dazzling Diamond glitter paper from Altenew, then cut the subsequent layers from pure white cardstock and adhered them all together using liquid adhesive. I love the subtle texture of the white-on-white. I did add a teeny pop of color with the yellow flower center.


Next, I cut the Garden Trellis cover die from white cardstock and mounted it on an A2 panel of white cardstock. This simple background is perfect, subtly textured enough to make it interesting, but also plain enough to allow the detailed magnolia die cut to be the star of the show!

For the greeting, I used the Script Words 2 dies to die cut a white “happy,” then stamped a greeting from Sentiment Strips 3 using some medium gray ink to keep things subtle. I adhered all of the pieces with lots of foam tape to help the white components pop up from the white background. Dimension and texture are key when creating these monochromatic projects!

Well, that’s all for my project today. Now for some fun giveaway information:

$200 in total prizes! To celebrate this release, Altenew is giving away a $50 gift certificate to 2 lucky winners and a $20 gift certificate to 5 winners! Please leave a comment on the Altenew Card Blog and/or each designer’s blog post on the blog hop list below by 02/13/2022 for a chance to win. Altenew will draw 7 random winners from the comments left on each stop of this blog hop and announce the winners on the Altenew Winners Page on 02/15/2022.

Your next stop on the hop is Michelle Short. Thanks so much for stopping by today, and happy hopping!

Filed Under: altenew Tagged With: craft a flower, garden trellis, magnolia

  • « Go to Previous Page
  • Page 1
  • Page 2
  • Page 3
  • Page 4
  • Go to Next Page »

Primary Sidebar

  • Facebook
  • Instagram
  • Pinterest
  • YouTube

Favorite Shops

Secondary Sidebar

Subscribe

Enter your email address to subscribe to this blog and receive notifications of new posts by email.

Instagram
Something is wrong.
Instagram token error.
Follow
Load More

Archives

Tags

3D embossing folder alcohol markers better press birthday birthday card blog hop card kit christmas christmas card christmas tag colored pencil copic copic coloring Daniel Smith die cutting embossing folder embroidery felt giveaway holiday holiday card hot foil ink blending karin brushmarker pro layered stencil masculine my monthly hero new release no line coloring no line watercolor OLO marker olo markers original illustration pawsitively saturated rainbow shaker card slimline stamping stamptember stencil thank you thinking of you valentine's day video watercolor

Popular Posts

Simon Says Stamp Joy For You Blog Hop- Day 1!
Simon Says Stamp Joy For You Release-Now Available!
Frozen Fractals All Around with New Simon Says Stamp Joy For You Release!
Shaped Holiday Shaker Card with New Simon Says Stamp Jolly Season Card Kit of the Month!
Holiday Postage with New Simon Says Stamp!
Simon Says Stamp Glory to the Newborn King Holiday Kit-Part II!
Holiday Joy in Pink and Green with New Simon Says Stamp DieCember!
Pinkfresh Studio 5th Birthday!
Altenew Build A Flower: Fuchsia Blog Hop+Giveway!
July My Monthly Hero Blog Hop+Giveaway!

Disclosure

Some affiliate links are used in my posts. This means that, should you click on one of my links and purchase something from that company, I will receive a small portion of the sale at no extra cost to you. I use the money earned from these sales to help maintain my blog. I so appreciate you visiting and, if you do choose to use one of my affiliate links, thank you so much for your support!
Copyright © 2026 ·Brunch Pro Theme · Genesis Framework by StudioPress · WordPress · Log in
Loading Comments...