• Skip to main content
  • Skip to primary sidebar
  • Skip to secondary sidebar

Sixth Street Sundries

Emily Midgett

  • Home
  • About Me
  • Contact
  • OLO Marker Color Swatch Chart
  • Shop

Archives for February 2022

Free Digital Stamp-Sending Love to Ukraine

February 28, 2022

The crafty community, like most of the world, has been absolutely shaken to the core by what is happening in Ukraine. I spent most of Friday and Saturday in a bit of a haze, feeling heartbroken over what was happening and feeling utterly powerless to help. A crafty friend, the unbelievably talented Yana Smakula, is from Ukraine and is currently there during all of this. She has been sharing updates on her Instagram and Facebook pages, and what they’re going through is just horrific. Personally knowing someone who is spending her evenings in bomb shelters and making Molotov cocktails makes this seem so much more real, and that much more terrifying.

I saw that my friends in the Share Handmade Kindness Facebook group were going to start sharing their yellow and blue art in honor of the Ukrainians fighting so bravely for their home, and it inspired me to channel my sadness into some artwork. Sunflowers are the official flower of Ukraine, and their flag is yellow and blue, so I created this free Sunflower download so that you can color it with your choice of medium, and share on Instagram and Facebook using the hashtag #cardsforUkraine.

Ukraine Sunflower/Anemone No-Line

Ukraine Sunflower/Anemone Outline

I created a black outline version as well as a no-line coloring version. Simply click the link above to download the files. Please note, these files are for personal use only. The images belong to me, Emily Midgett, and they are not to be used for commercial gain.

Here’s my colored panel:

If you’re the Instagramming type and feel like you would like to donate, @ukrainecarddrive is hosting an online card auction, starting tomorrow. Masses of beautiful cards to be auctioned off, with 100% of the money being donated to global humanitarian efforts to help those in Ukraine. Check out the @ukrainecarddrive account for all of the details.

It was suggested that I should charge a few dollars for the digital stamp and donate the proceeds, but I think I will just post a link to the World Central Kitchen, which is an incredible humanitarian organization that has already set up in Ukraine to help those in need. If you feel inclined to donate in exchange for the digital drawing, you can do so here. Not at all required, but very, very appreciated.

Thanks so much for reading and for being here, my friends. Times like these make a person feel so grateful (almost to the point of feeling guilty) for all of the good things in your life, and you wonderfully supportive readers are definitely on my list of “good things.” I hope you enjoy the illustration and that it maybe provides you with a bit of artistic peace. Sending you crafty hugs.

Filed Under: original illustrations Tagged With: digital download, sunflower, ukraine

Pinkfresh Studio February 2022 Release Blog Hop+Giveaway! New VIDEO!

February 28, 2022

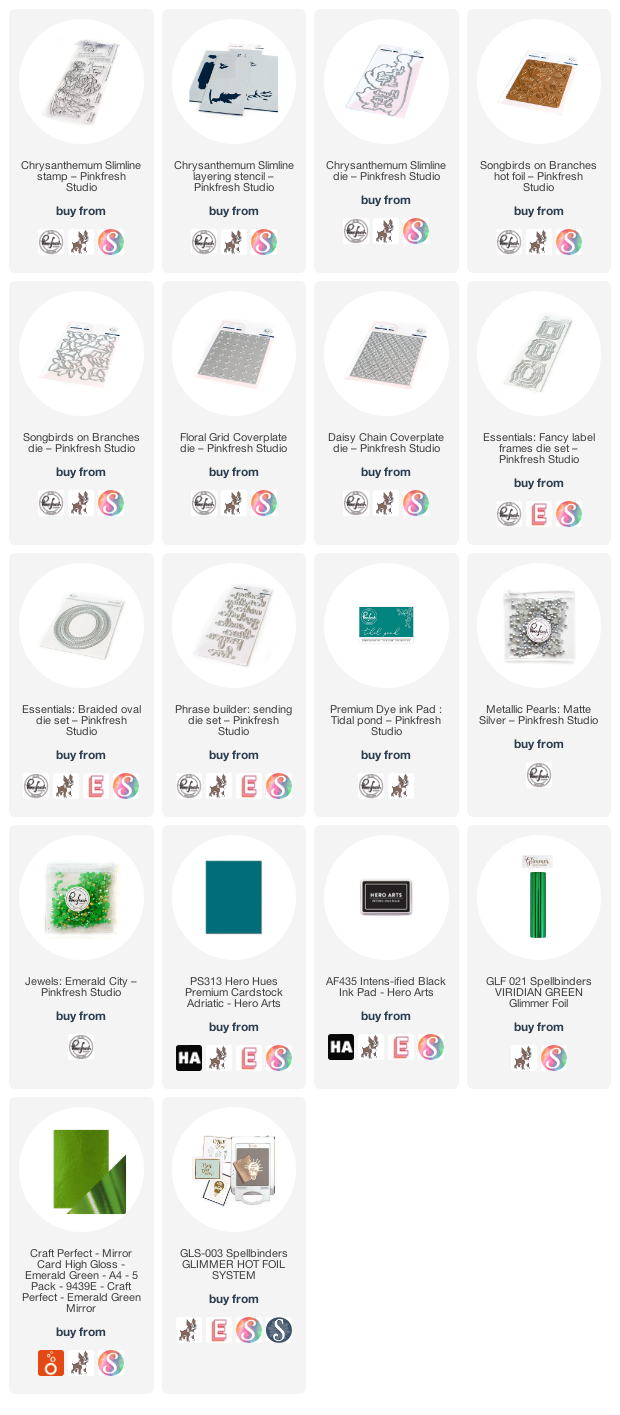
Hi there! Today, Pinkfresh Studio is hopping along to share the new February 2022 Stamp and Die release, and I’m extra excited because we’re releasing another of my illustrations: Chrysanthemum Slimline! I designed this stamp set to be similar in layout to my Miss Your Smile stamp, and I’m super excited about the coordinating stencils and coordinating dies (which we don’t have for Miss Your Smile, sadly). It’s a massive chrysanthemum flower, complete with bud and foliage, and so much fun for digging into with your favorite coloring medium or for a quick and easy card with the coordinating stencils! I have a video to share with you today showing how I used my Copic markers with this giant bloom:

You can also watch here on YouTube.

I began my project by stamping the Chrysanthemum Slimline Stamp onto white cardstock using Copic-friendly black ink. I used my all-time favorite Copic combination for this project: RV99, RV69, RV09, RV17. I die cut the finished colored image and sentiment using the Chrysanthemum Slimline Dies (I love that there are coordinating dies for the large script sentiments, too!).

For the card base, I used the new Floral Grid Die to make a subtle, textured background for my slimline card base. I simply ran the die through my die cut machine once, then flipped it over and ran it through the uncut side. I tried to line things up as well as I could, but luckily the chrysanthemum die cut is so large that it covered any overlap.

I adhered the Copic colored die cut chrysanthemum to the card front using foam adhesive, then I die cut a black glitter Fancy Label Frames. I trimmed off the edge and layered it on the textured white card base. I added the sentiment with some more foam tape, finally adding a few Matte Silver Pearls to finish the card off.

Pinkfresh Studio releases some of the most stunning hot foil plates in the industry, and this release has some of the most beautiful hot foil designs yet! The new Songbirds on Branches hot foil plate is so beautifully detailed and elegant; it reminds me of two lovebirds. I have always found fabric from period drama TV shows so inspiring. Today’s projects were inspired by a dress in the show Outlander, the beautiful teal and emerald brocade gown that Claire wears to see the King. I hot foiled the Songbirds on Branches hot foil plate onto some intense, vibrant teal cardstock using emerald green foil. I love the almost tone-on-tone effect. I think it’s a unique combo, and I’m definitely going to be using it again! (Also, my apologies-the photos don’t do this color combination justice. It is unbelievably difficult to photograph foil, especially when paired with intense color combinations like this one.)

Once I’d foiled the background panel, I used the coordinating Songbird on Branches die to die cut the images. There were enough die cut pieces for me to make two projects!

For my first project, I wanted to focus on the beautiful lovebirds looking so sweetly at one another. To keep my color palette as minimal and intense as possible, I used the same shade of deep teal cardstock for almost all of my die cuts. I started by blending Tidal Pond ink around the edge of the teal A2 card base. I then used some handmade glittery watercolors from Etsy to splatter the background and add some more sparkling green elements to the card.

Next, I added up a detailed Braided Oval die cut cut from the same intense teal cardstock. I popped it up using foam adhesive to help make it stand out from the card base. I hope the angled photo gives you a better glimpse of how beautiful and rich this color scheme is. Foil is so tricky to photograph!

I added the foiled songbirds over the oval frame, then added a Phrase Builder: Sending die cut, cut from some coordinating green foil cardstock. Finally, I added some iridescent Emerald City gems for one final element of sparkly, shiny green!

My second card uses the “leftovers” from both the Songbirds on Branches hot foil plate and the teal Braided Oval die cut , this time using the interior oval die cut. I began by first creating a beautifully textured background using the Daisy Chain cover plate die using the same vibrant teal cardstock. I then trimmed a strip of emerald green foil and adhered it to the card panel with liquid adhesive to act as a ground for my die cut oval.

I adhered the die cut oval with foam adhesive, then added the leftover coordinating Songbird on Branches die cuts in a swag around the edge. I added another green foil Phrase Builder: Sending die cut, adhering it with a double layer of foam tape to help make it pop even further. (On tone-on-tone cards, foam tape is your friend!) A few more green gems finished the project off.

To celebrate the new release, Pinkfresh Studio is hosting a giveaway!

We will be giving away the full release on the Pinkfresh blog & YouTube channel, so be sure to check those giveaways out! We will be giving away a total of TEN $25 gift cards along the hop. The winners will be selected from the comments, so the more comments you leave along the hop, the more chances you have to win! Winners will be posted on March 8, 2022 on the GIVEAWAY PAGE. Winners must check that page & claim your prize within 2 weeks.

Well, that’s all for my projects today! The entire new release is absolutely stunning, so I encourage you to check it out! Here’s the hop list:

You are invited to the Inlinkz link party!

Click here to enter

Filed Under: pinkfresh studio

Guest Post: Simon Says Stamp+No-Line Copic Coloring+Stenciling VIDEO!

February 26, 2022

Hi there! Today, I am sharing my last projects as a guest for Simon Says Stamp. It’s been so much fun to play with the beautiful new release products, and I so appreciate Heidi giving me the opportunity! I have two projects to share with you today, both featuring no-line coloring with Copic markers. My first project is a more traditional technique, while the second one features a new-to-me technique and involves a stencil! I even have a video to show you how I did it. Let’s get started with the details!

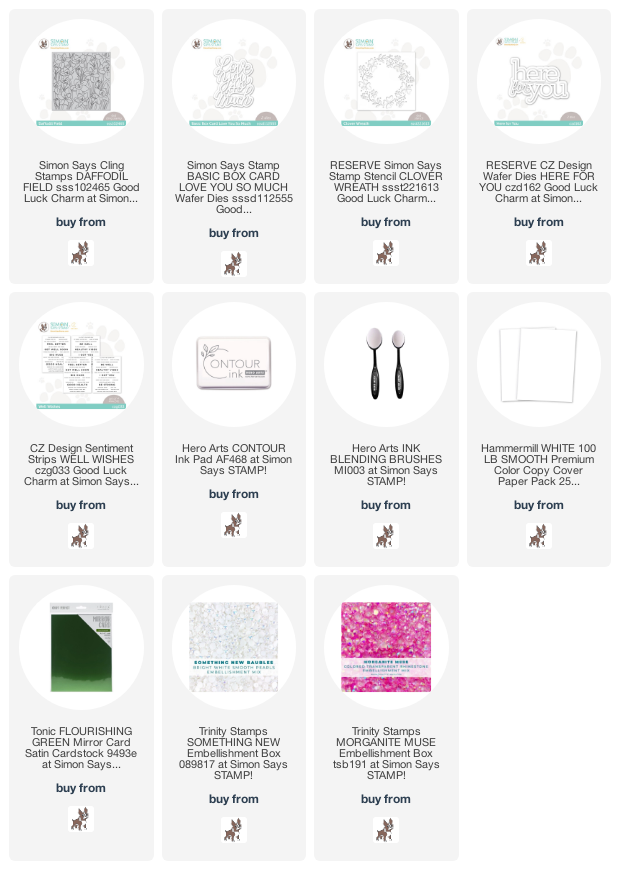
My first project uses that absolutely gorgeous new Daffodil Field cling stamp. I stamped the beautiful background onto some white Hammermill cardstock using Hero Arts Contour Ink. I used my Copic markers to add lots of vibrant color to the image, trimming it down so that it was just slightly smaller than a typical A2 card front. I added two thin strips of grassy green foil cardstock on either side to add an extra element of texture.

For the greeting, I die cut the detail layer of the Love You So Much Basic Box Card die twice from white cardstock, then adhered it to a vellum base layer. The vellum helps to soften the areas around the sentiment die cut so that it stands out on the colorful patterned background panel!

I added the sentiment die cut in the center of the floral panel using clear foam adhesive, then added another very thin sentiment strip from the Sentiment Strips: Well Wishes using some regular foam adhesive. Lots of dimension and heigh on this card front! I hadn’t realized that the sentiment covered up the only pink crocus on the left side of the card until it was too late, so I added a few pink Morganite Muse gems to help balance the color a bit better. I love the springy flowers with the bold green foil and softly emphasized sentiment! Such a cheery card.

My second project features a new-to-me technique: no-line coloring a stenciled image! You can watch the video above or you can click here to watch on YouTube.

In case you can’t watch the video, this card features the beautiful new Clover Wreath stencil, but I used some Post-It notes and washi tape to modify the layout a bit! I used a blender brush to blend some Contour Ink on my slimline card front, then used Copic markers to color right over the top of the blended areas. The neutral pale gray ink fades beautifully beneath the vibrant Copic coloring!

I chose to use another sentiment die set for this card, die cutting the detail layer of the Here For You die twice from white cardstock and adhering them together, then adding them to the vellum base layer with some more liquid adhesive.

I popped up the greeting using clear foam tape to help hide the adhesive. The final step was to add a few Something New iridescent white pearls from Trinity Stamps to the card front for a bit of shine.

Well, that’s all for my projects today! I have so enjoyed working with these fabulous new products from the Simon Says Stamp Good Luck Charm release. Thanks so much for stopping by today, and have a marvelous day!

Filed Under: simon says stamp Tagged With: clover wreath, copic, daffodil field, no line coloring, no line copic coloring, stencil, video

Altenew February 2022 Flowers & Swirls Collection Release Blog Hop + Giveaway ($300 in total prizes)

February 25, 2022

Hi there! Altenew is releasing a beautiful new standalone die collection: Flowers and Swirls Collection! We’re hopping along to inspire you with the new goodies. You should have arrived here from Amy Hill, and your next stop is Therese Calvird. You can also start at the beginning at the Altenew Blog. I have a dramatic project featuring the new Grand Anemone dies to share with you today. Let’s get started with the details!

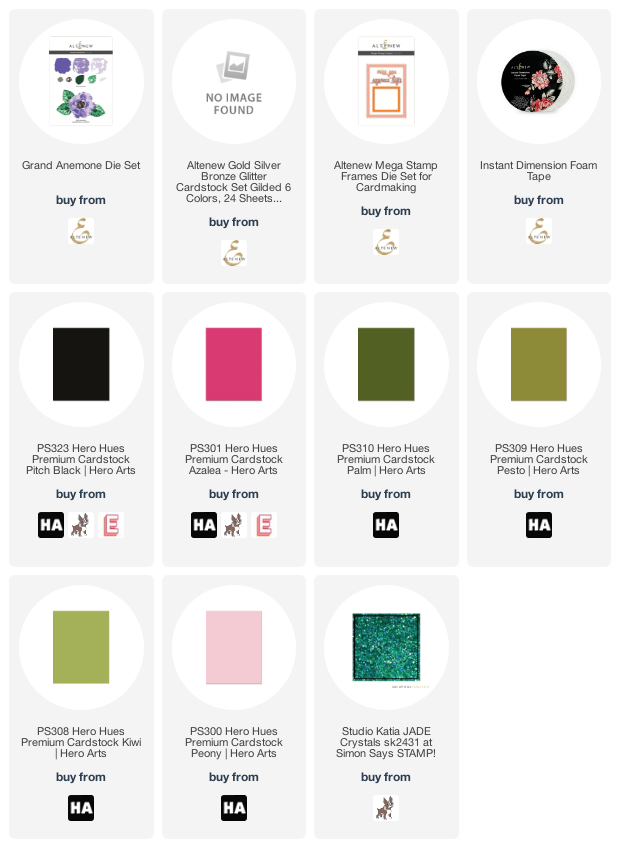
I began by die cutting the layers from the Grand Anemone from cardstock in shades of pinks and greens, then adhered them together using liquid adhesive. The blooms are massive, so I only needed a couple to fill the entire card front!

Next, I began work on the card base. I wanted the pink anemones to pop, so I trimmed down a black A2 card front, then die cut a coordinating black Mega Stamp Frames. I popped it up on the card front using Instant Dimension Foam Tape, then added the flowers and foliage with some more foam tape.

I added a die cut greeting from the Mega Stamp Frames using some sparkling gold cardstock from the Gilded Glitter Paper Pack. I love how the sparkly gold stands out on the crisp black cardstock! The final touch was to add some iridescent green gems.

Well, that’s all for me today! Now for some fun giveaway information!

$300 in total prizes! To celebrate this release, Altenew is giving away a $50 gift certificate to 2 lucky winners and a $25 gift certificate to 8 winners! Please leave a comment on the Altenew Card Blog and/or each designer’s blog post on the blog hop list below by 03/03/2022 for a chance to win. Altenew will draw 10 random winners from the comments left on each stop of this blog hop and announce the winners on the Altenew Winners Page on 03/05/2022.

The next stop on the hop is Therese Calvird. Thanks so much for stopping by today, and happy hopping!

Filed Under: altenew Tagged With: grand anemone

Simon Says Stamp Good Luck Charm Blog Hop-Day 2+Giveaway!

February 19, 2022

Hi there! I’m excited to be joining my friends at Simon Says Stamp for day two of the Good Luck Charm blog hop! You should have arrived here from Tina Smith, and your next stop is Jennifer Kotas. You can also start back at the Simon Says Stamp Blog to find the entire list! This month is Simon Says Stamp’s 20th birthday… so exciting, right? As part of the celebration, Simon is adding the exclusive Birthday Cupcake stamp set to your packages when you add code YUM20 at checkout. I have two projects to share with you today using new goodies from the Good Luck Charm release, so let’s get started with the details!

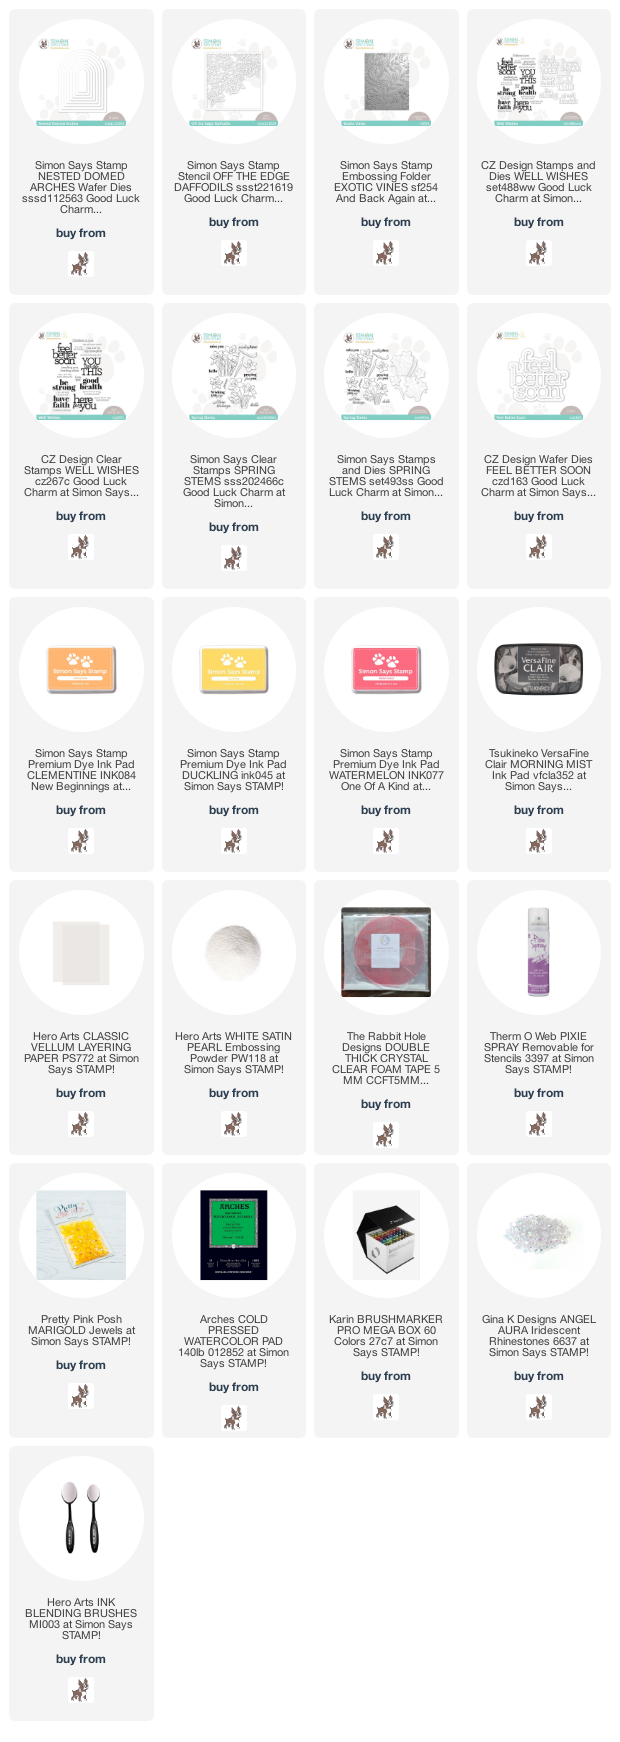
My first project reminds me of a glowing church window on Easter. I began by die cutting two different sizes of the the new Nested Domed Arches dies from some plain white cardstock. I lightly spritzed some Pixie Spray on the back of the Off the Edge Daffodils stencil, then adhered it to corner of the smaller of the two arched die cuts. I used blending brushes to blend some Duckling and Clementine inks. I think the finished product looks like a glowing sunrise on a stained glass window!! (Side note-this is the first time I’ve used the Pixie Dust spray, and I was super impressed at how crisply the stenciled image came out! Definitely going to be using that again!)

Next, I worked on the card base. I wanted something subtle and simple so as not to detract from the stenciled background, but still wanted a bit of texture for added interest. I ran an A2 panel of white cardstock through my die cut machine with the Exotic Vines Embossing Folder.

For the greeting, I used grey pigment ink and pearlescent white embossing powder to emboss a sentiment from Well Wishes stamps+dies onto some heavyweight vellum cardstock. I used the coordinating die to die cut the greeting.

I adhered the two domed die cuts together using liquid adhesive, then added them to the embossed card base using foam adhesive. I added the sentiment using clear dimensional adhesive, hiding it behind the thick letters of the embossed greeting. The final touch was to add a few iridescent yellow gems.

My second project features some watercoloring using the new Spring Stems stamps and dies. I began by heat embossing several of the images from Spring Stems onto some Arches Cold Press watercolor paper using white pearl embossing powder. I used Karin watercolor markers to add lots of color to the images, keeping the color palette a bit muted while still being quite intense and colorful. I love how the colors from the Karin markers almost glow!

After I’d die cut the finished flowers, I die cut a greeting from some white cardstock using the new Feel Better Soon die. I used blending brushes to blend Duckling and Watermelon inks on an A2 panel of white cardstock to help enhance the glow of the watercolored flowers.

I used the negative piece from one of the die cut pieces from the first project as a frame for the background of the flowers. I popped it up using some foam adhesive, then arranged the watercolored daffodils so that they were climbing up the front of the card front. I added the white die cut greeting, finally adding a few iridescent gems for sparkle.

Well, that’s all for my projects today! To celebrate this release, Simon Says Stamp is giving away a $25 coupon for each stop on the hop! Simply leave your comments on each stop on the hop before February 22, and the winners will be announced on the Simon Says Stamp blog.

Your next stop on the hop is Jennifer Kotas. Thanks so much for stopping by today, and happy hopping!

Filed Under: simon says stamp Tagged With: exotic vines embossing folder, feel better soon, ink blending, karin watercolor markers, nested domed arches, off the edge daffodils, spring stems, stencil, watercolor, well wishes

  • Page 1
  • Page 2
  • Page 3
  • Page 4
  • Go to Next Page »

Primary Sidebar

  • Facebook
  • Instagram
  • Pinterest
  • YouTube

Favorite Shops

Secondary Sidebar

Subscribe

Enter your email address to subscribe to this blog and receive notifications of new posts by email.

Instagram
Something is wrong.
Instagram token error.
Follow
Load More

Archives

Tags

3D embossing folder alcohol markers better press birthday birthday card blog hop card kit christmas christmas card christmas tag colored pencil copic copic coloring Daniel Smith die cutting embossing folder embroidery felt giveaway holiday holiday card hot foil ink blending karin brushmarker pro layered stencil masculine my monthly hero new release no line coloring no line watercolor OLO marker olo markers original illustration pawsitively saturated rainbow shaker card slimline stamping stamptember stencil thank you thinking of you valentine's day video watercolor

Popular Posts

Simon Says Stamp Joy For You Blog Hop- Day 1!
Simon Says Stamp Joy For You Release-Now Available!
Frozen Fractals All Around with New Simon Says Stamp Joy For You Release!
Holiday Postage with New Simon Says Stamp!
Shaped Holiday Shaker Card with New Simon Says Stamp Jolly Season Card Kit of the Month!
Hero Arts Partners Blog Hop: Lawn Fawn!
Holiday Joy in Pink and Green with New Simon Says Stamp DieCember!
July My Monthly Hero Blog Hop+Giveaway!
Simon Says Stamp STAMPtember Tim Holtz Collaboration: Festive Holidays!
Greenery for Christmas with New Simon Says Stamp!

Disclosure

Some affiliate links are used in my posts. This means that, should you click on one of my links and purchase something from that company, I will receive a small portion of the sale at no extra cost to you. I use the money earned from these sales to help maintain my blog. I so appreciate you visiting and, if you do choose to use one of my affiliate links, thank you so much for your support!
Copyright © 2026 ·Brunch Pro Theme · Genesis Framework by StudioPress · WordPress · Log in
Loading Comments...