• Skip to main content
  • Skip to primary sidebar
  • Skip to secondary sidebar

Sixth Street Sundries

Emily Midgett

  • Home
  • About Me
  • Contact
  • OLO Marker Color Swatch Chart
  • Shop

Archives for June 2022

Pinkfresh Studio June 2022 Release Blog Hop + Giveaway!

June 27, 2022

Hi there! Today, Pinkfresh Studio is releasing a brand new collection of products for stamping, stenciling, die cutting, and hot foiling, and we’re having a blog hop to celebrate! Colored cardstock is one of my most favorite cardmaking supplies; you can create such a dramatic effect with just one shade of colored cardstock to enhance beautiful stamping products. I have a monochromatic project to share with you today using new products from almost every category of this new Pinkfresh Studio release, so let’s get started with the details!

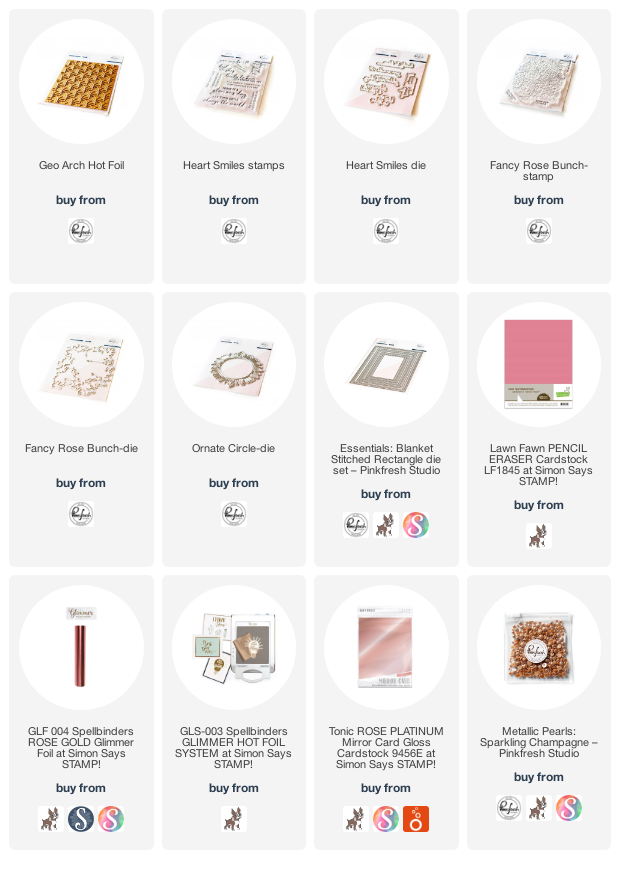
This card and the final color scheme started with some hot foiling. I absolutely adore hot foiling on colored cardstock, especially monochromatic hot foiling (using the same or similar shade of foil as the colored cardstock). The simple, subtle, yet stunning effect that it creates is just breathtaking in my opinion. I hot foiled the new Geo Arch Hot Foil on some lovely, muted peony pink cardstock using rose gold foil. The subtle tone-on-tone pattern is just sublime! I didn’t get my hot foil plate on my cardstock perfectly straight, so I used the Blanket Stitched Rectangle die to get a panel with the pattern nice and straight!

To continue with the tone-on-tone look, I stamped the beautiful new Fancy Rose Bunch bouquet on some more of the same muted peony cardstock, offset slightly on the corner so that it would be dripping down the front of my card. I heat embossed it using some sparkling embossing powder that coordinated beautifully with the rose gold hot foil, then die cut it with the coordinating die. I also die cut a new Ornate Circle die from some copper foil cardstock. The foil cardstock picks up the intricate details of the Ornate Circle die so beautifully!

I arranged the different elements on the card front, adhering them with single and double layers of foam tape for tons of height and texture, which I find to be super important on monochromatic cards like this one. For the greeting, I heat embossed one of the lovely sentiments from Heart Smiles using some copper embossing powder, again on the muted peony cardstock. I die cut the sentiment using the coordinating die, and then added it to the card front using foam adhesive. The final touch was to add some Sparkling Champagne pearls to the card front!

Well, that’s all for my project today! Now for some fun giveaway information!

Pinkfresh Studio will be giving away the full release on the Pinkfresh blog & YouTube channel, so be sure to leave comments both places to be entered to win this fabulous prize!  They are also giving away a total of TEN $25  gift cards along the hop. The winners are selected from the comments, so the more comments you leave along the hop, the more chances you have to win! The winners will be announced on July 5, 2022 on the Pinkfresh Studio GIVEAWAY PAGE. Winners must check that page & claim their prize within 2 weeks.

Well, that’s all for me today! I hope you’ll check out the full release… so many wonderful new products! Here’s the full hop list below. Thanks so much for stopping by today, and happy hopping!
You are invited to the Inlinkz link party!

Click here to enter

Filed Under: pinkfresh studio Tagged With: die cutting, fancy rose bunch, geo arch hot foil, heat embossing, hot foil, monochromatic, ornate circle

Watercoloring with Karin Brushmarker Pro and Pinkfresh Studio!

June 22, 2022

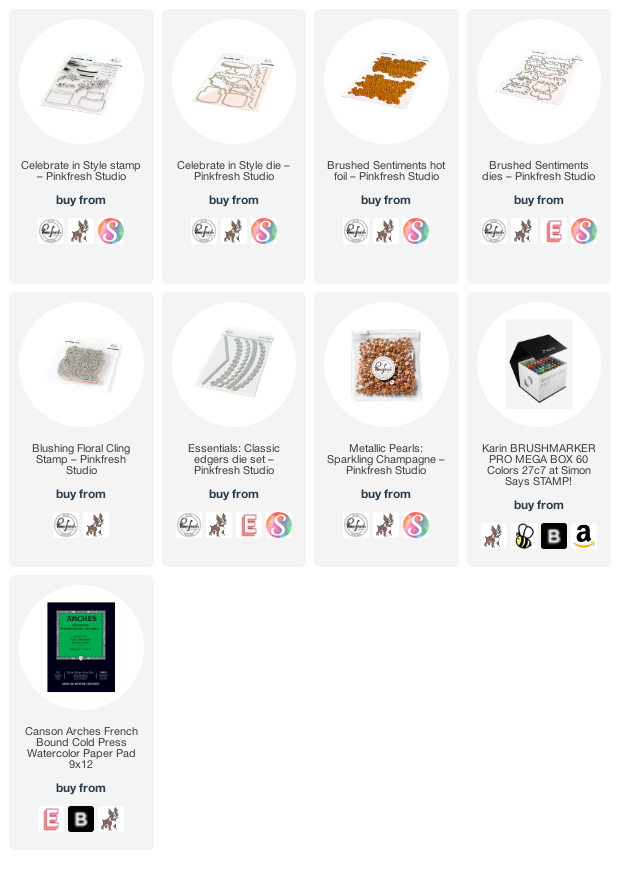
Hi there! I am over on the Pinkfresh Studio YouTube channel today with this video pairing the new-ish Celebrate in Style stamps and several other products from Pinkfresh. My goal was simple: to keep the color scheme cohesive throughout the entire project, while also mixing the metallic textures on the individual embellishments. Watch the video below or HERE on YouTube.

Lots of individual pieces, but together they make a super color coordinated finished product!

In case you can’t watch the video, I began by heat embossing the Celebrate in Style stamps using some sparkling embossing powder that had flecks of beautiful rose gold glitter amongst the pearlescent plum on some watercolor paper. I also heat embossed the Blushing Floral Stamp background on an A2 panel of blush cardstock using the same embossing powder. So many elements of sparkle and shine on this one!

I taped my watercolor panel down to my watercolor board, then used Karin markers to add some beautiful peachy pink and magenta to the cake and floral adornment. Depending on your preference for soft or vivid color, you can either scribble your Karin marker on a ceramic palette and pick up the color with a damp paintbrush to achieve a softer, more controlled look, or you can put the pen directly to the watercolor paper and maneuver the color with your damp paintbrush. Picking up the color from the ceramic palette adds more water and thus dilutes the color, making it softer and less intense. Once I’d finished watercoloring the two images, I die cut the entire thing in one fell swoop with the coordinating Celebrate in Style Dies. Once I’d die cut everything, I went back with my Karin markers and added some color to the white edges of the die cuts to keep the color scheme completely true and avoid that white edge around the die cuts.

Next, I die cut a panel of more blush cardstock using the Essentials Classic Edgers, giving it a decorative stitched scalloped edge. I also cut a panel of coordinating lilac glitter cardstock with the same scalloped edger die to break up all of the blush and add some more interest to the background. I popped up the scalloped panels with some foam tape, then added the cake with a double layer of foam tape for tons of dimension. I added a foiled die cut greeting created with the Brushed Sentiments Foil Plate and Coordinating Dies, created using the same blush cardstock and some rose gold foil to keep things monochromatic. The final touch was to add a few Sparkling Champagne pearls from the Pinkfresh Studio Essentials embellishment line!

Well, that’s all for my project today! Thanks so much for stopping by, and have a marvelous day!

Filed Under: pinkfresh studio Tagged With: brushed sentiments, celebrate in style, hot foil, karin, karin brushmarker pro, video, watercolor

Altenew June 2022 Fine & Dandy Collection Release Blog Hop + Giveaway ($300 in total prizes)

June 21, 2022

Hi there! Altenew is hopping along today to introduce their gorgeous new Fine and Dandy collection! You should have arrived here from Linda Westfall, and your next stop is Nenette S. Madero. You can also start back at the beginning at the Altenew Blog in case you get lost! The new Fine and Dandy collection is full of stunning new hot foil plates, versatile dies, and beautiful embossing folders. I have four projects to share with you today, so let’s get started with the details!

Each of my four projects features a similar color scheme to make them a cohesive set: pink-y metallics, crisp white, and lots of beautiful, muted peony pink. It’s tone-on-tone with a twist!

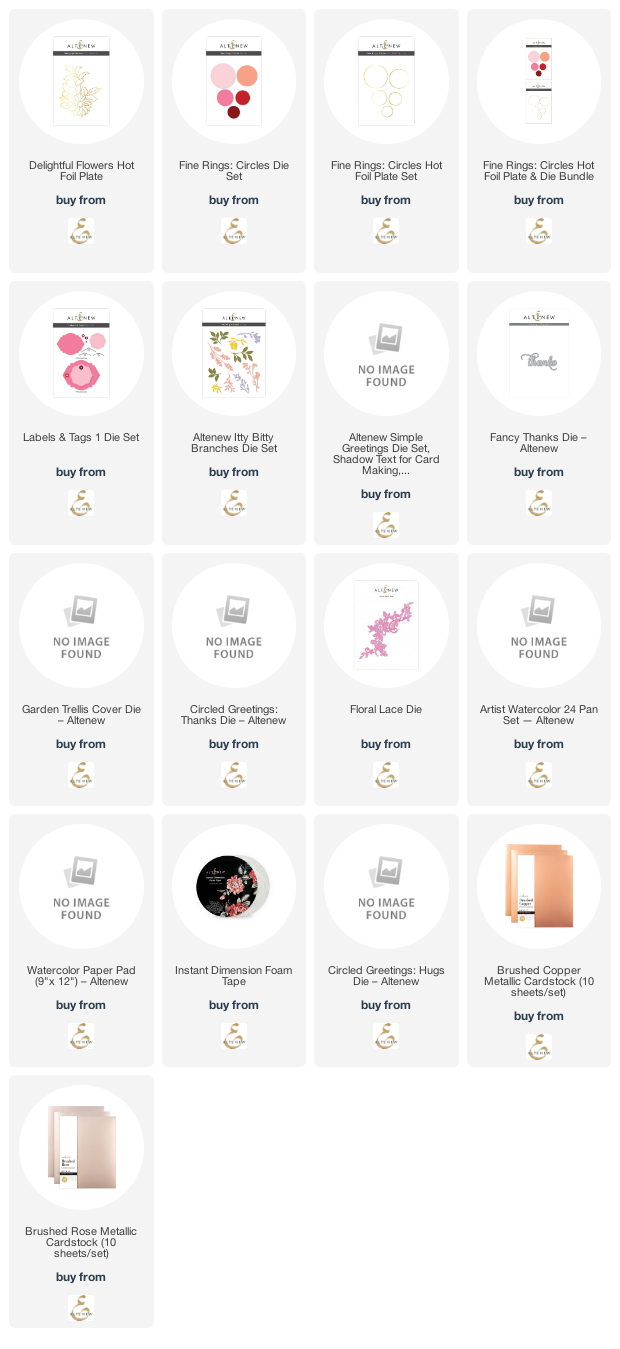
This first project features the beautiful new Delightful Flowers Hot Foil Plate, which I used with some heavyweight vellum and rose gold hot foil. I love how subtle the foil looks on this vellum cardstock; this would also be a fun technique to use with the “stained glass” coloring technique by coloring with alcohol markers on the back of the hot foiled panel!

To allow the hot foiled floral image to be the star of the show, I used the new Fine Rings Hot Foil Plate set with the Coordinating Dies to create a background for my die cut greeting. I added a simple “hugs” greeting from the Simple Greetings die set, cut from some brand new Brushed Copper Metallic Cardstock! These new metallic cardstocks are absolutely gorgeous and perfect for intricate die cuts. They cut so smoothly. I added a few shiny metallic rose gold gems for some more shine.

My second card features the beautiful Delightful Flowers Hot Foil Plate, this time hot foiled onto some Watercolor Paper, again using rose gold foil. The smooth surface of the watercolor paper makes it ideal for hot foiling this intricate image. I watercolored the flowers and foliage using the Artists’ 24 Pan Watercolor Set in shades of coral and flamingo pink, with some olive green foliage.

For the greeting, I die cut the Fancy Thanks die from some more of the new Brushed Copper Metallic Cardstock. I added a circular frame created with the Fine Rings hot foil plate and die combo. I mounted both the foiled frame and the die cut sentiment to the watercolored panel using foam adhesive for extra height and dimension, then added a few iridescent coral gems to add more sparkle.

My next card starts with a white-on-white Garden Trellis cover plate die cut background. It was the perfect neutral-but-lightly-textured background for some Itty Bitty Branches die cuts, cut from some more muted peony and jade green cardstocks.

I paired a solid hot foil plate with the Fine Rings hot foil plates and dies to create this iridescent gold foiled frame. I arranged the solid botanical die cuts on one edge of the circular foiled die cut, then added a white Circled Greetings: Thanks die cut over the top, adhering all of it with foam adhesive to make sure that the focal points popped from the white textured background. The final touch was to add a few iridescent white pearls to bring out the iridescent quality of the foil.

My last card pays one final tribute to the monochromatic-with-a-twist color scheme from all of our projects today! I began by die cutting a partial Floral Lace die from some plain white cardstock. I also die cut a new Labels and Tags 1 die cut from some heavyweight vellum.

I arranged the vellum tag on an A2 peony pink cardstock base to determine placement, then before adhering the vellum, I adhered the lacy white die cut over the top of the vellum die cut. I flipped over the two die cuts (now adhered together to create one die cut) and hid small dots of adhesive on the back, essentially hiding the adhesive behind the solid die cut to prevent it from marring my translucent vellum die cut. I added a Circled Hugs greeting, cut from once some Brushed Rose Metallic Cardstock and once from white cardstock, then adhered together to give it a little extra height. Finally, I added one more touch of white and shine with some iridescent white pearls.

Well, that’s all for my projects today! Now for some fun giveaway information!

$300 in total prizes! To celebrate this release, Altenew is giving away a $50 gift certificate to 2 lucky winners and a $25 gift certificate to 8 winners! Please leave a comment on the Altenew Card Blog and/or each designer’s blog post on the blog hop list below by 06/27/2022 for a chance to win. Altenew will draw 10 random winners from the comments left on each stop of this blog hop and announce the winners on the Altenew Winners Page on 06/29/2022.

Your next stop is Nenette S. Madero. Thanks so much for stopping by today, and happy hopping!

Filed Under: altenew Tagged With: blog hop, circled greetings: thanks, delightful flowers, fancy thanks, fine rings: circles, floral lace die, garden trellis, hot foil, itty bitty branches, metallic cardstock, simple greetings, watercolor

Hero Arts Color Week Kickoff: Blog Hop + Giveaway!

June 20, 2022

Color Week-what could be better, right? As much as I absolutely adore crisp, clean white space on a card, I certainly have lots of love left in my heart for vibrant color, and Hero Arts is adding a bunch of new colors to their store, as well as revamping their ink line! From Hero Arts:

Announcing our new Core Ink line! Adding color to your projects could not be easier. This essential collection is the ideal ink for your everyday stamping and cardmaking. It includes fresh new colors and popular existing formulas to create a tightly designed color system. Each Core Ink pad features a new look with a palette on the underside of the lid. By popular demand, we are excited to now offer matching Inkers for every color! The Hero Hues line is rounded out with cardstock, specifically selected to work well with the Core Ink spectrum.

There are 57 Core Ink pads and Inkers in this line, with 6 brand new to Hero ink colors and 12 brand new to Hero cardstock colors.

I am so excited about the inkers, especially; I think it will be great to be able to freshen up an ink pad after it’s seen a lot of love rather than buying a new one! (I don’t know about you, but I hate throwing so much plastic away!) There are coordinating inkers for every single color, and I have a video to show you just how easy it is to freshen your ink pad right up! Watch below or HERE on YouTube.

So simple, right? And super economical, particularly when you take into consideration how many times you can rejuvenate your ink pad from just one small bottle of Inker!

The project from the video features the beautiful new Amethyst ink as the first step of an ombré butterfly! I used a MISTI, three different shades of ink, and blending brushes to create this smooth blend on the butterfly. I inked up the stamp with one color on just part of the stamp, then used the coordinating blending brush to soften the edges of the ink on the solid stamp before closing the lid of my MISTI and inking up the first third of the stamp set. I repeated the process on the middle and bottom sections of the butterfly with Raspberry Jam and Ultra Pink inks and coordinating blending brushes.

For the greeting, I used the Celebrate Words Fancy Dies with the new Iris cardstock. Using the handy little Compact Cutter, I die cut the words three times, once from the gorgeous new Iris cardstock and twice from white cardstock, then layered them together using Precision Glue to create a dimensional die cut sentiment.

I die cut the Butterfly Confetti cover plate die from some white cardstock, then backed it with some white glitter paper for lots of sparkle peeking through the openings on the cover plate die. I reserved a few of the butterfly confetti pieces to use on the finished card. I adhered the ombré butterfly using foam adhesive, then added the dimensional die cut greeting with some more foam adhesive for lots of height and texture. The bright purple really pops beautifully from the crisp white background! Finally, I creased the butterflies down the center of the die cuts to make them look 3D and adhered them to the card front. So much texture and dimension on this card, with all of that bright white allowing those vivid new ink and cardstock colors to shine!

My second card goes to the opposite end of the spectrum with tons of saturated, intense color using the new Eggplant, Pine, and Passion Flower cardstocks! Eggplant is the deep, rich purple cardstock that I never knew that I needed but now can’t get enough of. I just want to pet it. I can’t wait to try it with colored pencils or gouache! Perfect amount of tooth and gorgeous color saturation=perfect backdrop for coloring medium. To start my card, I trimmed down two A2 panels of Eggplant cardstock, then die cut the Through the Woods Fancy Die from the center of one of the panels.

To fill my window, I die cut several daisies from the Bees and Flowers die set using Passion Flower cardstock, as well as a few sprigs of greenery using the Mushrooms and Ferns dies from some Pine cardstock. I arranged the blooms and foliage both inside and popping out of my window, adhering some with foam tape and some with liquid adhesive for lots of dimension. I love how it looks like the flowers are bursting from the window!

Once I had arranged all of the floral die cuts, I die cut the simple hugs sentiment from the Peace Words Fancy Dies once from some gold glitter cardstock and twice from some plain white cardstock. I adhered it to the base of the window. Next, I added some Gold Hero Wax to the centers of the flowers using a small paintbrush. The opaque wax was the perfect way to add a touch of shimmer to the flowers! Finally, I dabbed some Gold Hero Pearls on the finished card. I think the pearls look like fireflies or those magical glittering dust motes that you see floating around in movies like Avatar and Fern Gully!

Well that’s all for my projects today! Now for some fun giveaway information!

GIVEAWAY!! We will be giving away one set of the six NEW colors of ink – Core Ink Pads and Inkers – to one lucky commenter. We encourage you to comment on every blog in the hop – the more blogs you comment on, the more chances to win! Comments for contest entry close Sunday, June 26 at 11:59pm PT, and the winner will be announced on the Hero Arts blog the following week.

Your next stop on the hop is Maria Willis. You can find the whole hop list HERE. Thanks so much for stopping by today, and happy hopping!

Filed Under: Hero Arts

Simon Says Stamp Let’s Chill Blog Hop + Giveaway!

June 18, 2022

Hi there! I’m hopping along with Simon Says Stamp for Day 2 of the Let’s Chill blog hop to celebrate the brand new Let’s Chill release. (You can check out day 1 HERE.) You should have arrived here from Barbara Tarayao, and your next stop is Miriam Prantner. I have three projects for you today featuring lots of beautiful, beachy-themed goodies and some of the totally stunning new Paws-itively Saturated inks. Let’s get started with the details!

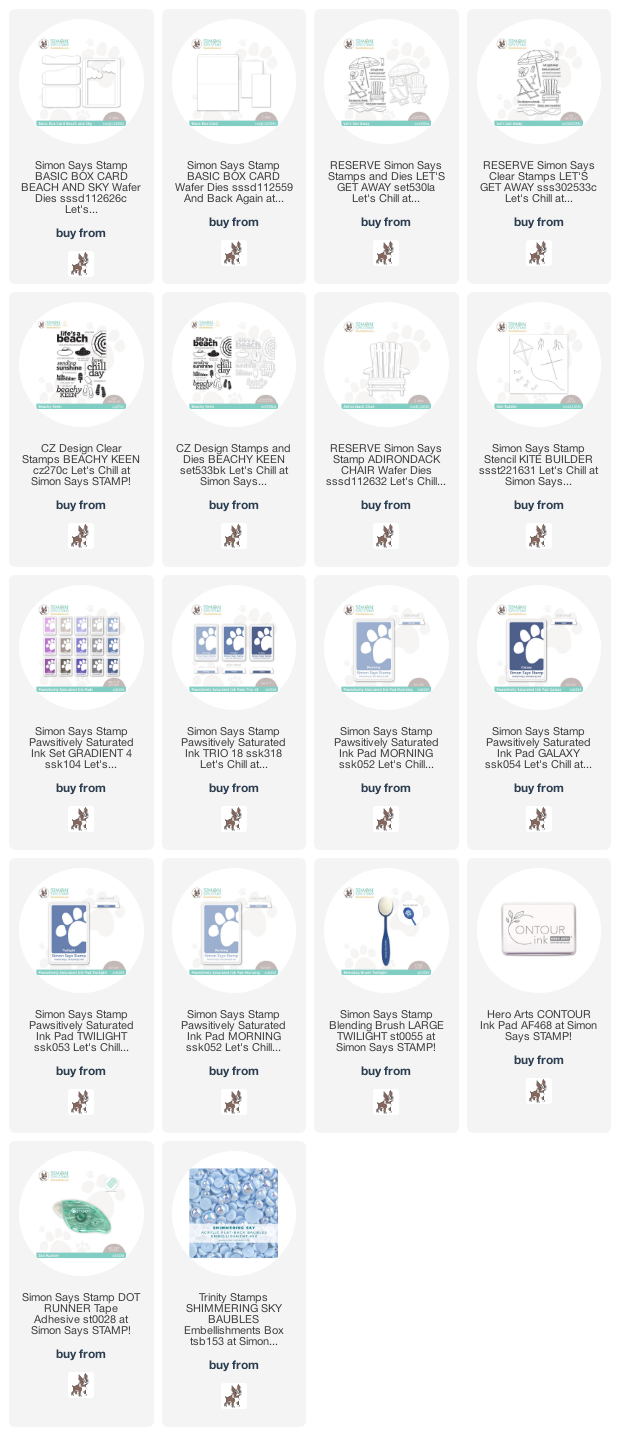
My first card features the brand new Basic Box Card Beach and Sky dies, which I used to create my very first box card! I am not very good with 3D, interactive-type cards, but let me tell you…. this one was so much fun to create, and not horribly complicated! I did refer to this very helpful video from the Simon Says Stamp website to create the basic card using the Basic Box Card dies.

I die cut all of the components for the box card using plain white cardstock, creating a sky by blending some color to the window cut-out with the new Morning Paws-itively Saturated ink and a blending brush. I adhered this blended “sky” to the very back of the box card using liquid adhesive to make sure it was completely straight.

For the interior of the card, I did some no-line coloring using a few of the images from the new Let’s Get Away stamps and dies. I stamped the hammock chair, drink, and umbrella onto some white cardstock using Contour Ink, then added lots of crisp blue and gray using Copic markers. Nothing says “nautical” to me like crisp royal blue and white!

I added the chair, umbrella (trimming off the edge so that it was at an angle), and drink using some Dot Adhesive tape runner, then added a greeting from the new Beachy Keen stamp set, cutting it out with the coordinating dies. I am no engineer, and definitely no Jennifer McGuire, goddess of the fun-folding cards, but creating this was super fun and simpler than I expected! The Basic Box Card dies definitely make things easier than you would think! And bonus: these box card dies fold up completely flat inside an A2 envelope for super simple mailing. So fun, right?

My next projects are a pair of coordinating cards that are an homage to clean-and-simple, as well as some of the gorgeous new Paws-itively Saturated colors released this week: Morning, Twilight, and Galaxy.

My first project uses the gorgeous Adirondack Chair standalone die as the centerpiece. I die cut all of the pieces from plain white cardstock (what’s classier than a white Adirondack chair?) and adhered them all together using liquid adhesive. The detail pieces are just raised enough that they add a hint of dimension without adding a ton of bulk. So well designed!

I lightly blended some Morning ink in the background on a plain white cardstock base to create a very light halo to help my white chair pop from the card front. I also stamped a greeting from Beachy Keen using Galaxy ink. I popped up the die cut chair using foam adhesive to give it some extra height and allow it to be the star of the show!

My last card uses the darling new Kite Builder stencil. I blended Morning, Twilight, and Galaxy inks on a white A2 card front using a blending brush, masking off the parts of the stencil that I was not using using a few Post-It Notes. I also lightly blended some Morning ink around the edges of the card front to create a sky.

For the greeting, I stamped another sentiment from Beachy Keen using Galaxy ink on some white cardstock. I love how vibrant and stark the contrast is between the crisp white cardstock and the deep navy letters. I die cut the sentiment with the coordinating die and popped it up on the card front using foam tape. The final touch was to add a few iridescent blue pearls that could almost be raindrops! Though of course you don’t want to fly a kite in the rain haha!

Well, that’s all for my projects today! So much beachy, summery goodness with this latest Let’s Chill release. And the new ink colors are just smashing! Now for some fun giveaway information:

Each stop on the Let’s Chill blog hop is giving away a $25 gift card to the Simon Says Stamp store! Simply leave a comment on the blog. The more comments you leave across the hop, the more chances you have to win! Winners will be selected from amongst the comments and announced on the Simon Says Stamp blog on Wednesday, the 22nd of June. 

Your next stop on the hop is Miriam Prantner. Thanks so much for stopping by today, and happy hopping!
Filed Under: simon says stamp Tagged With: adirondack chair, basic box card, beachy keen, box card, ink blending, kite builder, let's get away, no line copic coloring, paws-itively saturated

  • Page 1
  • Page 2
  • Go to Next Page »

Primary Sidebar

  • Facebook
  • Instagram
  • Pinterest
  • YouTube

Favorite Shops

Secondary Sidebar

Subscribe

Enter your email address to subscribe to this blog and receive notifications of new posts by email.

Instagram
Something is wrong.
Instagram token error.
Follow
Load More

Archives

Tags

3D embossing folder alcohol markers better press birthday birthday card blog hop card kit christmas christmas card christmas tag colored pencil copic copic coloring Daniel Smith die cutting embossing folder embroidery felt giveaway holiday holiday card hot foil ink blending karin brushmarker pro layered stencil masculine my monthly hero new release no line coloring no line watercolor OLO marker olo markers original illustration pawsitively saturated rainbow shaker card slimline stamping stamptember stencil thank you thinking of you valentine's day video watercolor

Popular Posts

Simon Says Stamp Joy For You Blog Hop- Day 1!
Simon Says Stamp Joy For You Release-Now Available!
Frozen Fractals All Around with New Simon Says Stamp Joy For You Release!
Shaped Holiday Shaker Card with New Simon Says Stamp Jolly Season Card Kit of the Month!
Holiday Postage with New Simon Says Stamp!
Simon Says Stamp Glory to the Newborn King Holiday Kit-Part II!
Holiday Joy in Pink and Green with New Simon Says Stamp DieCember!
Pinkfresh Studio 5th Birthday!
Altenew Build A Flower: Fuchsia Blog Hop+Giveway!
July My Monthly Hero Blog Hop+Giveaway!

Disclosure

Some affiliate links are used in my posts. This means that, should you click on one of my links and purchase something from that company, I will receive a small portion of the sale at no extra cost to you. I use the money earned from these sales to help maintain my blog. I so appreciate you visiting and, if you do choose to use one of my affiliate links, thank you so much for your support!
Copyright © 2026 ·Brunch Pro Theme · Genesis Framework by StudioPress · WordPress · Log in
Loading Comments...