• Skip to main content
  • Skip to primary sidebar
  • Skip to secondary sidebar

Sixth Street Sundries

Emily Midgett

  • Home
  • About Me
  • Contact
  • OLO Marker Color Swatch Chart
  • Shop

Archives for June 2022

New Release-Simon Says Stamp Let’s Chill!

June 15, 2022

Hi there! It’s release night over at Simon Says Stamp; this month we’re introducing the Let’s Chill collection. It’s full of all of those things that are the embodiment of summer, from butterflies to kites to the beach! They also added some absolutely stunning new colors to the Paws-itively Saturated ink line. I chose to focus on some of the more botanical aspects of summer from this month’s release, so let’s get started with the details.

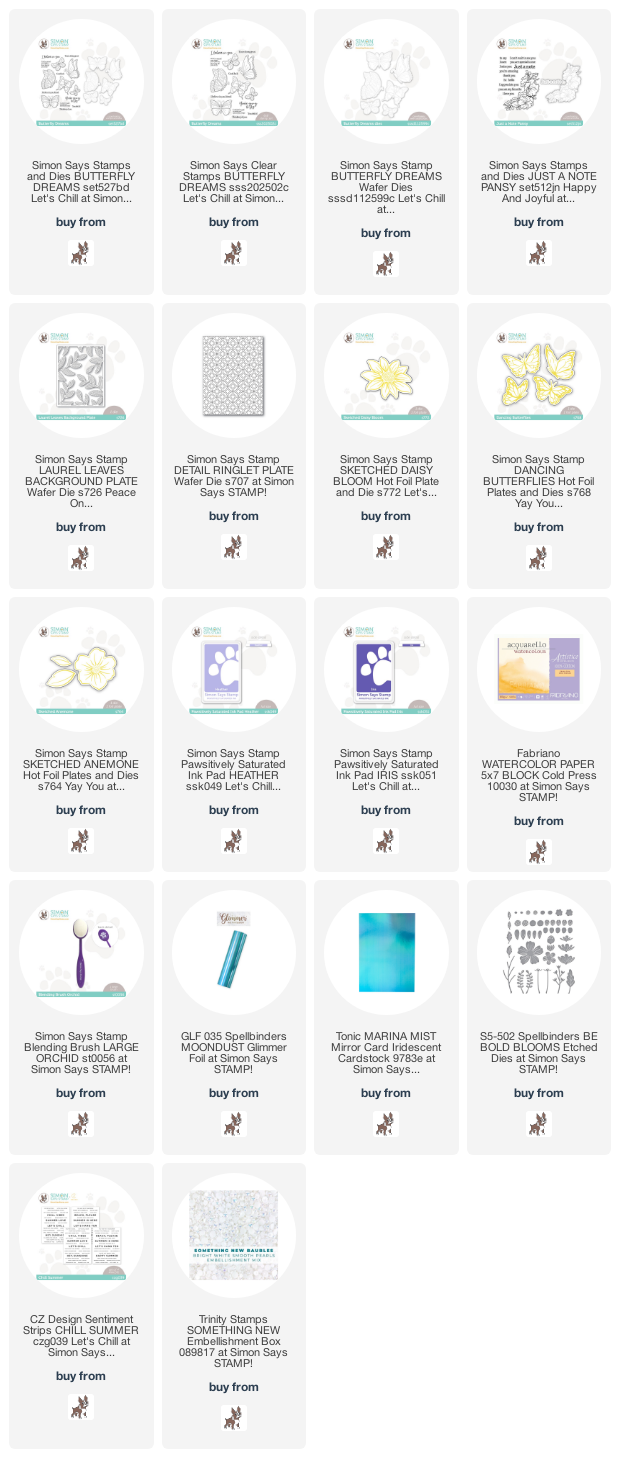
The new Butterfly Dreams set is absolutely spectacular. It features a variety of beautiful butterflies in various angles and sizes, paired with several poignant sentiments. I wanted to create an ethereal card, with lots of bright white and light colors-almost translucent. I began by heat embossing a couple of butterflies from Butterfly Dreams on some Fabriano Artistico watercolor paper, as well as one of the pansy swags from my Just A Note Pansy set, both with white pearl embossing powder. I used Gansai Tambi watercolors to add some soft color to the images and create a very dreamlike, almost secret garden feel.

For the background, I die cut a Laurel Leaves cover plate die from some white cardstock. I used a blending brush and the new Heather Paws-itively Saturated ink to lightly blend a periwinkle halo around the edges of a white A2 card base. I adhered the Laurel Leaves cover plate die cut on the blended card base using some liquid adhesive. The subtle ink blending behind the detailed cover plate die cut helps to keep things light and airy, but still allows the details in the die cut to be visible!

I cut the watercolored pansy in half so that I could layer it at each corner of the card front. I stamped a greeting from Butterfly Dreams using the new Iris Pawsi-itively Saturated ink, then arranged all of the components on the card front using foam adhesive. I love the combination of the watercolored florals with the white leafy background; it looks like a dreamy garden to me. The beautiful butterflies are the icing on the cake!

My second project for today features the beautiful new Sketched Daisy Bloom Hot Foil Plate as the focal point. As soon as I saw this pretty daisy, I knew that I wanted to pair it with some of the older hot foil plates. I used my Glimmer machine to hot foil the Sketched Daisy Bloom, Dancing Butterflies, and Sketched Anemone foil plates on white cardstock using Moondust foil. I love this iridescent aqua foil! I die cut each of the images using the coordinating dies, which are very conveniently included with the hot foil plates.

I die cut the background using the Ringlet Plate from some white cardstock to create a subtly textured background. I trimmed a couple of strips of coordinating teal cardstock and butted them against a strip of plain white cardstock, which I adhered to the die cut background using liquid adhesive. I used the same cardstock to die cut a few iridescent aqua sprigs to add a bit of extra color to the bouquet.

I arranged all of the elements on my die cut card front using both liquid and foam adhesive, adding a quick and simple sentiment from the new CZ Design Chill Summer sentiment strips. The final touch was to add a few iridescent white pearls for one last element of shine!

Well, that’s all for my projects today! I hope you’ll check out the entire Let’s Chill release-so many wonderful goodies to see! Thanks so much for stopping by today, and have a marvelous day!
Filed Under: simon says stamp Tagged With: butterfly dreams, hot foil, paws-itively saturated, ringlet cover plate, sketched daisy, watercolor

Altenew June 2022 Marvelous Monthly Series Release Blog Hop + Giveaway ($300 in total prizes)

June 12, 2022

Hi there! Today, Altenew is hopping along to celebrate the new format of their Marvelous Monthly subscription series. Instead of several individual blog hops for the monthly subscriptions (like the Build a Garden, Paint A Flower, etc), we are sharing all of the gorgeous new monthly subscription options in one gigantic, inspiring blog hop! You should have arrived here from LauraJane, and your next stop is Cheryl Espie. You can also start back at the beginning at the Altenew Blog if you get lost! I have two projects to share with you today, featuring the new Build A Garden Nature’s Magic and Paint A Flower Flowering Dogwood series. Let’s get started with the details on my projects!

My first project features the beautiful Build A Garden Nature’s Magic. This newest series comes with a gorgeous stamp set, coordinating dies, and coordinating stencils to create a huge variety of fantastic looks depending on which technique you want to do that day! Here’s a peek at this month’s Nature’s Magic set:

Such a beautiful set! You can always subscribe to ensure that you receive these beautiful floral sets each month. Click HERE to see all of the subscription information and find out how to sign up!

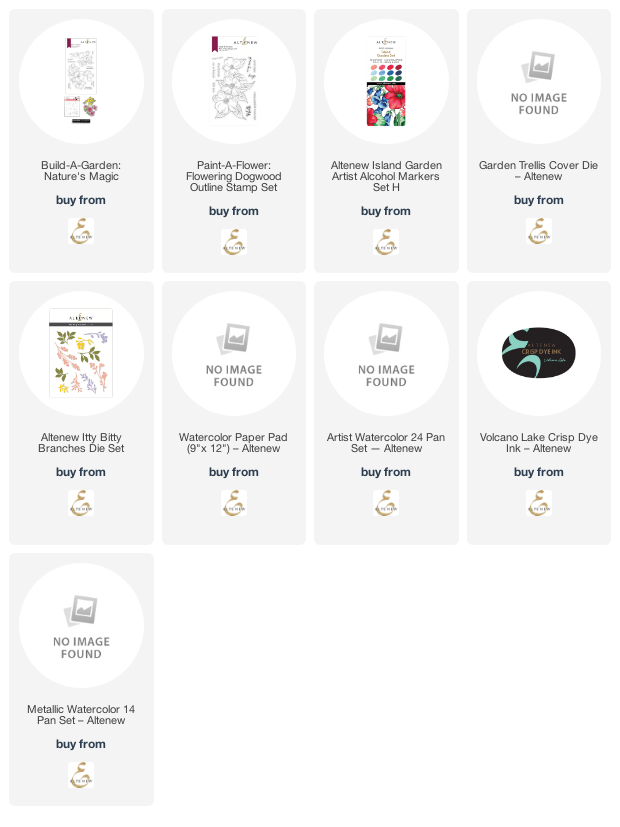
I chose to do some coloring with the gorgeous, vibrant colors in the Island Garden Alcohol Markers set. These colors could easily work for a “patriotic” themed card as well! I stamped the main floral images from the beautiful Build A Garden Nature’s Magic stamp set using alcohol-friendly black ink, then used the vibrant watermelon, cornflower, and jade markers in the Island Garden Alcohol Markers set to add lots of beautiful color to the images.

Once I’d finished coloring the images, I die cut them with the coordinating dies, included with the stamps and stencils in the kit. I also die cut the Garden Trellis die from some white cardstock, trimming it down slightly so that it would be centered on a mini-slimline card base. I die cut a few sprigs of white foliage using the Itty Bitty Branches dies and some white cardstock. Because the main colorful die cuts have that white edge on the die cuts, I like to keep the rest of the die cuts and background as simple as possible to allow those colorful flowers to stand out while also not detracting from the overall color scheme.

I arranged the die cut flowers and white foliage sprigs on my mini-slimline card base using some foam tape, then added a greeting from the Build A Garden Nature’s Magic, stamped on a small rectangle of white cardstock using black ink. The final touch was to add a few iridescent white pearls for some shine! I love how it looks like the flowers are climbing up a trellis in the garden.

The second project features the beautiful new Paint A Flower Flowering Dogwood stamp set. Here’s a peek at this gorgeous new addition to the Paint A Flower series:

You can subscribe to the Paint A Flower series by clicking HERE!

I began by heat embossing the main image from the Paint A Flower Flowering Dogwood stamp set onto an A2 panel of Watercolor Paper from Altenew using gold embossing powder. I used the Artist’s 24 Pan Watercolor Set (which is on sale right now for 50% off!! That’s a heck of a bargain!) to watercolor these beautiful dogwoods in a bubblegum pink and minty green color scheme.

Once my dogwoods were completely dry, I blended some Volcano Lake ink around the edge of the watercolor paper to coordinate with the minty green foliage on the dogwood painting. I used some torn Post-It Notes to cover the pink dogwood flowers and splattered some minty green pearlescent watercolors from the Metallic Watercolor set over the blended areas for some interest.

I added a simple greeting from the Paint A Flower Flowering Dogwood, heat embossed on some strips of coordinating pale pink cardstock and popped up using foam adhesive. The final touch was a few minty green pearls for some added sparkle and shine!

Well, that’s all for my projects today. Now for some fun giveaway information!

$300 in total prizes! To celebrate this release, Altenew is giving away a $50 gift certificate to 2 lucky winners and a $25 gift certificate to 8 winners! Please leave a comment on the Altenew Card Blog and/or each designer’s blog post on the blog hop list below by 06/18/2022 for a chance to win. Altenew will draw 10 random winners from the comments left on each stop of this blog hop and announce the winners on the Altenew Winners Page on 06/20/2022.

Your next stop on the hop is Cheryl Espie. Thanks so much for dropping by today, and happy hopping!

Filed Under: altenew Tagged With: alcohol marker, altenew artists alcohol markers, dogwood, nature's magic, paint a flower, watercolor

Hero Arts My Monthly Hero June 2022 Release Blog Hop + Giveaway!

June 6, 2022

Hi there! It’s time for another fabulous My Monthly Hero release from Hero Arts! This month, we’re going under the sea with beautiful mermaids, jellyfish, and all kinds of oceanic beauty. We are hopping along to share all of the new products with you. You should have arrived here from Debi Adams, and your next stop is Ilina Crouse. Here’s a peek at this month’s kit:

This month’s kit includes: 6″ x 8″ Clear Stamp Set, 8 Coordinating Frame Cuts, Mermaid Reactive Palette Ink Pad, Self-adhesive Pearl Gems, Water Flow Brush. Individually, the products would retail for over $70, but the kit is available for only $34.99! These kits sell out frequently very quickly, so you can make sure to receive one each month by subscribing here.  I have two projects to share with you today, so let’s get started with the details!

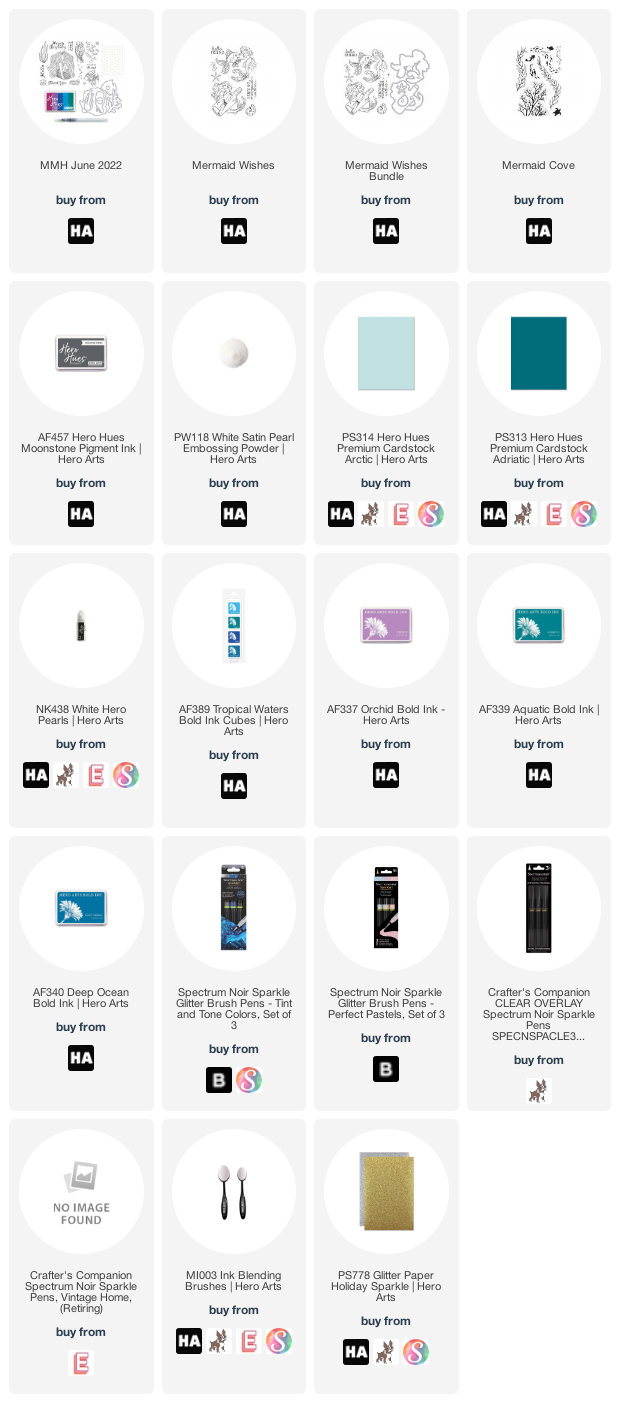
I began by heat embossing several of the undersea images from the new My Monthly Hero kit using Moonstone pigment ink and heat embossing them with White Satin Pearl embossing powder to create a pearlescent charcoal finished look. I embossed all of the images on white cardstock, then used blending brushes and several different shades of ink to create a beautifully ethereal and mottled look for the coral, plants, jellyfish, and seashells. I tried to capture the light dancing through from the top of the water to create movement and color variation with the ink blending. I die cut the blended images with the coordinating dies included in the kit.

Next, I trimmed down a panel of Adriatic cardstock to A2 size and blended some Deep Ocean ink around the edges of the card base. I splattered some sparkling metallic watercolors from my stash that had green and blue glitter over the blended card base to add even more magical sparkle to the card front. I also trimmed by hand some “sand” using scissors and some silver glitter paper, which I popped up using foam tape on the bottom of my blended card front to create a ground for my little underwater scene.

I arranged the blended die cuts on my ocean floor, adhering them with both liquid adhesive and foam tape, then silver embossed a sentiment from the main kit on a small strip of Adriatic cardstock. To make sure that the pearl in the sentiment was super visible, I dabbed a drop of the new White Hero Pearls in the center of the clam, and I made sure that the white of the pearl was the only white on my card front! The final touch was to add some shimmer to a few of the die cut elements with my shimmer pen, mainly some of the coral and the jellyfish, just to add even more textural interest to the card front.

For my second project, I used a couple of the add-ons to create this colorful underwater scene! I used a similar concept to the first card, allowing colorful ink blending and colored cardstock to convey the blue light that you see below the surface of the ocean. I began by heat embossing images from Mermaid Wishes and Mermaid Cove on some Arctic cardstock using Moonstone pigment ink and heat embossing them with White Satin Pearl embossing powder to create a pearlescent charcoal finished look. I cut the images out with my sharp scissors, then used several different colors of ink to blend on the embossed images to add lots of interest and color to the images. I then added a bit of sparkle to the underwater foliage with some colorful sparkle pens.

For the card base, I trimmed down an A2 Arctic card base, then blended colors from the Tropical Waters Ink Cube set around the edge. I also used Copic markers to add some deep blues and purples to the mermaid’s hair, as well as some sparkle to her fishy friend using more sparkle pens. The sparkle pens blend together similar to watercolors; you can lay down some colorful sparkle, then use the colorless sparkle pen to pull the color out and blend it into an ombré.

I adhered all of the colorful die cut pieces to the blended card base with lots of foam tape, some with double layer of foam tape to add lots of height and dimension. The colorful cardstock base used for all of the die cuts helps to maintain the flow and feel of the underwater scene from one die cut piece to the other.

Well, that’s all for my projects today! To celebrate this release, Hero Arts is giving away a $50 shopping spree to the Hero Arts website. All you have to do to enter is leave comments along the hop. The more comments you leave, the more chances you have to win! Enter by Sunday, June 12th at 11:59pm Pacific, and the winner will be announced on the Hero Arts blog the following week.

Your next stop on the hop is Ilina Crouse. Thanks so much for stopping by today, and happy hopping!

Filed Under: Hero Arts Tagged With: ink blending, mermaid, mermaid cove, mermaid wishes, my monthly hero, underwater

Altenew June 2022 Today is the Day Collection Release Blog Hop + Giveaway ($300 in total prizes)

June 3, 2022

Hi there! Altenew is releasing their new Today is the Day collection, and we’re hopping along to share all of the fabulous new products with you! You should have arrived here from Jennifer McGuire, and your next stop is Vicky Papaioannou. You can start back at the beginning at the Altenew Blog in case you get lost! I have a dainty, feminine watercolored project to share with you today, so let’s get started with the details!

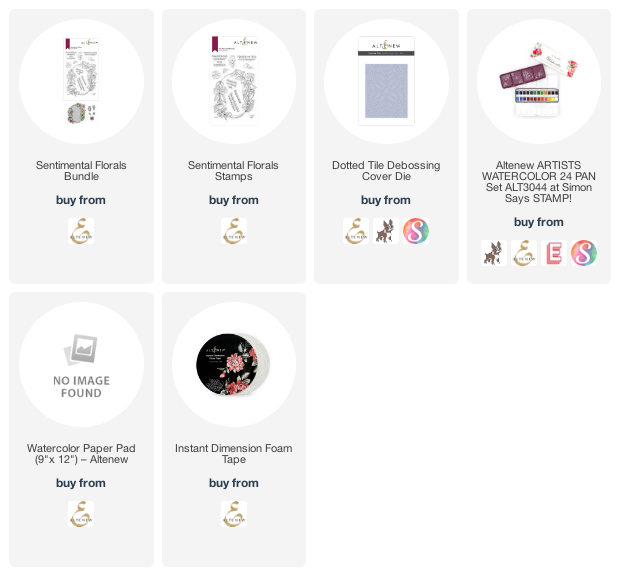
I began by stamping the beautiful new Sentimental Florals stamp using some no-line coloring ink on Altenew Watercolor Paper. I used the Artists 24 Pan Watercolor set to add some delicate purple, pink, and green watercolor to the image, mixing and matching colors to create completely custom colors. I am really enjoying mixing my own colors with the Altenew palette-so many possibilities with 24 colors!

Once the image had dried, I die cut it with the coordinating die from the Sentimental Florals die set. I also die cut a subtle, delicate background using the Dotted Tiles Debossing die from some creamy white cardstock. This creamy white is a bit softer than my usual crisp and bright white cardstock, and it coordinates better with the creamy white watercolor paper. The subtle debossed texture is the perfect background for the dainty watercolored flowers!

I popped up the watercolored floral frame using some Instant Dimension Foam Tape, then added a greeting from the Sentimental Florals set, which I heat embossed using gold embossing powder and matted on a slightly larger strip of metallic gold cardstock. The final touch was to add a few coordinating matte gold pearls for extra texture and shine!

Well, that’s all for my project today. Now for some fun giveaway information!

$300 in total prizes! To celebrate this release, Altenew is giving away a $50 gift certificate to 2 lucky winners and a $25 gift certificate to 8 winners! Please leave a comment on the Altenew Card Blog and/or each designer’s blog post on the blog hop list below by 06/09/2022 for a chance to win. Altenew will draw 10 random winners from the comments left on each stop of this blog hop and announce the winners on the Altenew Winners Page on 06/11/2022.

Your next stop is Vicky Papaioannou. Thanks so much for stopping by today, and have a marvelous day!

Filed Under: altenew Tagged With: no line coloring, no line watercolor, sentimental florals

  • « Go to Previous Page
  • Page 1
  • Page 2

Primary Sidebar

  • Facebook
  • Instagram
  • Pinterest
  • YouTube

Favorite Shops

Secondary Sidebar

Subscribe

Enter your email address to subscribe to this blog and receive notifications of new posts by email.

Instagram
Something is wrong.
Instagram token error.
Follow
Load More

Archives

Tags

3D embossing folder alcohol markers better press birthday birthday card blog hop card kit christmas christmas card christmas tag colored pencil copic copic coloring Daniel Smith die cutting embossing folder embroidery felt giveaway holiday holiday card hot foil ink blending karin brushmarker pro layered stencil masculine my monthly hero new release no line coloring no line watercolor OLO marker olo markers original illustration pawsitively saturated rainbow shaker card slimline stamping stamptember stencil thank you thinking of you valentine's day video watercolor

Popular Posts

Simon Says Stamp Joy For You Blog Hop- Day 1!
Simon Says Stamp Joy For You Release-Now Available!
Frozen Fractals All Around with New Simon Says Stamp Joy For You Release!
Shaped Holiday Shaker Card with New Simon Says Stamp Jolly Season Card Kit of the Month!
Holiday Postage with New Simon Says Stamp!
Simon Says Stamp Glory to the Newborn King Holiday Kit-Part II!
Holiday Joy in Pink and Green with New Simon Says Stamp DieCember!
Pinkfresh Studio 5th Birthday!
Altenew Build A Flower: Fuchsia Blog Hop+Giveway!
July My Monthly Hero Blog Hop+Giveaway!

Disclosure

Some affiliate links are used in my posts. This means that, should you click on one of my links and purchase something from that company, I will receive a small portion of the sale at no extra cost to you. I use the money earned from these sales to help maintain my blog. I so appreciate you visiting and, if you do choose to use one of my affiliate links, thank you so much for your support!
Copyright © 2026 ·Brunch Pro Theme · Genesis Framework by StudioPress · WordPress · Log in
Loading Comments...