This post was sponsored by Simon Says Stamp. Thanks, Simon!
Hi friends! I hope you’ve all had a lovely holiday weekend and maybe enjoyed some treats, either in the form of pumpkin pie (or pecan!) or perhaps some crafty treats! The deals aren’t over yet, and I have a stinking adorable freebie to share with you at the end of this post. But first, I knew that I wanted to create a monochromatic card similar to THIS card using the fabulous new Very Merry Cover Plate Die. I love pairing textured specialty cardstocks in the same color family to create a super impactful and dramatic monochromatic card. Bonus: I was able to create two cards just by running the die through my machine with two different types of cardstock! Let’s get started with the details.

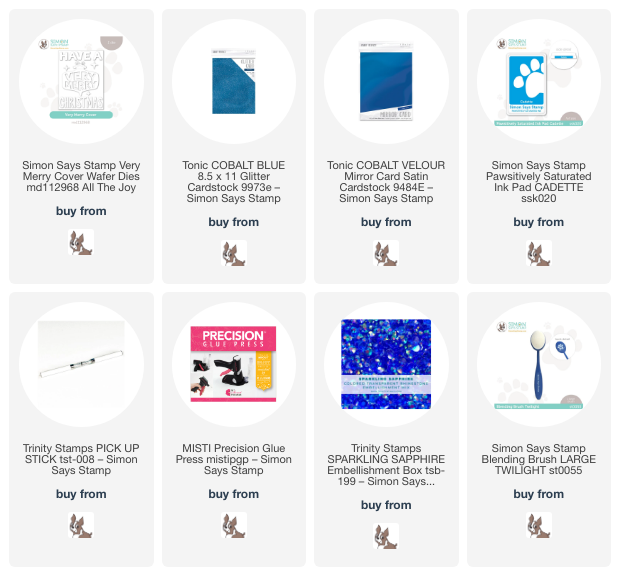
The Very Merry Cover Plate Die is perfect for use with the die cut-inlay technique. I began by running an A2 panel of blue glitter cardstock and a panel of blue satin foil cardstock through my machine using the Very Merry Cover Plate Die, taking care not to lose any of the die cut pieces. I carefully removed the die from the die cut panel and left all of the die cut pieces in place in the negative space.

Before I began adhering my die cut pieces to the card front, and because the cover plate panel is just slightly smaller than a typical A2 card front, I blended Cadette ink around the edges of the card front. I didn’t have any colored cardstock in quite the right shade of blue, but an extensive ink collection and blending brushes means that I can create my own panel of custom-colored cardstock lickety-split! After I had created the coordinating blue edges on my card front, I adhered the negative space of each die cut to the center of card front using a tape runner. Then, using the Trinity Pick Up Stick and the MISTI Precision Glue Press, I was able to add the die cut letters very quickly! There’s just enough contrast between the textured glitter cardstock and the super smooth satin foil cardstock to allow the words to be visible. I think the effect is super elegant!

After all of the die cuts had been inlaid, I added a few sapphire gems and a silver twine bow to the top of the ornament. Because I didn’t use any foam tape on this project, it should be super easy to drop in the mail! I love a two-fer, too. Two die cuts, two complete cards!
Now, for an adorable Cyber Monday freebie from Simon Says Stamp!!

If you purchase at least $25 of Tim Holtz brand products and follow the instructions on the graphic, you will receive this adorable Walter the Penguin die for free!

I created this super cute card using Walter and his lady friend! (Love that the bow can be either a bowtie or a hairbow, depending on placement.) I think they’re so cute! How sweet would this card be for a winter wedding?

This set is only available at Simon Says Stamp while supplies last, so don’t wait! If you’re new to Tim Holtz, I can’t recommend the Distress Inks highly enough. They are water reactive and marvelous for watercoloring, so if you’re a colorist like me, you definitely ought to check them out. The color palette is wide-ranging and so, so beautiful.
Well, that’s all for my projects today! Thanks so much for stopping by today, and happy shopping!
Leave a Reply