This post was sponsored by Simon Says Stamp. Thanks, Simon!
Hi friends! I have a pair of pretty peach projects to share with you today using some more new goodies from the Simon Says Stamp Sunny Vibes release. When I opened my release package, I immediately gasped when I saw the delicate and lovely Beautiful Blooms layering stencil and coordinating stamp set. I love a good floral, as we all know, and I love beautiful typography, so the combination of both of these elements into one product suite just plain makes me giddy! I used both products to create a pair of peachy keen cards, so let’s get started with the details!

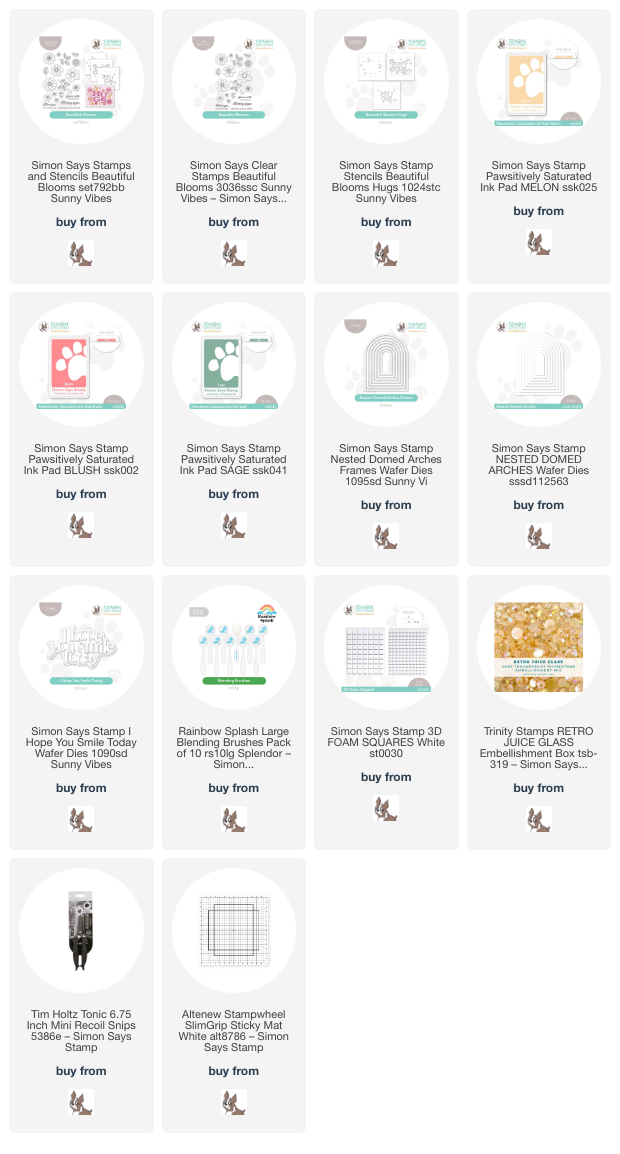
For both of my projects, I used elements from Beautiful Blooms Bundle along with Pawsitively Saturated Inks in shades of Melon, Blush, and Sage to create a lovely peach color palette. The stamps from the Beautiful Blooms Bundle coordinate beautifully with the stenciled images in the layering stencils, but you can easily using them separately to create a whole host of unique looks!

For my first card, I began by blending all of the layers from the Beautiful Blooms layering stencil using Pawsitively Saturated Inks in shades of Melon, Blush, and Sage and blending brushes. I then used Blush and Sage inks to stamp the coordinating detail layers from the Beautiful Blooms stamp set directly over the top of the blended images. The detailed stamps are not an absolute necessity, but they really do help to elevate the pretty floral designs! I also blended and stamped some more flowers and foliage on a separate sheet of white cardstock, then used some sharp scissors to fussy cut them. (I have hopes that dies will be forthcoming for these pretty flowers!)

Once I had finished fussy cuttign the individual flowers and foliage, I arranged them around the central “hugs” sentiment and popped them up with some foam adhesive squares. I also stamped and fussy cut the “thinking of you” sentiment from the Beautiful Blooms stamp set and nestled it amongst the floral design. Finally, I added a few shimmering coral gems for a bit of additional shine!

For my second card, I used the lovely individual floral stamps from the Beautiful Blooms stamp set to create a pretty, custom patterned paper background. I began by die cutting a panel of super pale peach cardstock using the Nested Domed Arches die. I then used the individual flower and foliage stamps with Melon Pawsitively Saturated Ink to create a floral pattern, starting with the largest flowers and working my way down to the smallest, filling in gaps and creating small floral bouquets. Once I had finished the floral pattern, I used a blending brush to blend some more Melon ink around the edges of the arch die cut and added a glittering copper frame cut using the new Nested Domed Arches Frames. One can never have too many frame dies, in my opinion, and these graceful arches are so trendy and on point right now!!

I mounted the floral arch onto a panel of slightly darker peach cardstock using some foam adhesive, then turned my attention to the sentiment. I die cut the detail layer of the new I Hope You Smile Today from that same slightly darker peach cardstock, then mounted it on a vellum die cut shadow layer. I popped the greeting up over the glittering arch frame using some more foam adhesive, then using a coordinating peach alcohol marker to create a silky peach accent bow. I tucked the bow beneath the sentiment die cut, then added a few peach gems for one last sparkling touch!
Well, that’s all for my projects today! I love layering stencils; they’re such fun to customize with unique color combinations, and even more fun to use with the coordinating detail stamp set! Thanks so much for stopping by today, and have a marvelous day!
Beautiful cards!!!