• Skip to main content
  • Skip to primary sidebar
  • Skip to secondary sidebar

Sixth Street Sundries

Emily Midgett

  • Home
  • About Me
  • Contact
  • OLO Marker Color Swatch Chart
  • Shop

heat embossing

September 2019 My Monthly Hero+Giveaway!

September 3, 2019

Hi there! Today’s the day…. it’s (almost) the first Monday of the new month, so we have the newest My Monthly Hero release and blog hop to share with you today! This month’s kit is perfect for those difficult-to-create masculine cards. Let’s get started with some of the details!

This month’s My Monthly Hero kit features another of the super popular peekaboo die sets, this time with a “Cabinet of Curiosities” theme just in time for Halloween! The kit features a 6×8 stamp set, cover plate die, three word dies, some fabulous specialty card stocks, little bee and key charms, and some Bronze Silk ink. The contents of this kit values at over $75, but the price is only $34.99! These kits frequently sell out, and once they’re gone, they’re gone… so don’t wait and miss out! You can also subscribe to make sure that you get first dibs every month. The kits will begin shipping from the warehouse on Friday, September 6, 2019. I have two projects to share with you today, so let’s get started with the details!

For my first project, I wanted to show you a different way to use the contents of the kit’s stamp set, so I decided to create a little framed collection of “rarities.” I stamped several of the botanical jars on some white card stock with Intensified Black Ink, then used my Copic markers to add color and fussy cut them.

I die cut a frame from some of the olive green woodgrain card stock from the kit using the Woodgrain Infinity Dies. I layered it on some of the shimmery brown card stock from the kit and popped it up with some foam tape. The final touch was to add a bit of color with some yellow enamel dots!

For my second project, I wanted to use one of the pretty add-ons: Sacred Florals. I heat embossed one of the main images and some of the bubbles using silver embossing powder on some watercolor cardstock. I used my Daniel Smith watercolors in a pretty, summery color scheme with a lovely coral peony in the center. I die cut the images using the coordinating frame cuts.

I used the same shades of watercolors to create a watercolor wash panel for the background. I added the die cut pieces to the front using foam and liquid adhesive. For the greeting, I heat embossed a white sentiment from the Sacred Florals stamp set on a small rectangle of Lapis cardstock. The final touch was to add some blue and aqua enamel dots for a bit of texture!

Well, that’s all for my project today! Now, for some fun giveaway information!

Hero Arts is giving away one kit to a lucky commenter (and if you’ve already purchased one, they will reimburse you!). All you have to do to be eligible is leave a comment on each stop on the blog hop. The more comments you leave, the more chances you have to win!

Your next stop on the hop is Ilina Crouse. Thanks so much for stopping by today, and happy hopping!

The Hero Arts Blog Amy Kolling Caly Person Debi Adams Emily Midgett Ilina Crouse Janette Kausen Julee Tilman Laurie Willison Libby Hickson Lydia Fiedler Mariana Grigsby Michelle Short Nichol Spohr

Filed Under: heat embossing, Hero Arts, watercolor Tagged With: Daniel Smith, halloween, my monthly hero, watercolor

Altenew June Stamp and Die release!

June 12, 2019

Hi there! I’m so excited today to be part of the Altenew June Stamp and Die release blog hop! You should have arrived here from Therese Calvird, and your next stop is Zinia Redo. Altenew also is generously giving away 6 $50 gift certificates, and they’re giving away a $15 gift certificate at each blog hop stop, so read all the way to the end to find out all of the details on how you can enter to win! You can find the full hop list at the Altenew Blog. There are some absolutely gorgeous new floral sets and some super versatile dies being released this month, and I am so excited to help show them to you all. I have created 4 projects for today’s release, so let’s get started with the details! 

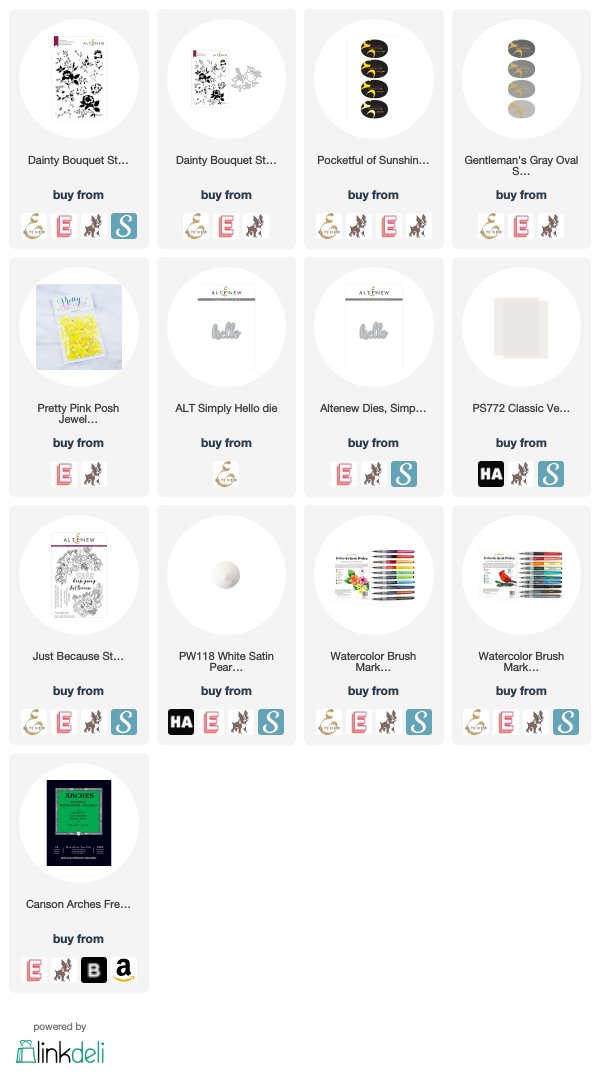
I love the combination of yellow and gray, so much so that my twins’ nursery was decorated in that lovely, gender neutral combination! It can easily be a masculine color combination, but the addition of some sunny yellow flowers quickly adds a feminine twist! I used the new Sunflower Daisy stamps with the Mid-Century Frame die for a crisp and sunny project, as well as adding some gray foliage to my yellow blooms with the Dainty Bouquet stamp set. 

For this first project, I kept the card front simple and clean, adding the new Mid-Century Frame die cut from white card stock onto a crisp white background. I love using white-on-white for intricate dies; it create a beautifully subtle texture. I did a little pale yellow ink blending using blending brushes on the card base before adhering the white die cut to add just a touch of color, then turned my attention to my blooms.

I love using non-traditional colors for foliage. It creates such a unique look and allows your chosen color scheme to really stand out. I chose to stamp the foliage in shades of gray, keeping the blooms themselves a more traditional sunny yellow. I adhered the blooms and foliage in a cluster in the corner of the card front using foam tape, adding a sentiment from the new Sentiment Strips stamp set and a few gems for some sparkle. 

For my next project today, I used the same color scheme, stamping a full A2 background panel using the Dainty Blossoms stamp set and the same yellow and gray inks that I’d used for the first card. Those gray leaves create such a unique, striking look, I think! I also used a fine point black pen to add a few little dots here and there in the blank spots just to add bit more interest. I added a charcoal gray die cut “friend,” cut twice from white card stock and once from charcoal card stock, then adhered together to create a dimensional die cut greeting. I also white embossed a sentiment from the new Sentiment Strips stamp set onto a thin strip of mustard yellow card stock, adhering it with foam tape for extra dimension. 

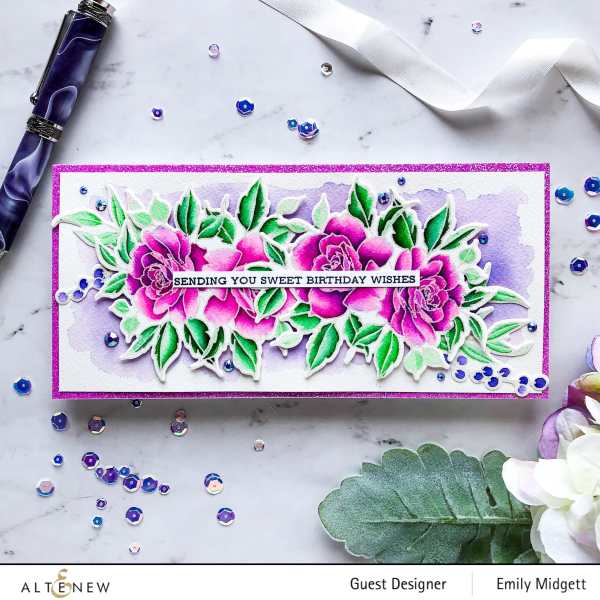
For my next projects, I chose to use my newly-purchased Tropical Fiesta and Winter Watercolor Brush markers to create an ultra-feminine pair of purple, pink, and teal floral cards, pairing the new Frilly Frame die with the beautiful florals in the older Just Because stamp set, while the large bouquets in the new Forever In Love stamp set were perfect to create an extra long card. 

I began this first project by heat embossing both bouquets from Just Because onto some watercolor card stock using white pearl embossing powder, creating my own custom background pattern. I then used the super concentrated Tropical Fiesta and Winter Watercolor Brush Markers to watercolor the background panel in a lovely combination of lavender, fuchsia, mint, and teal. 

Once my watercolored panel had dried, I die cut the new Frilly Frame die from some heavyweight vellum, adding a white Hello die cut over the top, as well as a sentiment strip created with the new Sentiment Strips stamp set. I hid the adhesive behind the die cuts, offsetting the vellum doily slightly and trimming off the excess. The final step was to add some sparkling gems! 

For my final card today, I stamped the bouquets from the new Forever In Love stamp set on some more watercolor card stock and heat embossed them with more white satin pearl embossing powder. I love using white embossing powder for floral stamps; I think it creates a softer, more unique look than simple black stamping. I watercolored the florals with the same shades of fuchsia, lavender, mint, and teal Watercolor Markers, then die cut them with the coordinating dies. 

I trimmed a 3.75”x8.25” panel of Arches Cold Press watercolor paper and taped it to my watercolor board. I then scribbled the watercolor markers on my craft mat, diluting them with water and adding this diluted color to my long panel of watercolor paper to create an ethereal background for my florals. After it had dried, I added it to a slightly larger panel of pink glitter paper, then arranged the floral bouquets on the card front, adhering them with foam tape. I added another greeting from Sentiment Strips, finishing the card off with some more sparkling gems. 

Well, that’s all for my projects today! Now, for some fun giveaway information. Altenew is generously giving away a $50 gift certificate both on the Altenew Card Blog and the Altenew Scrapbook blog, so be sure to leave a comment on the Altenew Card Blog and/or Altenew Scrapbook Blog by 6/12/2019 for a chance to win. They are also giving away a $15 gift certificate at each stop on the blog hop! All you have to do to enter is leave a comment on each stop on the hop. The more comments you leave, the more chances you have to win! Your next stop is Zinia Redo.

Thanks so much for stopping by today, and have a marvelous day!

Filed Under: altenew, heat embossing, watercolor Tagged With: dainty blossoms, forever in love, frilly frame, hello die, just because, mega friend die, mid-century frame die, sentiment strips, Sunflower daisy, watercolor, watercolor brush markers

Pinkfresh Studio April Stamp and Die Release!

April 29, 2019

Hi there! Today, Pinkfresh Studio is releasing their newest stamps and dies. We have lots of beautiful sets to introduce to you today, including some absolutely beautiful new flowers and sentiments (my favorites ;))! You should have arrived here from my super talented friend Caly Person, and your next stop is the phenomenal Erum Tasneem! Pinkfresh Studio also has some fun giveaways and shopping promotions to celebrate their new release, so be sure to read all the way to the end to get all of the details! Now, for all of the details on my projects for you today.

My projects today are an homage to pink and purple. I absolutely love pink and purple flowers… there’s something so perfectly springy about the combination of bright pink and deep royal purple. The new Blooming Bouquet and Just A Little Lovely stamp sets feature beautiful clusters of flowers, perfect for creating a spring garden on your card front! Let’s get started with all of the details.

I began by stamping the gorgeous new Just A Little Lovely on some white Copic-friendly card stock using Copic-friendly black ink, then colored it in a lovely cool magenta, royal purple, and green color combination using Copic markers. After I’d finished coloring, I die cut the panel using the Essentials Stitched Rectangles dies to add a bit of interest around the edge, then used blending brushes and some deep pink ink to blend around the edges, creating a nice halo around the colored image.

After I’d completed the blending, I die cut the bouquet from Just A Little Lovely from some scratch paper, covered my Copic-colored bouquet, then used my paintbrush to flick some undiluted black watercolor on the panel for some artistic speckles. I die cut the Best Wishes from the Essentials: Classic Words die set using black card stock, then added it to the colored panel, covering it with Crystal Lacquer to add a different texture to the card front. The final step was to mount the colored, stitched panel on an A2 panel of card stock, providing a stark black frame around the outside of the colored area.

Copics used to color the bouquet.

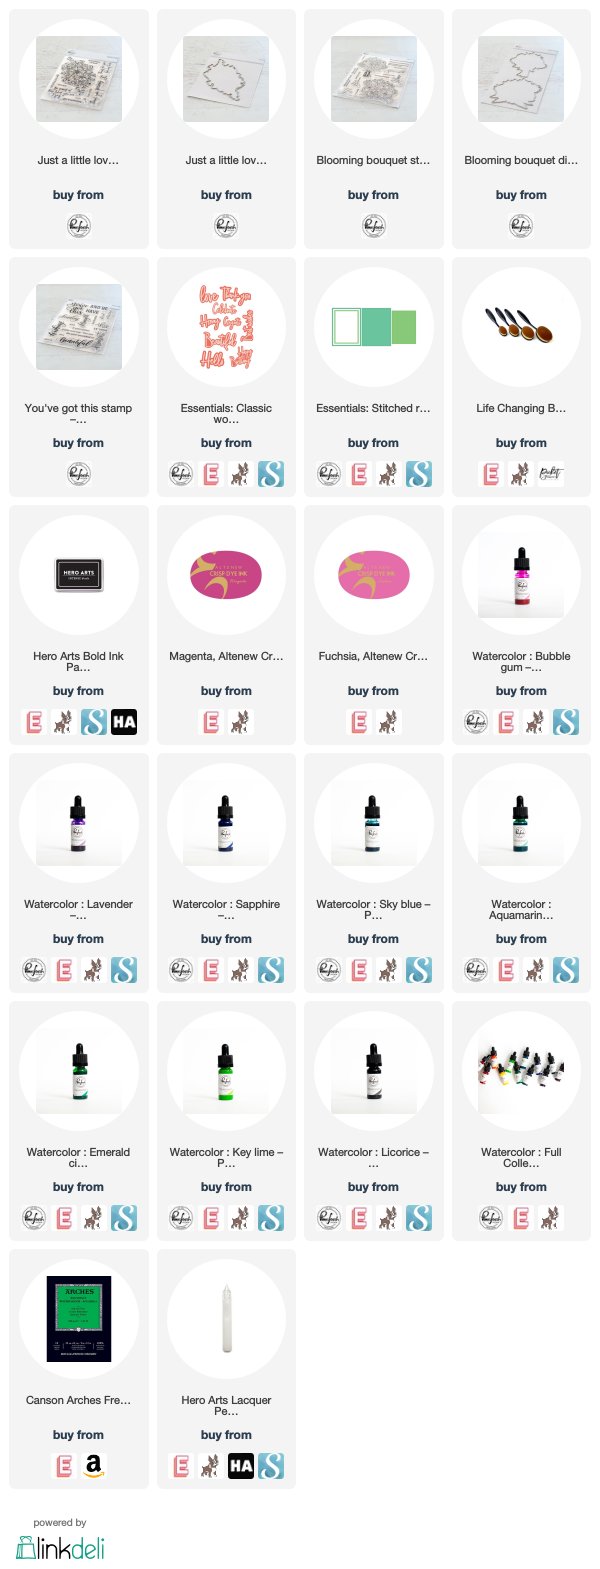
For my second project, I maintained the color scheme used in the first project, but used the Pinkfresh Studio Liquid Watercolors with the new Blooming Bouquet. I began by stamping both bouquets onto some Arches Cold Press watercolor paper using Versafine and then embossing with clear embossing powder. I then used Bubble Gum, Lavender, Sapphire, Sky Blue, Aquamarine, Emerald City, and Licorice watercolors to create deep, vibrant shades of fuchsia and violet. These watercolors are so gorgeously concentrated that they create dramatic results when used full-strength.

I die cut each bouquet using the coordinating dies, then set them aside to work on the card base. Again using my blending brushes, I blended two shades of deep, rich pink down the front of my white A2 card base, concentrating the darker shade towards the top, tapering down to just a light pink towards the bottom of the card base. After arranging the flowers approximately where I wanted them, I used the new You’ve Got This stamp (which was designed by my ridiculously talented friend and fellow teammate Caly Person using her own hand-drawn calligraphy!!! Gasp, right?!) set to create a custom greeting, which I again stamped with Versafine Onyx and embossed with clear embossing powder.

After I’d stamped the greeting, I again splattered some black ink on the bottom of the blended panel to tie into the black embossing and sentiment and add a bitt of interest to the bottom of the card. I arranged the watercolored flowers on the top of the card front, adhering them with foam tape, trimming off the excess portions and layering a few of the pieces of foliage that I’d trimmed off beneath the bouquets to help fill out some bare spots.

Well, that’s all for my projects today! Now, for the shopping promotions and giveaways! Pinkfresh Studio is offering free/discounted shipping from April 29-May5th on orders $50+. You must use the code APRFREESHIPWITH50. Shipping is free in the USA, and $5.50 off for our International friends. We are also offering a free die with every purchase!

No code necessary! This darling little die will be automatically added to your cart in the Pinkfresh Studio Store with every purchase.

Pinkfresh Studio is also giving away the full release to a lucky winner chosen from the blog hop comments, as well as on their Instagram page! Simply leave a comment on each of the blog hop stops (the more comments you leave, the more chances you have to win!) to be entered. The winners will be announced Monday, May 6th on our GIVEAWAY PAGE. You have 2 weeks to claim your prize before another winner is chosen, so be sure to pay close attention to see if you’re the winner!

Well, that’s all for me today. Here’s the rest of the hop list in case you get lost:

You are invited to the Inlinkz link party!

Click here to enter

Thanks so much for stopping by, and have a marvelous Monday!

Filed Under: heat embossing, pinkfresh studio, watercolor Tagged With: blog hop, giveaway, liquid watercolors

Honey Bee Stamps 4th Anniversary Celebration!

April 19, 2019

Hi there! If you follow me on Instagram, you’ll know that I’ve been sneaking peeks of Honey Bee Stamps‘s release. This release is a doozy… over 50 new products being debuted… and it’s super appropriate, because it’s their 4th Anniversary! Four years of Honey Bee goodness! I am so proud of how much Honey Bee Stamps has grown, and so honored to have been part of Melissa’s Design Team for almost two years now! I seriously am so lucky to be able to work with so many wonderful people in this industry, and Melissa is on one of my absolute favorites!

There’s a huge blog hop going on today and tomorrow (my “official” blog hop post is tomorrow), but I created so many projects using the new goodies in this release that I thought I’d spread the details about them out over two posts! This post will be long, with lots of pictures, but that’s just how much I have to show you!! 🙂 Let’s get started!

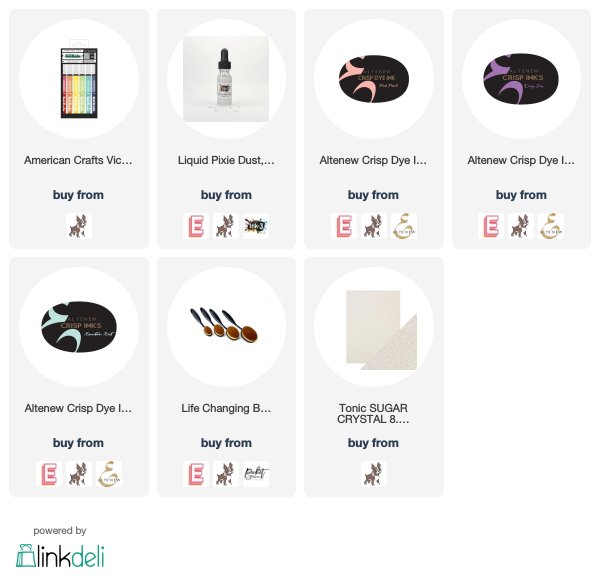
For my first project, I wanted to create a birthday card using the fantastic new Balloon Bunch dies. These are a set of nested dies, with two different shapes included in the die set, and they range from teeny tiny to gigantic! I die cut a bunch of them from some watercolor paper, then used Vicki Boutin’s Watercolor Brush Markers (such gorgeous, vibrant colors in this watercolor set!) to watercolor the solid balloons in a pretty mint, jade, pink, and fuchsia color scheme! I also added a generous layer of Ink On 3’s Pixie Dust to each ballon to make them super festive.

Next, I blended some pretty purple, pink, and mint inks on a white A2 card using blending brushes, layered my die cut balloons over the top, and adhered them with foam tape. I also die cut a glittery white “birthday” using the new Birthday Honey Cuts die. I white embossed a coordinating greeting from the new Happy Birthday stamp set onto some strips of vellum. (So many cute sentiments in that stamp set! Definitely a must have.) The final touch was some jewels and Nuvo drops.

For my second project, I used the absolutely stunningly detailed new Mandala die. I die cut the Mandala from some beautiful gold card stock, then layered it on an alcohol ink background that I had in my stash. (I like to make a bunch of them at once and then have them on hand for a quick background!) I stamped the greeting from Thanks a Bunch using Brass embossing powder onto some heavyweight vellum, then fussy cut around the edges.

The final touch was a few gems around the edge of the intricate Mandala die cut.

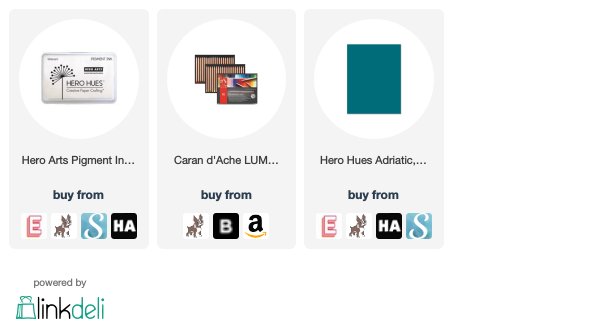
I saved my favorite for my final project today… Y’all know I’m a sucker for anything peony, and these new Spring Peony stamps from today’s release immediately claimed my attention as soon as I received my package. They’re gonna be awesome in any medium. For today, however, I decided to put my Luminance pencils to use. I absolutely love the look of colored pencils on colored card stock to create a seamless, almost screen-printed look, so I stamped several of the blooms and foliage from Spring Peony onto some beautiful teal card stock using white pigment ink, then colored them with my C’aran D’ache Luminance colored pencils.

I wanted to keep that deep teal background, allowing the peonies to be some bright pops of saturated color, which was accomplished by coloring the flowers on the same shade of teal card stock, then die cutting them and layering them on my teal background. I also die cut one of the new Double Stitched Polygon dies from that same teal card stock and popped it up on the teal card base using foam tape.

I die cut the white “bloom” from the new Bloom Honey Cuts and added the rest of the sentiment from the Bloom stamp set on strips of white card stock. I arranged the flowers on one side of the Double Stitched Polygon die cut, then adhered them and the greeting components using liquid adhesive. The final touch was a few jewels for sparkle!

Well, that’s all for my projects today. Be sure to stop by the Honey Bee Stamps blog to get linked up to Day 1 of the Blog Hop. (Psst… There are prizes to be had!!!) And don’t forget to come back here tomorrow for Day 2 for even more inspiration using the newest release from Honey Bee Stamps! Thanks so much for stopping by today, and have a marvelous day!

Filed Under: heat embossing, Honey Bee Stamps Tagged With: alcohol ink, balloons, luminance pencils, mandala, peonies, vicki boutin

November My Monthly Hero Blog Hop + Giveaway!

November 5, 2018

Good morning! Today is the day! The November My Monthly Hero kit is finally available for purchase, and we have a fantastic blog hop to help provide you with even more inspiration for this month’s kit! You should have arrived from Debi Adam’s blog, and your next stop is Ilina Crouse’s blog. This month’s kit is super unique and oh so much fun… the stamps and dies included in the kit help you create a miniature Advent calendar. Here’s what’s included:


4″ x 6″ Clear Stamp Set
4.25″ x 5.5″ Ornament Flap Fancy Die
4.25″ x 5.5″ Ornament Background Cling Stamp
Green-gold Embossing Powder 0.5 oz.
Gold Embossing Powder 0.5 oz.

This kit is valued at $60, but it’s available for purchase at only $34.99! Great value, right? And if you’ve been checking out the Hero Arts Blog, you’ve seen just how many different ways this kit can be used. These kits frequently sell out, and once they’re gone, they’re gone… so don’t wait and miss out! You can also subscribe to make sure that you get first dibs every month. The kits will begin shipping from the warehouse on Friday, November 9th. In case you missed it, this was my project for the Hero Arts Blog countdown:

I combined the main Advent calendar components with Clarice, our Elf on the Shelf to create a fun, interactive “scavenger hunt” for my kiddos! Fun for them to search for Clarice (and bonus, it helps them learn their numbers)! You can check out the full blog post here.

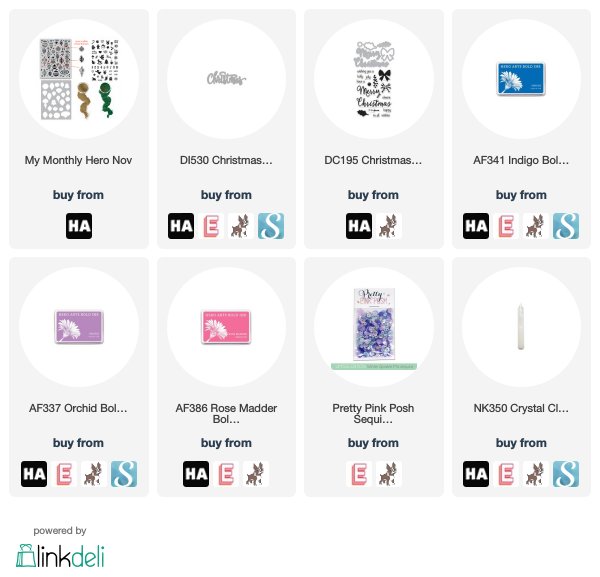
For my blog hop project today, I chose to use the lovely Ornament Background included in the main kit. I began by heat embossing it onto plain white card stock using silver embossing powder. I then used my foam blending tools to blend Indigo, Orchid, and Rose Madder Hybrid inks.

Once my colorful background was complete, I die cut a Christmas word die from plain white card stock. I also stamped the rest of the greeting from Christmas Trimmings on white strips of card stock using Indigo ink. I adhered them in the center of my blended panel using liquid adhesive (makes this the perfect, flat card for mailing!), then added some Crystal Lacquer to the Christmas die cut to add some textural interest to the card front.

The final step was to add some shiny, sparkly sequins from Pretty Pink Posh. I know this color combination isn’t really “traditional” for Christmas, but I think it looks so magical with the ornaments and the snowflakes and the silver… it’s just plain pretty!

Now, for some fun giveaway information! Hero Arts is giving away one kit to a lucky commenter (and if you’ve already purchased one, they will reimburse you!). All you have to do to be eligible is leave a comment on each stop on the blog hop. The more comments you leave, the more chances you have to win! Here’s the full lineup in case you got lost:

The Hero Arts Blog
Amy Kolling
Debi Adams
Emily Midgett
Ilina Crouse
Janette Kausen
Jessica Frost-Ballas
Julee Tilman
Laurie Willison
Lydia Fiedler
Michelle Short
Nichol Spohr
Yana Smakula

Thanks so much for stopping by today, and have a marvelous week!


Filed Under: christmas card, heat embossing, Hero Arts, holiday card Tagged With: christmas, holiday, ink blending, my monthly hero

  • Page 1
  • Page 2
  • Go to Next Page »

Primary Sidebar

  • Facebook
  • Instagram
  • Pinterest
  • YouTube

Favorite Shops

Secondary Sidebar

Subscribe

Enter your email address to subscribe to this blog and receive notifications of new posts by email.

Instagram
Something is wrong.
Instagram token error.
Follow
Load More

Archives

Tags

3D embossing folder alcohol markers better press birthday birthday card blog hop card kit christmas christmas card christmas tag colored pencil copic copic coloring Daniel Smith die cutting embossing folder embroidery felt giveaway holiday holiday card hot foil ink blending karin brushmarker pro layered stencil masculine my monthly hero new release no line coloring no line watercolor OLO marker olo markers original illustration pawsitively saturated rainbow shaker card slimline stamping stamptember stencil thank you thinking of you valentine's day video watercolor

Popular Posts

Simon Says Stamp Sending Cheer Blog Hop- Day 2 + Freebie + Giveaway!
Joyful Snowman with New Simon Says Stamp Sending Cheer Release!
Simon Says Stamp Sending Cheer Release: Now Available!
Altenew October 2026 Release Blog Hop + Giveaway!
February 2018 My Monthly Hero Blog Hop!
Altenew March 2020 Release Blog Hop+Giveaway!
Special Release: Simon Says Stamp Limited Edition STAMPtember Christmas Card Kit!
Simon Says Stamp Cozy & Bright Inspiration, Part Two!
Waffleflower December Release Blog Hop!
Altenew Build A Flower Japanese Mum Blog Hop!

Disclosure

Some affiliate links are used in my posts. This means that, should you click on one of my links and purchase something from that company, I will receive a small portion of the sale at no extra cost to you. I use the money earned from these sales to help maintain my blog. I so appreciate you visiting and, if you do choose to use one of my affiliate links, thank you so much for your support!
Copyright © 2026 ·Brunch Pro Theme · Genesis Framework by StudioPress · WordPress · Log in
Loading Comments...