• Skip to main content
  • Skip to primary sidebar
  • Skip to secondary sidebar

Sixth Street Sundries

Emily Midgett

  • Home
  • About Me
  • Contact
  • OLO Marker Color Swatch Chart
  • Shop

artistic dahlia

VIDEO: Using White Pigment Ink with Artistic Dahlias Layering Stencils!

April 12, 2023

Hi there! I am up on the Pinkfresh Studio YouTube channel today with this fun video sharing tips on how you can get beautifully vibrant results blending colorful dye inks on colored cardstock. You can watch the video below:

Or watch the video HERE on YouTube.

Colored cardstock is basically one of my most favorite things about cardmaking (as my ridiculously expansive collection of colored cardstock would attest)… there’s just something so beautiful and luxurious about richly colored cardstock, and we all know my love of monochromatic layers. I adore layering up as many monochromatic components as I can, creating a seamless feel to my card. I’ve come up with lots of fun hacks for coloring on my colored cardstock or adding color around the edge of my die cut pieces. Sometimes, though, time only permits me to do simple and quick techniques, and layered stenciling is such a great way to create impressive, custom-colored looks without getting my art supplies out. To use colorful dye inks with colored cardstock, I have a secret weapon for keeping those colors rich and vibrant: white pigment ink!

Before blending the colorful inks on my minty cardstock, each solid layer of the stencils first gets an even layer of white pigment ink, blended using a blending brush (or foam blending tool) that I have dedicated solely to white pigment ink. When blending colorful inks on colorful cardstock, it’s important to remember your color theory from kindergarten: which primary colors, when mixed together, will create which secondary colors? I.e.-red+yellow=orange, red+blue=purple, etc. For example, when choosing my coral and pink inks for this card, I knew that the base colors for the minty cardstock were made up of blue+yellow+white, and that would mix with the red+yellow of the coral to make a muddy mess. The colors certainly would not remain true. That’s where the white pigment ink comes into play. The pigment ink is a heavier formulation and does not sink down into the cardstock the way dye ink does, and so it creates a barrier when you blend your colorful ink over the top, preventing the colors from the ink from mixing with the colors of the cardstock and allowing them to stay true.

I had previously hot foiled the Celebrate and Nested Arches onto the minty cardstock using matte platinum hot foil, so I heat embossed my new Artistic Dahlias stamp set onto a panel of that same minty cardstock using coordinating platinum embossing powder, then used the coordinating stencils. I added the white pigment ink on all of the solid stencils first, wiped away any excess white ink to keep my ink pads clean, then blended the colorful inks over the top. The results are so beautifully vibrant! I even used the white pigment ink on the minty green leaves before applying the minty green ink; without it, the mint cardstock would simply have been made into a darker shade of green, rather than maintaining the light and airy feel of the pale minty foliage. I die cut the finished pieces with the handy-dandy one piece die.

To add some interest to the background, I die cut a frame using the Rounded and Braided Rectangle frame dies from an A2 panel of the same minty green cardstock, which merely pierced a die cut design . I die cut the Nested Arches hot foiled piece using the coordinating die. I also die cut the hot foiled Celebrate using the coordinating die. I arranged the die cuts on the card front and adhered them with a variety of foam tape (single and double layer) and liquid adhesive to create lots of dimension and varying heights. I find various heights to help add interest to a monochromatic card like this, bringing out the details and textures of the different elements. Finally, I added a few Champagne Glitter Drops for some sparkle!

Well, that’s all for my card today! I hope you enjoyed this technique. It’s not my typical watercoloring video, but it was lots of fun to create! Thanks so much for reading, and have a marvelous day.

Filed Under: pinkfresh studio Tagged With: artistic dahlia, celebrate hot foil, hot foil, layered stencils, nested arches, white pigment ink

More Artistic Dahlias Inspiration + Pinkfresh Studio Instagram Hop!

March 28, 2023

Good morning! I am back again today with another card featuring my newest illustration for Pinkfresh Studio: Artistic Dahlia! The Pinkfresh Studio washi tape suites are some of the most unique and innovative products on the market, in my opinion; there are so many ways to customize the images with the stamps and stencils in addition to using the pre-printed washi tape that is like an endless supply of stickers. For my project for the Instagram Hop (happening now over on Instagram!) I used the Artistic Dahlia stencils to create some pale pink dahlias with bright blue filler flowers and minty green leaves. Let’s get started with the details!

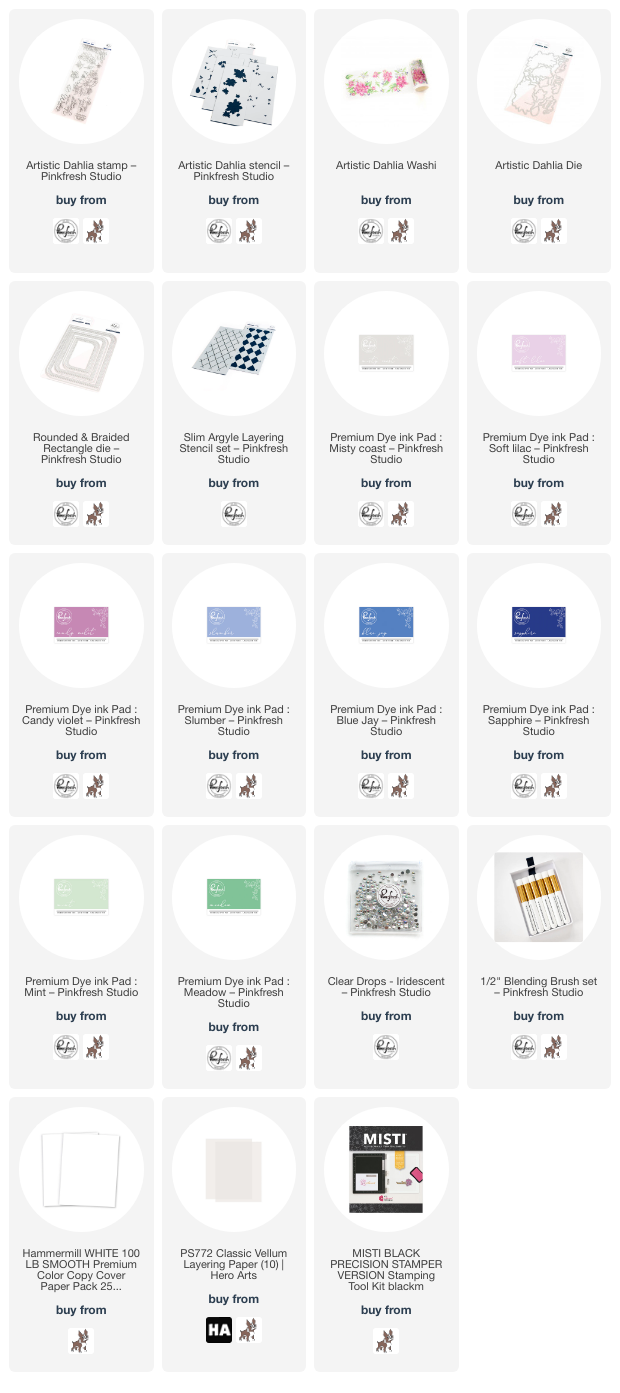
I began by stamping the one-and-done Artistic Dahlia Stamp on some white cardstock using Misty Coast ink, a super pale gray that provides just enough outline to allow me to see where to place the Artistic Dahlia stencils. I used the new Blending Brushes to blend Soft Lilac and Candy Violet ink to create some cool pink dahlias, Slumber, Blue Jay, and Sapphire inks for the filler flowers, and Mint and Meadow inks for the foliage. The super pale gray ink combined with the detailed layering stencils creates an almost no-line look! I die cut the finished blended floral clusters out with the coordinating once-and-done die.

For the background, I wanted to create a super soft patterned background, and the color palette for the floral clusters reminded me of a super preppy outfit that I had in high school… what could be “preppier” than argyle? I used the Slimline Argyle Stencil set with Soft Lilac and Slumber inks to create this soft argyle pattern on my slimline card base.

To create a ground for my floral clusters, I die cut one of the new Rounded and Braided Rectangle dies from some heavyweight vellum. I included lots of little bits of filler flowers and foliage to accent the larger bouquets in the Artistic Dahlia suite, but the larger floral clusters are generously sized and can stand on their own without much assistance! I adhered the two largest clusters at the top and bottom of my vellum die cut using some foam adhesive, then added another layer of foam adhesive behind, creating a double layer of foam tape. I adhered the die cuts to my argyle background so that it had lots of height and dimension. I stamped one of the beautiful greetings from the Artistic Dahlia stamp set using Sapphire ink, then die cut it with one of the sentiment dies included in the coordinating die set. (I love how delicate these sentiment dies are!) Finally, I accented the cool color palette with some Iridescent Clear Drops. I think they look like drops of dew!

Well, that’s all for my project today! Pinkfresh Studio is hosting an Instagram Hop with even more inspiration using the new March Release, so be sure to head over to the Pinkfresh Studio Instagram Page to get started hopping! There are tons of prizes available, including the entire new release!

Thanks so much for stopping by today, and happy hopping!

Filed Under: pinkfresh studio Tagged With: artistic dahlia, ink blending, no line coloring, original illustration, stencil

Primary Sidebar

  • Facebook
  • Instagram
  • Pinterest
  • YouTube

Favorite Shops

Secondary Sidebar

Subscribe

Enter your email address to subscribe to this blog and receive notifications of new posts by email.

Instagram
Something is wrong.
Instagram token error.
Follow
Load More

Archives

Tags

3D embossing folder alcohol markers better press birthday birthday card blog hop card kit christmas christmas card christmas tag colored pencil copic copic coloring Daniel Smith die cutting embossing folder embroidery felt giveaway holiday holiday card hot foil ink blending karin brushmarker pro layered stencil masculine my monthly hero new release no line coloring no line watercolor OLO marker olo markers original illustration pawsitively saturated rainbow shaker card slimline stamping stamptember stencil thank you thinking of you valentine's day video watercolor

Popular Posts

Simon Says Stamp October 2026 Card Kit of the Month: Homespun Gratitude!
Honey Bee Stamps Cheerful Love Blog Hop!
Altenew Craft A Flower: Poppy Blog Hop+Giveaway!
Autumn Legs with Colorado Craft Company and Catherine Pooler!
Simon Says Stamp Cozy & Bright Inspiration, Part Two!
February 2018 My Monthly Hero Blog Hop!
The Ton Anniversary Release- Day 2
Sunflower Home Decor with Simon Says Stamp!
Simon Says Stamp STAMPtember Surprise: Boo Bundle Halloween Card Kit!
Hero Arts Spring 2020 Catalog Release Blog Hop+Giveaway!

Disclosure

Some affiliate links are used in my posts. This means that, should you click on one of my links and purchase something from that company, I will receive a small portion of the sale at no extra cost to you. I use the money earned from these sales to help maintain my blog. I so appreciate you visiting and, if you do choose to use one of my affiliate links, thank you so much for your support!
Copyright © 2026 ·Brunch Pro Theme · Genesis Framework by StudioPress · WordPress · Log in
Loading Comments...