• Skip to main content
  • Skip to primary sidebar
  • Skip to secondary sidebar

Sixth Street Sundries

Emily Midgett

  • Home
  • About Me
  • Contact
  • OLO Marker Color Swatch Chart
  • Shop

white pigment ink

Brilliant Budding Florals in Aqua with New Simon Says Stamp!

April 7, 2025

This post was sponsored by Simon Says Stamp. Thanks, Simon!

Hi friends! I have some soothing inspiration using some of the newest products from the Rain or Shine Release from Simon Says Stamp. I love gorgeous floral embossing folders; they make it so simple to create an elegant card very quickly, something that looks very intricate and involved but really comes together lickety split. I used the new Brilliant Budding Florals Embossing Folder to create this card with a super thankful sentiment. Let’s get started with the details!

*I have gathered links to all of the products used at the bottom of the post for your convenience, using affiliate links. Thank you for shopping with my links! I truly appreciate your support for my work!*

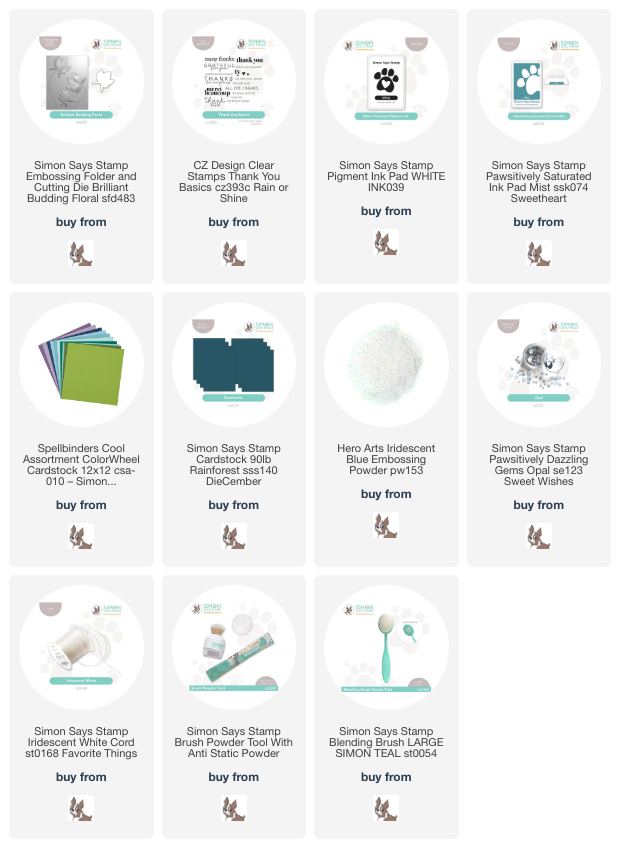
To begin, I used the new Brilliant Budding Florals Embossing Folder with my die cutting machine and some Seaside cardstock from Spellbinders to create this detailed, textured background. To help enhance the intricate embossed details, I used a blending brush to blend Mist Pawsitively Saturated Ink around the edges of the card front, then swiped Simon Says Stamp’s White Pigment Ink over the raised areas, helping to add some bright white highlights. I also used some shimmering handmade glitter watercolors to add some splatters around the edges and to “gild” the edges of each petal for added dimension and some shimmer.

After I had created the background, I turned my attention to the greeting. I used White Pigment Ink to stamp some sentiments from the new Thank You Basics stamp set with Simon Says Stamp’s Rainforest cardstock, then added some Iridescent Blue embossing powder from Hero Arts to enhance the sentiment and add even more shimmer. The combination of the white pigment ink with the shimmering embossing powder on the deep teal cardstock is magical! I used my trimmer and sharp scissors to cut out the embossed sentiments and popped them up on the card front with foam adhesive squares.

To add a bit more texture and sparkle to the card, I added a smattering of the Opal Pawsitively Dazzling Gems, which add the perfect, muted shimmer without adding any additional color to the color palette. Before adding my card front to my card base, I tied some Iridescent White Cord around the card front, offsetting the bow and tucking it beneath the sentiment to create a visual cascade down the card front.

Well, that’s all for my project today! This card came together super quickly, but all of the different coordinating elements work beautifully together to create lots of intricate texture and detail. Embossing folders definitely give you plenty of bang for your buck! Thanks so much for stopping by today, and have a marvelous day!
Filed Under: simon says stamp Tagged With: brilliant budding floral, cz design thank you basics, thank you card, white pigment ink

Steel Cardstock Spotlight #2: White Roses and Reverse Psychology!

January 29, 2025

This post was sponsored by Simon Says Stamp. Thanks, Simon!

Hi friends! I’m back today with another project for my spotlight on Simon Says Stamp’s Steel Cardstock. For DieCember, Simon Says Stamp came out with a collection of really beautiful colored cardstock, featuring lots of vivid, color saturated jewel tones as well as some fantastic neutrals like the Steel Cardstock. I find this medium gray cardstock to be absolute perfection for so many color palettes, working beautifully to complement super vivid colors or as a backdrop for more muted colors, like I’ve created for today’s project. When creating white flowers, I find that it is important to allow room for the absence of color; that is, trying to leaves as much of the white cardstock visible as possible. To achieve this, I like to do some visual “reverse psychology,” allowing the colors surrounding the white image to create visual contrast. Let’s get started on the details for my project!

*I have gathered links to all of the products used at the bottom of the post for your convenience, using affiliate links. Thank you for shopping with my links! I truly appreciate your support for my work!*

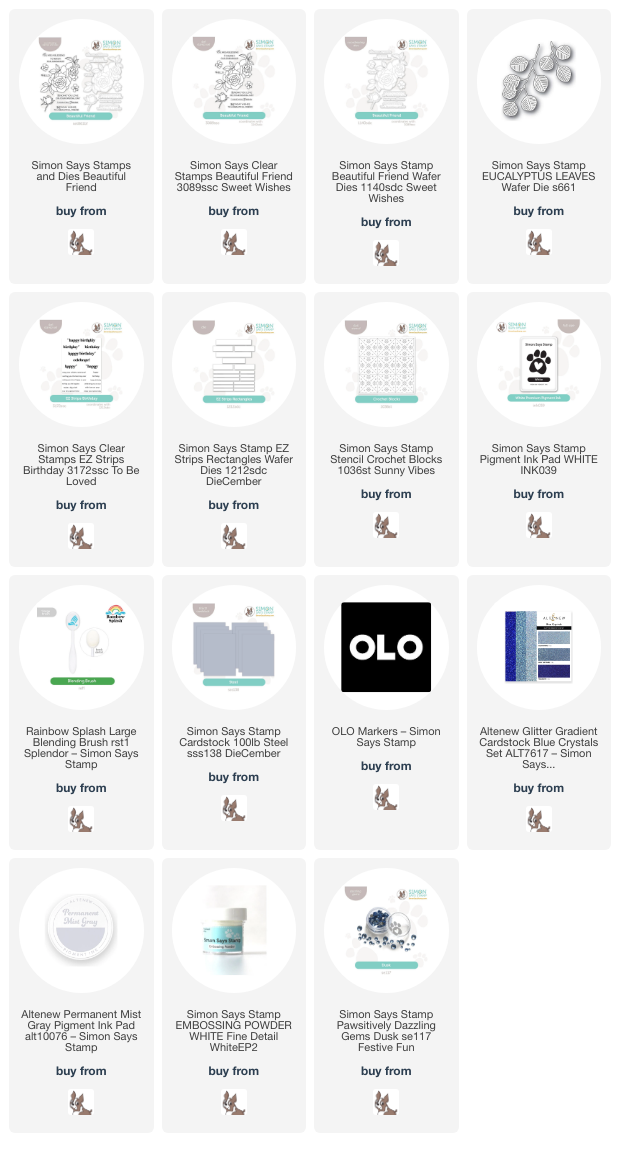
To start, I stamped the lovely rose arrangement and extra flowers and bud from the Beautiful Friend stamp set using Altenew’s Permanent Gray Mist ink onto some Hammermill cardstock. I then pulled a few markers from the OLO alcohol marker collection: a very pale gray, a grayish aqua, and the Zero marker, also known as the colorless blender. The Zero marker is extremely important for this project, because it softens the edges of the coloring while also allowing that white cardstock to shine through, creating that “white” image. I first laid down that pale grayish aqua in the areas where the shadows would be deepest on my white rose, then blended that out a bit with the almost-colorless pale gray marker, then softened the edge of that coloring with the Zero marker. Now for the first part of the “reverse psychology,” I colored the foliage and smaller blooms using some vivid teal and cornflower blue shades, allowing those bright colors to contrast strongly with the lack of color on the white roses.

After I had finished coloring all of the images, I used the coordinating dies from the Beautiful Friend product suite to die cut each of the images, then selected a marker in a coordinating shade of gray to match the Steel cardstock. I used the brush tip of the marker to color in any white space around the edges of the die cuts, creating even more contrast and allowing the white on the roses to become even more crisp and stark. To go along with the cornflower blue blooms, I also die cut a few Eucalyptus Leaves dies from some coordinating blue glitter cardstock. Before arranging the blooms and extra foliage on the Steel card front, I used a blending brush dedicated to only my Simon White Pigment Ink to blend the delicate pattern on the Crochet Blocks Stencil on the background of the card front. I love the simple, sweet pattern on this stencil; it’s the perfect backdrop for the somewhat shabby-chic rose arrangement!


Before adhering everything with foam and liquid adhesive, I heat embossed some sentiments from the new EZ Strips Birthday stamp set, which stamps lots of sentiments in one fell swoop, creating plenty of sentiments to use both now and later! I heat embossed them using crisp white embossing powder on more Steel cardstock, then used the EZ Strips Rectangles to die cut all of the embossed sentiments with one pass through my die cutting machine. I selected which strips I wanted to use on my card today, then arranged all of the different die cuts on the stenciled background. I used both liquid and foam adhesive to adhere all of the pieces, tucking the sentiment strips amongst the floral images, then added a few Dusk Pawsitively Dazzling Gems for added sparkle!

Well, that’s all for my project today! If you’ve never tried to color white images because it’s a bit intimidating, I encourage you to use this visual “reverse psychology” technique. It really does make a huge difference! Thanks so much for stopping by today, and have a marvelous day!

Filed Under: simon says stamp, Uncategorized Tagged With: beautiful friend, birthday card, copic coloring, crochet blocks, die cutting, eucalyptus leaves, EZ strips birthday, ink blending, no line coloring, steel cardstock, white pigment ink

Steel Cardstock Spotlight: Pink and Gray Floral Wreath!

January 27, 2025

This post was sponsored by Simon Says Stamp. Thanks, Simon!

Hi friends! For this week’s projects, I happened to use Simon Says Stamp’s Steel cardstock for each one unintentionally, but I thought they all worked nicely together to showcase how lovely using colored cardstock can make a card! I love my white cardstock and that crisp white as much as anyone, but there’s something so visually enticing about a vibrant, completely color saturated card that I thought I’d give you some inspiration with it. I think that the medium-intensity gray of the relatively new Simon Says Stamp Steel cardstock is an unsung hero; it pairs beautifully with so many different colors, working as a wonderfully complementary neutral. For my blog hop post for last month, I paired it with a vibrant yellow (you can check that out HERE if you missed it), and for today’s project, I thought I would pair it with some beautiful shades of pink and muted green. Let’s get started with the details!

*I have gathered links to all of the products used at the bottom of the post for your convenience, using affiliate links. Thank you for shopping with my links! I truly appreciate your support for my work!*

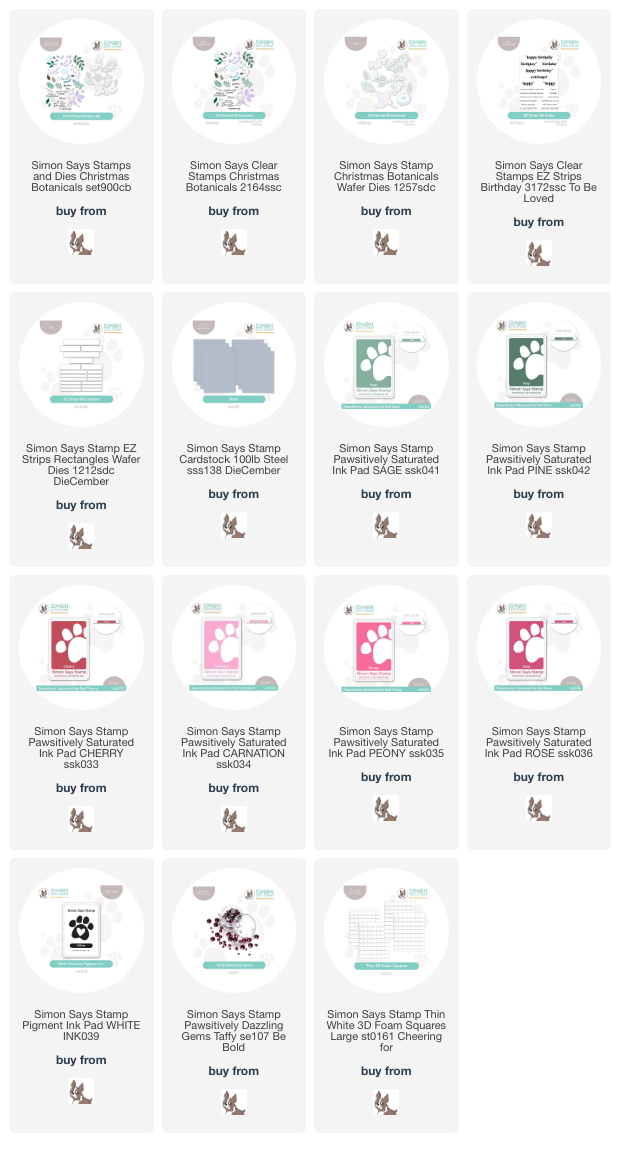
When working with colored cardstock and solid stamps, I like to keep the colors as vibrant as possible, so I used Simon Says Stamp’s White Pigment Ink as a base layer. The pigment ink creates a barrier between the porous cardstock and the colorful dye ink, which would typically sink into the cardstock and become quite muted. To create my card today, I stamped each image from Christmas Botanicals with the White Pigment Ink, waited a minute for it to dry a bit, then stamped the same image again directly over the top using Sage, Pine, Cherry, Carnation, Peony, and Rose Pawsitively Saturated Inks, creating an oval wreath shape. I also stamped a few spare individual flowers and foliage on another panel of Steel cardstock and die cut them with their coordinating dies. Even though this is technically a holiday set, I avoided the pine boughs and overtly Christmas-y imagery and was able to achieve a pretty floral project that works for lots of different occasions!

After I had finished stamping the florals, I used the new EZ Strips Birthday stamp set to white emboss several greetings at once on another panel of Steel cardstock. I used the coordinating EZ Strips Rectangles to die cut all of the sentiments at once, which is super handy and such a time saver! I arranged the die cuts on the stamped wreath background and adhered them with foam adhesive. Using the same colored cardstock on each layer allows the project to remain cohesive on each individual element.

After I had finished arranging the different die cut elements and adhered them to the card front, I tucked a sparkling pink twine bow next to the floral bouquet, then added a smattering of Taffy Pawsitively Dazzling Gems for additional sparkle. I just love how this card turned out; it reminds me of Rifle Paper Company!

Well, that’s all for my first project featuring Steel cardstock. This lovely medium gray is such an understated powerhouse. I have more inspiration to share, so be sure to stop back by later this week. Thanks so much for stopping by today, and have a marvelous day!

Filed Under: simon says stamp Tagged With: birthday card, christmas botanicals, colored cardstock, die cutting, EZ strips birthday, EZ strips rectangles, rifle paper co, steel cardstock, white pigment ink

Make A Wish with Stenciling on Kraft Cardstock!

January 26, 2025

This post was sponsored by Simon Says Stamp. Thanks, Simon!

Hi friends! I have a celebratory shaped birthday card to share with you today using a fun layering stencil and die set from Simon Says Stamp! The Big Birthday Cake product suite features a fabulous layered stencil set that creates a beautifully detailed layer cake, complete with candles and sprinkles! I took the project a couple of steps further by adding in some kraft cardstock and white pigment ink, as well as creating a shaped card to make things super special. Let’s get started with the details!

*I have gathered links to all of the products used at the bottom of the post for your convenience, using affiliate links. Thank you for shopping with my links! I truly appreciate your support for my work!*

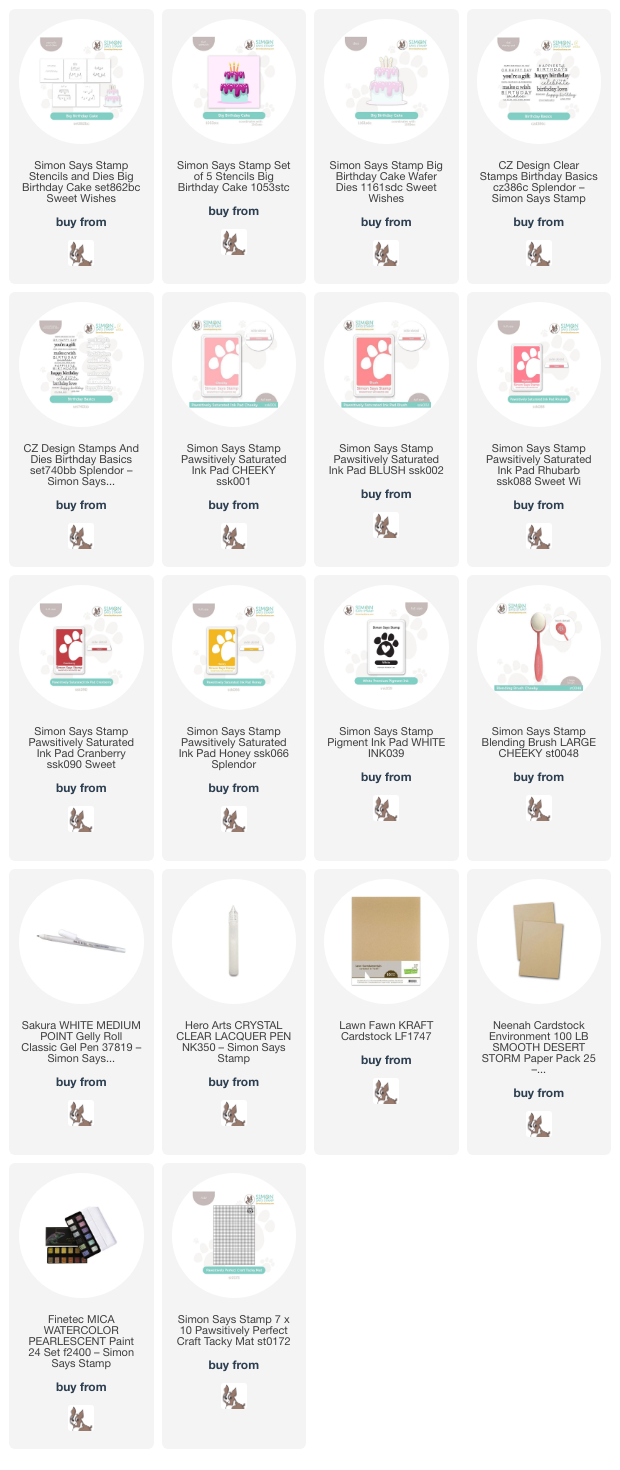
To begin, I die cut the generously-sized birthday cake image from the Big Birthday Cake product suite using Neenah Desert Storm cardstock, which is a lighter Kraft cardstock and makes even the brightest blended colors more subtle and muted. I made sure to die cut the image first so that I had a better idea of where to line up the stencils. To make sure that my die cut stayed perfectly in place, I used the Pawsitively Perfect Craft Tacky Mat to hold down the die cut and the negative so that I could perfectly line up the stencils over the die cut opening. The Craft Tacky Mats come in a variety of sizes and are incredibly useful for lots of different projects and techniques. Totally worth the investment!

For the stenciling, I first blended Simon Says Stamp White Pigment Ink on the first, largest layer to create a bit of a barrier between the tan cardstock and the colorful inks. I then used Pawsitively Saturated Ink in shades of Cheeky, Blush, Rhubarb, Cranberry, and Honey to add each layer, sometimes using multiple colors on each layer, sometimes creating extra dimension by slackening the pressure on some of the layers to create a more subtle colored layer. After I had finished blending each layer, I used some sparkling metallic watercolors to add extra shimmer to the sprinkles and the candles, then covered them with some Hero Arts Lacquer Pen accents, keeping the sparkles in place as well as providing extra texture and shine. I also added a few white gel pen accents, adding another element of white to go along with the white embossed Birthday Basics sentiment!

To make the card extra special and to take advantage of the generous size of the main image, I decided to create a shaped card. I simply created a basic side-fold A2 card base, then used the large birthday cake die from the Big Birthday Cake product suite to die cut the card base, making sure to overlap the folded edge of the card base with the edge of the die so that the fold remained intact. I adhered the finished blended card front on the shaped base and added a quick “happy birthday” message inside!

Well, that’s all for my project today! I love using colored cardstocks to do some different and unique techniques, like ink blending on the tan cardstock. It takes your typical crafting and adds a special twist to it! Thanks so much for stopping by today, and have a marvelous day!
Filed Under: simon says stamp Tagged With: big birthday cake, birthday basics, birthday card, kraft cardstock, shaped card, white pigment ink

Snowy Deer with Simon Says Stamp + Colored Pencils!

November 30, 2024

This post was sponsored by Simon Says Stamp. Thanks, Simon!

Hi friends! Today, I have a super sweet and feminine project to share with you using the beautiful new Holiday Cheer stamp set from the November 2024 Card Kit of the Month, which is sadly sold out as a kit, but the great thing about Simon Says Stamp kits is that you can almost always purchase the kit items individually! The kits are just a really excellent value, full of coordinating products that work beautifully together and separately, so it’s totally worth it to become a Subscriber. (Click HERE to read all of the details on how you can save money with a monthly subscription!) However, the precious Christmas Cheer stamp set is still available (and with coordinating dies as a set!) and I’ve used it to create this delicate and feminine holiday card. Let’s get started with the details on my project!

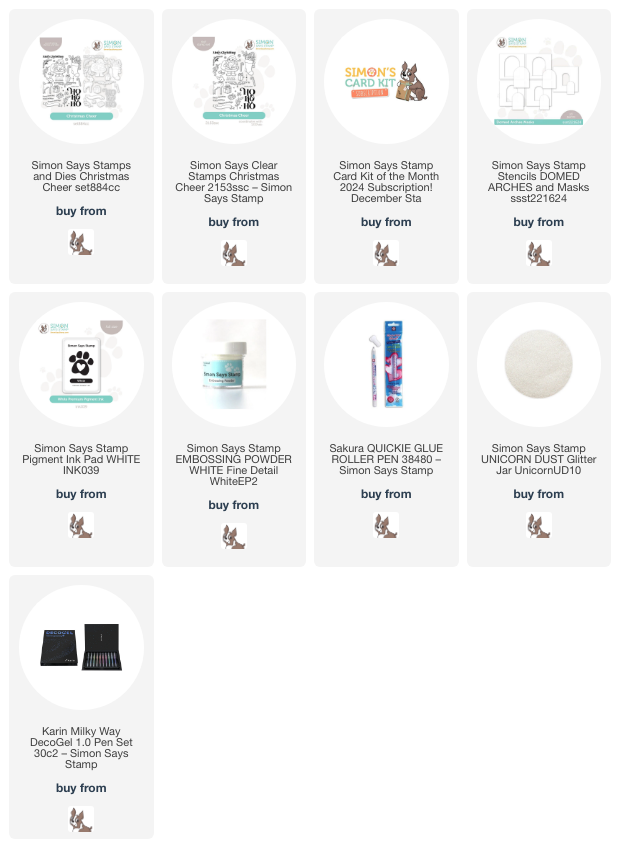
To begin, I stamped the deer, the holly sprigs, and the sweet bow images from the Christmas Cheer stamp set onto some pale gray cardstock using Simon Says Stamp White Pigment ink. I like to use white pigment ink when working with colored pencils on colored cardstock, as the white pigment ink lines seem to be absorbed into the colored pencil coloring beautifully so that the images pop from the colorful background! I used my favorite Caran D’Ache colored pencils to color the images in soft shades of warm gray, sweet carnation pink, and some vibrant green for the holly leaves. After I had finished coloring the main parts of the images, I used a white gel pen and a black pigment pen to add details to the deer’s eyes, nose, and spots. Mixing the mediums helps to make the deer look super polished and professional, as I can never get the tips of my colored pencils *quite* sharp enough to get perfect coverage on those teeny areas!

After I had finished the pencil coloring, I placed one of the stencils from the Domed Arches Stencils & Masks set onto the center of an A2 panel of the same light gray cardstock that I used for the images, then used a blending tool to blend Simon Says Stamp White Pigment ink on only the curved part of the stencil opening. It reminds me of a snow globe! After I had blended the snowy images, I used a white gel pen to add some tiny dots and snowflakes on just the blended area, enhancing the snow globe feel and creating an area upon which I could ground my little deer. I also used the White Pigment Ink to stamp a greeting from the Christmas Cheer set as well as the banner, adding some white embossing powder to make the sentiment look extra crisp. I used a pair of scissors to fussy cut all of the images, then adhered them to the card front with some foam adhesive squares, which helps the tone-on-tone images pop out from the background a bit!

After I had adhered the images, I decided to trim a thin strip off of the bottom of the A2 gray panel so that I could tie in some more of the color palette from the pencil colored images. I added a very thin strip of white glitter cardstock peeking out from the bottom of the gray card front, then backed it with a slightly thicker strip of pink cardstock to tie in the pink in the color palette. I also used a Quickie glue pen on the holly leaves to add some Simon Says Stamp Unicorn Dust fine glitter, adding just a tiny bit of sparkle to the card, which I think makes it extra festive and fun!

Well, that’s all for my project today. Don’t forget to come back tomorrow for the Simon Says Stamp DieCember 2024 blog party! It’s not a traditional blog hop, but there will be an absolute wealth of inspiration using the fabulous new release, as well as fun giveaways and promotions to celebrate DieCember! Thanks so much for stopping by today, and have a marvelous day!

Filed Under: simon says stamp Tagged With: caran d'ache, christmas card, colored pencil, deer, die cutting, domed arches stencils, glitter, holiday card, ink blending, no line coloring, snow globe, white pigment ink

  • Page 1
  • Page 2
  • Go to Next Page »

Primary Sidebar

  • Facebook
  • Instagram
  • Pinterest
  • YouTube

Favorite Shops

Secondary Sidebar

Subscribe

Enter your email address to subscribe to this blog and receive notifications of new posts by email.

Instagram
Something is wrong.
Instagram token error.
Follow
Load More

Archives

Tags

3D embossing folder alcohol markers better press birthday birthday card blog hop card kit christmas christmas card christmas tag colored pencil copic copic coloring Daniel Smith die cutting embossing folder embroidery felt giveaway holiday holiday card hot foil ink blending karin brushmarker pro layered stencil masculine my monthly hero new release no line coloring no line watercolor OLO marker olo markers original illustration pawsitively saturated rainbow shaker card slimline stamping stamptember stencil thank you thinking of you valentine's day video watercolor

Popular Posts

Simon Says Stamp Joy For You Blog Hop- Day 1!
Simon Says Stamp Joy For You Release-Now Available!
Frozen Fractals All Around with New Simon Says Stamp Joy For You Release!
Shaped Holiday Shaker Card with New Simon Says Stamp Jolly Season Card Kit of the Month!
Holiday Postage with New Simon Says Stamp!
Simon Says Stamp Glory to the Newborn King Holiday Kit-Part II!
Altenew Build A Flower: Fuchsia Blog Hop+Giveway!
Holiday Joy in Pink and Green with New Simon Says Stamp DieCember!
Pinkfresh Studio 5th Birthday!
Honey Bee Stamps September Release Blog Hop!

Disclosure

Some affiliate links are used in my posts. This means that, should you click on one of my links and purchase something from that company, I will receive a small portion of the sale at no extra cost to you. I use the money earned from these sales to help maintain my blog. I so appreciate you visiting and, if you do choose to use one of my affiliate links, thank you so much for your support!
Copyright © 2026 ·Brunch Pro Theme · Genesis Framework by StudioPress · WordPress · Log in
Loading Comments...