This post was sponsored by Simon Says Stamp. Thanks, Simon!
Hi friends! I have a pair of cards to share with you today using the newest installment in the Pawsitively Saturated Ink family from Simon Says Stamp. The Pawsitively Saturated Ink Trio 28 is a unique group of sunset shades, ranging from a lovely peach to a deep crimson, colors that are under-appreciated on my blog! I thought I would really lean into this beautiful sunset ombré with a pair of color-saturated cards using some more new goodies from the Be Bold release. Let’s get started with the details!
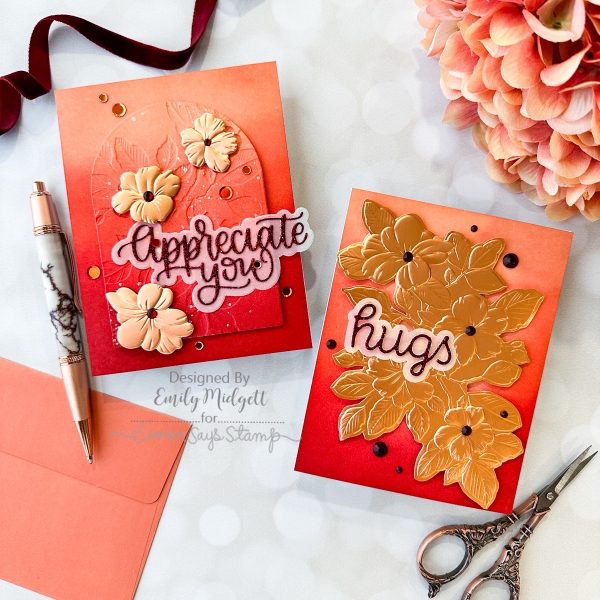
Whenever I have new inks to use, I frequently will start by just saturating a few panels of white cardstock with the new ink colors in an ombré. I love color saturated projects as much as I love crisp white space, so these vibrant panels never fail to inspire me. I blended three different panels of Hammermill white cardstock using blending brushes with the new Pawsitively Saturated Ink Trio 28. Having three panels gave me plenty of space to play with some different techniques!
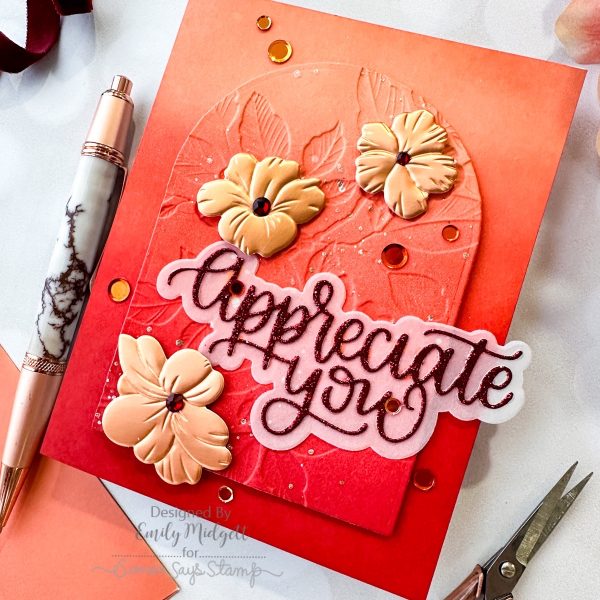
For my first project, I die cut a Nested Domed Arches from one of the blended panels, then ran it through my die cutting machine using the new Branching Flowers Embossing Folder and Coordinating Dies set. Now, I did this backwards on accident, so that the pattern was impressed down into the cardstock rather than being popped up, but I think that the beautiful details and textures were just as lovely this way! I splattered some handmade glitter watercolors in a complementary shade of copper on the embossed panel to add some extra shine. Once the watercolors were dried, I used foam squares to pop up the embossed panel on a coordinating A2 blended panel, creating lots of beautiful tone-on-tone texture.
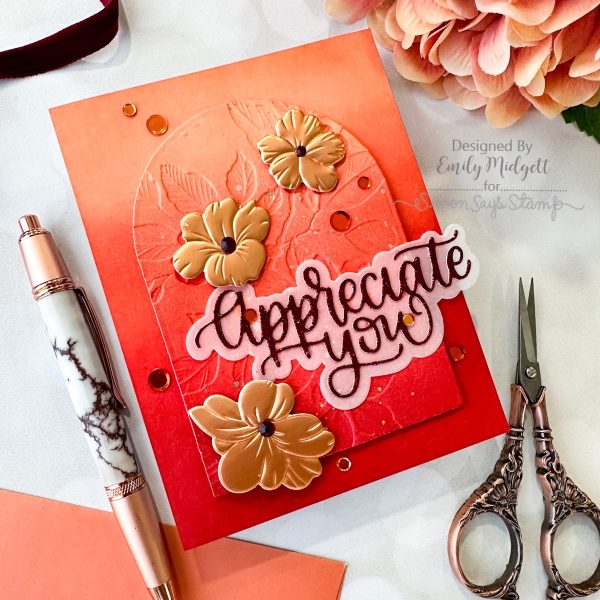
Once I had my background completed, I die cut the new Appreciate You die from some Crimson Glitter Cardstock and backed it with a shadow layer cut from vellum. It’s difficult to see the sparkle in the photo, but between the glitter watercolors and the glittering sentiment, this card has so much sparkle and shine! I die cut a few of the florals from the Branching Flowers Embossing Folder and Coordinating Dies set using Brushed Copper cardstock, then arranged them in their coordinating spots in the embossing folder and ran them through my die cutting machine. The metallic cardstock picks up the embossed details *so* beautifully. I popped them up on their coordinating spot on the embossed panel, and they fit quite well despite being mirror images of the embossed panel. I added some Cherry Pawsitively Dazzling Gems and Terracotta Sequins for the flower centers and to add a bit more sparkle!
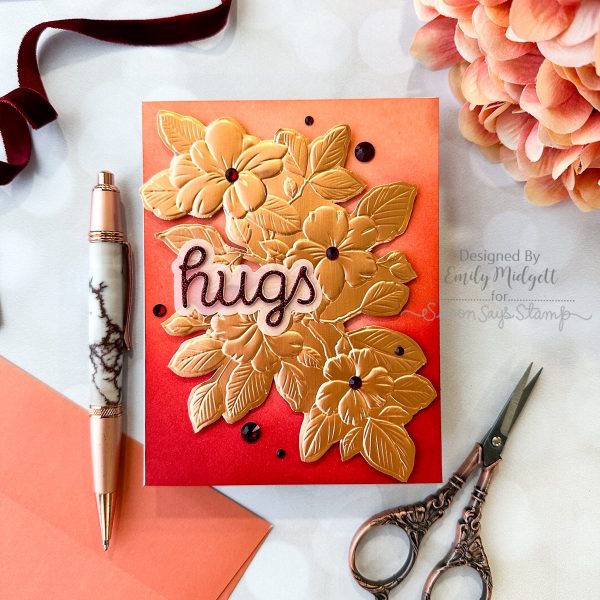
For my second card, I was so entranced by the beautiful details Branching Flowers Embossing Folder and Coordinating Dies with the Brushed Copper cardstock that I wanted to use it as a focal point for a card. I ran a full A2 panel of Brushed Copper cardstock through my die cutting machine using the Branching Flowers Embossing Folder, trimmed out the image using my sharp scissors, then popped it up on one of the remaining A2 panels of cardstock blended using the Pawsitively Saturated Ink Trio 28. The peachy copper cardstock coordinated beautifully with the sunset ombré background!
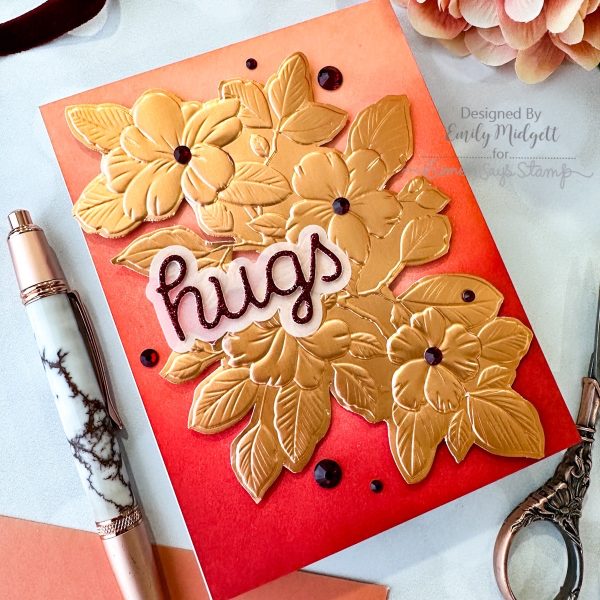
For the greeting, I kept things simple, die cutting the new Scripty Hugs die from some more Crimson Glitter Cardstock and backing it with a shadow layer cut from more vellum. I added the greeting to the embossed floral piece with some tiny dots of liquid adhesive, then added some sparkling Cherry Pawsitively Dazzling Gems to finish the project off!
Well, that’s all for my projects today! I love playing with floral embossing folders, and I think pairing them with metallic cardstock and beautiful inks makes such a huge impact. Thanks so much for stopping by today, and have a marvelous day!