This post was sponsored by Simon Says Stamp. Thanks, Simon!
Hi friends! I was thrilled to be asked to help teach at a booth at Simon Says Stamp’s amazing in-person creative event last weekend, appropriately called CREATE, and on Saturday, we used a new-to-me product that was so lovely that I just had to go purchase on my break: Floral Whimsy Stencil! We used a beautiful ink combination of Cheeky, Tidepool, and Ocean to create a springy, cool color palette, but my dress for Saturday featured pretty yellow blooms on a white linen background, and all I could think about was trying out this stencil set with a similar color palette when I got home. I went to town blending and create two different projects with very different feel to them, so let’s get started with the details!

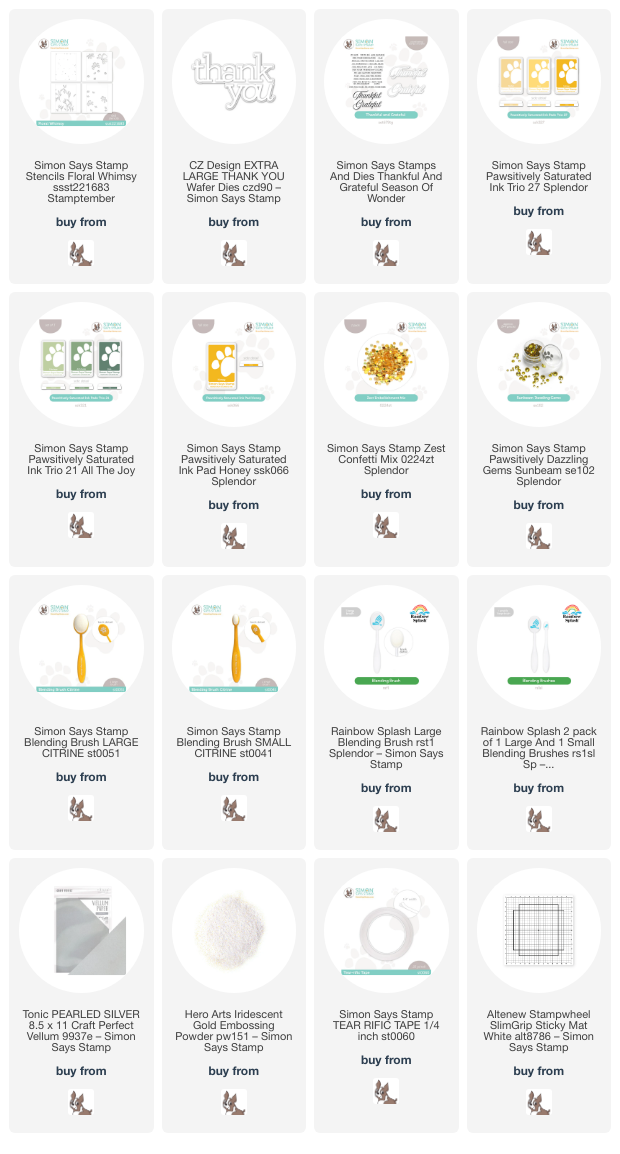
For both of my projects, I paired the Floral Whimsy Stencil with the luscious lemony tones of the Pawsitively Saturated Ink Trio 27 and used Cabbage and Artichoke Pawsitively Saturated Inks from Ink Trio 21 to create the foliage. If you’ve followed my blog for any length of time, you’ll know that I love monochromatic projects, adding in fun textures and accents to keep things interesting. I have been looking at home remodeling ideas on social media, and one of the popular trends right now is called “color drenching,” which perfectly coincides with my monochromatic style! Everything is painted the same color, from the doors to the trim to the walls, and it creates the most elegant and luxurious effect. I wanted to channel that a bit today, creating one project with a traditional crisp white background, but also creating a “color drenched” project with some sunny yellow cardstock.

For my first project, I placed a panel of sunshine yellow cardstock in the center of my sticky mat and blended the pattern with the inks listed above using the the Floral Whimsy Stencil, adding some extra interest with dark and light inks by using both the small and large blending brushes. One of my favorite things about this stencil is that each stencil has registration marks lasered around the edge of the pattern that line up perfectly with your A2 card front so that you can get exact placement of each stencil. Super user-friendly!

Once I had finished blending my color-drenched background, I die cut the detail layer of the Thank You XL die (another purchase last weekend!) twice from some deep green cardstock, adhering the layers together to get some extra height and dimension. I die cut the shadow layer from some silver pearl vellum and adhered all of the layers together, adding them to the card front with some thin strips of foam adhesive. Finally, I finished off this simple, color-drenched card with some coordinating, sparkly Sunbeam Pawsitively Dazzling Gems.

For my second project, I decided to create a flat shaker card, this time with a more lemon meringue color palette, blending the Floral Whimsy Stencil on white, rather than yellow, cardstock. I blended the images in the same fashion, using the two different sizes of blending brush to help add extra shading to the centers of the flowers and leaves, etc. I trimmed the panel down by 1/4″ on all sides, then blended some of the darkest yellow ink from the Pawsitively Saturated Ink Trio 27 around the edges to create a glow on my patterned background. To create the shaker, I adhered some leftover clear stamp packaging from a stamp set around the entirety of the patterned panel with some super sticky double sided tape, then filled it with Zest sequins. I love the effect of these flat shakers; they’re so fun and so sparkly!

For the greeting, I stamped some sentiments from the Thankful & Grateful set onto some white cardstock using Honey ink, then stamped directly over the top with some sticky embossing ink and added some Iridescent Gold embossing powder. This extra step of adding the iridescent sheer embossing powder adds a little extra shimmer and interest to the sentiment. I used the coordinating die for the large “grateful” sentiment, then used my trimmer to trim the sentiment strips. I added the sentiment strips to the center of my shaker with some foam squares and mounted the entire shaker panel with some more super strong double sided tape onto a full size panel of white cardstock. Such a fun way to make a simple stenciled panel a little extra special!
Well, that’s all for my projects today. I hope these sunny yellow cards bring some sunshine to your Thursday! Thanks so much for stopping by today, and have a marvelous day!