• Skip to main content
  • Skip to primary sidebar
  • Skip to secondary sidebar

Sixth Street Sundries

Emily Midgett

  • Home
  • About Me
  • Contact
  • OLO Marker Color Swatch Chart
  • Shop

friendship leafy cluster

Man Card Monday: Papa Birdie!

May 20, 2024

This post was sponsored by Simon Says Stamp. Thanks, Simon!

Hi friends! I have a Man Card Monday project to share with you today featuring some new and old products from Simon Says Stamp. With Father’s Day coming up, my thoughts invariably turn to my sweet grandfather, my Papa, whose patient, loving manner, sweet smiles, and constant support were one of the best parts of my childhood. He passed away suddenly right before I turned 17 years old, and I often wonder what he would think of my family and what words of wisdom he might have for me as I navigate parenthood. I frequently see traits of my Papa in my husband, in his tireless efforts to care for our family and his gentle and loving care and support of me, in the way he knows how to fix just about everything, and in the way he will always sacrifice his own comfort to help someone else.

One of the things I remember most clearly about my Papa was the care he took in cultivating the backyard of their house. Grammy and Papa had a huge backyard with enormous shade trees that, while providing lovely cool breezes in the hot Midwestern summers, also gave him no end of grief because their shade prevented grass from growing in the majority of the yard. His solution was to cultivate ivy plants in the sparse spots, creating a lush green visage while also providing haven for huge amounts of mosquitoes. As usual, one solution begat another problem! Their backyard was always a flurry of activity with critters, and he and my Grammy both loved sitting in the screened-in back porch (a necessity thanks to the mosquitoes) to watch the birds visiting the bird feeder (and thankfully eating mosquitoes!). I pulled out some graphic foliage pieces along with the Standing Whirl Bird die to create this little bird in a “garden.” Let’s get started with the details!

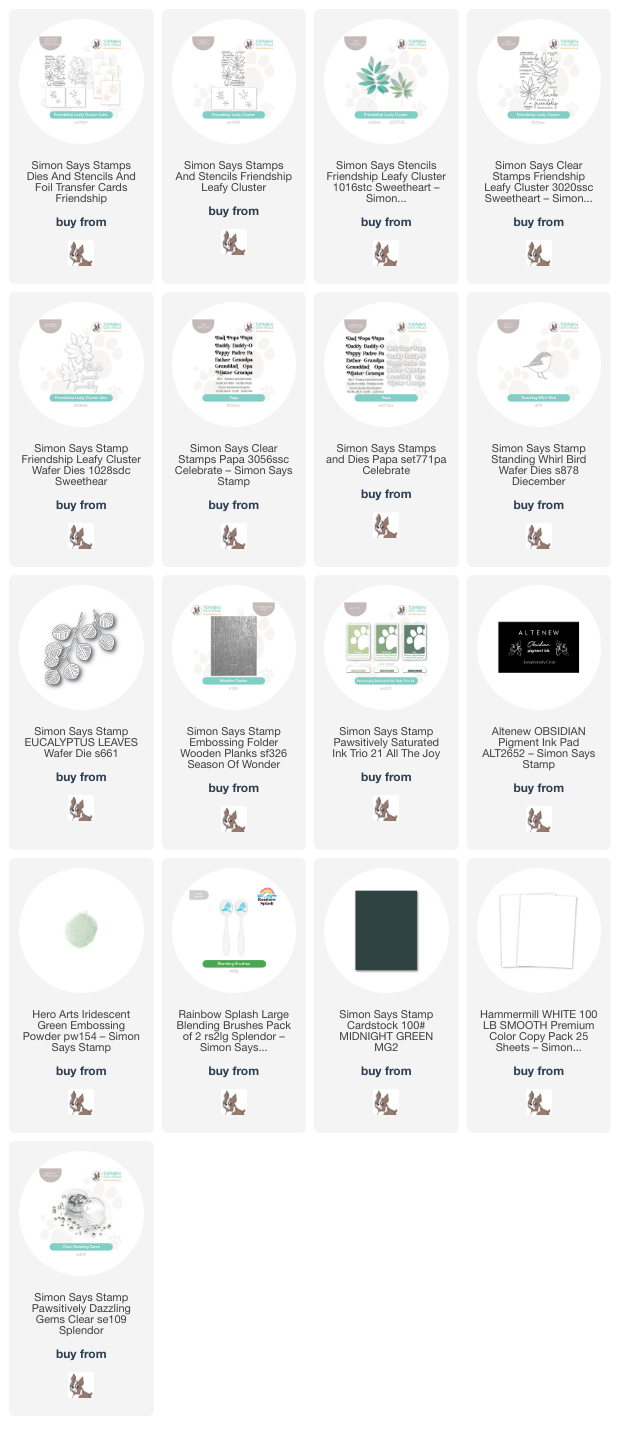
I started my project by stamping the images from the Leafy Cluster product suite using Altenew Obsidian black pigment ink, then sprinkling those sticky black images with Hero Arts Iridescent Green embossing powder. The iridescent green embossing becomes a deep hunter green when paired with the black embossing. I then used blending brushes to blend Artichoke and Cabbage from Pawsitively Saturated Ink Trio 21 using the stencils from the Leafy Cluster product suite. I also die cut a few sprigs of “ivy” with the Eucalyptus Leaves die and Simon Says Stamp’s Midnight Green cardstock.

For the background, I ran a panel of Hammermill white cardstock through my die cutting machine using the Wooden Planks embossing folder. I also die cut the Standing Whirl Bird die from some pearlescent white cardstock. I popped up the wooden plank background with some foam adhesive, then arranged the foliage around the little bird, adhering everything with liquid and foam adhesive to add varied heights to my card front.

For the greeting, I stamped a couple of the sentiments from the Papa stamps and dies (I adore the multitude of possible names in the Papa and Mamacita sets!) using the same Obsidian and Hero Arts Iridescent Green embossing powder combination that I used on the foliage stamps. I die cut the “Papa” with the coordinating die, then trimmed the strip using my trimmer and tucked it next to the bird die cut. Finally, I added a bit of sparkle with a few Clear Pawsitively Dazzling Gems!

Well, that’s all for my Man Card Monday project today! Thanks so much for stopping by today, and have a marvelous week!
Filed Under: simon says stamp Tagged With: eucalyptus leaves, father's day, friendship leafy cluster, ink blending, leafy cluster, man card monday, papa, standing whirl bird, stencil, wooden planks

Blush Foliage with New Splendor Release from Simon Says Stamp!

February 28, 2024

This post was sponsored by Simon Says Stamp. Thanks, Simon!

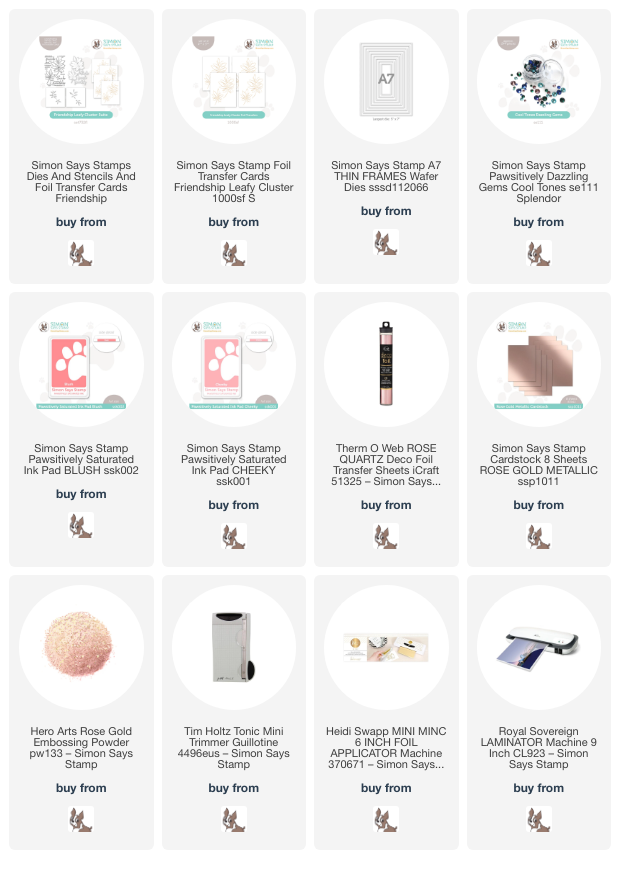
Hi friends! I have some more inspiration for you using a fun new product from Simon Says Stamp’s Splendor release. The new Friendship Leafy Cluster Foil Transfer Panels work beautifully with the rest of the Friendship Leafy Cluster product suite, including the dies and stencils. These panels are printed with toner ink, so they will work in your hot foiling machine of choice (not the Glimmer, but rather a Minc, laminator, or other toner-foiling machine!) with whatever color of foil you select. I used a Minc, but there are a bunch of different options on the market now from some of our favorite companies! So many fun creative possibilities!! I chose to foil the cards with some Rose Quartz toner-reactive foil and paired it with lots of pretty rose gold embellishments. Let’s get started on the details for my card!

The Friendship Leafy Cluster product suite features a stamp set with coordinating layering stencils to make coloring these images super easy, as well as coordinating dies to cut these detailed foliage sprigs out very quickly. After I had hot foiled the Friendship Leafy Cluster Foil Transfer Panels using the metallic Rose Quartz toner-reactive foil, I used a blending brush to blend Blush & Cheeky Pawsitively Saturated Ink, creating some whimsical peachy-pink sprigs of foliage. I die cut the images out with their coordinating dies from the Friendship Leafy Cluster product suite.

To accent my rose gold leaves, I die cut a thin frame using Simon Says Stamp’s Rose Gold Metallic cardstock and the A7 Thin Frames dies. I also lightly blended some more Cheeky ink on my white A2 card base, then splattered the blended area with some coordinating rose gold glitter watercolor to add some textural interest and sparkle to the background.

For the greeting, I heat embossed a sentiment from Friendship Leafy Cluster using rose gold embossing powder from Hero Arts onto some more crisp white cardstock. I die cut the script sentiment using the coordinating die and trimmed down the remainder of the sentiment using my guillotine trimmer for super crisp edges. I adhered the foiled frame directly over the area upon which I’d blended and splattered, then arranged my leafy swag and sentiment pieces, adhering all with foam squares. Finally, I added some pink gems from the new Cool Tones Pawsitively Dazzling Gems set for one last touch of sparkle!

Well, that’s all for my project today. If you haven’t tried out toner foiling, you’re missing out, because there are so many fun new products that you can use with these machines, including these new Friendship Leafy Cluster Foil Transfer Panels. Thanks so much for stopping by today, and have a marvelous day!

Filed Under: simon says stamp Tagged With: A7 thin frames, friendship leafy cluster, hot foil, ink blending, layered stencil, toner foiling

Crisp White Daisy with New Simon Says Stamp Sweetheart Release!

January 19, 2024

This post was sponsored by Simon Says Stamp. Thanks, Simon!

Hi friends! I am back with some more inspiration using some of the marvelous new goodies from the Simon Says Stamp Sweetheart Release! I love the simplicity of white-on-white die cuts; they are so crisp and elegant. I used the new Charming Daisy die for THIS post, adding Copic coloring to the individual die cuts to create dimension and depth, but for today’s project, I thought I would capitalize on the lovely debossed details and allow the die cuts to do the work for me! Let’s get started with the details.

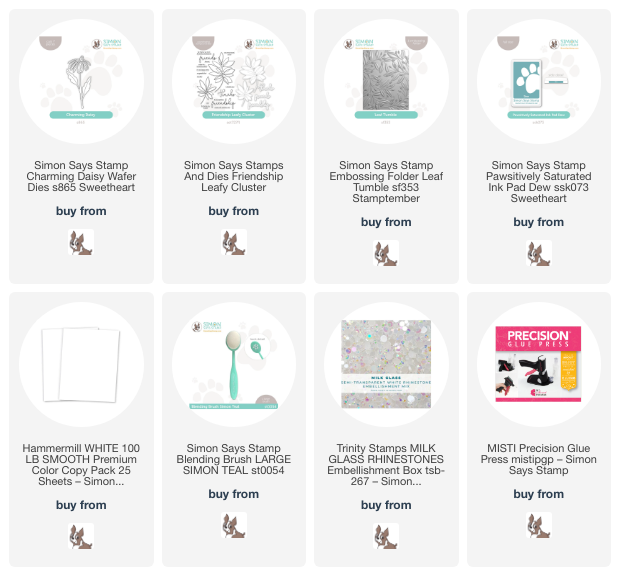
I began by die cutting all of the elements of the the Charming Daisy die from white Hammermill cardstock, adhering them all together with liquid adhesive. (If you haven’t tried the new MISTI Precision Glue Press, you should definitely sign up to receive an email for when they come back in stock… it makes adhering delicate die cuts like this an absolute breeze!)

I wanted to keep things simple behind my delicate daisy die cut, so I used a Blending Brush to lightly blend the new Dew Pawsitively Saturated Ink on an A2 panel of white Hammermill cardstock, creating a subtle blue halo in the center of my card front. After blending, I splattered the background with some sparkling glitter watercolors for extra texture and shimmer. In order to accent the sparkle on the background, I trimmed the long edges of the blended panel and added a strip of glittering white cardstock to one side. I embossed another panel of white cardstock using the Leaf Tumble embossing folder and adhered it to my card base, then added my glitter strip and blended panel to the card base, orienting them to the left so that the textured embossed panel was peeking out the right hand side.

I popped up the daisy die cut in the center of the blended area, then stamped a greeting from the new Friendship Leafy Cluster stamp set, die cutting the flourished “thanks” sentiment with the coordinating die. I nestled those sentiment pieces on the daisy die cut, adhering them with foam tape, finally accenting everything with some shimmering white gems for extra sparkle.

Well, that’s all for my project today! I hope this shows you not to underestimate the power of plain white cardstock; when combined with some well-placed ink blending or embossing, it can create a huge impact! Thanks so much for stopping by today, and have a marvelous day!

Filed Under: simon says stamp, Uncategorized Tagged With: charming daisy, friendship leafy cluster, ink blending, thank you, white-on-white

Primary Sidebar

  • Facebook
  • Instagram
  • Pinterest
  • YouTube

Favorite Shops

Secondary Sidebar

Subscribe

Enter your email address to subscribe to this blog and receive notifications of new posts by email.

Instagram
Something is wrong.
Instagram token error.
Follow
Load More

Archives

Tags

3D embossing folder alcohol markers better press birthday birthday card blog hop card kit christmas christmas card christmas tag colored pencil copic copic coloring Daniel Smith die cutting embossing folder embroidery felt giveaway holiday holiday card hot foil ink blending karin brushmarker pro layered stencil masculine my monthly hero new release no line coloring no line watercolor OLO marker olo markers original illustration pawsitively saturated rainbow shaker card slimline stamping stamptember stencil thank you thinking of you valentine's day video watercolor

Popular Posts

Simon Says Stamp Joy For You Blog Hop- Day 1!
Simon Says Stamp Joy For You Release-Now Available!
Frozen Fractals All Around with New Simon Says Stamp Joy For You Release!
Shaped Holiday Shaker Card with New Simon Says Stamp Jolly Season Card Kit of the Month!
Holiday Postage with New Simon Says Stamp!
Simon Says Stamp Glory to the Newborn King Holiday Kit-Part II!
Holiday Joy in Pink and Green with New Simon Says Stamp DieCember!
Pinkfresh Studio 5th Birthday!
Altenew Build A Flower: Fuchsia Blog Hop+Giveway!
July My Monthly Hero Blog Hop+Giveaway!

Disclosure

Some affiliate links are used in my posts. This means that, should you click on one of my links and purchase something from that company, I will receive a small portion of the sale at no extra cost to you. I use the money earned from these sales to help maintain my blog. I so appreciate you visiting and, if you do choose to use one of my affiliate links, thank you so much for your support!
Copyright © 2026 ·Brunch Pro Theme · Genesis Framework by StudioPress · WordPress · Log in
Loading Comments...