• Skip to main content
  • Skip to primary sidebar
  • Skip to secondary sidebar

Sixth Street Sundries

Emily Midgett

  • Home
  • About Me
  • Contact
  • OLO Marker Color Swatch Chart
  • Shop

garden party

Pinkfresh Studio “Essentials” Release Blog Hop

November 5, 2024

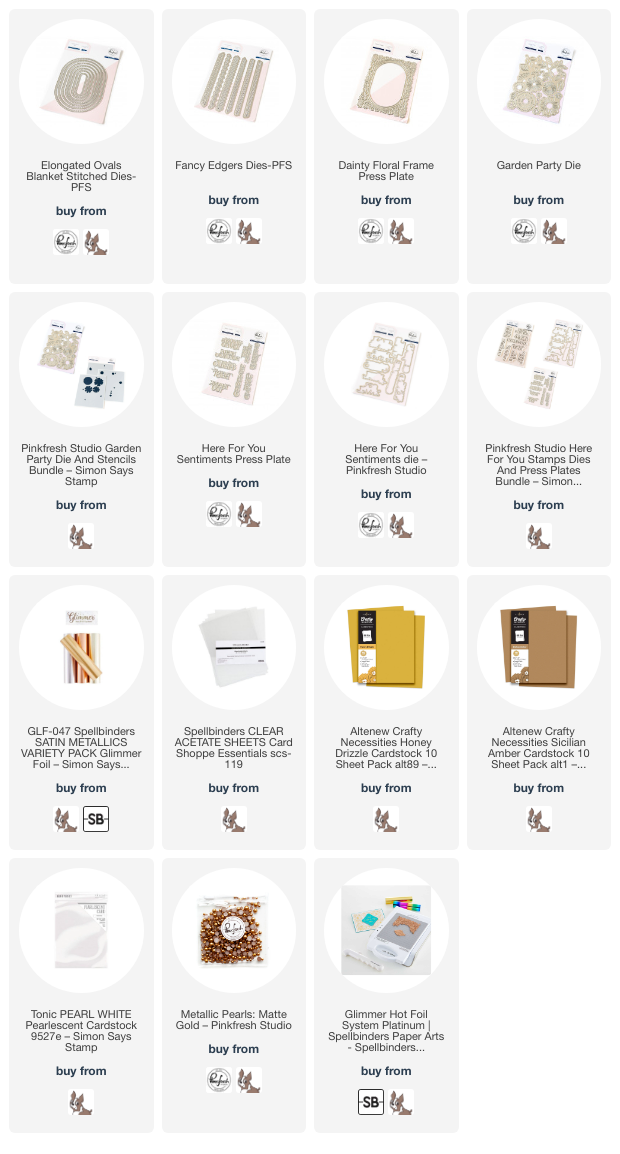
Hi friends! I am hopping along with Pinkfresh Studio today to help introduce their newest Essentials dies. These dies are truly “essential;” they work for basically every project, creating the perfect blank canvas for all kinds of images. They work beautifully together or by themselves. I’ve created a golden celebration card for my project today, pairing the beautiful and incredibly versatile new Elongated Oval Blanket Stitch dies with the older Garden Party flower dies and the gorgeously detailed Dainty Floral Frame Press Plate. Let’s get started on the details with my project!

*I have linked all of the products used at the bottom of the post using affiliate links for your convenience. Thank you for shopping with my links! I truly appreciate your support for my work!*

I truly love how so many of the Pinkfresh Studio products coordinate, meaning that they can work beautifully on their own or dovetailed with other products to create a seamless transition between elements. The shape of the new Elongated Oval Blanket Stitch dies coordinates beautifully with the opening on the Dainty Floral Frame Press Plate. As soon as I saw this, I knew that I wanted to pair the two products! I am absolutely obsessed with hot foiling on acetate, and so I hot foiled this lovely press plate onto some super smooth acetate using a deep gold satin hot foil roll. I also die cut a coordinating Elongated Oval Blanket Stitch frame from some white cardstock. To add a little extra whimsy and shabby-chic lace to the frame, I die cut a thin strip of white glitter cardstock using the new Fancy Edgers dies and tucked it on one side of the Elongated Oval die cut.

After I had added the lacy edge, I die cut the Garden Party flower dies from a few different shades of deep gold cardstock and some pearlescent white cardstock, creating an arrangement on the elongated oval opposite the lacy bit peeking out from behind the frame. I adhered the frame to the acetate panel using foam adhesive, layering it over the foiled frame of the same size and shape, then adhered floral elements with liquid and foam adhesive. I flipped the entire acetate panel over and added adhesive behind the solid die cuts to help keep the acetate as clean as possible.

After I had finished adding the floral elements, I added a “celebrate” greeting, which I had hot foiled using the Here For You Sentiments Press Plate set onto some white cardstock and the same satin gold foil. I die cut the sentiment using the coordinating die to make it super clean, then adhered it to the card front with a double layer of foam adhesive. I had received a gift tied with a lovely ochre ribbon, and of course I had to save the ribbon, so I used some of it to add a bit of extra texture to my card. I love that it coordinated so beautifully with the metallic satin gold hot foiled pieces and the deep golden floral images! Finally, I added a few Matte Gold Pearls from Pinkfresh Studio for one final element of texture and shimmer.

Well, that’s all for my project today! The team has tons of inspiration to share with you using these new goodies, and Pinkfresh Studio is sponsoring some fantastic giveaways to celebrate the new Essentials Release:

Pinkfresh Studio will be giving away the full release on the Pinkfresh blog & YouTube channel. They will also be giving away a total of TEN $25  gift cards along the hop. Winners will be selected from the comments, so the more comments you leave along the hop, the more chances you have to win!
Winners will be selected and announced on November 13, 2024 on the Pinkfresh Studio GIVEAWAY PAGE. Winners must check that page & claim their prize within 2 weeks.

Well, that’s all for my project today! Here’s the full hop list:

You are invited to the Inlinkz link party!

Click here to enter

Thanks so much for stopping by today, and happy hopping!
Filed Under: pinkfresh studio Tagged With: dainty floral frame, die cutting, elongated ovals blanket stitched dies, essentials, fancy edgers, garden party, here for you sentiments, hot foiling, press plate

Foil and Better Press with New Flower Stems from Pressed Posies by Spellbinders!

January 18, 2024

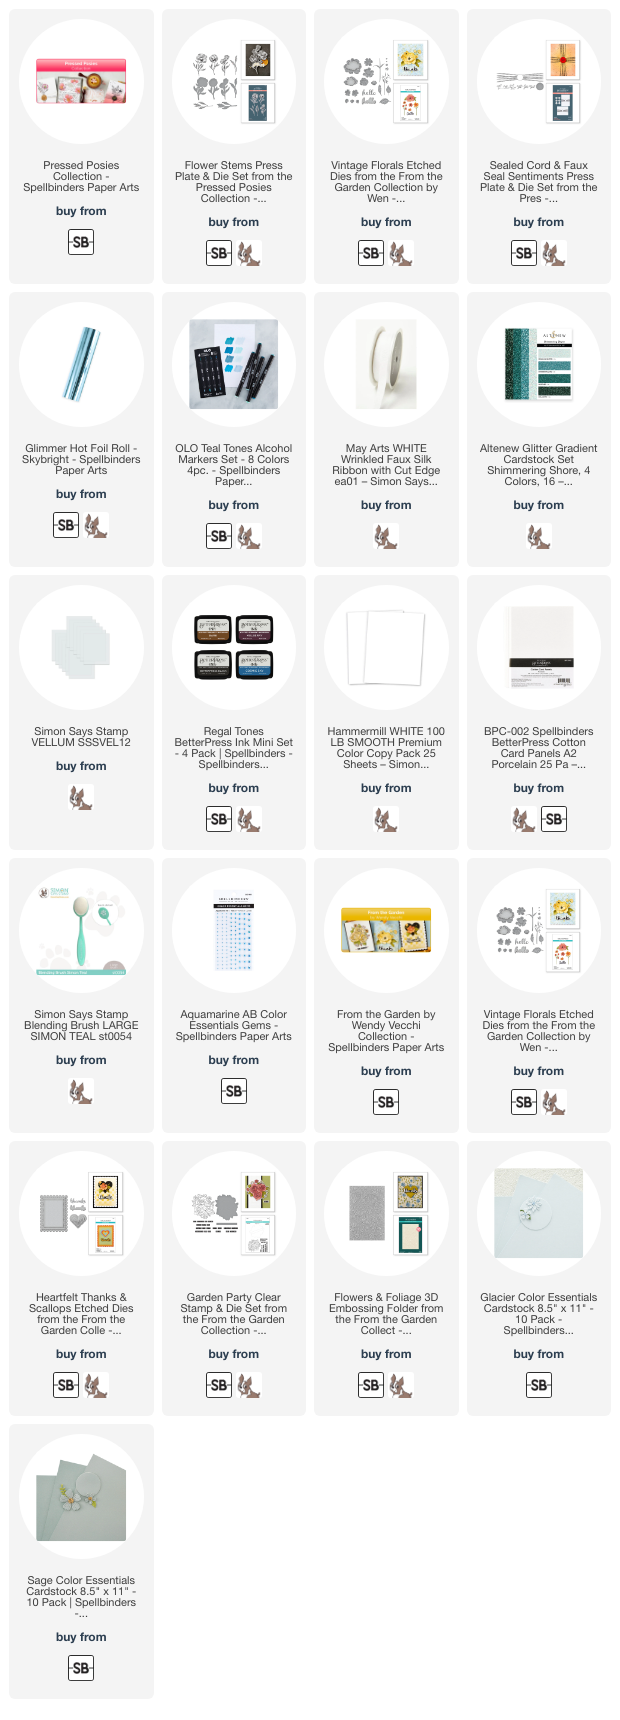
Hi friends! I have a serene project to share with you today using some of the new goodies from the new Spellbinders Pressed Posies Collection. You probably know of my flower obsession by this point, and adding Better Press plates and the marvelous techniques they bring into the my repertoire has been such a joy! Spellbinders generously sent the Flower Stems Better Press Plates + Coordinating Dies (SB | SSS) for me to play with, and I am absolutely in love with these delicate, feminine floral images. Let’s get started with the details on my project!

One of my favorite properties of the Better Press plates is their versatility; you can use them for both letter press and foiling techniques. I’ve combined both of these techniques to create this delicate, super textured card today!

To start, I used the delicate, detailed images from the Flower Stems Better Press Plates + Coordinating Dies (SB | SSS) without ink to emboss a floral pattern around the edge of my Porcelain Better Press A2 Panels (SB | SSS). Using these plates on their own creates the loveliest, subtle texture, and the exceptional detail and fine lines on the Flower Stems Better Press Plates (SB | SSS) picks up beautifully on the super thick letterpress paper.

After I had pressed the floral pattern into the paper, I used Blending Brushes to blend Mist, Dew, Raindrop Pawsitively Saturated Ink from Simon Says Stamp around the edges of the cardstock starting with the lightest shade, gradually decreasing how close I went to the center of the card front with each subsequent color. The debossed pattern on the letterpress panel picks up the ink, making it more concentrated in those debossed lines and allowing the pattern to be more visible. For an extra touch of shimmer, I splattered the blended background with some handmade, sparkling glitter watercolors.

After I had created my background, I used Skybright Glimmer Hot Foil (SB | SSS) to hot foil a few of the images from Flower Stems Better Press Plates (SB | SSS) onto Hammermill white cardstock. I used the coordinating dies to cut them out, then used my OLO Markers (SB | SSS) in lovely coordinating shades of aqua to add some subtle color to the foiled images. Alcohol marker coloring on hot foiled images is such a fun way to get more mileage out of your hot foil and Better Press plates! I also used one of the OLO markers to add some deep teal to a length of faux silk ribbon, which I used to “tie” my bouquet of flowers and foliage.

After I popped up my colored bouquet with foam adhesive, I die cut the “hello” using one of the Vintage Florals dies (SB | SSS), cutting the detail layer from turquoise glitter paper and the shadow layer from vellum. I also used one of the Better Press sentiments from the Sealed Cord and Faux Seal Sentiments Press Plate + Coordinating Die (SB | SSS) set, pressing the greeting with Cosmic Sky Better Press ink (SB | SSS) onto Porcelain Better Press paper (SB | SSS). I tucked the greeting pieces amongst the hot foiled floral arrangement and adhered them with foam adhesive. The final touch was to add a few Aquamarine Gems for sparkle!

Well, that’s all for my project today! Have you jumped on the Better Press bandwagon? The plates are so versatile, and even if you don’t have a Better Press System (what are you waiting for?), you can still use the plates with your hot foil machine!

Just FYI: I was honored to be invited to be a guest designer over on the Spellbinders blog last week using the new From the Garden Collection designed by Wendy Vecchi. Here’s a sneak peek of one of my projects:

This project is just one of three projects in a coordinating card set. I hope you’ll stop by and take a look!! Click HERE to see the post.

Thanks so much for stopping by today, and have a marvelous day!

Filed Under: spellbinders Tagged With: better press, flower stems, flowers & foliage 3D embossing folder, garden party, glimmer hot foil, heartfelt thanks & scallops, olo markers, pressed posies, sealed cord & faux seal sentiments, vintage florals

Primary Sidebar

  • Facebook
  • Instagram
  • Pinterest
  • YouTube

Favorite Shops

Secondary Sidebar

Subscribe

Enter your email address to subscribe to this blog and receive notifications of new posts by email.

Instagram
Something is wrong.
Instagram token error.
Follow
Load More

Archives

Tags

3D embossing folder alcohol markers better press birthday birthday card blog hop card kit christmas christmas card christmas tag colored pencil copic copic coloring Daniel Smith die cutting embossing folder embroidery felt giveaway holiday holiday card hot foil ink blending karin brushmarker pro layered stencil masculine my monthly hero new release no line coloring no line watercolor OLO marker olo markers original illustration pawsitively saturated rainbow shaker card slimline stamping stamptember stencil thank you thinking of you valentine's day video watercolor

Popular Posts

Simon Says Stamp Joy For You Blog Hop- Day 1!
Simon Says Stamp Joy For You Release-Now Available!
Frozen Fractals All Around with New Simon Says Stamp Joy For You Release!
Shaped Holiday Shaker Card with New Simon Says Stamp Jolly Season Card Kit of the Month!
Holiday Postage with New Simon Says Stamp!
Simon Says Stamp Glory to the Newborn King Holiday Kit-Part II!
Pinkfresh Studio 5th Birthday!
Altenew Build A Flower: Fuchsia Blog Hop+Giveway!
Holiday Joy in Pink and Green with New Simon Says Stamp DieCember!
Honey Bee Stamps September Release Blog Hop!

Disclosure

Some affiliate links are used in my posts. This means that, should you click on one of my links and purchase something from that company, I will receive a small portion of the sale at no extra cost to you. I use the money earned from these sales to help maintain my blog. I so appreciate you visiting and, if you do choose to use one of my affiliate links, thank you so much for your support!
Copyright © 2026 ·Brunch Pro Theme · Genesis Framework by StudioPress · WordPress · Log in
Loading Comments...