Hi there! Today, I am so excited to be hopping along with Alex Syberia to celebrate her newest release for November 2023. You should have arrived here from Emelie, and your next stop is Erica. You can also find the full hop list at the Alex Syberia Designs Blog. This month’s release is filled with beautiful holiday designs, both traditional and a bit non-traditional, and they’re absolutely scrumptious! (You can check it out HERE at Simon Says Stamp, as well!) I have two monochromatic holiday cards today that fit that non-traditional description, but I think they’re so elegant and super festive. Let’s get started with the details!

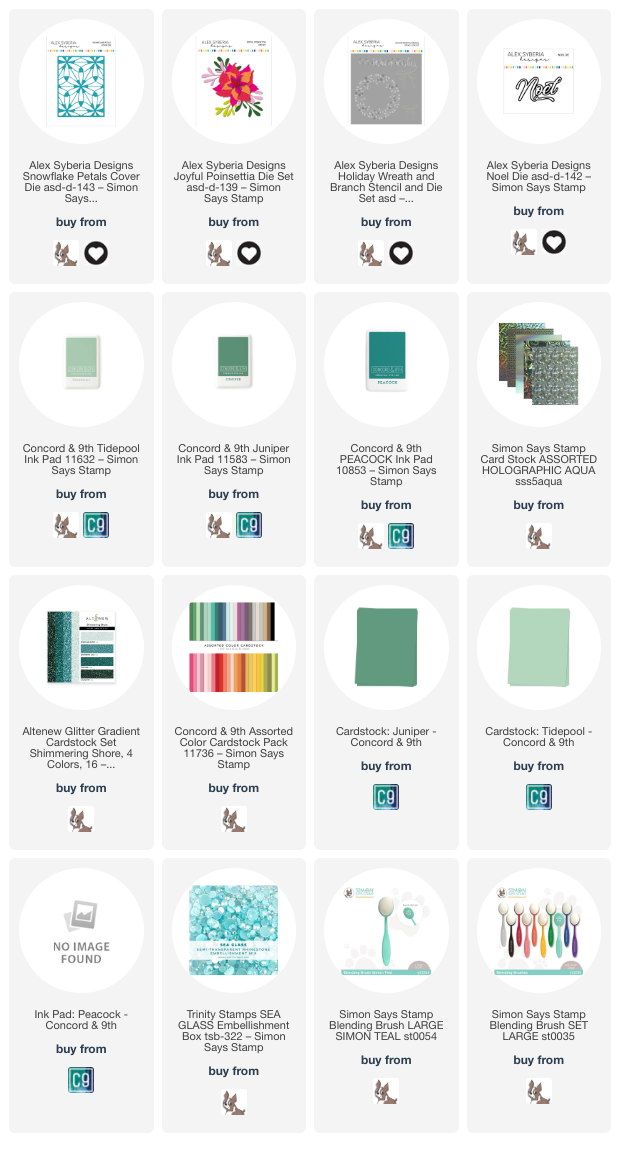
Both of my projects feature a unique blend of different shades of aqua. I have come to think of aqua as basically a neutral that can work as a supporting actor to lots of different colors, but sometimes aqua is so gorgeous that I want it to shine all on its own. I particularly love Juniper and Tidepool shades from Concord and 9th; they’re two different intensities of the same shade of serene aqua, with more green than blue, and today I’ve paired them with Peacock ink from Concord and 9th to help brighten them up and bring out the undertones of blue.

For my first card, I blended some Peacock ink around the edges of a Juniper cardstock panel, then splattered some shimmering glitter watercolors to add some beautiful texture and shimmer to the background of my card. I then die cut the incredibly beautiful new Snowflake Petals cover plate die (ASD | SSS) from the Alex Syberia Designs November 2023 release using a new addition to my craft room: Holographic Aqua Mirror cardstock from Simon Says Stamp. You can see how incredible the shine is on this cardstock in the photos, but paired with the stunning greens of the card front panel… chef’s kiss!! I adhered the delicate Snowflake Petals cover plate die cut using some liquid adhesive.

For the greeting, I blended Tidepool and Juniper ink on some Tide Pool cardstock using the bow and sentiment stencils in the Holiday Wreath Branch Stencil & Die set (ASD | SSS). I also die cut some glittering aqua foliage using the foliage dies from the new Joyful Poinsettia die set (ASD | SSS) and some gorgeous glitter paper from Altenew. My best tip for creating monochromatic cards like this is to be creative with the textures; if you want to keep the viewer’s eye busy and interested in the project, having multiple textures in similar shades of the same color helps prevent your recipient from being bored! I arranged the foliage in a little swag tied together with the stenciled bow, then popped up the greeting with some foam adhesive. I added a few seafoam gems for some more sparkle.

My second card features the Juniper, Tidepool, and Peacock ink again, this time blended to create a monochromatic ombré background. After blending my card front with these inks and blending brushes, I again splattered the vivid background with some more sparkling handmade glitter watercolors. This extra step adds subtle-but-beautiful texture and shine to the background! To coordinate with the background, I die cut the different layers of the Joyful Poinsettia die set (ASD|SSS) from coordinating colored cardstock, blending on the edges of the die cut layers with the coordinating shades of ink. This added blending helps to bring out the beautiful embossed details on the die cuts, as well. I die cut some more foliage using the foliage dies from the Joyful Poinsettia die set (ASD|SSS) using the same glitter paper from Altenew used on the first card.

After I had die cut my focal point, I die cut the detail layer of the Noel die (ASD | SSS) using some more Holographic Aqua Mirror cardstock and the background bubble layer using some thin vellum. I adhered the two layers together using liquid adhesive, then began arranging my flower and foliage, I placed the poinsettia in the center of the blended background, offsetting it slightly to the left and popping it up with foam adhesive. I adhered the foliage behind the flower, arranging the die cut pieces so that it was almost radiating out from the flower. I popped up the greeting die cut with some more foam adhesive, then added a few more gems in coordinating colors for some more sparkle!
Well, that’s all for my projects today. Now for some fun giveaway information!
Alex Syberia Designs is giving away a £85 ($100) gift certificate to 1 lucky winner and a £15 ($18) gift card to 5 winners.
Open internationally. All 6 winners will be drawn from the entrants that have played along with this Blog hop by midnight BST November 26th, 2023. Winners will be announced on the Alex Syberia Designs blog ‘Giveaway Winners’ page on November 27th, 2023.
Your next stop on the hop is Erica. Thanks so much for stopping by today, and happy hopping!