• Skip to main content
  • Skip to primary sidebar
  • Skip to secondary sidebar

Sixth Street Sundries

Emily Midgett

  • Home
  • About Me
  • Contact
  • OLO Marker Color Swatch Chart
  • Shop

just a note pansy

Thinking Of You with Pansies and Pencils!

February 1, 2024

This post was sponsored by Simon Says Stamp. Thanks, Simon!

Hi friends! I have a project to share with you today using one of my favorite colors: blush pink. It’s February, the month of valentines, making it completely appropriate to use pink in any and all shades. I have been helping my husband write the eulogy for his grandfather, and it has been a very therapeutic way to release some of the feelings that I have with the loss of such a tremendous man. I also found this detailed pencil work to be extremely therapeutic as a creative release. Let’s get started with the details!

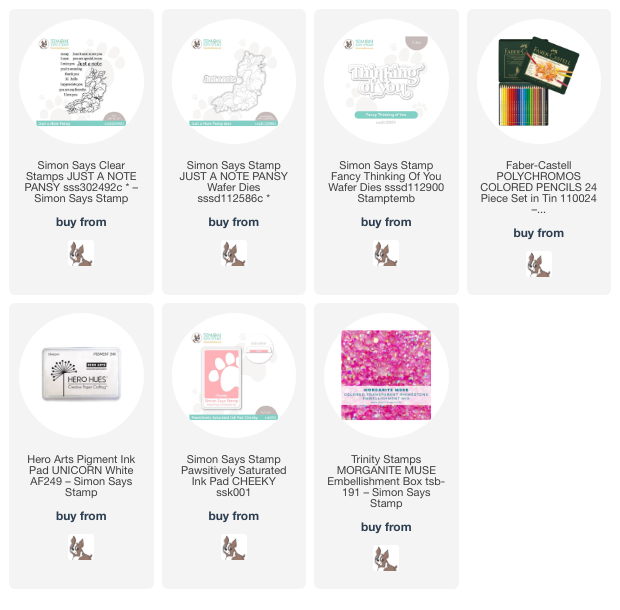
To start my project, I selected some lovely blush cardstock from my stash. I love the look of colored pencil on colored cardstock, and this shade of blush worked beautifully when paired with the Just a Note Pansy set that I illustrated for Simon Says Stamp. I have been privileged to illustrate several stamp sets for Simon Says Stamp, and I never seem to have as much time to devote to them each as I would like! I thought that this was the perfect opportunity to allow my mind to decompress as I did some therapeutic coloring. Colored pencils are a labor of love, but the end result is certainly worth it, in my opinion.

I stamped the corner pansy image from Just a Note Pansy in the corners of a slightly-smaller-than-A2 panel of blush cardstock, placing them exactly opposite each other by using my MISTI, then rotating the cardstock 180* and stamping the image again directly opposite from the initial image. I stamped the image first with white pigment ink, which is my typical preferred ink for colored pencils, but because the cardstock is so light, it was difficult to see the white lines, so I stamped again with Cheeky ink. The initial layer of white pigment ink helped to soften the pink ink while also allowing it to be absorbed easily into the subsequent pencil layers.

After I had finished my pencil coloring, I cut the Fancy Thinking of You die three times from more of the same blush cardstock that I used for my card front and base, layering them together to create a dimensional die cut greeting. I adhered the colored panel to a full sized A2 panel of blush cardstock, leaving a thin solid blush border around the edge, then added the greeting to the center of the card with liquid adhesive. Finally, I added some blush pink gems to dot the i’s in the greeting die cut. I kept the card simple, as I feel like a sympathy card should be without too much excitement and flash. To me, the detailed coloring shows the level of feeling for the recipient without being overly bright and inappropriate to the situation.

Well, that’s all for my project today! Something simple to start your February off, but I can’t resist the opportunity to use my colored pencils. Thanks so much for stopping by today, and have a marvelous day!
Filed Under: simon says stamp Tagged With: colored pencil, just a note pansy, no line coloring, sympathy card

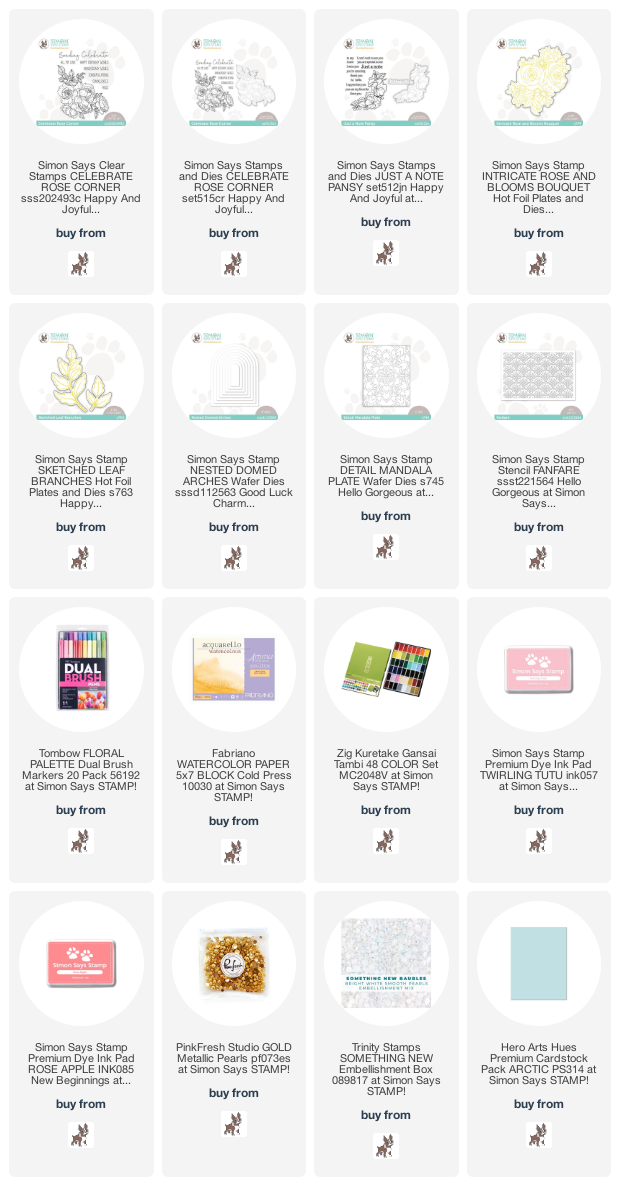
Simon Says Stamp Happy and Joyful Blog Hop-Day 2!

April 22, 2022

Good morning! I am delighted to be a stop on Day 2 of the Simon Says Stamp Happy and Joyful blog hop celebrating the gorgeous new release that went live earlier this week! You should have arrived here from Barbara Tarayao, and your next stop is Miriam Prantner. You can also start back at the beginning at the Simon Says Stamp Blog.

I am extra excited for this Happy and Joyful release, as I have illustrated four different stamp sets that were released this week! (You can see my blog post introducing each set here.) It’s seriously such a thrill to be able to stamp my designs using so many different techniques, but I am not being hyperbolic when I say what an utter thrill it is to see the talented designers who work with Simon Says Stamp share their creations made using my illustrations. It’s mind blowing to think of where I started over a decade ago to where I am right now, and I’m so grateful for the opportunities that I’ve had, not the least of which is working with Simon Says Stamp! I have three projects to share with you today, so let’s get started with the details!

One of the sets for which I am most excited is the Celebrate Rose Corner. I get inspiration for my illustrations from lots of different places, including florists and gardeners that I’ve found on Instagram. Grace Rose Farm shared the most stunning rose photo last summer, and I couldn’t resist making it a centerpiece on a floral bouquet. Thus, Celebrate Rose Corner was born! I have a video sharing some watercoloring tips and process on how I made this super vibrant card. Watch the video below or on YouTube by clicking HERE.

If you can’t watch the video, I’ll share a brief synopsis here.

I started by heat embossing the Celebrate Rose Corner image on some Fabriano Artistico watercolor paper using silver embossing powder. I trimmed the watercolor paper down to A2 size, then oriented the image so that it was creeping across the front and would be perfectly sized after die cutting to fit across an A2 card base. I used Tombow markers to add lots of vibrant color to the image.

When working with watercolors, I find it very helpful to have a ceramic palette available for color mixing and for diluting the intense watercolors down to help stretch the shades that I can achieve, as well as allowing me better control over where the color goes and how intense it is. For this card, I began by scribbling some of the deep magenta pink from the Tombow markers onto my ceramic watercolor palette, then adding quite a bit of water to dilute the color down to a soft pastel, then using that for my first layer of color on the roses. The second layer was a mixture of deep teal and the same pink, creating a lovely shade of amethyst. Finally, I put the marker directly to the watercolor paper to add some incredible intensity in just those super shadowed areas. The combination of diluted color mixed with the marker-direct-to-paper makes for some intense dimension on these large blooms! I also added an icy blue halo around the outside edges of the image, just far enough out so that the die cut edge would be blue.

Once I’d finished my watercoloring, I die cut the image using the coordinating die (I love that there is a die for this set!), then mounted it on an icy blue card base using foam tape. I added a greeting from the Celebrate Rose Corner, which I silver embossed onto some more icy blue cardstock and mounted with foam tape for lots of height, finally adding a few aqua blue gems for some sparkle. This card is so vibrant. I just love those vivid colors!

My second card is a bit softer and features some of the beautiful hot foil products that were released this month. I began by hot foiling the Intricate Rose and Blooms Bouquet onto some hot press watercolor paper using gold foil. I then used my Gansai Tambi watercolors (for the first time-I’ve had them for years and just have never used them!) to add some soft peachy pink and pale blue to the image.

I also hot foiled the new Sketched Leaf Branches onto some heavyweight vellum using some more shiny gold foil. I love the effect of foiling on vellum; it creates such an elegant and ethereal look. I also love that these new hot foiling sets come with the coordinating dies, so that you don’t have to buy the die and the foil plate separately.

The bouquet itself is pretty large, and the addition of the vellum foliage made it even longer, so I decided to create a slimline card. I added a bit of ink blending in the center of the white slimline card base using Twirling Tutu and Rose Apple inks, then added some tone-on-tone texture using the Fanfare stencil. Some shining gold pearls finished it off!

My last card is bright and clean, with that vivid pop of intense fuchsia, again painted with Tombow markers using another of my new sets for this release: Just A Note Pansy. When I began illustrating this set, I originally intended for it to have an arch outline, similar to my Framed Florals coloring panel series. I decided against that, and so decided to create a card using something close to my original design by adding an arch die cut using the Domed Arch dies!

I silver heat embossed the pansies from Just A Note Pansy onto some Fabriano Artistico watercolor paper using silver embossing powder. I again used the Tombow markers to add lots of intense color to these flowers, but instead of concentrating the color in the center of the flower, I kept the center light and added color around the edges of the flowers, pulling the color towards the center with my clean, damp paintbrush. The intense pink and touches of deep purple make these flowers almost pop off of the card front!

Once I had finished watercoloring and die cutting the completed image, I used the beautiful Detail Mandala cover plate die to add some subtle texture to a white A2 card base. I die cut a Domed Arch from some more vellum to create an ethereal background upon which to ground my pansies, and popped them up with some foam adhesive. I heat embossed a greeting from Just A Note Pansy onto some more white cardstock using silver embossing powder, then die cut and trimmed them, adding them with some more foam adhesive for tons of height. The final touch was a few iridescent white pearls.

Well, that’s all for my projects today! To celebrate this release, Simon Says Stamp is giving away a $25 shopping spree at each stop on the hop. Simply leave a comment at each stop on the hop to receive maximum entries into the giveaway!

Simon Says Stamp is also doing a Gift With Purchase promotion to celebrate the new Happy and Joyful release. Simply add code GRDPTY at checkout to receive a free sheet of Garden Party stickers!

Your next stop on the hop is Miriam Prantner. Thanks so much for stopping by today, and happy hopping!

Filed Under: simon says stamp Tagged With: celebrate rose corner, detail mandala plate, gansai tambi, hot foil, just a note pansy, nested domed arches, original illustration, stencil, tombow markers, watercolor

Simon Says Stamp Happy and Joyful Release- FOUR New Stamp Sets!

April 19, 2022

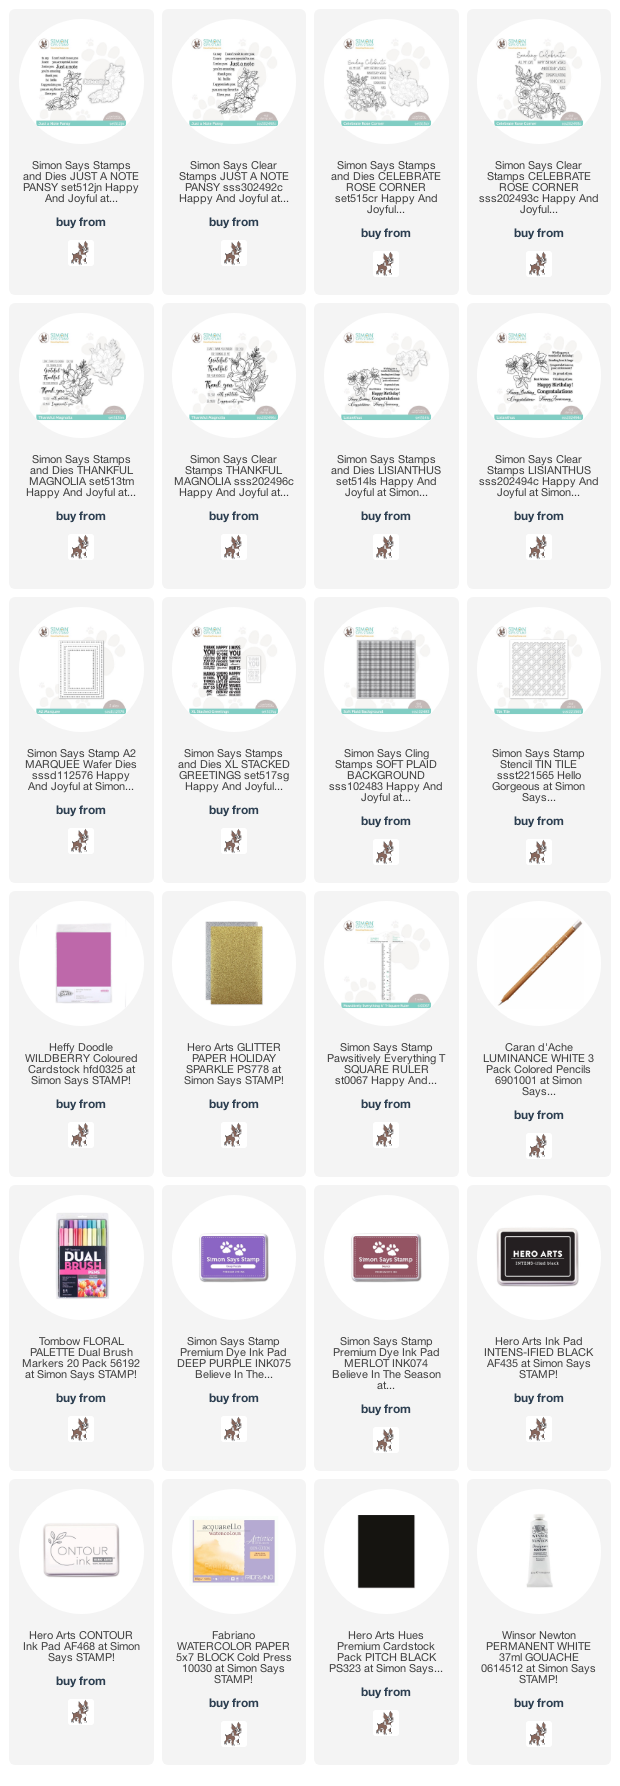
Hi friends! I am utterly thrilled tonight to share that I have not one, but four new stamp sets that I designed being released in Simon Says Stamp’s new Happy and Joyful release for April 2022! We are still pretty chilly and not terribly green here (weird for mid-April), so I’m coloring up a garden full of flowers with these new stamps: Thankful Magnolia, Just A Note Pansy, Celebrate Rose Corner, and Lisianthus!

In the video below, I share some tips on how to get incredible dimension using Thankful Magnolia. I discuss how I achieve depth and shadow using the new OLO markers, as well as how to make intentional choices with my cardmaking. You can watch below or on YouTube by clicking here.

For those who can’t watch the video, here’s a brief summary of how I created this card:

I began by stamping the huge magnolia image from Thankful Magnolia onto some white cardstock using Intens-ified Black Ink from Hero Arts. I then used the new OLO markers (which you can read more about here-the special introductory pricing is still available until 4/24!) to add lots of beautiful depth and dimension to this gigantic flower. And when I say gigantic, I mean gigantic haha-this is a 5×7 card! I designed the image so that you could use the entirety of it on an A7 card, or just have a corner peeking out on an A2 card, or you could orient it so that just the foliage and the filler flowers create a wreath around the outside of the card front. But above all, as with all of my illustrations, I wanted a large bloom that was a blast to color.

Once I had finished coloring and die cutting the Thankful Magnolia (love love love that there is a coordinating die to go with this massive bouquet!), I used the Tin Tile stencil with some Merlot ink to create a textured background for the magnolia. You can see in the video how I manipulated the stencil to be able to extend it beyond the typical 6×6 to fit almost the entirety of the 5×7 card front. I added a greeting from Thankful Magnolia stamped with black pigment ink and heat embossed with pearlescent charcoal embossing powder. A few plum gems added some more sparkle and texture.

My second card features the new Just A Note Pansy stamps. I heat embossed this pretty swag of pansies using silver embossing powder on some Fabriano Artistico watercolor paper, then used Tombow markers to add tons of vibrant pinks and purples, working from the outer edges towards the center, rather than my usual work from the center out. I die cut the finished flowers with the coordinating die.

Next, I die cut the new A2 Marquee dies from some coordinating pink cardstock, then backed the die cut with some sparkling silver glitter cardstock to help coordinate with the silver embossing powder. I love that little sparkle peeking out around the edge of the rectangular die cut!

For the greeting, I silver embossed a few of the coordinating greeting stamps from Just A Note Pansy onto some more bright pink cardstock, then die cut and trimmed them. I added the marquee die cut to a coordinating pink A2 card base using foam tape, then added the watercolored pansies and greetings with even more foam tape. (So much height on this one!) I finished it off with some pink gems for sparkle!

My next card features my new Celebrate Rose Corner stamps. I used these in a bit of a non-traditional way to create this chalkboard card. This is one of my favorite ways to use super detailed images; adding some subtle white shading to the white embossed images is relatively quick and creates a neat impact on the overall card. I white embossed the Celebrate Rose Corner onto some black cardstock using white embossing powder, then added some white highlights to the flowers only using a white pencil. Such a neat effect!

For the greeting, I embossed the new XL Stacked Greetings using white embossing powder on the same black cardstock. I used the new Paws-itively Everything T-square to add a white pencil frame around the edge of a black slimline card base. I also blended a bit of white pigment ink on the one edge and splattered it with a bit of white gouache to add some extra texture and touches of white. I popped up the sentiment and the rose bouquet die cut using foam tape, then added some white iridescent pearls for some sparkle and shine.

My final card was a labor of love, for sure. I used my new Lisianthus stamps and dies with the Caran D’Ache Luminance pencils to create this super saturated and brilliantly purple card! I began by stamping the Lisianthus image onto some pale lavender cardstock using no-line coloring ink, then used the colored pencils to add lots of intense color to the image. Colored pencils are always a bit time consuming, but I am so pleased with the result! I die cut the finished image using the coordinating die.

Next, I stamped the new Soft Plaid Background stamp using some Deep Purple ink onto some more pale lavender cardstock. I used a blending brush to lightly blend the same Deep Purple ink around the edges of the plaid card base to create a kind of vignette for the background of my flowers. I love the tone-on-tone look with all of the different layers of purple!

Once my card base was complete, I adhered the flowers to the card front using foam adhesive. I white heat embossed a greeting from Lisianthus onto some strips of the same pale lavender cardstock, then popped them up wtih some more foam tape. Finally, I added a few pale purple gems for some sparkle.

Whew! Have you made it this far? That was a long one! I am so very excited to be sharing all of these new products and the projects that I created with them… such a thrill to see my illustrations come to life! I hope you’ll take a peek at the entire Happy and Joyful release-so many fun new products!

Thanks so much for stopping by today, and have a marvelous day!

Filed Under: simon says stamp Tagged With: celebrate rose corner, colored pencil, just a note pansy, lisianthus, no line coloring, thankful magnolia, tombow markers, watercolor

Primary Sidebar

  • Facebook
  • Instagram
  • Pinterest
  • YouTube

Favorite Shops

Secondary Sidebar

Subscribe

Enter your email address to subscribe to this blog and receive notifications of new posts by email.

Instagram
Something is wrong.
Instagram token error.
Follow
Load More

Archives

Tags

3D embossing folder alcohol markers better press birthday birthday card blog hop card kit christmas christmas card christmas tag colored pencil copic copic coloring Daniel Smith die cutting embossing folder embroidery felt giveaway holiday holiday card hot foil ink blending karin brushmarker pro layered stencil masculine my monthly hero new release no line coloring no line watercolor OLO marker olo markers original illustration pawsitively saturated rainbow shaker card slimline stamping stamptember stencil thank you thinking of you valentine's day video watercolor

Popular Posts

Simon Says Stamp October 2026 Card Kit of the Month: Homespun Gratitude!
Honey Bee Stamps Cheerful Love Blog Hop!
Altenew Craft A Flower: Poppy Blog Hop+Giveaway!
Autumn Legs with Colorado Craft Company and Catherine Pooler!
Simon Says Stamp Cozy & Bright Inspiration, Part Two!
February 2018 My Monthly Hero Blog Hop!
The Ton Anniversary Release- Day 2
Sunflower Home Decor with Simon Says Stamp!
Simon Says Stamp STAMPtember Surprise: Boo Bundle Halloween Card Kit!
Hero Arts Spring 2020 Catalog Release Blog Hop+Giveaway!

Disclosure

Some affiliate links are used in my posts. This means that, should you click on one of my links and purchase something from that company, I will receive a small portion of the sale at no extra cost to you. I use the money earned from these sales to help maintain my blog. I so appreciate you visiting and, if you do choose to use one of my affiliate links, thank you so much for your support!
Copyright © 2026 ·Brunch Pro Theme · Genesis Framework by StudioPress · WordPress · Log in
Loading Comments...