• Skip to main content
  • Skip to primary sidebar
  • Skip to secondary sidebar

Sixth Street Sundries

Emily Midgett

  • Home
  • About Me
  • Contact
  • OLO Marker Color Swatch Chart
  • Shop

merry

Pink and Red Bottle Brush Tree with Simon Says Stamp!

October 3, 2025

This post was sponsored by Simon Says Stamp. Thanks, Simon!

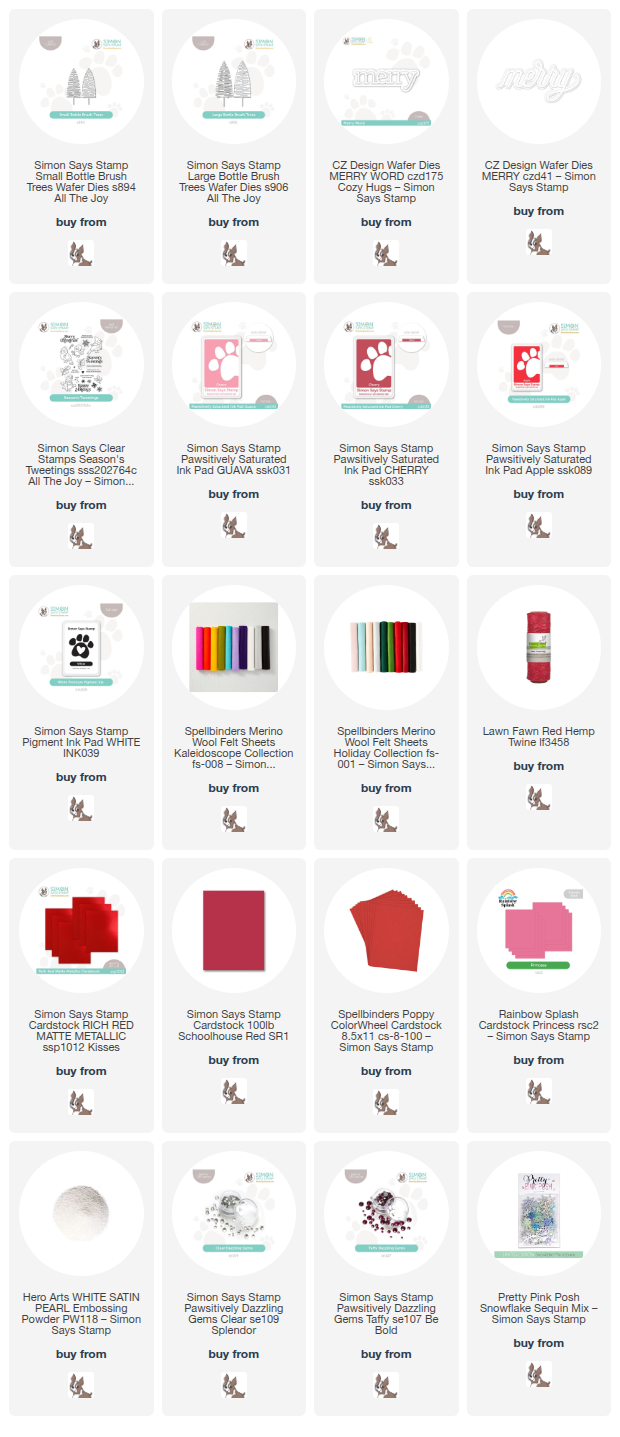
Hi friends! I am back with another non-traditional holiday project today, this time featuring vibrant magenta and deep cherry red. I had a few leftover felt bottle brush trees from a project that I posted earlier this week featuring some festive pink and red bottle brush trees, so I thought I would turn the leftovers into an entirely different felt project, this time on an embroidery hoop! I loved the hot pink and red color palette so much that I thought I would make a coordinating card so that they could be given as a gift. Don’t you just love it when everything coordinates? Let’s get started with the details on my projects!

*I have gathered links to all of the products used at the bottom of the post for your convenience, using affiliate links. Thank you for shopping with my links! I truly appreciate your support for my work!*

I had die cut several bottle brush trees from two different shades of pink felt as well as some metallic red foil felt and used this as my color palette for both projects, adding in some crisp white backdrops and some snowflakes to help enhance the holiday imagery!

I filled a medium sized embroidery hoop with some crisp white fabric with a subtle white snowflake pattern, then adhered the detail layer of these Small Bottle Brush Trees and Large Bottle Brush Trees die cuts in a row on the printed fabric using felt glue. I added a die cut Merry Word from CZ Design for Simon Says Stamp, cut using the same metallic red foil felt from my stash, beneath the row of trees, tucking a red hemp twine bow beneath it. For some additional sparkle, I added some Clear Pawsitively Dazzling Gems and a few snowflake sequins, sewn on with embroidery thread and embellished with a seed bead.

To create the coordinating card, I used blending brushes to blend Pawsitively Saturated Inks in shades of Cherry, Guava, Apple on an A2 card front, then used white pigment ink to stamp some snowflakes and a white gel pen to add some snowy dots on the blended background. I used red foil, magenta, and bright red cardstock to die cut the different components of the Small Bottle Brush Trees and Large Bottle Brush Trees, adhering the detail layer to the solid background layer with liquid adhesive.

After I had die cut the trees and put them together, I used foam adhesive to place the trio of bottle brush trees on my snowy card front, adding a glittery die cut Merry and coordinating embossed sentiment from Season’s Tweetings, which I stamped on a strip of red cardstock using Simon Says Stamp White Pigment Ink and added some White Satin Pearl embossing powder. I flagged the end of the sentiment strip and added the sentiment pieces to the card front using foam adhesive. Finally, I added a few Taffy Pawsitively Dazzling Gems for additional sparkle!

Well, that’s all for my projects today! We are heading straight into holiday crafting season (anybody know the “I’m shifting into soup mode” meme? I’m shifting into holiday mode!) so I hope you’re ready for snowflakes, sparkles, trees, bows, and poinsettias galore!! Thanks so much for stopping by today, and have a marvelous day!
Filed Under: simon says stamp Tagged With: bottle brush trees, christmas card, die cutting, embroidery, embroidery hoop, felt, holiday card, ink blending, merry, season's tweetings

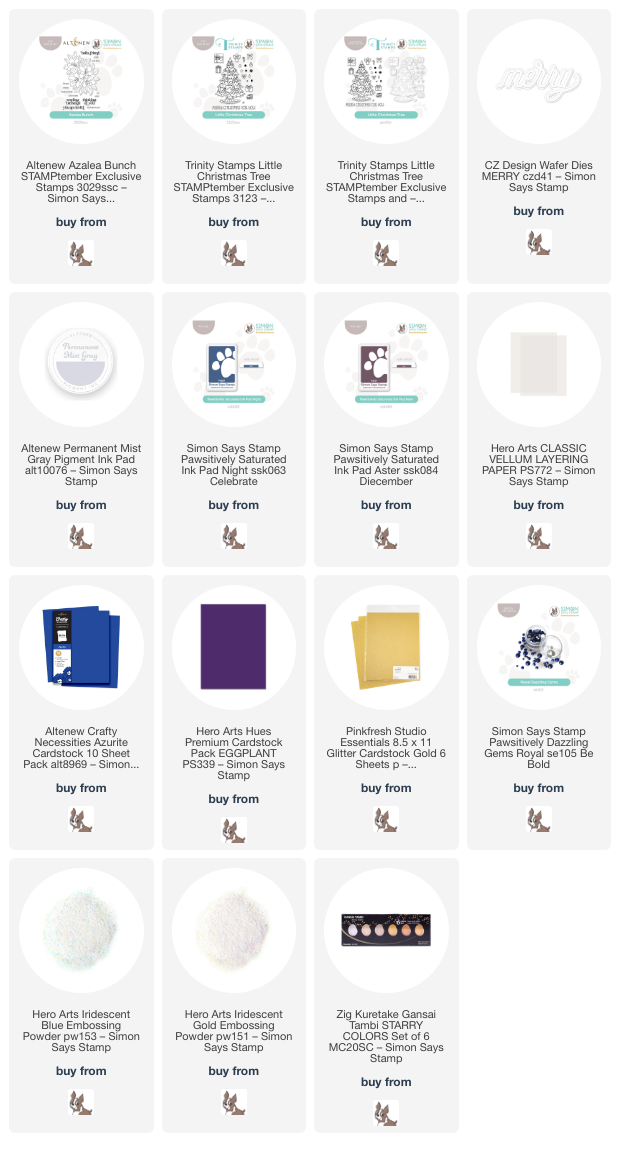
Simon Says Stamp STAMPtember Collaboration: Altenew and Trinity Stamps!

September 24, 2024

Hi friends! I am back today with some more inspiration using the lovely collaboration stamp sets from two lovely companies: Altenew and Trinity Stamps! Altenew created the exclusive Azalea Bunch stamp set just for the STAMPtember celebration, and Trinity created the festive Little Christmas Tree. I have created a pair of unique projects to share with you today, so let’s get started on the details!

*I have linked all of the products used at the bottom of the post for your convenience using affiliate links. Thank you for shopping with my links! I truly appreciate your support for my work!*

For my project using the beautiful Azalea Bunch, I first stamped the image once on white cardstock using no-line coloring ink, then again on vellum with sticky embossing ink. I heat embossed the vellum with white embossing powder and used my Copic markers to do some simple coloring on the white panel. I had intended to try to do a tri-fold card, but my vellum cracked when I scored it (don’t press too hard with vellum!) so I had to improvise a bit. I used my sharp scissors to fussy cut the vellum image in order to place it directly over the top of the colored image!

To adhere my vellum image cleanly, I created some greeting components behind which I could hide my adhesive. I stamped two of the sentiments from Azalea Bunch onto some white cardstock using deep navy ink, then stamped directly over the top using sticky embossing ink and added iridescent blue embossing powder. I used my sharp scissors to cut the larger greeting out and added it to the vellum floral piece with foam adhesive. I also added a Royal Pawsitively Dazzling Gem and a pretty white silk bow, then flipped the vellum piece over and added dots of liquid adhesive, finally placing the vellum piece directly over the top of my colored bouquet.

I trimmed the white panel down 1/4″ on each side, then mounted it to a panel of Altenew’s new Crafty Necessities Azurite cardstock and added a few more Royal gems for added sparkle. I have never tried this technique before, but I am loving the vellum overlay so much!

For my second card, I used the exclusive, limited edition Little Christmas Tree from Trinity Stamps to create this unique, dramatic eggplant-and-gold card. I started by heat embossing the large tree image in the center of an Eggplant card front using Iridescent Gold embossing powder. I then blended Pawsitively Saturated Aster ink around the edges and carefully splattered some gold watercolor around the tree, making sure not to splatter any on the tree itself. I also used the same gold watercolors to add extra details to the garland on the tree!

For the greeting, I die cut the detail layer of the CZ Designs Merry die from gold glitter cardstock and the shadow from some more Eggplant cardstock, layering them together with liquid adhesive and popping the sentiment up directly on top of the tree with some foam adhesive. Finally, I added a a bit more luxe to this dramatic card by adding some shimmering gems from my stash. Such a striking, non-traditional color palette for a holiday card, but no less festive for it!!

Well, that’s all for my projects today. These STAMPtember collaboration sets are limited edition and usually sell out very quickly, so if you’re on the fence, don’t wait too long! To sweeten the deal and make it even easier for you to shop, Heidi at Simon Says Stamp has offered free shipping for purchases over $25 for a limited time!!

These beautiful sets are sure to sell out quickly, so if you’re on the fence, don’t wait too long… these limited edition sets are gone forever once they sell out!

Thanks so much for stopping by today, and happy STAMPtember!!

Filed Under: altenew, simon says stamp, Trinity Stamps Tagged With: christmas card, copic coloring, die cutting, holiday card, ink blending, merry, no line coloring, stamptember

Primary Sidebar

  • Facebook
  • Instagram
  • Pinterest
  • YouTube

Favorite Shops

Secondary Sidebar

Subscribe

Enter your email address to subscribe to this blog and receive notifications of new posts by email.

Instagram
Something is wrong.
Instagram token error.
Follow
Load More

Archives

Tags

3D embossing folder alcohol markers better press birthday birthday card blog hop card kit christmas christmas card christmas tag colored pencil copic copic coloring Daniel Smith die cutting embossing folder embroidery felt giveaway holiday holiday card hot foil ink blending karin brushmarker pro layered stencil masculine my monthly hero new release no line coloring no line watercolor OLO marker olo markers original illustration pawsitively saturated rainbow shaker card slimline stamping stamptember stencil thank you thinking of you valentine's day video watercolor

Popular Posts

Simon Says Stamp Joy For You Blog Hop- Day 1!
Simon Says Stamp Joy For You Release-Now Available!
Frozen Fractals All Around with New Simon Says Stamp Joy For You Release!
Shaped Holiday Shaker Card with New Simon Says Stamp Jolly Season Card Kit of the Month!
Holiday Postage with New Simon Says Stamp!
Simon Says Stamp Glory to the Newborn King Holiday Kit-Part II!
Pinkfresh Studio 5th Birthday!
Altenew Build A Flower: Fuchsia Blog Hop+Giveway!
Holiday Joy in Pink and Green with New Simon Says Stamp DieCember!
Honey Bee Stamps September Release Blog Hop!

Disclosure

Some affiliate links are used in my posts. This means that, should you click on one of my links and purchase something from that company, I will receive a small portion of the sale at no extra cost to you. I use the money earned from these sales to help maintain my blog. I so appreciate you visiting and, if you do choose to use one of my affiliate links, thank you so much for your support!
Copyright © 2026 ·Brunch Pro Theme · Genesis Framework by StudioPress · WordPress · Log in
Loading Comments...