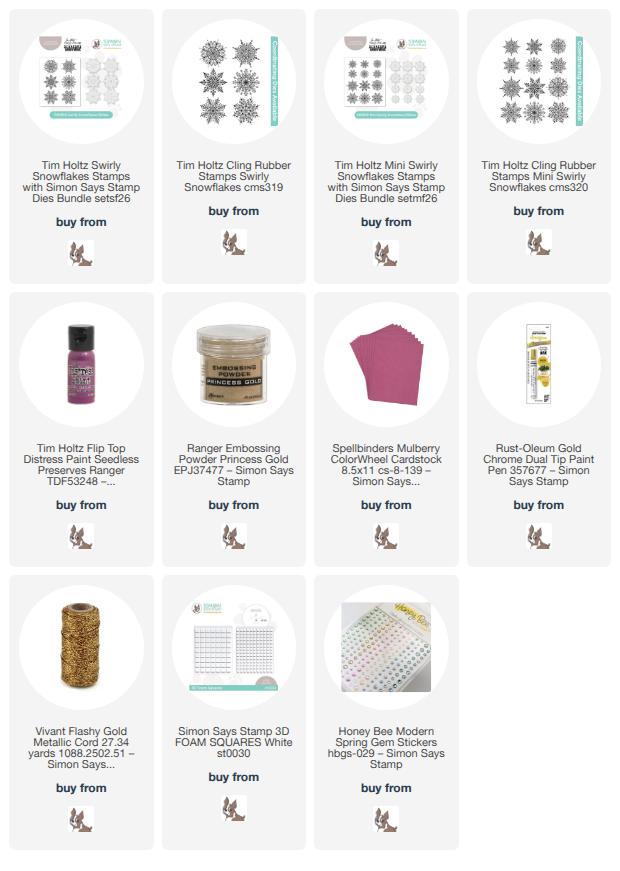
Hi friends! I have another project to share with you today using some of the new dies that coordinate with Tim Holtz holiday stamps, released exclusively at Simon Says Stamp! (Click HERE to see the entire new release!) Whenever I think of Tim Holtz, I automatically think of mixed media and altered items embellished with lots of fun extras and bling. Last Christmas, I purchased lots of circular ornaments made of MDF board so that I could embellish and customize them to my heart’s content! I absolutely LOVE the gorgeous Swirly Snowflakes and Mini Swirly Snowflakes from Tim Holtz, and now that we have coordinating dies, it makes creating fun projects like this so quick and simple. Let’s get started on the details of my project!
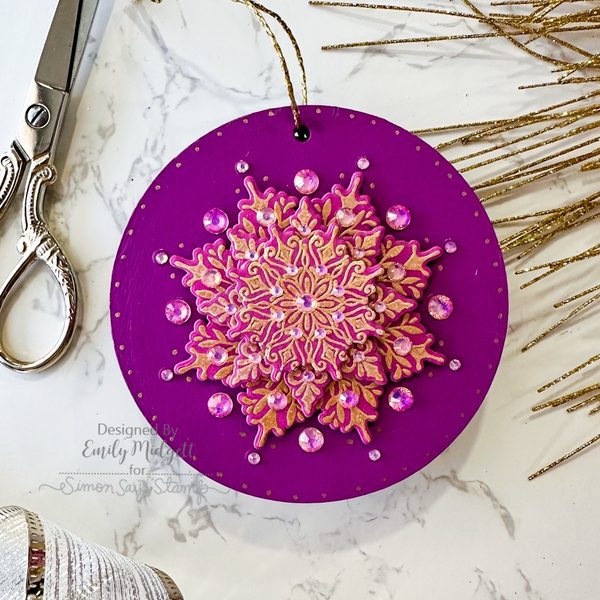
After I had painted my blank ornament with a few layers of a lovely shade of fuchsia with Seedless Preserves Distress Paint, I set it aside to dry completely. I love using my acrylic paints to create home decor projects like this one; the opaque paint seems so much more permanent than using just watercolor or cardstock, and it can be mixed to create infinite custom colors to perfectly match the vision in my head!
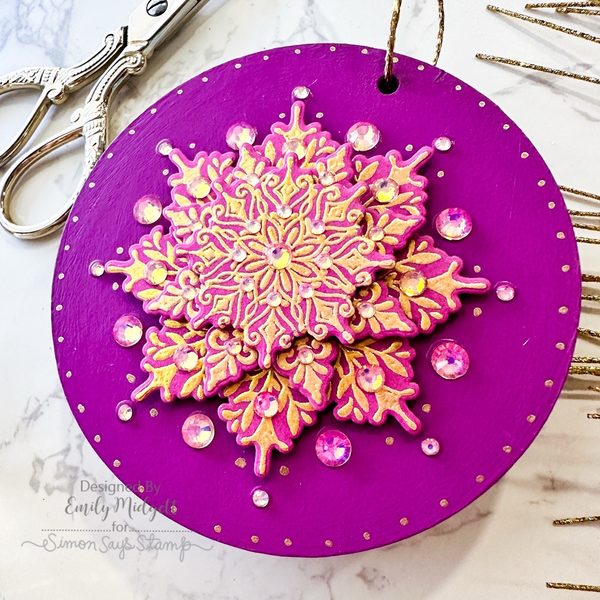
To create the layered snowflakes, I pulled out some Spellbinders Mulberry cardstock, which matched the vibrant pinky purple paint on the ornament beautifully. I then heat embossed a large snowflake from Swirly Snowflakes and a medium and small snowflake from Mini Swirly Snowflakes using shimmering Princess Gold Embossing Powder. These snowflakes layer together so beautifully, and having both the large and mini sets means tons of layering options and more versatility!
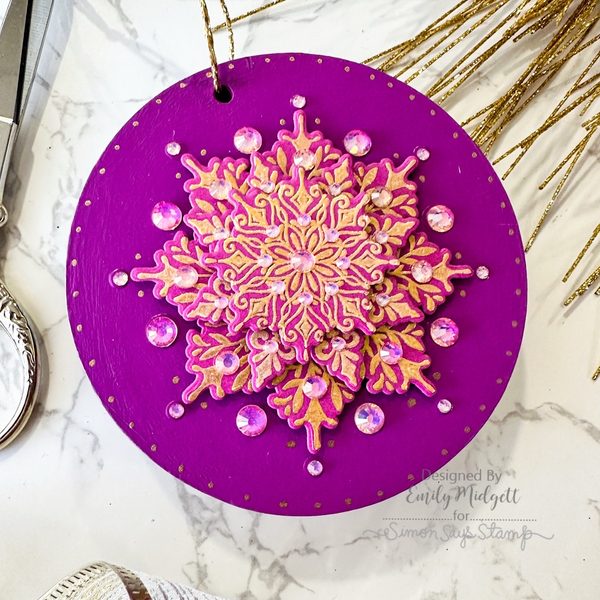
After I had embossed the snowflake trio, I used the new coordinating dies to cut them out quickly and easily. I layered them together, starting at the bottom with the largest snowflake from Swirly Snowflakes, then the medium and small from Mini Swirly Snowflakes, adhering each layer together with thick foam adhesive squares to create tons of dimension. After I had adhered the snowflake in the center of the fuchsia ornament with another layer of foam adhesive, I used a Gold Paint Marker to add some dot accents and to gild the edge of the ornament. I think this creates such a polished effect. I also added some gorgeous, shimmering gems from my stash that are pink with an iridescent gold shimmer over the top. To finish everything off, I threaded a sparkling gold twine loop through the hole at the top of the ornament, making it easy to adorn a package or add to a Christmas tree!
Well, that’s all for my project today! It’s almost Halloween, so Simon Says Stamp is offering treats without tricks:
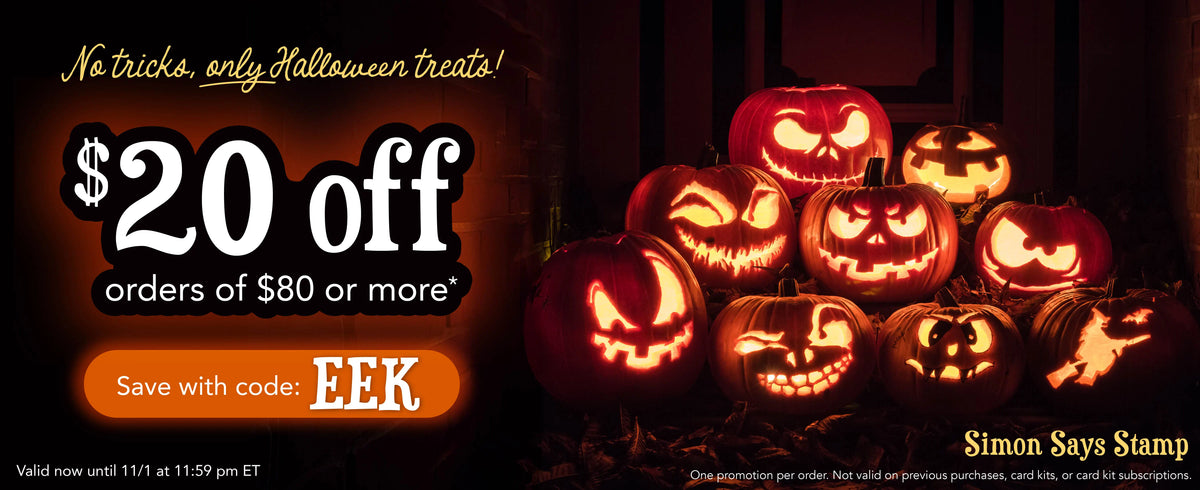
Use code EEK at checkout to receive $20 off your order of $80 or more until 11:59 on Sunday, November 1!! Click HERE to see all of the fabulous new goodies!
I’m signing off for the weekend now… we have so many Halloween happenings this weekend, so I am going to be one busy momma! Happy Halloween to those who celebrate. I am definitely ready to be done with pumpkins and move on to all. things. CHRISTMAS! Thanks so much for stopping by today, and have a marvelous day!