• Skip to main content
  • Skip to primary sidebar
  • Skip to secondary sidebar

Sixth Street Sundries

Emily Midgett

  • Home
  • About Me
  • Contact
  • OLO Marker Color Swatch Chart
  • Shop

noel

VIDEO: Watercoloring with Stencils using New Pinkfresh Studio Holiday Products!

September 28, 2022

Hi there! I am up on the Pinkfresh Studio YouTube channel today, and I’m sharing a fun faux no-line watercolor using the new Festive Leaves stencils, two shades of ink, and a bit of watercoloring. Here’s the video:

Or you can watch the video HERE.

This technique is a super fun way to get more mileage out of your standalone stencils! The Festive Leaves stencils are a standalone stencil set, meaning that they do not have a coordinating stamp set. (There are dies though!) These layering stencils create beautiful, modern, graphic holiday foliage images, but I am a traditionalist, and I love figuring out new ways to tailor products to suit my own style. This standalone stencil set was perfect for this technique, because the simple layering stencils created full images without needing a stamp set to complete them, as some stencil sets do.

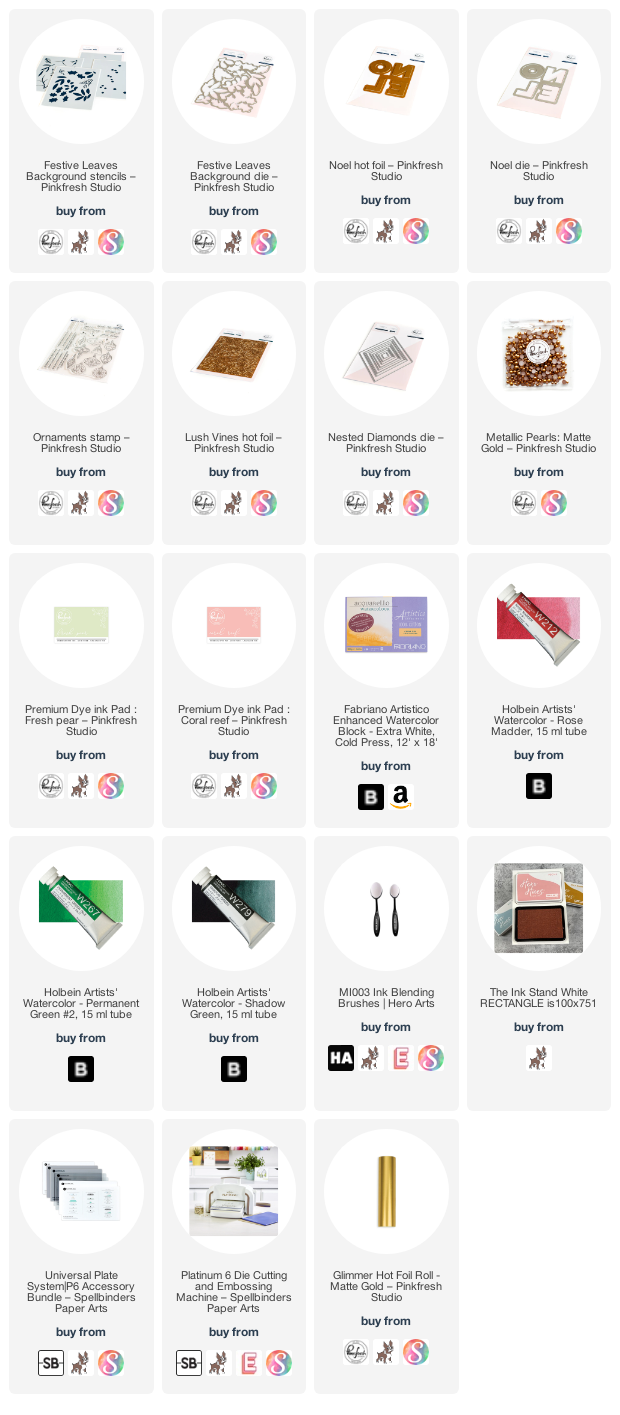
I began by blending Fresh Pear on the foliage stencils and Coral Reef Pinkfresh Studio inks on the berry stencils from the Festive Leaves stencil set onto some Fabriano Artistico watercolor paper. I blended very lightly on all of the layers, as the main purpose of this blending is to give us a basic outline for our watercoloring. You could also use no-line coloring ink, like Contour Ink from Hero Arts, but that might create a bit muddier watercoloring. The Pinkfresh Studio inks are water-based, so they work seamlessly with the Holbein watercolors that I used for this technique. I simply laid the watercolor over the top of the ink blended images. I used a bit looser watercoloring technique for these images; I wanted a bit more whimsical feel, rather than super controlled and detailed, to fit with the modern aesthetic of the images themselves. While the wet watercolor was still quite damp, I dropped in some darker green, allowing the color to “bloom” on the wet areas. Once the images were finished, I used the coordinating die to cut all of the images out in one fell swoop. That one-stop die cutting never ceases to amaze me with its cleverness!

For the background, I used the embossing mat from my Platinum 6 machine’s Universal Plate System with the Lush Vines Hot Foil Plate. This creates a lovely and subtle embossed background without having to go through all of the hot foiling process. I splattered some sparkly gold handmade watercolors on the background just to add a little extra interest. I also die cut a Nested Diamond frame from some white cardstock as a ground for my foliage and sentiment pieces.

Because I can’t keep my hot foil system out on my desk all the time, I like to foil bunches of stuff at once to have ready when I need it. I had foiled a Noel Hot Foil sentiment using Matte Gold foil, then die cut it with the coordinating die. I heat embossed a greeting from the Ornaments stamp set (this set has so many great sentiments, in addition to the beautiful ornament stamp!) using gold sparkle embossing powder. I also added a slightly wider strip of gold glitter cardstock behind to help the sentiment stand out a bit more. I adhered all of the components on the embossed background panel using double and single layers of foam tape. This card has lots of white space, so that extra foam tape helps to add lots of texture and interest to the card front. Finally, I added a few Matte Gold pearls for one last element of golden shine!

Well, that’s all for my project today. I encourage you to take a look at your standalone stencils to see which ones would work with this faux no-line watercoloring technique. Such a fun way to make your cards look even more unique and truly handmade! Thanks so much for stopping by today, and have a marvelous day!
Filed Under: pinkfresh studio Tagged With: christmas card, festive leaves stencils, holbein watercolor, holiday card, hot foil, layering stencil, noel, ornaments, stencil, watercolor

Honey Bee Stamps Vintage Holiday Release!

October 14, 2021

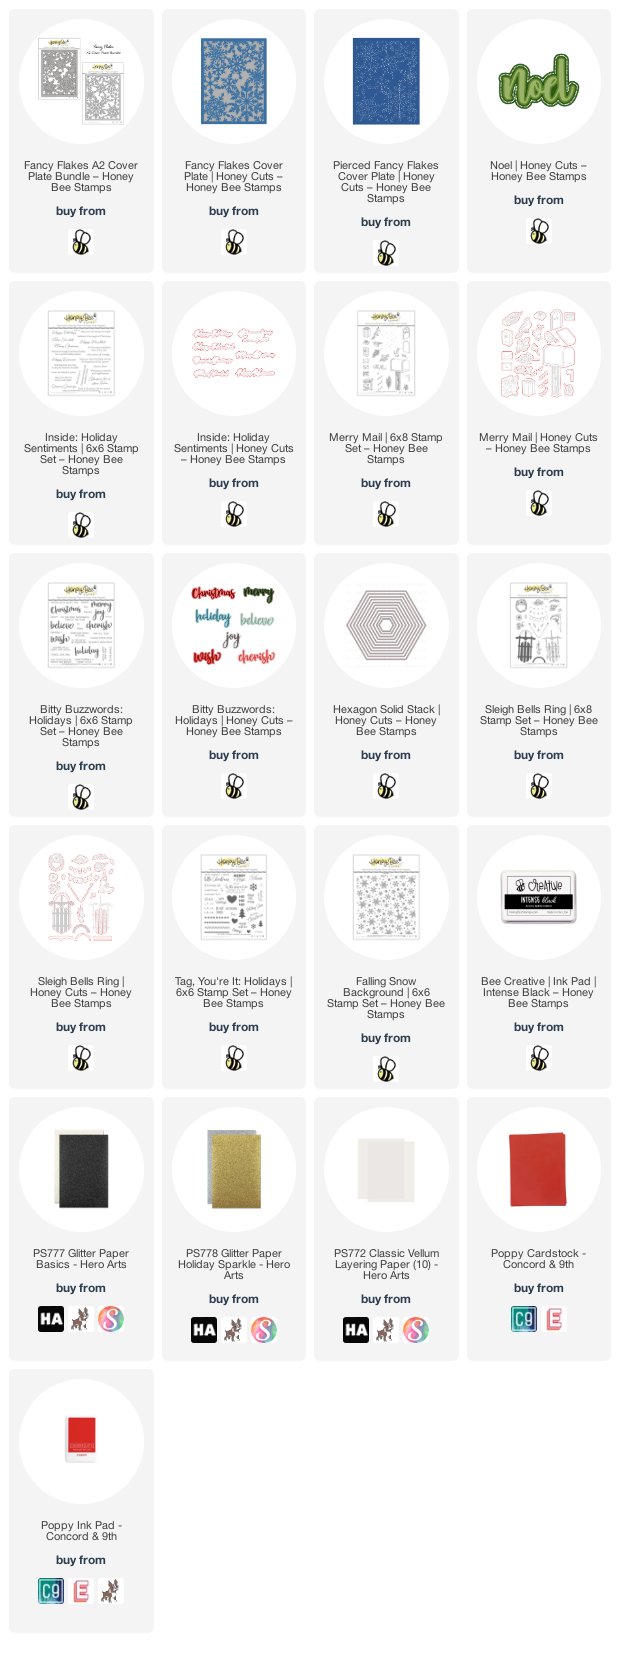
Hi there! I’m so excited to be sharing some of my projects created with the new Honey Bee Stamps Vintage Holiday release! It’s a giant release filled with an abundance of new products in such a wide variety of styles that you are sure to find several things that you love! I wish I’d had time to make more projects, but three will have to do for today. Let’s get started with the details! (Affiliate links used where possible. Thank you for your support!)

This first card features the absolutely stunning new Fancy Flakes cover plate die set. The detail in each individual die is amazing in it’s own right, but together… serious wow-factor. I began by die cutting the base layer die from some pale aqua cardstock, then ran it through my die cut machine again using the pierced layer. The detail, the grace…. it’s just incredible. I backed the detailed die cut layer with some white glitter cardstock.

For the die cut greeting, I used the new Noel Honey Cuts from some heavyweight vellum and the same icy blue cardstock, adhering them together with liquid adhesive.

I added the remainder of the greeting using the new Inside Holiday Sentiments stamp set. I stamped the greeting on the same icy blue cardstock using some gray pigment ink, then covered it with pearlescent white embossing powder and heated it to create a pearlescent charcoal. I prefer this pearly charcoal to black embossing on a light, bright card like this one. It is a bit lighter and less stark contrast than the black might be. I popped up the sentiment pieces on the card front using foam adhesive. So much dimension, so many textures on this card… simple, but elegant!

My next two cards are an homage to cheery, bright red juxtaposed with crisp white and black. I don’t use red very much throughout the year, but at Christmas, I can’t seem to help myself from using vibrant red and bright white. The vintage feel throughout the release is modernized a bit with the crisp, bright colors . It’s amazing what a difference color choices make on your cards! These same cards would have a completely different feel on Kraft paper.

My first card features the beautiful new Merry Mail stamps and coordinating Honey Cuts. I began by stamping several of the images on some white cardstock using the Honey Bee Stamps Intense Black, which is Copic-friendly. I used my Copic markers to color the images in a red, white, green, and cool gray color scheme.

Once I had finished coloring all of the images, I die cut a frame from the Hexagon Solid Stack dies from some coordinating cherry red cardstock. I also stamped a greeting from the Tag You’re It: Holidays stamp set on a small rectangle of white cardstock, again using black ink.

For the card base, I used the beautiful new Falling Snow Background stamp. I used Honey Bee’s Embossing Ink and some holographic glitter to create a beautifully sparkling, subtle background, on which I adhered the die cuts and sentiment using foam adhesive. The final touch was to add a few sparkling gems from the Unicorn Rhinestone pack.

My final project features the fabulous new Sleigh Bells Ring stamp set. This set features an amazing vintage sleigh, stamped in several layers of solid and detail, as well as various accoutrements to decorate it! I began by stamping the main part of the sleigh using some colorful shades of cherry red and darker maroon red ink for the woodgrain. I also stamped several of the accompanying images using the Intense Black ink from Honey Bee. I colored the outline images using some coordinating shades of Copic markers, adding in a touch of bright green for the foliage. I die cut the finished images using the coordinating Honey Cuts.

I die cut the “Christmas” die cut layers using the new Bitty Buzzwords Holidays from some white cardstock, with the top layer cut from some silver glitter paper. I stamped the other part of the greeting from the Bitty Buzzwords: Holiday Stamps on a strip of white cardstock.

I used the Fancy Flakes Pierced Layer to add some subtle texture to the white background, then adhered all of the die cut pieces and sentiment pieces using a mixture of foam and liquid adhesive. The final touch was a few more gemstones from the Unicorn Rhinestone pack.

Well, that’s all for today’s projects! I highly encourage you to check out the entire Vintage Holiday release. It’s absolutely smashing. I could easily buy my weight in holiday stamps and dies each year… and this is one of my most favorite releases that Honey Bee has ever done. I hope you will take a peek and find something that you like!

Filed Under: holiday card, Honey Bee Stamps Tagged With: bitty buzzwords, fancy flakes, holiday card, merry mail, noel, sleigh bells ring, vintage holiday

Primary Sidebar

  • Facebook
  • Instagram
  • Pinterest
  • YouTube

Favorite Shops

Secondary Sidebar

Subscribe

Enter your email address to subscribe to this blog and receive notifications of new posts by email.

Instagram
Something is wrong.
Instagram token error.
Follow
Load More

Archives

Tags

3D embossing folder alcohol markers better press birthday birthday card blog hop card kit christmas christmas card christmas tag colored pencil copic copic coloring Daniel Smith die cutting embossing folder embroidery felt giveaway holiday holiday card hot foil ink blending karin brushmarker pro layered stencil masculine my monthly hero new release no line coloring no line watercolor OLO marker olo markers original illustration pawsitively saturated rainbow shaker card slimline stamping stamptember stencil thank you thinking of you valentine's day video watercolor

Popular Posts

Simon Says Stamp Joy For You Blog Hop- Day 1!
Simon Says Stamp Joy For You Release-Now Available!
Frozen Fractals All Around with New Simon Says Stamp Joy For You Release!
Shaped Holiday Shaker Card with New Simon Says Stamp Jolly Season Card Kit of the Month!
Holiday Postage with New Simon Says Stamp!
Simon Says Stamp Glory to the Newborn King Holiday Kit-Part II!
Pinkfresh Studio 5th Birthday!
Altenew Build A Flower: Fuchsia Blog Hop+Giveway!
Holiday Joy in Pink and Green with New Simon Says Stamp DieCember!
Honey Bee Stamps September Release Blog Hop!

Disclosure

Some affiliate links are used in my posts. This means that, should you click on one of my links and purchase something from that company, I will receive a small portion of the sale at no extra cost to you. I use the money earned from these sales to help maintain my blog. I so appreciate you visiting and, if you do choose to use one of my affiliate links, thank you so much for your support!
Copyright © 2026 ·Brunch Pro Theme · Genesis Framework by StudioPress · WordPress · Log in
Loading Comments...