• Skip to main content
  • Skip to primary sidebar
  • Skip to secondary sidebar

Sixth Street Sundries

Emily Midgett

  • Home
  • About Me
  • Contact
  • OLO Marker Color Swatch Chart
  • Shop

out of this world

Double Stenciling with New Scalloped Rectangle Stencils from Simon Says Stamp!

June 27, 2023

This post was sponsored by Simon Says Stamp. Thanks, Simon!

Hi friends! I have some more inspiration to share with you today using the new Scalloped Rectangle Stencils from last week’s Simon Says Stamp’s Out of This World release! These stencils come in a variety of sizes, each with super handy tick marks on the corners so that you can perfectly center your stencil in the center of your A2 card front, as well as a coordinating mask (basically the positive cutout of the stencil itself) so that you can mask the positive or negative space on your card front. So many ways to use these! One of my favorite ways to use large, open stencils like these is to do some “double” stenciling, layering two different stencils together and using the bottom stencil as a mask for the top stencil. Let’s get started with the details on my card!

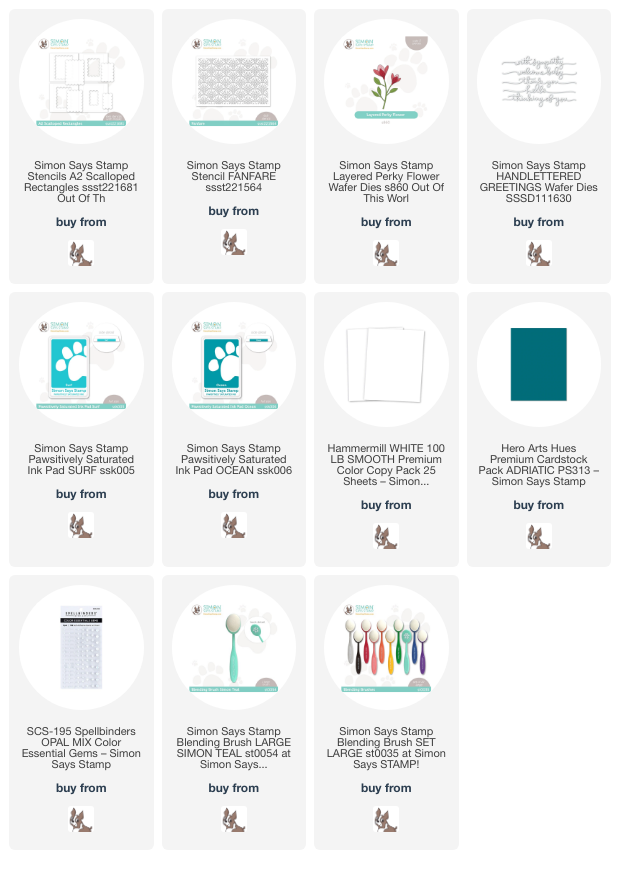
To start, I laid one of the larger Scalloped Rectangle Stencils over the top of my white A2 card front, centering it using the handy dandy tick marks at the corners! I then lightly blended Pawsitively Saturated Surf ink around the edge of the scalloped frame, concentrating the color toward the edges of the stencil and tapering off towards the center. With the scalloped stencil still in place over my card front, I then placed the Fanfare stencil from Simon Says Stamp directly over the top of the blended area and blended the pattern using Pawsitively Saturated Ocean ink. Layering the two stencils creates a unique and colorful pattern, leaving a crisp white scalloped frame around the edge. Such a fun technique!

To accent my tone-on-tone background, I used the new Layered Perky Flower die from the Out of This World release. I wanted to keep the color scheme relatively simple, so I die cut all of the pieces from the Layered Perky Flower die from white Hammermill cardstock, then used my OLO Markers to add deep teal leaves and some pale gray-purple shadows to the white flowers (I think they look like crocuses!), fading the edges with the Zero marker. I love customizing white standalone die cuts with my favorite coloring mediums; it gives me the ability to perfectly match the images to my color scheme!

To ground my florals, I trimmed a piece of coordinating dark teal cardstock down, then added a die cut sentiment from the Simon Says Stamp Handlettered Greetings die set cut from white cardstock. I popped this sentiment strip up on the card front using foam adhesive, then arranged my floral die cuts behind it to have them “growing” from my sentiment strip. I did trim one of the floral die cuts into a few pieces to create a fuller arrangement, which is another way that I love to customize standalone die cuts. Finally, I added a few Opal gems for some very subtle sparkle. I think that the somber colors on this card make it perfect for a sympathy card.

Well, that’s all for my project today. You can check out more inspiration using the Out of This World release HERE, HERE, and HERE. Thanks so much for stopping by today, and have a marvelous day!
Filed Under: simon says stamp Tagged With: double stenciling, fanfare stencil, handlettered greetings, ink blending, layered perky flower, out of this world, pawsitively saturated ink, scalloped rectangle stencil, sympathy card

Simon Says Stamp Out Of This World Blog Hop-Day 1!

June 23, 2023

This post was sponsored by Simon Says Stamp. Thanks, Simon!

Hi friends! Today, my friends at Simon Says Stamp are celebrating the release of their new Out Of This World collection with a two-day blog hop! You should have arrived here from Cheiron Brandon, and your next stop is Miriam Prantner. You can also start back at the beginning at the Simon Says Stamp Blog. There’s something for everyone in this release, and of course, I am in love with the floral products, especially since I illustrated a new background stamp for this month’s release: Dogwood Bleeding Heart! I have two projects to share with you today, so let’s get started with the details!

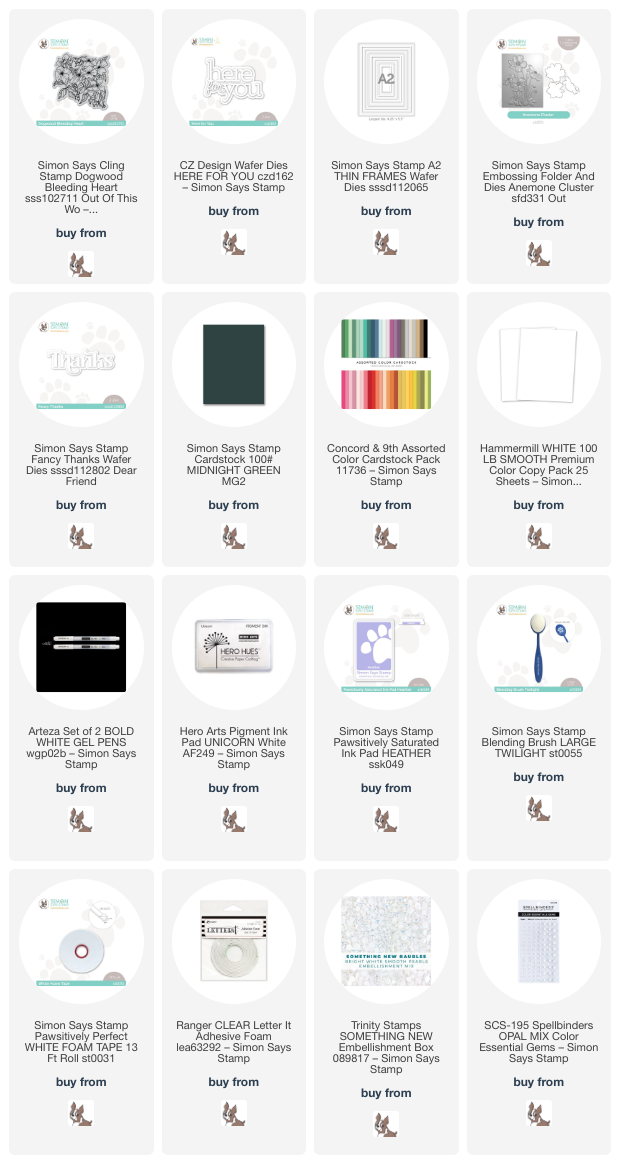
I shared a Copic project using my new Dogwood Bleeding Heart design in THIS blog post, and in my quest to color it with all of the mediums, I decided to pull out my Caran D’Ache colored pencils and do some no-line coloring on colored cardstock. When working with colored pencils and colored cardstock, I like to stamp the image first using white pigment ink. I find that this white ink blends more seamlessly into the colored pencil coloring. I stamped the Dogwood Bleeding Heart on some Briar Rose cardstock from Concord & 9th with white pigment ink, orienting the image so that it was gracefully dripping down the top and right sides of the A2 card front.

Depending on the colored cardstock that I’ve selected, I occasionally will add a layer of white pencil before adding the colored pencil. This helps the colors blend a bit more easily, especially if the colors are very different than my colored cardstock base. On this card, I used a white base layer for the green leaves, which allowed me to maintain those light highlights on the curves of the foliages while also making sure that I could blend the different greens seamlessly. Keeping a sharp point on my pencils is also extremely important for keeping those lines nice and crisp. As with all no-line coloring, keeping the edges between the overlapping images crisp and distinct is key for keeping the overall shape of the image, and a sharp pencil point helps tremendously to keep the edges crisp. I accented the centers of the flowers with some white gel pen, which works a treat over the top of the colored pencil work.

After I had finished coloring, I used the Here For You die from CZ Design, cutting the outline layer with some heavyweight vellum and the detail layer with Simon Says Stamp’s Midnight Green cardstock, which I thought coordinated beautifully with the deep greens in the foliage! I also die cut a small rectangular frame using some white glitter cardstock and the A2 Thin Frames dies from Simon Says Stamp. This super thin frame highlights the sentiment die cut without overpowering the colored image behind it. I adhered the greeting with some clear dimensional adhesive, then added a few iridescent white pearls to fill in some of the blank spaces around the greeting.

My second card features my newest obsession: alcohol marker coloring on 3D embossed images. I shared a post HERE earlier this month, and it inspired me to use the same technique on this new Anemone Cluster Embossing Folder! I ran a full size A2 panel of Hammermill paper through my machine using the Anemone Cluster Embossing Folder, then cut the three dies that are included with the folder from another piece of cardstock. I placed the die cuts directly over the coordinating spot on the folder, then ran that through my die cutting machine.

Once I had completed all of the embossing and cutting for the flowers, I used my Copic markers to add vibrant coral and green to the embossed images. Between the detailed coloring and the extra tangible texture and dimension from the embossing, these colored flowers are so lifelike! Once I had finished coloring, I lightly blended some Pawsitively Saturated Heather ink around the edges of the card base, creating a halo around the colorful flowers and creating a subtle “sky” background. I popped up the colored die cuts in the proper spot on the embossed background using foam adhesive.

Once I had completed the floral embossed background, I die cut the beautiful Fancy Thanks die three times from Hammermill cardstock, layering them together with liquid adhesive to create a dimensional die cut greeting. The final touch was to add a few Opal gems to add some sparkle!

Well, that’s all for my projects today! Now for some fun giveaway information:

Each stop on the hop will give away a $25 coupon to Simon Says Stamp. The winners will be drawn from the comment sections of each blog, so be sure to leave a comment on each stop on the hop for maximum chances to win! Winners will be posted on the Simon Says Stamp blog on Wednesday the 28th of June. The winners can email Simon Says Stamp to claim his/her prize

Simon Says Stamp is also running a free gift with purchase to celebrate the new Out Of This World release. Simply search tsck81180 in the search bar, add the product to your cart, and add code GALAXY at checkout to receive the free Distress Crayons with your order! This gift with purchase will expire 6/25 at 11:59 pm EDT

Here’s the full hop list in case you get lost:

Simon Says Stamp Blog   

Caly Person

Cathy Zielske

Jennifer McGuire

Debby Hughes

Barbara Tarayao

Amy Rysavy

Keisha Charles

Anna-Karin Evaldsson

Heather Ruwe

Cheiron Brandon

Emily Midgett

Miriam Prantner

Kulbir Kirkland

Natasha Vacca

Jessica Vasher

Thanks so much for stopping by today, and happy hopping!

Filed Under: original illustrations, simon says stamp Tagged With: anemone cluster, caran d'ache, colored pencil, copic coloring, embossing folder, luminance pencils, no line coloring, out of this world

Primary Sidebar

  • Facebook
  • Instagram
  • Pinterest
  • YouTube

Favorite Shops

Secondary Sidebar

Subscribe

Enter your email address to subscribe to this blog and receive notifications of new posts by email.

Instagram
Something is wrong.
Instagram token error.
Follow
Load More

Archives

Tags

3D embossing folder alcohol markers better press birthday birthday card blog hop card kit christmas christmas card christmas tag colored pencil copic copic coloring Daniel Smith die cutting embossing folder embroidery felt giveaway holiday holiday card hot foil ink blending karin brushmarker pro layered stencil masculine my monthly hero new release no line coloring no line watercolor OLO marker olo markers original illustration pawsitively saturated rainbow shaker card slimline stamping stamptember stencil thank you thinking of you valentine's day video watercolor

Popular Posts

Simon Says Stamp Joy For You Blog Hop- Day 1!
Simon Says Stamp Joy For You Release-Now Available!
Frozen Fractals All Around with New Simon Says Stamp Joy For You Release!
Shaped Holiday Shaker Card with New Simon Says Stamp Jolly Season Card Kit of the Month!
Holiday Postage with New Simon Says Stamp!
Simon Says Stamp Glory to the Newborn King Holiday Kit-Part II!
Pinkfresh Studio 5th Birthday!
Altenew Build A Flower: Fuchsia Blog Hop+Giveway!
Holiday Joy in Pink and Green with New Simon Says Stamp DieCember!
Honey Bee Stamps September Release Blog Hop!

Disclosure

Some affiliate links are used in my posts. This means that, should you click on one of my links and purchase something from that company, I will receive a small portion of the sale at no extra cost to you. I use the money earned from these sales to help maintain my blog. I so appreciate you visiting and, if you do choose to use one of my affiliate links, thank you so much for your support!
Copyright © 2026 ·Brunch Pro Theme · Genesis Framework by StudioPress · WordPress · Log in
Loading Comments...