• Skip to main content
  • Skip to primary sidebar
  • Skip to secondary sidebar

Sixth Street Sundries

Emily Midgett

  • Home
  • About Me
  • Contact
  • OLO Marker Color Swatch Chart
  • Shop

pawsitively saturated inks

Sparkling Christmas Shaker with New Simon Says Stamp!

November 10, 2025

This post was sponsored by Simon Says Stamp. Thanks, Simon!

Hi friends! Have you finished hopping along with the Simon Says Stamp And Everything Nice Blog Hop? (You can click HERE to start at Day 1 and HERE to start at Day 2 if you missed it!) These blog hops are filled with page after page of inspiration, plus prizes and freebies, so you don’t want to miss out! I am back today with another project, this time featuring the gorgeous new Ink Trio 36 that was released during the And Everything Nice release ((click HERE to see the entire release!). These inks are such a perfect gradient and look absolutely gorgeous blended as an ombré background that I couldn’t resist creating a pretty shaker card and allowing the blended background to be one of the main focal points. Let’s get started with the details!

*I have gathered links to all of the products used at the bottom of the post for your convenience, using affiliate links at no extra cost to you. Thank you for shopping with my links! I truly appreciate your support for my work!*

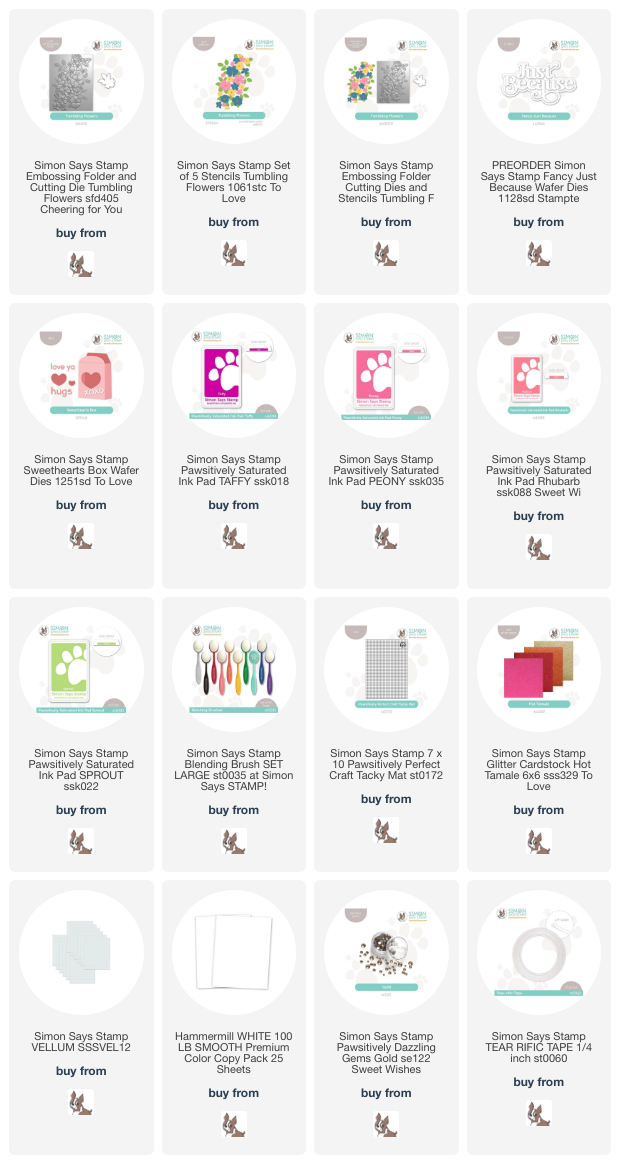
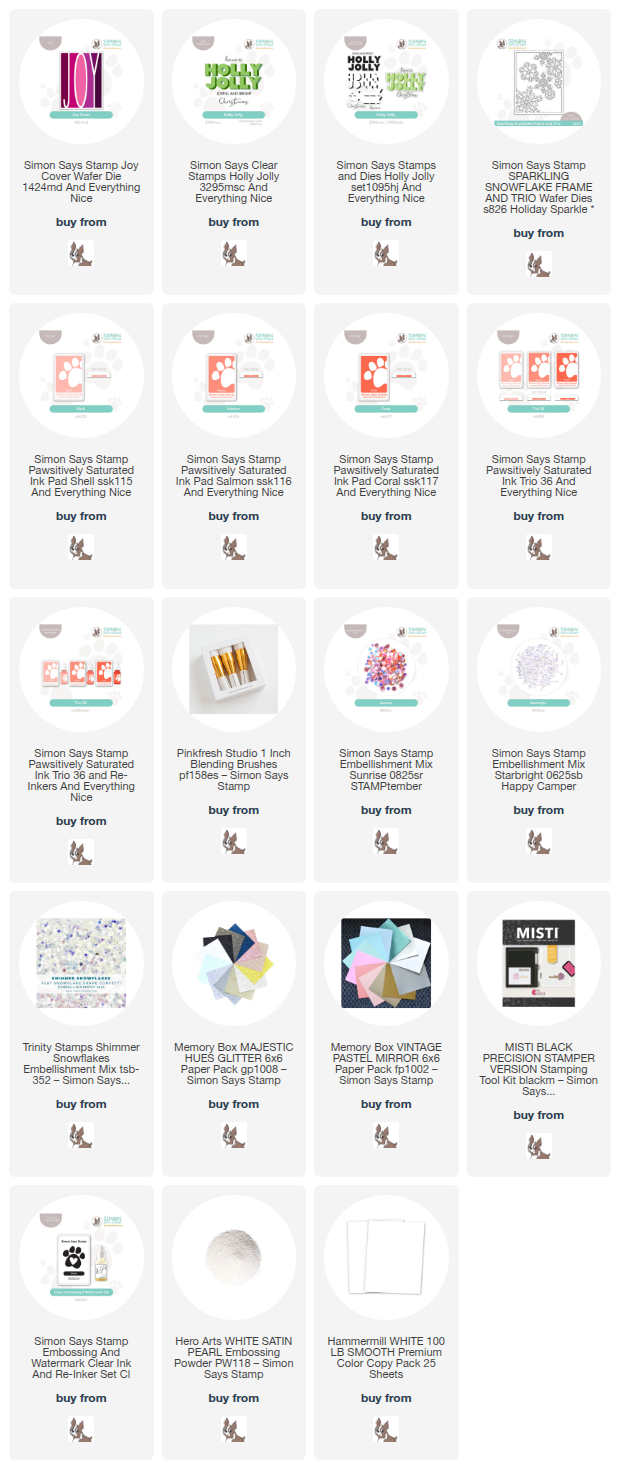
To begin my shaker card, I used blending brushes to blend the new Pawsitively Saturated Ink Trio 36 in shades of Shell, Salmon, and Coral in a gradient on a white A2 card front. I used Pinkfresh Studio 1″ Blending Brushes to get a super duper smooth, seamless transition from one color to the other and I am overjoyed at how beautifully it came out! Once I had finished blending, I splattered the background with some iridescent glitter watercolors, then used some leftover acetate packaging to create a flat shaker pocket around my blended, splattered background. I filled the pocket with Sunrise Embellishments and Starbright Embellishments, pulling in the peachy colors of the background as well as adding some snowy elements with the shimmering iridescent Starbright sequins and tiny snowflake sequins. These flat shakers are such fun to make and put good use to that leftover stamp packaging that we all have in abundance!

After I had completed my shaker background, I die cut the new Joy Cover from some iridescent white mirror cardstock. This cover die is slightly smaller than A2, so it leaves a bit of a frame around the edges. I nestled it up in the top left corner, offsetting it slightly so that I had plenty of room for my die cut snowflakes! I cut some individual snowflakes using the Sparkling Snowflake Frame & Trio and white glitter cardstock, which I adhered directly over the Joy Cover die cut in a cascade.

To enhance the greeting a bit, I used one of the sentiments from the new Holly Jolly stamp set, stamping it first with Coral ink, then again with embossing ink with the help of my trusty MISTI, adding White Satin Pearl embossing powder to create a pearlescent coral greeting! I die cut the scripty sentiments and used my trimmer to create a sentiment strip. I popped the sentiments up, nestling them amongst the snowflakes and placing them directly over the Joy Cover die cut. Finally, I added a smattering of Opal Pawsitively Dazzling Gems to add even more shimmer and sparkle!

Well, that’s all for my project today! I enjoy making these flat shaker cards so much. The sequins swish around so beautifully, creating magical sparkle behind your main focal point! So festive and fun! Thanks so much for stopping by today, and have a marvelous day!
Filed Under: simon says stamp Tagged With: christmas card, die cutting, flat shaker, holiday card, ink blending, joy cover, pawsitively saturated inks, shaker card

Fuchsia Flowers for Valentine’s Day with Simon Says Stamp!

January 15, 2025

This post was sponsored by Simon Says Stamp. Thanks, Simon!

Hi friends! Is it bitterly cold where you are located? We’ve had almost two solid weeks of exceptionally cold and snowy weather, which is very unusual for our area in southern Illinois anymore. When I was a kid, we used to experience truly winter weather throughout the winter, frequently with snow (maybe not much, but still enough to count!) on Christmas. These days, though, it’s more likely to be in the 40’s and 50’s for most of the winter season, and it makes me somewhat sad. I love bundling into our warm house when it’s cold outside, and bonus… the colder the temps, the more bugs die! Ha! (I am not outdoorsy and bugs are my nemesis when I am outside.) For today’s post, I thought I would brighten things up with some vibrant pink projects using the gorgeous Tumbling Flowers embossing folder and coordinating stencil set from Simon Says Stamp. Let’s get started with the details!

*I have gathered links to all of the products used at the bottom of the post for your convenience, using affiliate links. Thank you for shopping with my links! I truly appreciate your support for my work!*

Out of the huge array of luscious colors in the Simon Says Stamp Pawsitively Saturated Ink line, I find myself constantly reaching for Taffy ink. It’s cool, vibrant pink works splendidly with so many different color palettes, blended lightly or more intensely, swiped or stamped. I decided to make Taffy ink the focus for my color palette today to add some vibrant color into these dreary winter days!

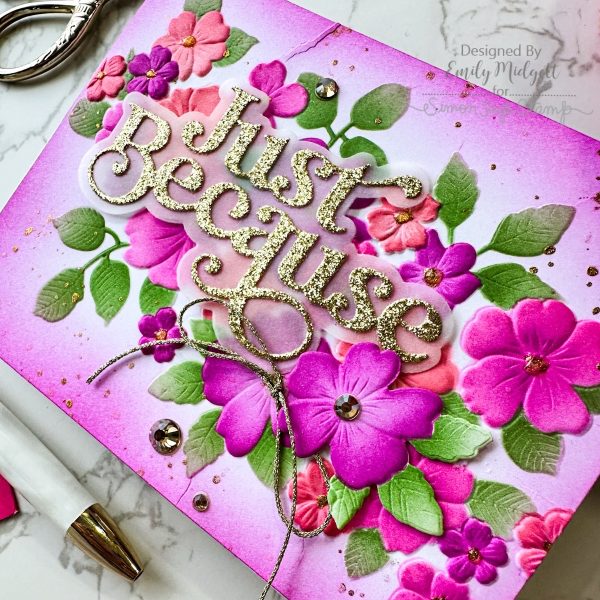
To start my card, I ran an A2 sized panel of white cardstock through my die cutting machine using the Tumbling Flowers Embossing Folder. I then placed my embossed panel on a Pawsitively Perfect Craft Tacky Mat and used blending brushes and the coordinating Tumbling Flowers Stencils to blend Taffy, Peony, Rhubarb, and Sprout Pawsitively Saturated Inks on the gorgeous cluster of blooms. The combination of layering stencils and fantastic dimension on the embossed panel creates such a uniquely textured, dimensional project! After blending the flower images, I used residual Taffy ink left on the blending brush to blend around the edges of the card front and splattered some gold glitter watercolors around the edges, as well.

For the greeting, I die cut the detail layer of the Fancy Just Because die using gold glitter cardstock from the new Hot Tamale Glitter cardstock and the shadow layer from Simon Says Stamp’s Vellum. I adhered the two layers together using liquid adhesive, then adhered the sparkling sentiment to the card front using thin strips of foam adhesive squares. I added a die cut and stenciled flower next to the sentiment die cuts, created using the coordinating die from the Tumbling Flowers product suite. I tucked a shimmering gold bow next to the standalone flower and added some Gold Pawsitively Dazzling Gems to the flower centers for some added sparkle!

I wanted to create a coordinating gift box to hold a gift card, some candy, or a small gift, so I used white cardstock to die cut the new Sweethearts Box and adhered everything together using the super strong Tear-rifically Tacky Tape, which works perfectly for 3-dimensional objects like the Sweethearts Box. I trimmed off some 3/8″ strips of glitter cardstock from the orange, pink, and gold Hot Tamale Glitter cardstock pack and adhered them at an angle on the front of the gift box.

After I had created the box, I die cut the XOXO included with the Sweethearts Box die set from some magenta foil cardstock. I adhered it at an angle on the strips of glitter cardstock, then arranged a few die cut and stenciled flowers created with the Tumbling Flowers Embossing Folder and stencil suite. I popped the flowers up with some foam adhesive and added a Valentine’s greeting heat embossed in gold on white cardstock. Such a vibrant and pretty little gift box, with a bit of a unique color palette to keep things fresh and modern!

Well, that’s all for my projects today. I love injecting some vibrant color into these long and gray January days by playing with vivid inks and sparkling cardstocks. Thanks so much for stopping by today, and have a marvelous day!
Filed Under: simon says stamp Tagged With: die cutting, embossing folders, fancy just because, gift box, ink blending, layered stencils, pawsitively saturated inks, sweethearts box, tumbling flowers

Soft Serve for Summertime with Simon Says Stamp + SALE!

June 1, 2024

This post was sponsored by Simon Says Stamp. Thanks, Simon!

Hi friends! It’s June 1, my kiddos are all out of school, and the pool is calling our name! My kiddos love to go to the pool on Fridays (their treat for giving me time to work during the week), and when we are there we almost invariably take a swim break for an ice cream cone from the concession stand. I was inspired by these snack breaks to create a summery card using an older-but-still-fabulous die set that I had not yet used: Soft Serve Cone. It is a layering die set, and I am a huge fan of using multiples of the same image to create a focal point on my card front, particularly if the finished image is not terribly large and leaves quite a bit of space around it. I pulled out some sunset cardstock colors from my stash, matched them with some Pawsitively Saturated Inks, and went to town to create this super fun birthday shaker card! Let’s get started with the details.

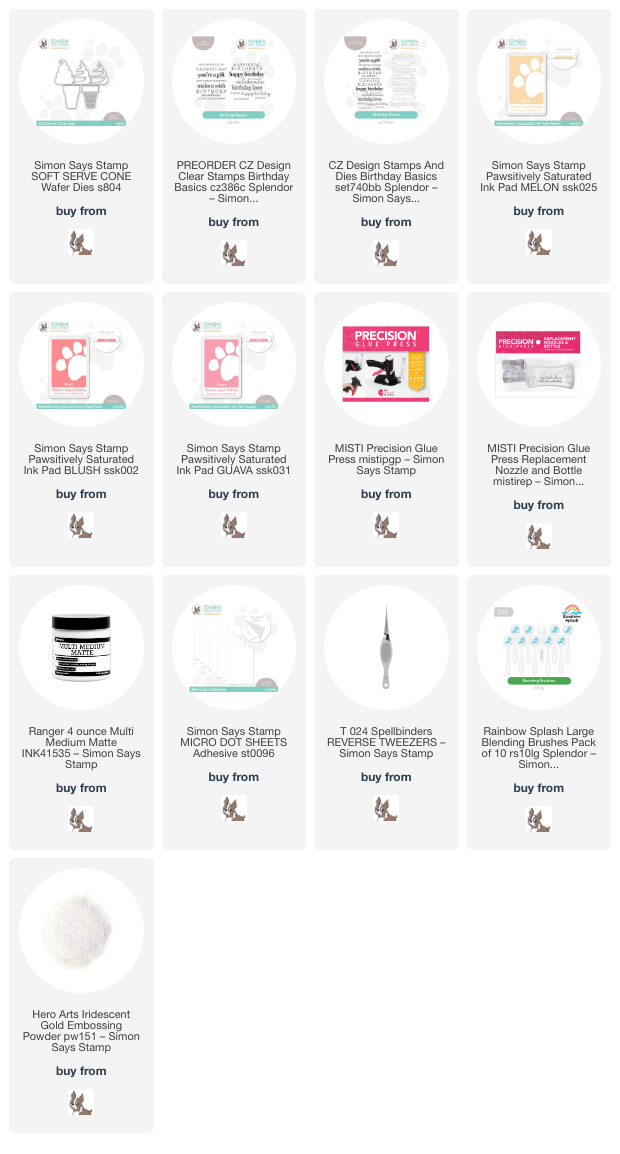
To start, I selected my cardstock colors, working in a sunset-inspired gradient for my main images, as well as selecting three strengths of the each shade to create the shadows and highlights for my images. I adhered all of the different layers for three cones from the Soft Serve Cone die set together using the MISTI Precision Glue Press, the bottle of which I filled with Multi-Medium Matte. The needle nose point on these glue bottles offers the ability to glue incredibly fine die cuts while the Multi-Medium Matte glue dries clear and matte, so almost invisible. Even better is that the lid of these bottles comes with the needle attached to it, so that I never have to worry about clogging! The Precision Glue Press is out of stock at the moment (you can always sign up for emails to be notified when it’s restocked), but the replacement bottles are available and they are a total game changer. I have multiple bottles containing multiple types of glue, which I employ for a variety of uses.

While we are on the subject of adhesive, I also find the Micro Dot Adhesive Sheets from Simon Says Stamp to be so useful when adhering super delicate die cuts, like the cross hatch die cuts on the base of the ice cream cones. You don’t have to worry about globs of glue spilling out, because no matter how fine a point your glue bottle has, you can’t avoid glue globs when dealing with die cuts this delicate!

After I had finished assembling my rainbow of ice cream cones, I used blending brushes to blend Pawsitively Saturated Inks in shades of Melon, Blush, Guava on my slightly-smaller-than-A2 white background. I wanted to create a tone-on-tone halo around my ice cream cones, and so selected ink colors that perfectly matched my cardstock colors. After I had finished blending, I splattered the background with some super sparkly glitter watercolors, then used some leftover stamp packaging to create a flat shaker card. I filled the pocket with a sequins mix that I’ve had in my stash for a very long time just waiting for the perfect project!

For the greeting, I stamped the simple “happy birthday” sentiment from Birthday Basics using Blush ink, then stamped directly over the top with embossing ink, then added some Iridescent Gold embossing powder to add beautiful shimmer to my sentiment. I die cut the greeting with it’s coordinating die, then arranged the ice cream cones on top of my shaker card front, adhering them with foam adhesive squares. I added the sentiment over the top with another layer of foam squares for even more height and dimension.

Well, that’s all for my project today! To kick off summertime, Simon Says Stamp is offering a fabulous sale:

Simply add code CRFTXL at checkout to take 15% off of your total order, now through 6/2 at 11:59 pm. Click HERE to shop all things new at Simon!

Thanks so much for stopping by today, and have a marvelous day!

Filed Under: simon says stamp Tagged With: birthday basics, birthday card, flat shaker, pawsitively saturated inks, shaker card, soft serve cone

Primary Sidebar

  • Facebook
  • Instagram
  • Pinterest
  • YouTube

Favorite Shops

Secondary Sidebar

Subscribe

Enter your email address to subscribe to this blog and receive notifications of new posts by email.

Instagram
Something is wrong.
Instagram token error.
Follow
Load More

Archives

Tags

3D embossing folder alcohol markers better press birthday birthday card blog hop card kit christmas christmas card christmas tag colored pencil copic copic coloring Daniel Smith die cutting embossing folder embroidery felt giveaway holiday holiday card hot foil ink blending karin brushmarker pro layered stencil masculine my monthly hero new release no line coloring no line watercolor OLO marker olo markers original illustration pawsitively saturated rainbow shaker card slimline stamping stamptember stencil thank you thinking of you valentine's day video watercolor

Popular Posts

Simon Says Stamp Joy For You Blog Hop- Day 1!
Simon Says Stamp Joy For You Release-Now Available!
Frozen Fractals All Around with New Simon Says Stamp Joy For You Release!
Shaped Holiday Shaker Card with New Simon Says Stamp Jolly Season Card Kit of the Month!
Holiday Postage with New Simon Says Stamp!
Simon Says Stamp Glory to the Newborn King Holiday Kit-Part II!
Holiday Joy in Pink and Green with New Simon Says Stamp DieCember!
Pinkfresh Studio 5th Birthday!
Altenew Build A Flower: Fuchsia Blog Hop+Giveway!
July My Monthly Hero Blog Hop+Giveaway!

Disclosure

Some affiliate links are used in my posts. This means that, should you click on one of my links and purchase something from that company, I will receive a small portion of the sale at no extra cost to you. I use the money earned from these sales to help maintain my blog. I so appreciate you visiting and, if you do choose to use one of my affiliate links, thank you so much for your support!
Copyright © 2026 ·Brunch Pro Theme · Genesis Framework by StudioPress · WordPress · Log in
Loading Comments...