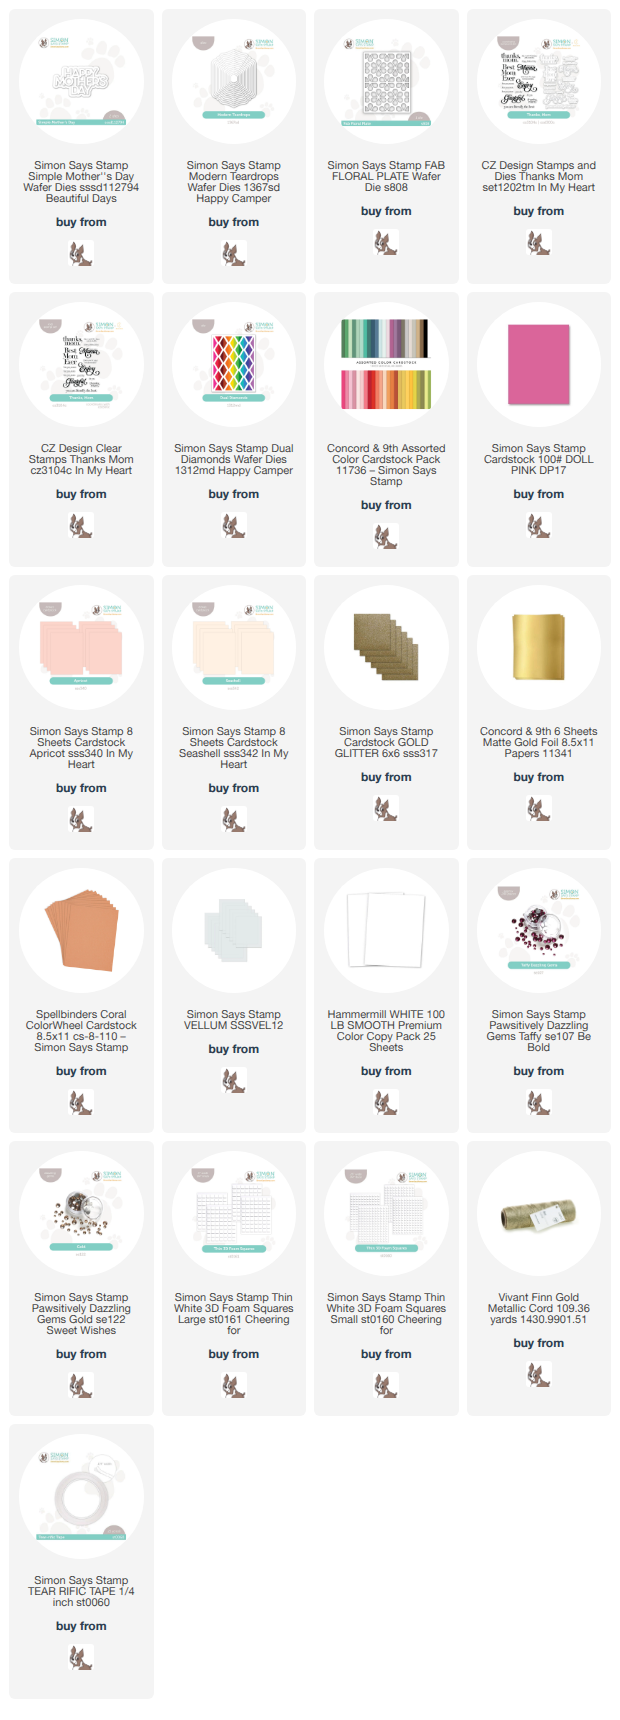
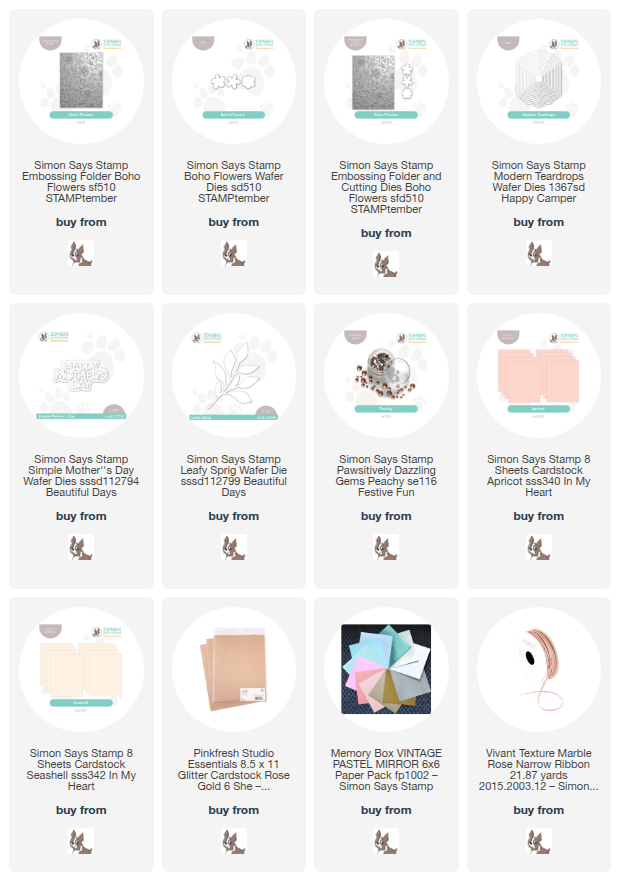
This post was sponsored by Simon Says Stamp. Thanks, Simon! *I have gathered links to all of the products used at the bottom of the post for your convenience, using affiliate links at no extra cost to you. Thank you for shopping with my links! I truly appreciate your support for my work!*
Hey friends! It’s been a hot minute since I posted…. I had the pleasure of teaching at Simon Says Stamp’s CREATE crafting event last weekend in Columbus, OH, and it was such a joyful event celebrating this hobby that we all adore! I met so many people in person that I’ve only known online, gave so many hugs, took a few pictures (thank you to those who asked for a picture with me… my kids now think I am “famous” lol!), and guided friends to create a pair of adorable cards! I was so inspired by Saturday’s card with it’s cardstock stripes peeking out from behind a cover plate die cut that I couldn’t resist putting my own spin on the project when I got home. I created two Mother’s Day cards using this fun technique, so let’s get started with the details!

Both of my cards today feature these colorful, vibrant stripes behind a crisp white cover plate die cut with solid, symmetrical openings in the negative space. This striping technique is such a fun way to use up your colorful cardstock scraps, and the color palettes are truly limitless! I selected a variety of shades of cardstock in different intensities of peach, pink, and gold, then used my guillotine trimmer to trim them in different widths. To create each panel, I used Simon Says Stamp’s Tear-Rifically Tacky Tape, which is a super strong double sided adhesive that is easy to tear off at just the right size, placing three adhesive strips vertically on my card base. I then laid my cardstock strips across the card front, interspersing the colorful strips with some blingy gold, creating a fun and colorful pattern all down the front of the card bases!

For my first card, I die cut the Fab Floral Plate from plain white cardstock and laid it directly over the top of my stripes to create a bold and colorful background with the pretty floral pattern! I used liquid glue to adhere the cover plate die cut, then placed a Gold Pawsitively Dazzling Gem in the center of each flower to add a touch of extra sparkle. For the greeting, I die cut the detail layer of the Simple Mother’s Day from gold glitter cardstock and the shadow layer from Concord and 9th’s Wildberry cardstock, layering the two together with liquid adhesive and placing it in the center of my striped card front with foam adhesive for a bit of extra height. Such a fun way to use up your paper scraps and still create a beautiful card front!

For my second card, I die cut the Dual Diamonds Cover Plate from white cardstock and again layered it over the top of the stripey card front with liquid adhesive. I placed a small Taffy Pawsitively Dazzling Gems where each diamond intersected with the next line, adding some extra shimmer and sparkle. For the greeting, I white embossed a sentiment from Thanks, Mom onto some tangerine cardstock, die cut it with it’s coordinating die, then layered it on a vellum Modern Teardrops die cut to ensure that the sentiment was visible on the busy background. I added a gold cord bow for one last touch of shine!
Well, that’s all for my cards today! Have you tried this technique before? It was such an inspiring weekend, and I am excited to share the CREATE-inspired projects that I created after my return home! Thanks so much for stopping by today, and have a marvelous day!