This post was sponsored by Simon Says Stamp. Thanks, Simon!

Hi friends! I’m hopping along with Simon Says Stamp today to share some fun inspiration using their new Be Bold Collection. You should have arrived here from Debby Hughes, and your next stop is Mindy Eggen. You can also start back at the beginning at the Simon Says Stamp Blog! My brain has switched into “flower mode,” aka all flowers… all the time. Ha! So you know that I was thrilled when I opened the new Be Bold goodies and saw tons of gorgeous flowers. I have two projects to share with you today with lots of crisp white accenting beautiful green and blue cardtock, so let’s get started with the details!

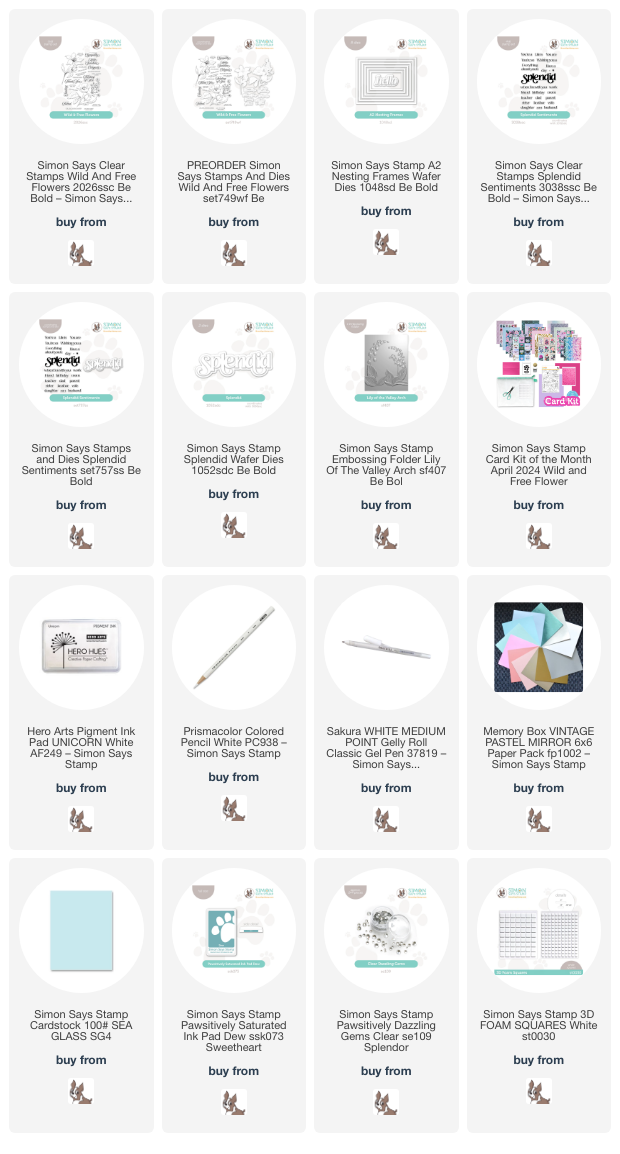
You all know that I love a pretty flower, and the delicate, open blooms in the new Wild & Free Flowers (which was released last week as part of the March Card Kit of the Month) are just so very gorgeous! I have seen lots of posts with gorgeous coloring from the Simon team, so I wanted to try something a little different for my project with this beautiful set. I follow lots of cookie and cake artists on Instagram and garner lots of inspiration from their artistry. One of the techniques that I wanted to try to apply to cardmaking is called “royal icing brush embroidery.” Basically, you lay a concentrated layer of white around the edge of your image, then use a clean brush to pull that color out and create your details and highlights. I have plans to try this with white gouache, but wanted to see if I could create a similar look using a white colored pencil, too!

To start, I stamped the large, pretty blossom from Wild & Free Flowers onto some beautiful jade green cardstock using white pigment ink. I used the same idea as the brush embroidery, concentrating the white along the outside of the image, intensifying the pressure on the white colored pencil a bit more around the edges of the petals and slackening the pressure as I neared the center of the flower. This is almost a reverse of my normal coloring technique; it allows the colored cardstock to do the work of creating the “shadows.” I am eager to try this out with white gouache, too! I used a white gel pen to add some details, like on the flower veins and stamens. I die cut the finished image with the coordinating die, which makes this detailed flower look so much cleaner and even more delicate.

For the card base, I die cut the new A2 Nesting Frames dies from some iridescent white mirror cardstock. You all know that I absolutely love a good frame die, because I think they’re the perfect accents for flowers in so many ways, and I love that these frames nestle into each other so that you can layer them as I’ve done here. I selected two different sizes, creating a double frame, and adhered them to the same jade green cardstock that I used for the flower using liquid adhesive. I popped up the flower with some foam sqaures, then added the simple “hello” sentiment from the center of the A2 Nesting Frames die set. The final touch was to add a few sparkling Clear Pawsitively Dazzling Gems. The sparkle on these glass gems is unreal, friends!

For my second card, I used the truly gorgeous new Lily of the Valley Arch Embossing Folder. I initially leaned towards coloring the flowers with alcohol markers, but I wanted to do something that was a little more versatile for people who maybe don’t love coloring like I do. I started by embossing the new Lily of the Valley Arch Embossing Folder on a panel of Sea Glass cardstock. I trimmed the panel down 1/8″ on all sides, so that I could mount it on a full size A2 panel of cardstock, creating a thin mat around the edge of the image. I used a blending brush to blend Dew Pawsitively Saturated Ink around the edges, which creates interest and also helps to enhance some of those debossed lines and bring out the beautiful details.

After ink blending around the edges, I also swiped a white pigment ink pad over the raised areas of the embossed images, helping enhance the details even more. I wanted to add some sparkle, so I added some super shimmery handmade glitter watercolor on the edges of the flowers and foliage, and you can see how beautifully sparkly the card looks at an angle in the photo below. I popped the finished background up on a full size A2 Sea Glass card front using foam squares.

For the greeting, I heat embossed a couple of sentiments from the new Splendid Sentiments stamp set onto some strips of Sea Glass cardstock with white embossing powder. I also die cut the new Splendid die from some white glitter paper and popped all of the sentiment pieces up on the glittering card front with some more foam adhesive. Finally, I added some more Clear Pawsitively Dazzling Gems for one last bit of shine and texture!
Well, that’s all for my projects today! Now for some fun giveaway information:
To celebrate the Be Bold release and blog hops, Simon Says Stamp is giving away a $25 gift certificate to one commenter from each stop on the hop. To receive the maximum entries, be sure to leave a comment on each stop on the hop on both days! Winners will be selected and posted on the Simon Says Stamp blog on March 27th.
Simon Says Stamp is also offering a fabulous coupon code for the blog hop. Simply add code GREEN at checkout to get $7 off of your purchase of $40 or more. You can find all of the details in the graphic at the top of the post!
Your next stop is Mindy Eggen. Thanks so much for stopping by today, and happy hopping!