• Skip to main content
  • Skip to primary sidebar
  • Skip to secondary sidebar

Sixth Street Sundries

Emily Midgett

  • Home
  • About Me
  • Contact
  • OLO Marker Color Swatch Chart
  • Shop

A2 Nesting Frames dies

Gingerbread Joy and Cheer with Simon Says Stamp!

October 17, 2025

This post was sponsored by Simon Says Stamp. Thanks, Simon!

Hi friends! I am back with another project featuring new goodies from the Simon Says Stamp Sugar and Spice release (which you can check out HERE). I love the whimsical look of the new gingerbread dies, and thought they would be perfect to create a whimsical patterned background with lots of texture! Let’s get started on the details for my project.

*I have gathered links to all of the products used at the bottom of the post for your convenience, using affiliate links. Thank you for shopping with my links! I truly appreciate your support for my work!*

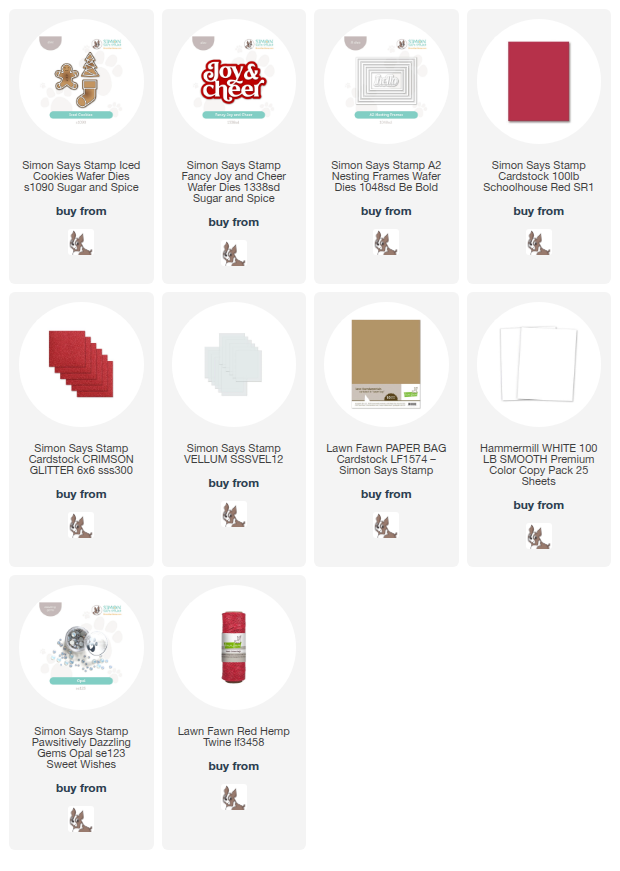
To begin, I die cut each of the new Iced Cookies dies three times from some ginger-colored cardstock as well as the detail layer from plain white cardstock, then layered them with liquid adhesive. I added some Opal Pawsitively Dazzling Gems to the buttons on the gingerbread men for an additonal touch of sparkle and texture.

Before I arranged the die cuts on my background, I added a red glitter A2 Nesting Frame die cut on my Schoolhouse Red A2 card front, creating a bit of tone-on-tone visual interest and texture for the background behind my whimsical gingerbread figures. I also die cut the new Fancy Joy & Cheer, cutting the detail layer from Crimson Glitter Cardstock and the shadow from vellum, layering the two together with liquid adhesive.

After all of my die cuts had been assembled, it was time to arrange the layout on my card. I adhered the Joy and Cheer die cut first with thin strips of foam adhesive behind the solid areas of the die cut, then began arranging the gingerbread die cuts around it. I made sure to rotate the die cuts so that the pattern looked continuous and intentional, keeping the distances between each cookie a little different for each one so that they didn’t look forcefully placed. I adhered each die cut with foam adhesive, then trimmed off any edges with sharp scissors. If there were gaps along the edge, I used these off-cuts to fill in any spaces, helping to further continue the pattern. Finally, I tucked a red twine bow beneath the sentiment die cut for added texture and a bit of festive cheer!

Well, that’s all for my project today! I am so excited for holiday crafting! Bring on all of the glitter, bows, and sparkles! Thanks so much for stopping by today, and have a marvelous day!
Filed Under: simon says stamp Tagged With: A2 Nesting Frames dies, christmas card, die cutting, fancy joy and cheer, gingerbread, holiday card

Stenciled Yellow Roses to Say Thinking of You with New Simon Says Stamp!

April 26, 2025

This post was sponsored by Simon Says Stamp. Thanks, Simon!

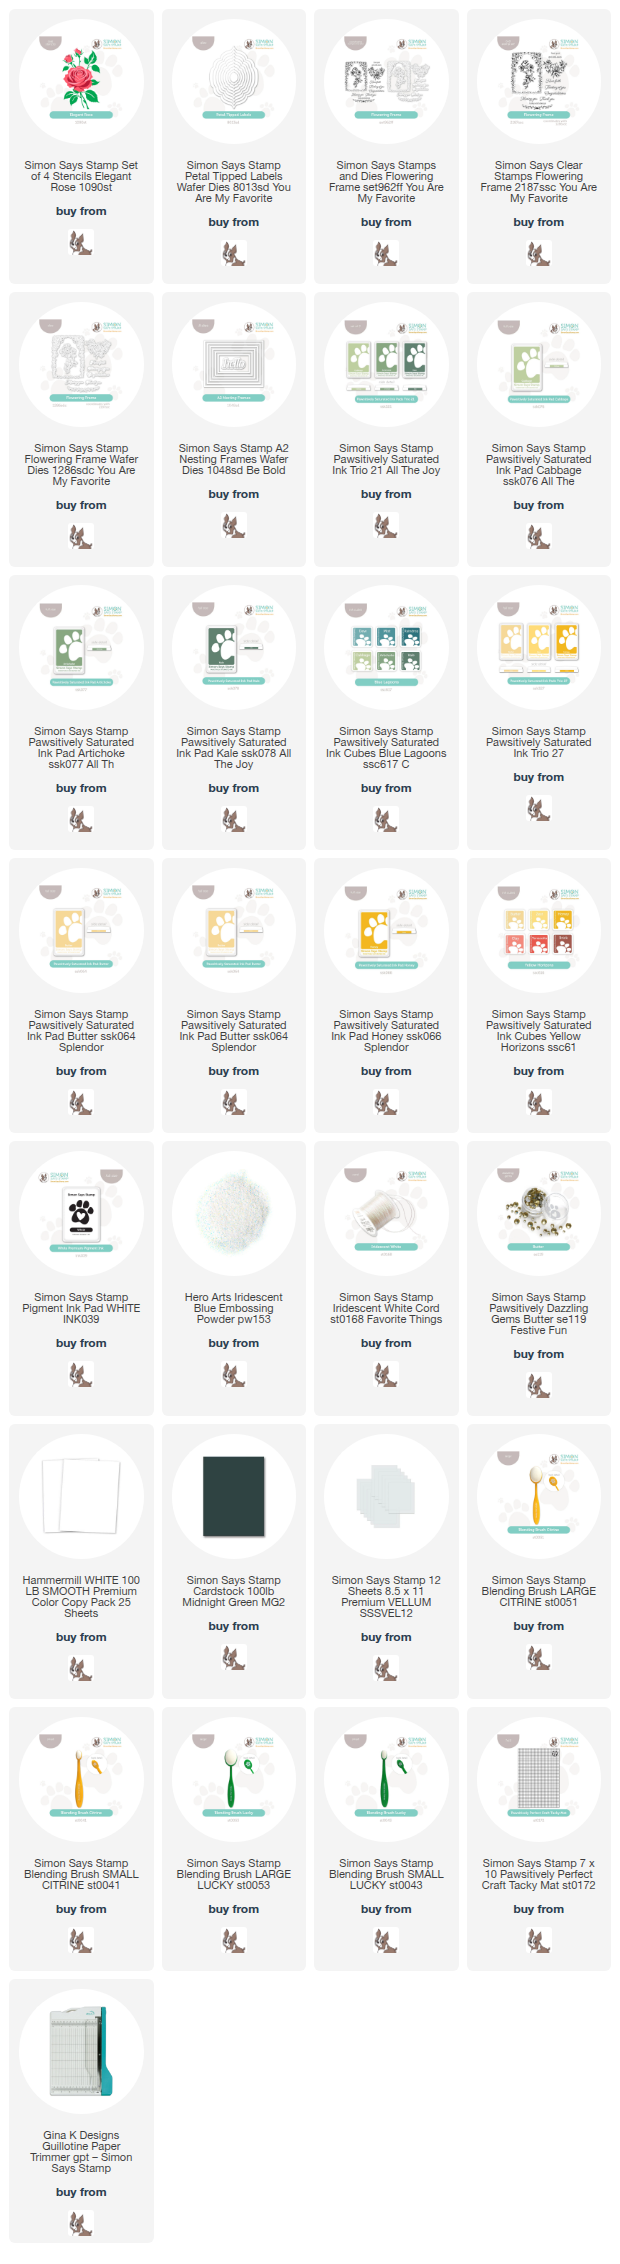
Hi friends! I am back with another project featuring some fabulous new products from the latest You Are My Favorite Release. My Papa really loved yellow roses, so as soon as I saw the gorgeous Elegant Rose Stencil, I knew that I had to create an homage to my Papa. Simon Says Stamp also offers some utterly luscious shades of yellow and green inks in their Pawsitively Saturated Ink line, so I knew that this card would come together lickety-split. Let’s get started with the details!

*I have gathered links to all of the products used at the bottom of the post for your convenience, using affiliate links. Thank you for shopping with my links! I truly appreciate your support for my work!*

To begin, I used the Pawsitively Perfect Craft Tacky Mat to hold my white cardstock panel securely in place, then blended each layer of the Elegant Rose Stencil using the inks from Pawsitively Saturated Inks: Cabbage, Kale, Artichoke (Trio 21) and Butter, Zest, Honey (Trio 27). These muted shades of green and yellow worked superbly with the gorgeous rose image. The layers of this Elegant Rose Stencil were super simple to line up, as well as providing plenty of space to do some more intricate ink blending on the leaves to create color variation and interest! After I had finished blending the gorgeous rose, I used blending brushes to blend Butter, Kale, and Artichoke inks around the edge of the card front, creating a stunning halo around the rose.

After creating the card base, I wanted to add some fun shimmering accents to the card front to make it ethereal and almost like the rose was in a fairy garden. I used some shimmering handmade watercolor paint to splatter the edges of the card front, then die cut a pearlescent yellow/pale gold frame using the A2 Nesting Frames dies and adhered it around the edges of the card front with liquid adhesive.

For the greeting, I used one of the exquisite sentiment options from the equally-exquisite Flowering Frame set. This set features not only a variety of poignant and purposeful sentiments, but also some gorgeous floral images. I heat embossed the “thinking of you” onto some Midnight Green cardstock using white pigment ink and Iridescent Blue embossing powder, then die cut the sentiment with its coordinating dies. I also die cut one of the new Petal Tipped Labels from some Simon Says Stamp Vellum, trimming off the edge with my guillotine trimmer so that the label nestled flush against the frame. I popped up the greeting die cut with foam adhesive on the vellum label, then flipped both pieces over and added some liquid adhesive behind the solid die cut sentiment. I adhered the vellum label to the card front, then added a few more shimmering accents with some Butter Pawsitively Dazzling Gems and a bow created with Simon Says Stamp Iridescent White Cord.

Well, that’s all for my project today! Don’t forget: the Simon Says Stamp You Are My Favorite Blog Hop is in full swing. You can check out my blog hop post HERE, and then check out the incredible inspiration from Day 2 HERE on the Simon Says Stamp Blog! Oodles of inspiration and fabulous prizes, as well as a marvelous freebie, are up for grabs. Thanks so much for stopping by today, and have a marvelous day!

Filed Under: simon says stamp Tagged With: A2 Nesting Frames dies, die cutting, Elegant Rose stencils, flowering frame, petal tipped labels, rose, sympathy card, thinking of you

On the Farm with New Simon Says Stamp!

March 26, 2025

This post was sponsored by Simon Says Stamp. Thanks, Simon!

Hi friends! I have some sweet little critters to share with you today using the adorable new Farm Life stamp set from the new Rain or Shine release from Simon Says Stamp! My friend Alberto Gava illustrated this set (along with his many other darling sets, and I always try to push myself outside of my comfort zone to play with his products. My brain gets a little overwhelmed at the prospect of scene-building, so I have to put my thinking cap on, but I always am so happy with the results. Let’s get started with the details on my project!

*I have gathered links to all of the products used at the bottom of the post for your convenience, using affiliate links. Thank you for shopping with my links! I truly appreciate your support for my work!*

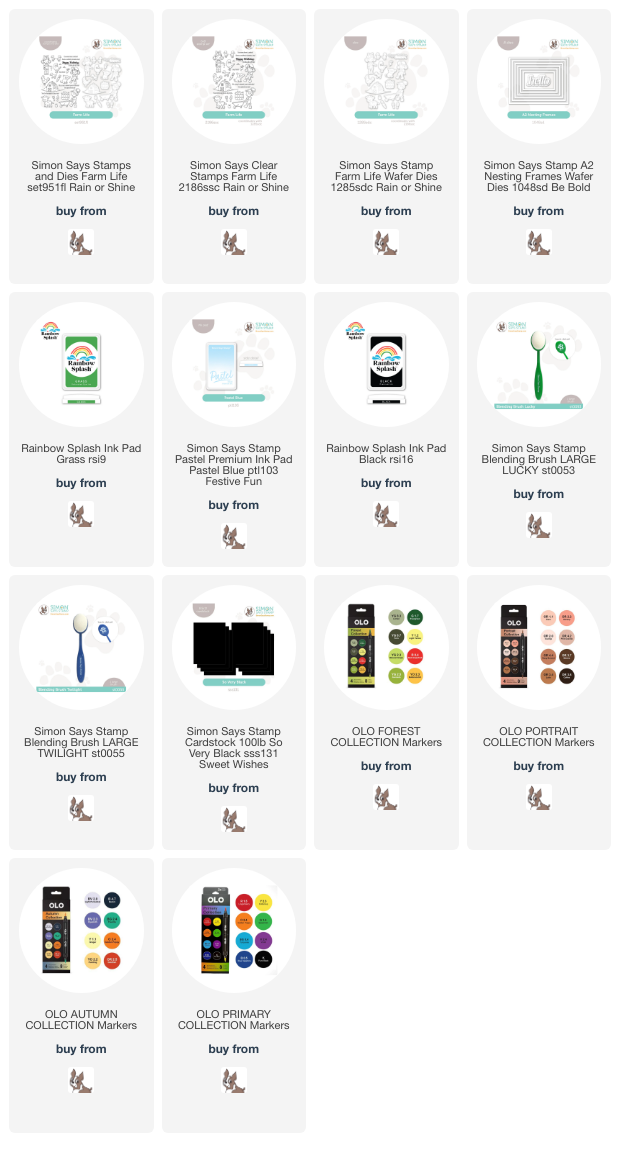
To begin, I stamped several images from Farm Life onto some white cardstock using alcohol marker-friendly black ink, then stamped the barn image on a white A2 card front. I used OLO Markers to add lots of vivid color to the little farm girl and her critters, keeping the colors fairly simple and in the primary color palette. Once I had finished coloring all of the individual images, I used the coordinating dies to cut everything out.

For the barn background, I added color to the barn, bush, and hill with OLO Markers, then used blending brushes to blend Rainbow Splash Grass Ink and Pastel Pigment Blue Ink for grass and sky. I wanted to keep the blending simple and suggestive, creating a simple background for the the vibrant critters. After I had finished blending, I added a thin black frame cut using Simon Says Stamp So Very Black cardstock and the A2 Rectangle Frames, which encloses my scene and makes the canvas a little smaller, and thus more manageable for my scene-building.

I arranged the critters and their girl on the card front, adhering them with liquid and foam adhesive squares, then stamped a sentiment with Nocturne black pigment ink, adding clear embossing powder to make the sentiment super crisp. I popped up the sentiment with foam adhesive squares, as well. I contemplated some sparkles, but thought that the scene was busy enough without any additional elements!

Well, that’s all for my project today! I always enjoy embracing a challenge, and scene-building definitely challenges me to step outside of my flowery comfort zone. I encourage you to try it, too! Thanks so much for stopping by today, and have a marvelous day!

Filed Under: simon says stamp Tagged With: A2 Nesting Frames dies, birthday card, critters, die cutting, farm, farm life, ink blending, olo markers

Color Drenched Ruby Red Holiday Cards with Simon Says Stamp!

September 21, 2024

This post was sponsored by Simon Says Stamp. Thanks, Simon!

Hi friends! I have some more color-drenched projects to share with you today featuring some new and old goodies from Simon Says Stamp. The Simon-branded STAMPtember release from the beginning of the month featured some absolutely beautiful new 3D Embossing Folders. The amount of detail that you can achieve with Simon’s 3D embossing folders is absolutely spectacular, and I love pairing them with shining foil mirror cardstock. The coating on the foil cardstock helps make the details that much crisper and more intense. I created a pair of color-drenched ruby red cards today featuring the new Poinsettia Sprays Embossing Folder and the incredibly versatile Thread Plaid embossing folder (which is currently out of stock, but you can always sign up to be notified when it is back in stock!).

Whenever I am working with a color-drenched color palette, my goal is to add as many different textures to the card front as possible. To accomplish this, I went to my cardstock stash and pulled several different types of red cardstock: Crimson glitter cardstock, Schoolhouse Red cardstock, and luxurious Firestone Red mirror cardstock from Tonic. The combination of these three unique cardstocks layered together creates multiple elements of texture, the contrast of which helps keep the differentiation between the different layers.

For my first project, I die cut a large Nested Domed Arches die cut using the Firestone Red mirror cardstock, then ran it through my die cutting machine using the new Poinsettia Sprays Embossing Folder, embossing some gorgeous pattern and texture into the shining cardstock. I also die cut some Nested Domed Arches Frames from Crimson glitter cardstock and layered a glittery frame that was slightly smaller than the embossed mirror panel. The combination of the two different textures in the same vibrant red is so elegant!

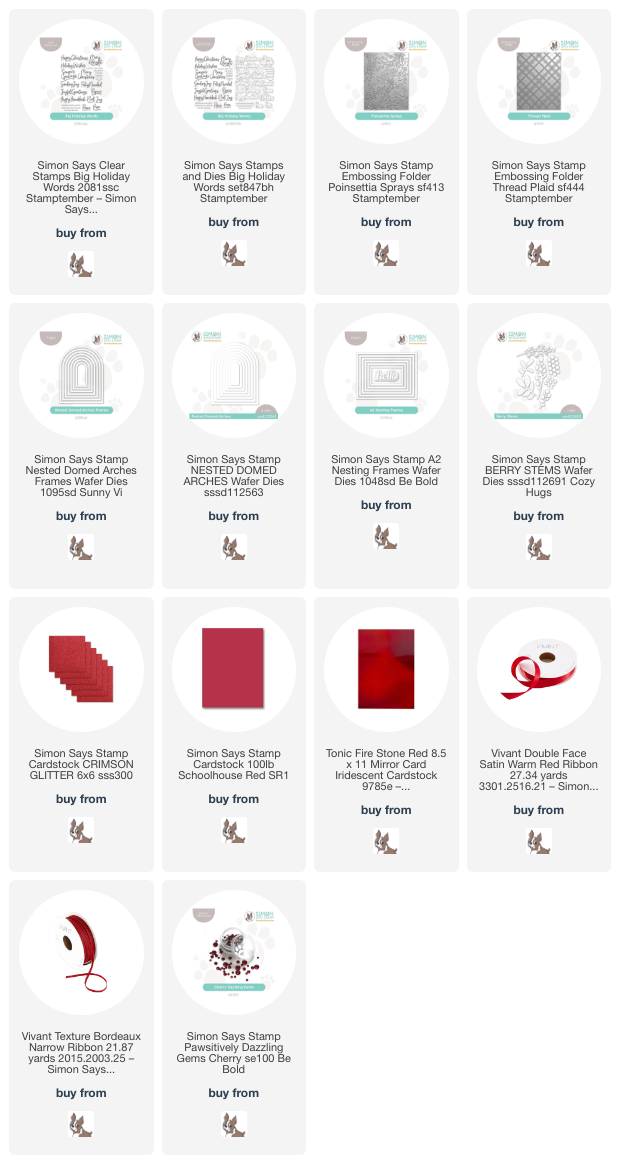
I love the generously-sized sentiments in the new Big Holiday Words stamp and die set, so I decided to use that as my focal point for the card by embossing the “joyful greetings” sentiment onto some Schoolhouse Red cardstock with white embossing powder so that it would pop from the red background beautifully! The botanical embossed background lent itself beautifully to some foliage die cuts, so I accented the sentiment with some Berry Stems dies, cut from more Lipstick Red cardstock and accented with Cherry Pawsitively Dazzling Gems. I popped up the sentiment die cut with some foam adhesive and tucked the berry sprigs behind it, accenting everything with a festive bow tied using Vivant Bordeaux Narrow Ribbon. So festive and intense!

For my second project, I used the same Firestone Red mirror cardstock to emboss the Thread Plaid embossing folder, creating lovely, festive texture with the coated mirror cardstock. I repeated the framed theme by die cutting the A2 Nesting Frames dies from more Crimson glitter cardstock, adhering a slightly smaller frame to the embossed mirror panel.

I wanted to put several of the sentiments from Big Holiday Words to use, so I heat embossed “joy, hope, peace” and “sending love & light” onto more Schoolhouse Red cardstock using white embossing powder and die cut them with the coordinating dies. I arranged them from smallest to largest, creating a Christmas tree shape and accenting the images with Cherry Pawsitively Dazzling Gems for added sparkle. Finally, I created a “tree topper” with a fluffy bow tied with Vivant Warm Red Satin Ribbon. These Vivant ribbons are so luxurious!

Well, that’s all for my projects today! I am obsessed with color drenching these days. There’s something so luxurious and elegant about these monochromatic projects, especially for Christmas. I encourage you to give it a try! Thanks so much for stopping by today, and have a marvelous day!
Filed Under: simon says stamp Tagged With: 3D embossing folder, A2 Nesting Frames dies, berry stems, big holiday words, christmas card, color drenched, die cutting, embossing folder, holiday card, nested domed arches, thread plaid

Rainbow Two-fer with Simon Says Stamp Sunny Vibes!

June 24, 2024

This post was sponsored by Simon Says Stamp. Thanks, Simon!

Hi friends! I have some super colorful and fun projects to share with you today using the brand new, extra-large Happy Rainbow stencil set from the Sunny Vibes release and a ton of gorgeous Pawsitively Saturated Inks from Simon Says Stamp! This rainbow stencil is a whopping 6″ x 9″, of which I took full advantage to create both a card and matching bookmark. Let’s get started with the details on my projects!

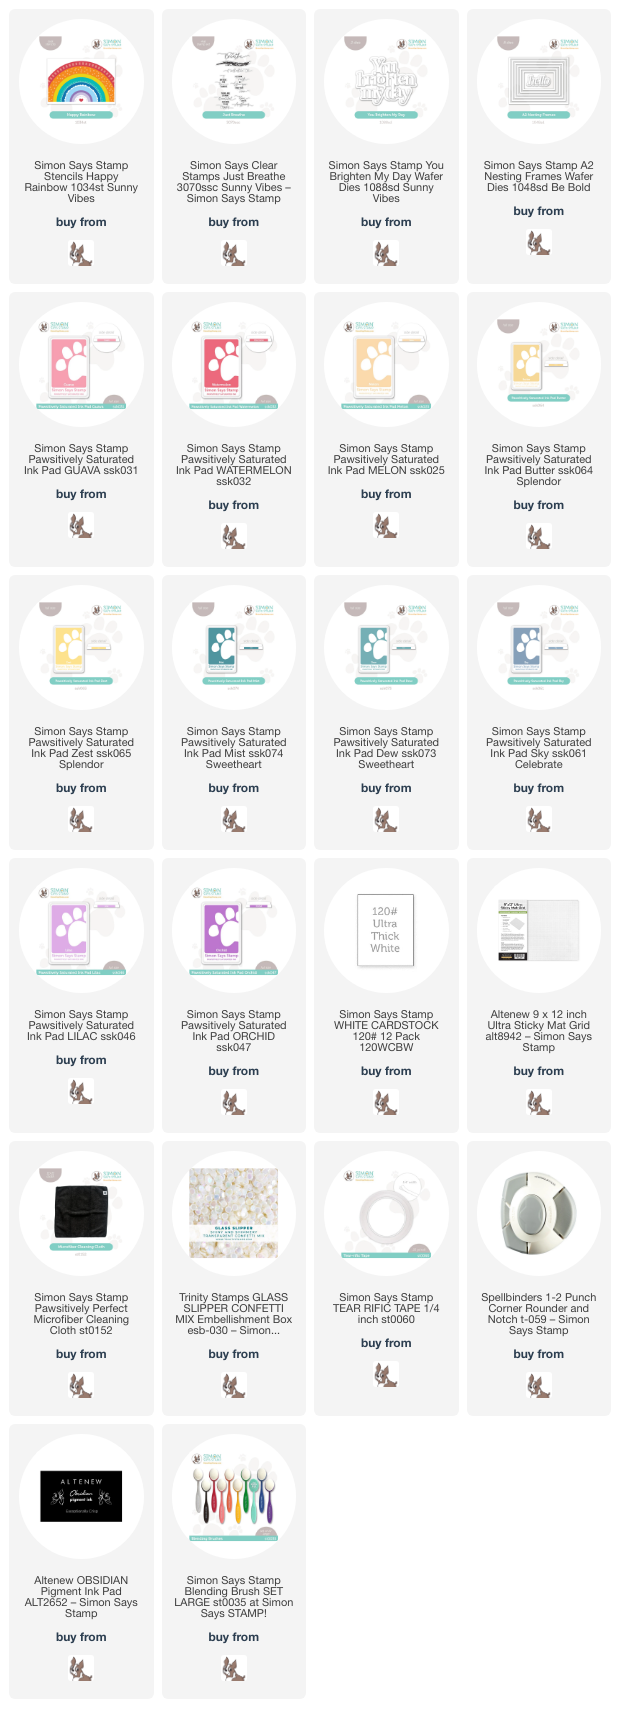
To create both of my projects, I started with a 5.5″ x 8.5″ panel of white cardstock, which is half of a full sheet of white cardstock. I used the Altenew 9×12 Ultra Sticky Mat, adhering first my panel of white cardstock, then placing each of the four stencils from the Happy Rainbow stencil set over the top. Because they are 4″ x 9″, the stencils each are slightly wider than the width of the cardstock panel, so they adhere to the sticky mat very nicely and remain in place while blending. I used blending brushes to blend Pawsitively Saturated Inks in shades of Guava, Watermelon, Melon, Butter, Zest, Mist, Dew, Sky, Lilac, and Orchid for the sweet rainbow image. Each of the first three stencils has only the solid stripes, spaced plenty far apart so that you can easily blend without worrying about colors transferring. I did wipe down my stencils between each color with the new, super economical Microfiber Cleaning Cloth because I got a bit wild with my blending. The back of the stencil packaging comes with a very handy color printed image of the finished product so that you know what colors to blend where!

After I had finished blending this large image, I used my trimmer to cut the entire piece in half, saving one half for this shaker card and using the other half for my bookmark! I wanted to create something fun and cheerful, and what’s more fun than a shaker card? I used some leftover stamp packaging to create my shaker front, filling it with some pretty iridescent sequins from Trinity Stamps.

For the greeting, I wanted something simple and cheerful, and the whimsical font and sweet message from the new You Brighten My Day die from the Sunny Vibes release was absolutely perfect! I die cut it once from regular cardstock and once from some glittery white cardstock, adhering the two pieces together with liquid adhesive. I also die cut an iridescent white foil frame using the A2 Nesting Frames die, which I used to draw the eye towards the greeting. I adhered both die cut pieces to the front of the shaker, creating a simple and fairly easily mailed card sure to cheer up even the grumpiest curmudgeon!

Because I had an entire A2 rainbow panel left over, I decided to create a sturdy bookmark using some Simon Says Stamp Ultra Thick White Cardstock and the Just Breathe stamp set. I cut the A2 panel in half, as well as a piece of the Ultra Thick White Cardstock in the exact same size, then adhered the two pieces together using Tear-rific Tape and used my corner rounder tool to round the edges. I stamped a greeting from Just Breathe onto the bottom of the bookmark using Obsidian Black pigment ink and added clear embossing powder to make the encouraging sentiment pop on the colorful background. I punched a hole in top of the bookmark and added a sparkling silver twine loop.

Well, that’s all for my projects today! This Happy Rainbow stencil set is super fun and would be really great for so many different occasions, or even as decor for maybe a little girl’s nursery or bedroom! Thanks so much for stopping by today, and have a marvelous day!

Filed Under: simon says stamp Tagged With: A2 Nesting Frames dies, flat shaker, happy rainbow, just breathe, layered stencil, pawsitively saturated ink, rainbow, shaker card, you brighten my day

  • Page 1
  • Page 2
  • Page 3
  • Go to Next Page »

Primary Sidebar

  • Facebook
  • Instagram
  • Pinterest
  • YouTube

Favorite Shops

Secondary Sidebar

Subscribe

Enter your email address to subscribe to this blog and receive notifications of new posts by email.

Instagram
Something is wrong.
Instagram token error.
Follow
Load More

Archives

Tags

3D embossing folder alcohol markers better press birthday birthday card blog hop card kit christmas christmas card christmas tag colored pencil copic copic coloring Daniel Smith die cutting embossing folder embroidery felt giveaway holiday holiday card hot foil ink blending karin brushmarker pro layered stencil masculine my monthly hero new release no line coloring no line watercolor OLO marker olo markers original illustration pawsitively saturated rainbow shaker card slimline stamping stamptember stencil thank you thinking of you valentine's day video watercolor

Popular Posts

Simon Says Stamp Sending Cheer Blog Hop- Day 2 + Freebie + Giveaway!
Altenew October 2026 Release Blog Hop + Giveaway!
Rustic Monochromatic Stars for Christmas with Rainbow Splash!
Waffleflower July Release Blog Hop!
Hero Arts Partners Blog Hop: Lawn Fawn!
March 2020 Essentials By Ellen Blog Hop+Giveaway!
December 2018 My Monthly Hero Blog Hop + Giveaway!
The Ton Stamps Summer Release: Day 1
The Ton Anniversary Release: Day 1!
Altenew Paint A Flower: Carnation Blog Hop+Giveaway!

Disclosure

Some affiliate links are used in my posts. This means that, should you click on one of my links and purchase something from that company, I will receive a small portion of the sale at no extra cost to you. I use the money earned from these sales to help maintain my blog. I so appreciate you visiting and, if you do choose to use one of my affiliate links, thank you so much for your support!
Copyright © 2026 ·Brunch Pro Theme · Genesis Framework by StudioPress · WordPress · Log in
Loading Comments...