• Skip to main content
  • Skip to primary sidebar
  • Skip to secondary sidebar

Sixth Street Sundries

Emily Midgett

  • Home
  • About Me
  • Contact
  • OLO Marker Color Swatch Chart
  • Shop

flowering frame

Valentine Banner and Card with Clean Distressing Using Simon Says Stamp!

February 10, 2026


This post was sponsored by Simon Says Stamp. Thanks, Simon! *I have gathered links to all of the products used at the bottom of the post for your convenience, using affiliate links at no extra cost to you. Thank you for shopping with my links! I truly appreciate your support for my work!*

Hi friends! It’s the week of Valentine’s Day, and I have some love-ly inspiration to share with you for some last minute valentine crafting! The Heart to Heart Release  from Simon Says Stamp (click HERE to check out the entire release!) featured some lovely new basic nesting dies in a few different heart shapes, including the new Basic Hearts. I mentioned last week that I’ve been reorganizing my stamp bins, and as an added bonus I am reminded of stamp sets that need some extra attention or that can be paired with new goodies for a totally new look. For today’s projects, I created a banner that I can switch out for upcoming holidays as well as a matching card. Let’s get started with the details!

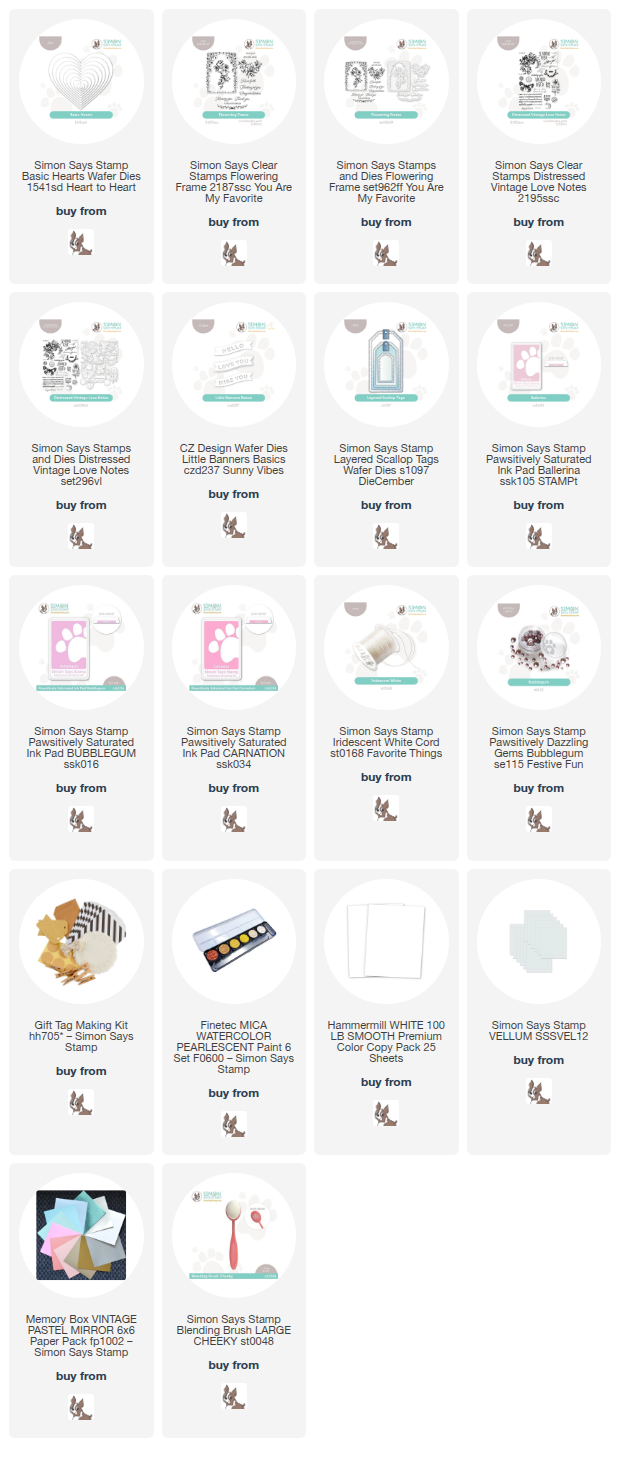
In addition to the Basic Hearts die set, I pulled out the Vintage Love Notes and Flowering Frame stamp sets, which both feature a beautiful vintage aesthetic. The Flowering Frame ste has a beautiful floral heart image that I thought would look lovely layered on top of a plain heart die cut. I selected some Pawsitively Saturated Inks in shades of Ballerina, Bubblegum, and Carnation to keep things positively pink, perfect for Valentine’s Day!

To begin, I die cut five plain white heart die cuts using the Basic Hearts die set. I do not pretend to be very good at the “distressed” aesthetic, preferring instead clean backgrounds with symmetrical layouts, but I thought I would try my hand at some “clean distressing” for this banner. I used blending brushes to blend the Ballerina, Bubblegum, and Carnation inks around the edges of the hearts, then used the same inks to create a collage background with lots of images from the Vintage Love Notes set, placing them in unique spots on each heart and stamping some off on scratch paper to get a more subtle tone-on-tone effect. I think it’s such a simple and fun way to add lovely subtle texture to a solid background or die cut! Once I had finished stamping each die cut, I placed all of the die cuts in my splatter box and splattered them with some metallic pearl watercolors for even more distressed texture.

To create the hangers from which the hearts could hang on the banner, I die cut the tabs from the Layered Scallop Tags, cutting two for each heart. I adhered them on the front and back of each heart using liquid adhesive, then clipped a tiny clothespin to each tab. I threaded some Simon Says Stamp Iridescent Cord through the metal spring on the clothespins, knotting the cord on either side of the spring to keep the clothespin in place. I looped and knotted the ends of the Iridescent Cord to make for easy hanging on a mantel or staircase! And the best part is that the clothespins make it easy to remove the hearts and replace them with other seasonally-appropriate shapes. How about shamrocks for St. Patricks’ Day? Eggs for Easter? Flowers for springtime? Leaves for autumn? The possibilities are endless!

I created a matching card using similar “clean distressing” technique. I began by blending some Bubblegum ink lightly on the center of a plain white A2 card front. I then used the same images that I used from the Vintage Love Notes to create the distressed tone-on-tone collage on the card front. I stamped the Ballerina and Bubblegum inks full strength, stamping a few images using Carnation ink, stamped off once to keep the intensity from overwhelming the rest of the pale pink images. Once I had finished stamping all of the images in the background, I used the mica watercolors to splatter some sparkles on the background!

For the focal point, I stamped the pretty floral heart from Flowering Frame using Bubblegum ink onto some more white cardstock and die cut it with the super intricate coordinating die. I die cut a vellum heart from the Basic Hearts set and mounted the intricate floral heart in the center using thin foam adhesive squares. I flipped the heart over and added some more thin foam adhesive squares on the back, hiding them behind the solid die cut, then mounted it on the distressed card front, allowing some of the heart to hang off of the side. I trimmed the overhang with my sharp scissors, then turned my attention to the greeting. I die cut the solid backer piece of the Little Banners Basics from plain white cardstock, then used a blending brush to blend Carnation ink on the banner. I die cut the detail layer from some iridescent white mirror cardstock, then adhered the two pieces together with liquid adhesive. I popped the sentiment up using more foam adhesive, tucking it next to the heart die cuts. I nestled an Iridescent Cord bow under the sentiment, then added a few Bubblegum Pawsitively Dazzling Gems to add some more sparkle!

Well, that’s all for my projects today! Do you decorate for Valentine’s Day? I have great intentions each year of decorating for each holiday, but somehow it always gets pushed to the back burner. This interchangeable banner might make things a little easier! (Maybe?) Thanks so much for stopping by today, and have a marvelous day!
Filed Under: simon says stamp Tagged With: banner, basic hearts, die cutting, distressed vintage love notes, flowering frame, ink blending, layered scallop tags, little banners basics, valentine, valentines day

Simon Says Stamp Pawsitively Saturated Blog Hop + SALE!

May 16, 2025

This post was sponsored by Simon Says Stamp. Thanks, Simon!

Hi friends! I am hopping along with my friends at Simon Says Stamp to share a most wonderful rainbow of happiness! You should have arrived here from Amy Rysavy, and your next stop is Bibi Cameron. You can also start back at the beginning at the Simon Says Stamp Blog in case you get lost! Today, we are celebrating all things ink! The exclusive Simon Says Stamp ink line, which includes the fabulous Pawsitively Saturated and Rainbow Splash ink lines are absolutely exquisite with such a gorgeous array of colors available… and they’re so dang juicy… simply luscious! Using colorful ink to make white cardstock into any color that I can dream up is one of my favorite things. To inspire you today, I have created a pair of projects with two different techniques, both featuring a gorgeous, vibrant sapphire and emerald color palette. Let’s get started with the details!

*I have gathered links to all of the products used at the bottom of the post for your convenience, using affiliate links. Thank you for shopping with my links! I truly appreciate your support for my work!*

Because this is a blog hop celebrating all things inky, I first pulled out my ink colors. I decided to pair Aegean ink with Cadette and Royal inks. These analogous colors work very nicely together if applied carefully. I love my monochromatic projects, but in the name of creativity, I decided to push myself to add another vibrant jewel tone into the mix.

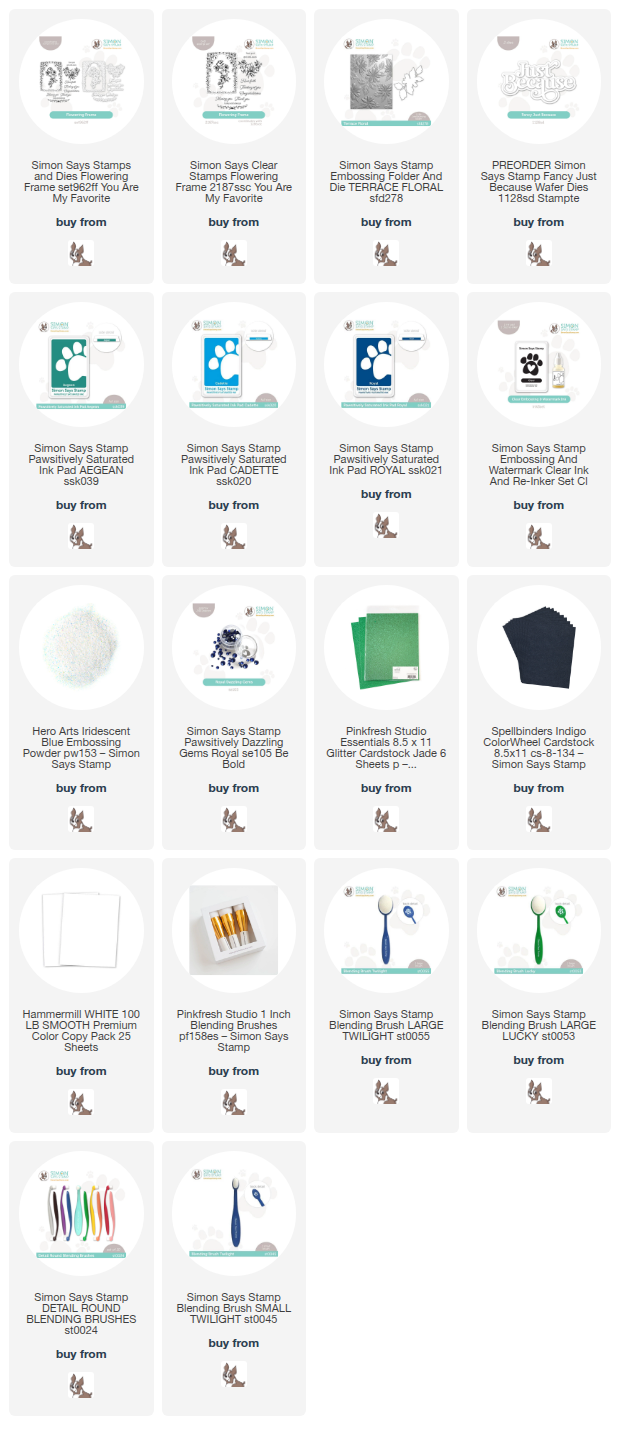
For my first project, I decided to do some ink resist, highlighting the beautiful contrast between the blue and green inks. I stamped images from the Flowering Frame stamp set onto white cardstock using Aegean ink, then stamped again directly over the top with embossing ink and added Iridescent Blue embossing powder. This translucent embossing powder not only makes it possible to ink blend over the top of the images without compromising the beautiful teal green, but also adds an irresistible iridescent shimmer to these detailed images. I then used blending brushes to blend Cadette and Royal inks directly over the top of the images, concentrating the deep Royal blue on the outer edges of the panel to create almost an ombré effect.

After I had ink blended and die cut the images, I used the same Cadette and Royal inks on a plain A2 card front to create a color saturated tone-on-tone card front. I popped up the die cut images with foam adhesive, then used the same techniques to create a “thinking of you” sentiment from the Flowering Frame stamp set. I popped the sentiment up on some Jade glitter cardstock from Pinkfresh Studio, then used my sharp scissors to create a shadow layer. This added texture and sparkle from the Jade glitter cardstock allows the sentiment to stand out a bit more from the vibrant background. Finally, I added a few Royal Pawsitively Dazzling Gems to the corners and top of the frame for even more sparkle.

For my second card, I decided to use the same shades of ink in different gradations of intensity on an embossing folder. To achieve multiple shades of the same ink color, I paired ink blending with some ink swiping to create this pretty patterned card front. To start, I embossed a panel of white cardstock with the Terrace Floral embossing folder, then flipped the embossed piece over so that the embossed pattern was actually debossed; that is, the pattern is impressed down into the cardstock. I then used blending brushes to blend Cadette ink on the flowers and Aegean on the foliage, not worrying about the edges of the images, because I knew that the raised areas (that is, the negative space on the pattern) would be covered with the deep blue Royal ink. After I had finished lightly blending the images, I placed my ink pad directly on the cardstock and swiped the deep blue ink onto the raised areas. This swiping technique is so much fun and creates such a huge impact with not a ton of effort!

After I had finished creating the background, I die cut the shadow layer of the Fancy Just Because from some coordinating navy blue cardstock and the detail layer from Pinkfresh Studio Jade Glitter Cardstock. I adhered both layers together with liquid adhesive, then popped it up in the center of my patterned panel with foam adhesive squares. Finally, I added some large Royal Pawsitively Dazzling Gems to the centers of the flowers for a bit of added sparkle and texture!

Well, that’s all for my projects today. Isn’t it amazing what a little ink and white cardstock can create? These techniques are such fun and create those intensely colorful projects that I just love.

**To make this inky hop even more exciting, Simon Says Stamp is offering 20% off of their entire exclusive Simon Says Stamp -branded ink line until 5/18/25! Simply use code HUE4U at checkout to receive 20% off your Simon-branded inks and re-inkers!**

Your next stop is Bibi Cameron. Thanks so much for stopping by today, and happy hopping!

Filed Under: simon says stamp Tagged With: 3D embossing folder, analogous, emboss resist, embossing folder, fancy just because, flowering frame, ink blending, ink swiping, pawsitively saturated ink, terrace floral

Stenciled Yellow Roses to Say Thinking of You with New Simon Says Stamp!

April 26, 2025

This post was sponsored by Simon Says Stamp. Thanks, Simon!

Hi friends! I am back with another project featuring some fabulous new products from the latest You Are My Favorite Release. My Papa really loved yellow roses, so as soon as I saw the gorgeous Elegant Rose Stencil, I knew that I had to create an homage to my Papa. Simon Says Stamp also offers some utterly luscious shades of yellow and green inks in their Pawsitively Saturated Ink line, so I knew that this card would come together lickety-split. Let’s get started with the details!

*I have gathered links to all of the products used at the bottom of the post for your convenience, using affiliate links. Thank you for shopping with my links! I truly appreciate your support for my work!*

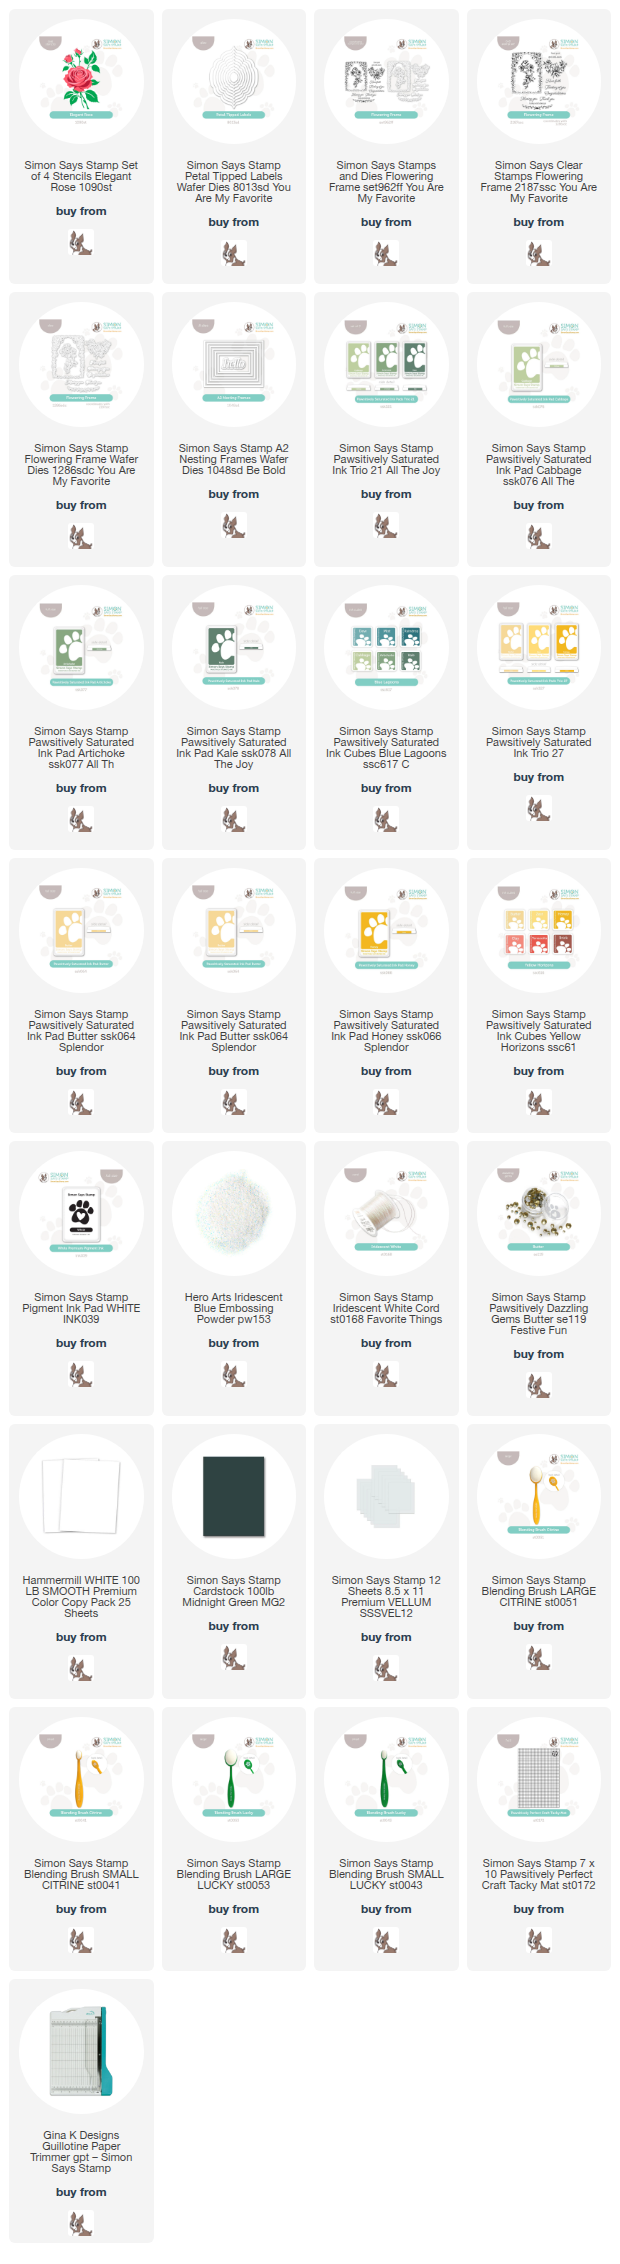
To begin, I used the Pawsitively Perfect Craft Tacky Mat to hold my white cardstock panel securely in place, then blended each layer of the Elegant Rose Stencil using the inks from Pawsitively Saturated Inks: Cabbage, Kale, Artichoke (Trio 21) and Butter, Zest, Honey (Trio 27). These muted shades of green and yellow worked superbly with the gorgeous rose image. The layers of this Elegant Rose Stencil were super simple to line up, as well as providing plenty of space to do some more intricate ink blending on the leaves to create color variation and interest! After I had finished blending the gorgeous rose, I used blending brushes to blend Butter, Kale, and Artichoke inks around the edge of the card front, creating a stunning halo around the rose.

After creating the card base, I wanted to add some fun shimmering accents to the card front to make it ethereal and almost like the rose was in a fairy garden. I used some shimmering handmade watercolor paint to splatter the edges of the card front, then die cut a pearlescent yellow/pale gold frame using the A2 Nesting Frames dies and adhered it around the edges of the card front with liquid adhesive.

For the greeting, I used one of the exquisite sentiment options from the equally-exquisite Flowering Frame set. This set features not only a variety of poignant and purposeful sentiments, but also some gorgeous floral images. I heat embossed the “thinking of you” onto some Midnight Green cardstock using white pigment ink and Iridescent Blue embossing powder, then die cut the sentiment with its coordinating dies. I also die cut one of the new Petal Tipped Labels from some Simon Says Stamp Vellum, trimming off the edge with my guillotine trimmer so that the label nestled flush against the frame. I popped up the greeting die cut with foam adhesive on the vellum label, then flipped both pieces over and added some liquid adhesive behind the solid die cut sentiment. I adhered the vellum label to the card front, then added a few more shimmering accents with some Butter Pawsitively Dazzling Gems and a bow created with Simon Says Stamp Iridescent White Cord.

Well, that’s all for my project today! Don’t forget: the Simon Says Stamp You Are My Favorite Blog Hop is in full swing. You can check out my blog hop post HERE, and then check out the incredible inspiration from Day 2 HERE on the Simon Says Stamp Blog! Oodles of inspiration and fabulous prizes, as well as a marvelous freebie, are up for grabs. Thanks so much for stopping by today, and have a marvelous day!

Filed Under: simon says stamp Tagged With: A2 Nesting Frames dies, die cutting, Elegant Rose stencils, flowering frame, petal tipped labels, rose, sympathy card, thinking of you

Primary Sidebar

  • Facebook
  • Instagram
  • Pinterest
  • YouTube

Favorite Shops

Secondary Sidebar

Subscribe

Enter your email address to subscribe to this blog and receive notifications of new posts by email.

Instagram
Something is wrong.
Instagram token error.
Follow
Load More

Archives

Tags

3D embossing folder alcohol markers better press birthday birthday card blog hop card kit christmas christmas card christmas tag colored pencil copic copic coloring Daniel Smith die cutting embossing folder embroidery felt giveaway holiday holiday card hot foil ink blending karin brushmarker pro layered stencil masculine my monthly hero new release no line coloring no line watercolor OLO marker olo markers original illustration pawsitively saturated rainbow shaker card slimline stamping stamptember stencil thank you thinking of you valentine's day video watercolor

Popular Posts

Simon Says Stamp Joy For You Blog Hop- Day 1!
Simon Says Stamp Joy For You Release-Now Available!
Frozen Fractals All Around with New Simon Says Stamp Joy For You Release!
Shaped Holiday Shaker Card with New Simon Says Stamp Jolly Season Card Kit of the Month!
Holiday Postage with New Simon Says Stamp!
Simon Says Stamp Glory to the Newborn King Holiday Kit-Part II!
Pinkfresh Studio 5th Birthday!
Altenew Build A Flower: Fuchsia Blog Hop+Giveway!
Holiday Joy in Pink and Green with New Simon Says Stamp DieCember!
Honey Bee Stamps September Release Blog Hop!

Disclosure

Some affiliate links are used in my posts. This means that, should you click on one of my links and purchase something from that company, I will receive a small portion of the sale at no extra cost to you. I use the money earned from these sales to help maintain my blog. I so appreciate you visiting and, if you do choose to use one of my affiliate links, thank you so much for your support!
Copyright © 2026 ·Brunch Pro Theme · Genesis Framework by StudioPress · WordPress · Log in
Loading Comments...