• Skip to main content
  • Skip to primary sidebar
  • Skip to secondary sidebar

Sixth Street Sundries

Emily Midgett

  • Home
  • About Me
  • Contact
  • OLO Marker Color Swatch Chart
  • Shop

banner

Valentine Banner and Card with Clean Distressing Using Simon Says Stamp!

February 10, 2026


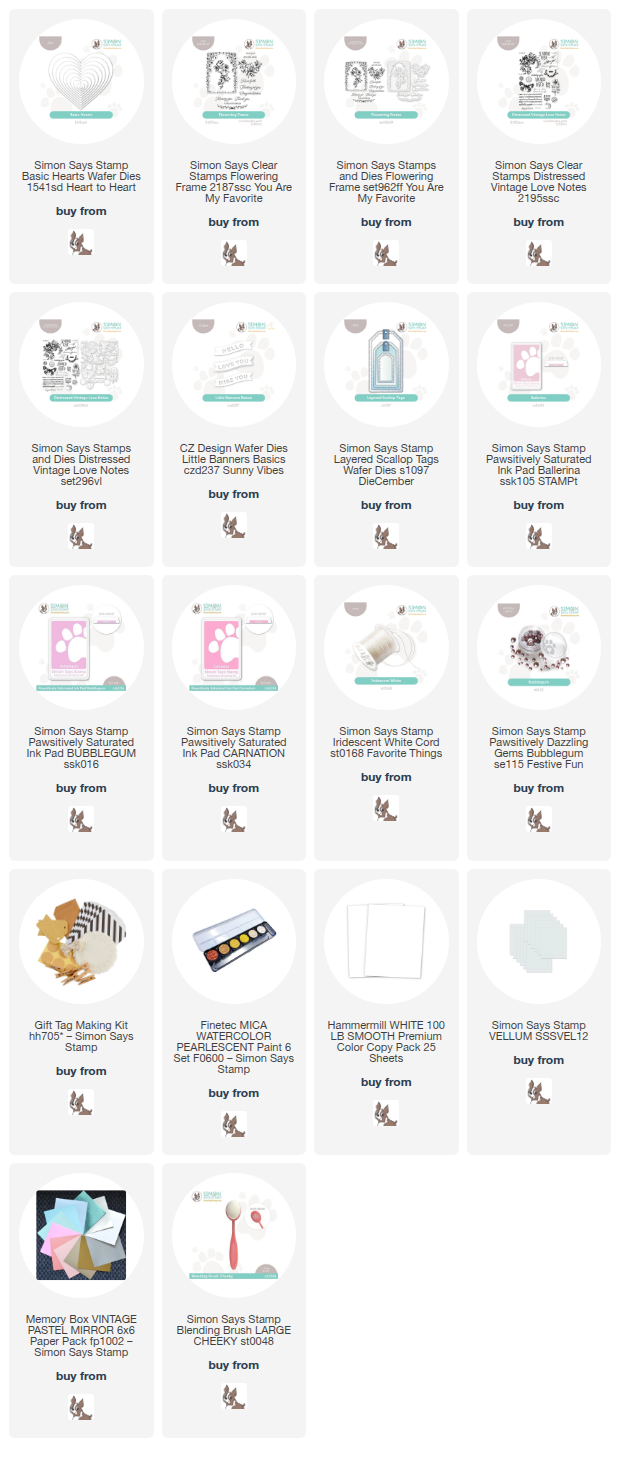
This post was sponsored by Simon Says Stamp. Thanks, Simon! *I have gathered links to all of the products used at the bottom of the post for your convenience, using affiliate links at no extra cost to you. Thank you for shopping with my links! I truly appreciate your support for my work!*

Hi friends! It’s the week of Valentine’s Day, and I have some love-ly inspiration to share with you for some last minute valentine crafting! The Heart to Heart Release  from Simon Says Stamp (click HERE to check out the entire release!) featured some lovely new basic nesting dies in a few different heart shapes, including the new Basic Hearts. I mentioned last week that I’ve been reorganizing my stamp bins, and as an added bonus I am reminded of stamp sets that need some extra attention or that can be paired with new goodies for a totally new look. For today’s projects, I created a banner that I can switch out for upcoming holidays as well as a matching card. Let’s get started with the details!

In addition to the Basic Hearts die set, I pulled out the Vintage Love Notes and Flowering Frame stamp sets, which both feature a beautiful vintage aesthetic. The Flowering Frame ste has a beautiful floral heart image that I thought would look lovely layered on top of a plain heart die cut. I selected some Pawsitively Saturated Inks in shades of Ballerina, Bubblegum, and Carnation to keep things positively pink, perfect for Valentine’s Day!

To begin, I die cut five plain white heart die cuts using the Basic Hearts die set. I do not pretend to be very good at the “distressed” aesthetic, preferring instead clean backgrounds with symmetrical layouts, but I thought I would try my hand at some “clean distressing” for this banner. I used blending brushes to blend the Ballerina, Bubblegum, and Carnation inks around the edges of the hearts, then used the same inks to create a collage background with lots of images from the Vintage Love Notes set, placing them in unique spots on each heart and stamping some off on scratch paper to get a more subtle tone-on-tone effect. I think it’s such a simple and fun way to add lovely subtle texture to a solid background or die cut! Once I had finished stamping each die cut, I placed all of the die cuts in my splatter box and splattered them with some metallic pearl watercolors for even more distressed texture.

To create the hangers from which the hearts could hang on the banner, I die cut the tabs from the Layered Scallop Tags, cutting two for each heart. I adhered them on the front and back of each heart using liquid adhesive, then clipped a tiny clothespin to each tab. I threaded some Simon Says Stamp Iridescent Cord through the metal spring on the clothespins, knotting the cord on either side of the spring to keep the clothespin in place. I looped and knotted the ends of the Iridescent Cord to make for easy hanging on a mantel or staircase! And the best part is that the clothespins make it easy to remove the hearts and replace them with other seasonally-appropriate shapes. How about shamrocks for St. Patricks’ Day? Eggs for Easter? Flowers for springtime? Leaves for autumn? The possibilities are endless!

I created a matching card using similar “clean distressing” technique. I began by blending some Bubblegum ink lightly on the center of a plain white A2 card front. I then used the same images that I used from the Vintage Love Notes to create the distressed tone-on-tone collage on the card front. I stamped the Ballerina and Bubblegum inks full strength, stamping a few images using Carnation ink, stamped off once to keep the intensity from overwhelming the rest of the pale pink images. Once I had finished stamping all of the images in the background, I used the mica watercolors to splatter some sparkles on the background!

For the focal point, I stamped the pretty floral heart from Flowering Frame using Bubblegum ink onto some more white cardstock and die cut it with the super intricate coordinating die. I die cut a vellum heart from the Basic Hearts set and mounted the intricate floral heart in the center using thin foam adhesive squares. I flipped the heart over and added some more thin foam adhesive squares on the back, hiding them behind the solid die cut, then mounted it on the distressed card front, allowing some of the heart to hang off of the side. I trimmed the overhang with my sharp scissors, then turned my attention to the greeting. I die cut the solid backer piece of the Little Banners Basics from plain white cardstock, then used a blending brush to blend Carnation ink on the banner. I die cut the detail layer from some iridescent white mirror cardstock, then adhered the two pieces together with liquid adhesive. I popped the sentiment up using more foam adhesive, tucking it next to the heart die cuts. I nestled an Iridescent Cord bow under the sentiment, then added a few Bubblegum Pawsitively Dazzling Gems to add some more sparkle!

Well, that’s all for my projects today! Do you decorate for Valentine’s Day? I have great intentions each year of decorating for each holiday, but somehow it always gets pushed to the back burner. This interchangeable banner might make things a little easier! (Maybe?) Thanks so much for stopping by today, and have a marvelous day!
Filed Under: simon says stamp Tagged With: banner, basic hearts, die cutting, distressed vintage love notes, flowering frame, ink blending, layered scallop tags, little banners basics, valentine, valentines day

Poshta Designs Release Day!

July 5, 2025

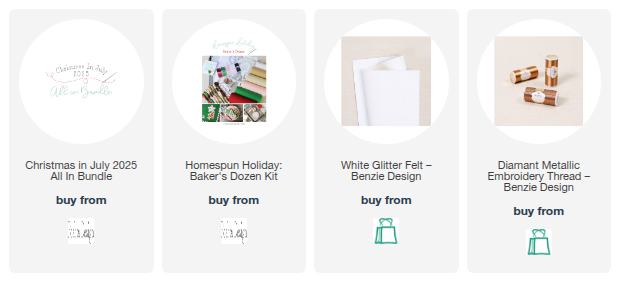
Well, friends, Poshta Release Day is finally here! All of these new Christmas In July products are NOW AVAILABLE! Click HERE to check them all out! If you’re treating yourself for Christmas in July, here’s a direct link to the July 2025 All-In-One Bundle. Below, I will include links to all of the products that I used on each project for easy shopping!

Products to the Baker’s Dozen Sugar Cookie Banner:

View the coordinating blog post HERE.

Products for the Kringle Krew decorative banner:

View the coordinating blog post with all of the details HERE.

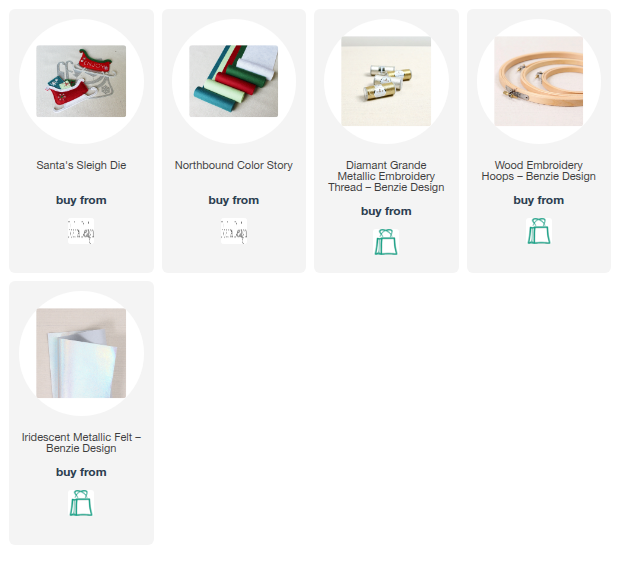
Products for the Sassy Sleigh Hoop:

View the coordinating blog post HERE.

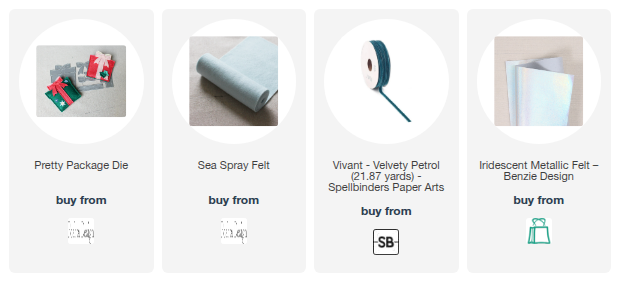
Products for the Gift Box Ornament:

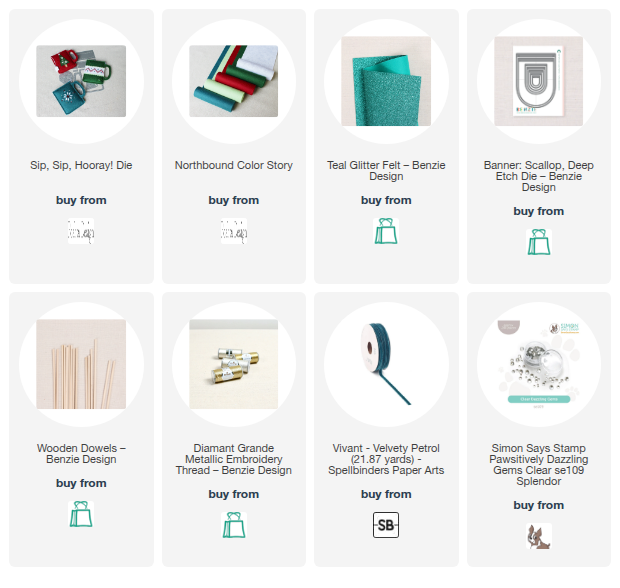
And I have one bonus project using the new Sip, Sip, Hooray die: a mini banner perfect for hanging in a kitchen! I embellished the mug and banner with some fun snowflake embroidery. I used the gorgeous Northbound Color Story for the majority of the pieces, adding in some glittering teal felt from my stash for the top layer of the mug.

Sead beeds, a few sparkling gems, and some velvet ribbon finished this project off!

Here are the products used for my mug mini banner:

Well, that’s all for me today! This entire new release is fabulous; I can’t decided which of my projects is my favorite. Just a reminder: the Baker’s Dozen Homespun Holiday Kit is limited edition, so if you’re loving it as much as I do, you won’t want to wait to purchase!

Be sure to check out the Poshta Blog for all of the details on these new products, as well as more inspiration from Lizzie and the other, super talented guest creators! (Psst-there’s a gift card giveaway up for grabs, as well!) Thanks so much for stopping by today, and have a marvelous day!
Filed Under: Poshta Design Tagged With: baker's dozen homespun holiday, banner, decor, embroidery, holiday, holly hill, holly jolly, kringle krew, monogram alphabet, northbound color story, pretty package, santa's sleigh, sip sip hooray, stitching

Poshta Designs Sneak Peeks: Day 3!

July 4, 2025

Hi friends! I have another project to share with you using the fabulous new Homespun Holiday: Baker’s Dozen kit from Poshta Designs Christmas In July release. Each year, Lizzie designs a fantastic, limited edition holiday kit that contains all of the supplies that you need to create incredible projects, including everything from the dies (of course) to a unique felt Color Story and coordinating beaded embellishments, coordinating floss, even needles! This year’s theme is all about cookies, featuring those classic holiday cookie cutout shapes: star, circle, tree, and candy cane! Here’s a sneak peek of the kit:

Isn’t that just marvelous? The kit contains multiple shades of creamy tan felt so that you can make your cookies as “cooked” as you so choose, as well as some beautiful holiday white, red, pink, and green. I absolutely love the color palette, but I decided to go with a bit non-traditional color palette, sticking with the pale pink, white, and green from the Baker’s Dozen kit to create my Christmas cookie banner!

Each cookie shape comes with a scalloped cookie base in addition to multiple options for “icing” your cookies. You can decorate them with the different die cut felt options, or you can use the coordinating bead embellishments to add delightful sprinkles to your cookies.

I decided to turn my stitched cookies into a banner to decorate my kitchen window! In order to bulk the cookies up a bit, I decided to fill them with polyfill, creating a little cookie pillow. When working with layered stitching dies like this, I like to die cut all of the pieces first before assembling. I die cut two of each scalloped cookie base, as well as the icing in the selected colors. I wanted to add some beaded sprinkles in my color palette, because who can say no to sprinkles, right? I also couldn’t resist adding some glitter to my project, so I die cut the stripes on the candy cane from white glitter felt from my stash.

I found it helpful to do a quick sketch of my banner so that I knew just how many pieces of each die set that I needed to cut before beginning my stitching.

As the super helpful instruction guides will tell you, it is easiest to decorate your icing pieces with your beads or other adornments before stitching them to the base. For the tree, star, and circle cookies, I added sparkling sequins, bugle beads, and seed beads to the icing, then to make the stitching process a bit simpler, I used small dots of fabric glue to adhere the beaded pieces to each cookie before stitching them together.

Once I had stitched the two base scalloped cookies together 2/3 of the way around, I stuffed each cookie with some polyfill, using my die poker tool to push the stuffing throughout the cookie!

After I had finished stuffing and stitching each cookie, it was time to assemble the banner. I used the grid on my glass mat on my desk to make sure I had about 3″ between each cookie, threading a needle with white embroidery floss through the top of each cookie and knotting the thread to keep the cookies from sliding.

Well, that’s all for my project today! I am in love with this adorable kit and have so many ideas rolling around in my head. How cute would it be to make a play set of Christmas cookies for a child’s play kitchen? Felt play food is super expensive, and now you can create your own in your child’s favorite colors!

Just a reminder: all of the new products for the Poshta Christmas In July release will be available tomorrow, July 5, 2025 at noon Eastern time. I will update all of my posts to include the appropriate links as soon as they’re live!

 Be sure to check out the Poshta Blog for all of the details on these new products, as well as more inspiration from Lizzie and the other, super talented guest creators! (Psst-there’s a gift card giveaway up for grabs, as well!) Thanks so much for stopping by today, and have a marvelous day!

Filed Under: Poshta Design, Uncategorized Tagged With: baker's dozen, banner, embroidery, felt, poshta, stitching

Poshta Designs Sneak Peeks-Day 2!

July 3, 2025

Hi friends! I am back with another project from the new Poshta Designs Christmas In July release. Today, we are introducing the Kringle Krew: a sweet grouping of your favorite holiday characters!! Meet Santa, Mrs. Claus, one of the elves, and a reindeer, easily customized to work with your favorite color palette. Lizzie herself inspired me so much with THIS sweet birthday banner that I decided to create my own and super size it to fit the Kringle Krew. Let’s get started with the details on my project!


*I have gathered links to all of the products used at the bottom of the post for your convenience, using affiliate links. Thank you for shopping with my links! I truly appreciate your support for my work!*

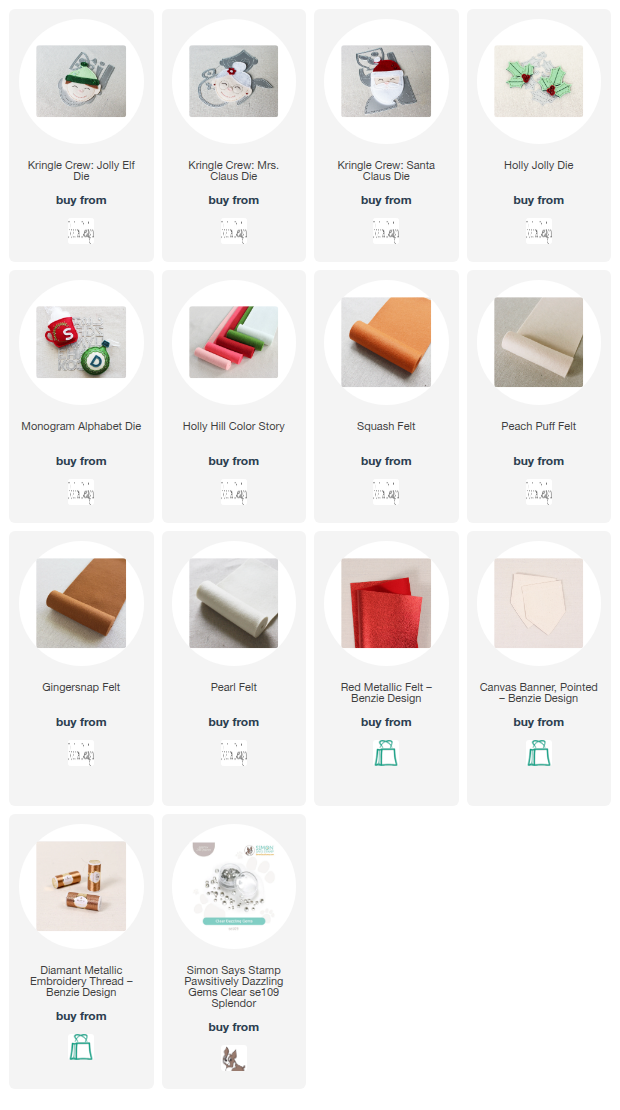
Reminder: All of the links for the products will be available after the official Christmas in July release on Saturday, July 5th, 2025 at noon Eastern time.

To start, I die cut all of the faces from Peach Puff felt from Poshta, then used Pearl felt for Santa’s beard and the greens and red from the Holly Hill Color Story for the hats.

I stitched everything together using the coordinating DMC floss, adding some coppery metallic thread from my stash for Mrs. Claus’s glasses!

To make Mrs. Claus a little festive and fancy, I cut the Holly Jolly die from the two different shades of green felt and two shades of pinky red included with the Holly Hill Color Story and tucked them on her bun. I also gave her some twinkling earrings using some gems from my stash!

I stitched all of my holiday characters onto a black canvas banner, placing them neatly in a row with Santa in the middle, of course!

I couldn’t help but add Santa’s jolly “ho ho ho” to the banner, so I die cut the letters from the Monogram Alphabet die set using metallic red foil felt. I stitched them to the banner with coordinating red thread, adding a period after each word with another sparkling gem.

I also added a pretty sprig of holly at the center of the point of the canvas banner, helping to fill in some of the empty space beneath my letters!

Finally, taking my inspiration from Lizzie’s banner that I linked above, I added some coordinating red pom pom trim around the edges of the banner, adhering the trim with Fabri-Tac glue. To make the back as neat as the front, I also adhered some holiday fabric that I have in my stash to cover up the stitches and the messy back of the trim. I added a black and white gingham ribbon with a bow to hold my banner on the wall, as well. I think this turned out just darling. I can’t wait to hang it up this Christmas!

Well, that’s all for my project today! Be sure to check out the Poshta Blog for all of the details on these new products, as well as more inspiration from Lizzie and the other, super talented guest creators! (Psst-there’s a gift card giveaway up for grabs, as well!) Thanks so much for stopping by today, and have a marvelous day!
PS: These new products will be available for purchase on Saturday, 7/5/25 at noon Eastern time!

Filed Under: Poshta Design Tagged With: banner, christmas, decor, embroidery, holiday, kringle krew, stitching

A Final Ode to Pumpkins with Simon Says Stamp!

October 31, 2024

This post was sponsored by Simon Says Stamp. Thanks, Simon!

Hi friends! I am back with my final post for the month of October, just in the nick of time, too! I will be helping my kiddos get their Halloween costumes on as soon as I’m done: Sally from Nightmare Before Christmas, Harry Potter, and two firemen! (If you’ve never checked out the Halloween costumes from Costco, they are legit! The firemen costumes are incredible and were very reasonably priced.) For my last project for the month, I thought I’d do one final “ode to a pumpkin.” I don’t do spooky, and I’m not great a cute, so pumpkins are basically my favorite imagery for autumn and Halloween. They can be fun and playful, or they can be elegant, especially when paired with foliage and florals. I have been collecting more felt and embroidery items, and so I was itching for a project on which to use them. This autumnal wall hanging was the perfect project to start my obsession! Let’s get started with the details.

*I have linked all of the products used at the bottom of the post using affiliate links for your convenience. Thank you for shopping with my links! I truly appreciate your support for my work!*

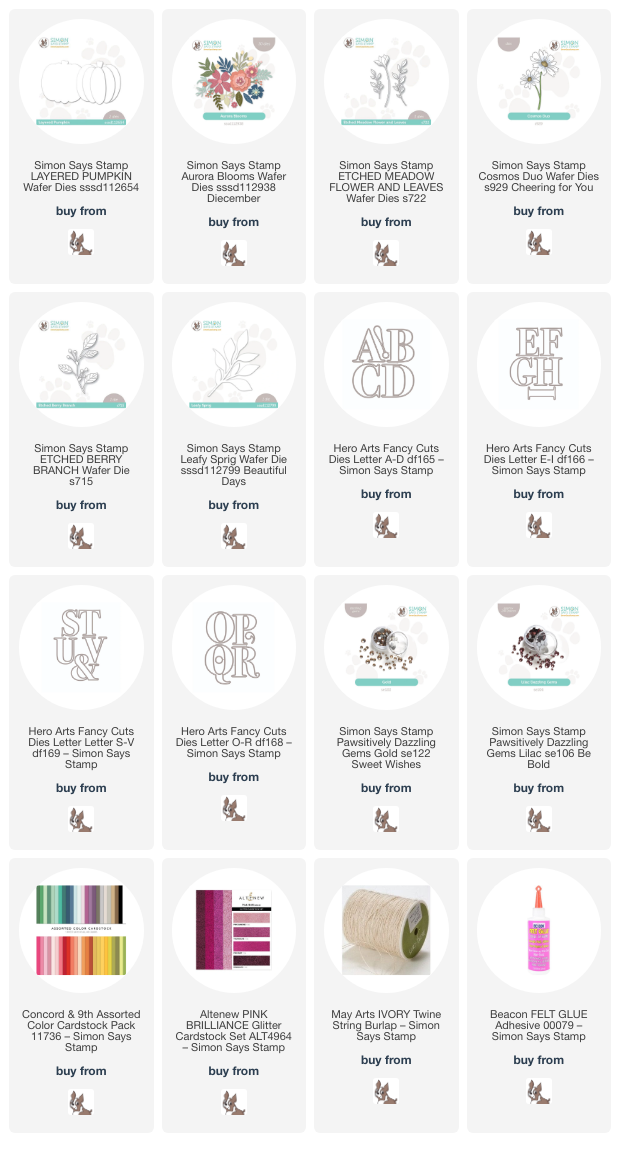
For both of my projects, I paired the Aurora Blooms, Etched Meadow Flower & Leaves, Cosmos Duo, Etched Berry Branch, Layered Pumpkin, and Leafy Sprig dies. I wanted to create some decor with felt as well as with paper, so I scoured my local dollar stores and big box craft stores for some fun “blanks” that I could decorate. I found this canvas wall hanging and little chalkboard easel, and I think they both are just perfect for embellishing with die cuts!

For the wall hanging, I began by die cutting all of the images from the die sets listed above using high-quality colored felt. I used a somewhat non-traditional color palette, pulling some deep, somewhat muted oranges together with cranberry and autumn rose, with touches of lime green and hunter green. I used some needle and thread with sequins and seed beads to adorn the center of some of the flowers, adding a touch of sparkle and additional texture to the felt images. I also die cut the word “gather” using the large-scale Hero Arts Alphabet Dies. I adore these alphabet dies; they’re perfect for creating banners and home decor (I used them to create a banner for my office Christmas tree last year!) and are such a great size.

For the pumpkin, I used some fabric glue to assemble the individual pieces from the Layered Pumpkin die set, then used a coordinating shade of orange to do a (very) simple blanket stitch around the edges of each piece of rind. This additional stitching around the edges adds some texture as well as helping to differentiate one segment from the next, so that it doesn’t look too flat.

After I had die cut and assembled the different components, I began to create my arrangement. I used a piece of ribbon to line up my letters, adhering them to the banner with some fabric glue, then began arranging my pumpkin, flowers, and foliage in a swag beneath my letters. I stitched some more sequins and seed beads to create “berries” amongst my floral arrangement, helping to fill in any gaps in the flowers. After completing the arrangement on the bottom, I felt that the area above the letters was a bit too bare, so added another, simpler arrangement above the letters as well. I think it will look so pretty hanging from my front door for Thanksgiving!

Since I haven’t been working with felt for very long, I decided to make another home decor project using my more typical cardstock, using the same color palette! I die cut the same images from the Aurora Blooms, Etched Meadow Flower & Leaves, Cosmos Duo, Etched Berry Branch, Layered Pumpkin, and Leafy Sprig die sets. I used some sparkling cranberry glitter cardstock from Altenew to create the Etched Meadow Flower & Leaves blossoms. I think this color palette is so pretty; it is definitely autumnal, but not super orange-y!

I found this little easel chalkboard at my local dollar store! They have them in both black chalkboard and white dry erase board; this black backdrop was perfect for adorning with colorful die cuts. After I had adhered all of the die cuts in a little arrangement on the front of the easel, I used a double layer of twine, wrapping it around the top of the easel multiple times, then added a fluffy bow. I used some glue to hold the bow down and prevent it from being untied.

After I had finished arranging the die cuts and adding my twine bow, I added some Gold and Lilac Pawsitively Dazzling Gems to the berry stems and flower centers, adding a touch of sparkle and texture to this piece of decor. I think this would look so sweet on a desk at work or perhaps on a piano or mantelpiece at home!!

Well, that’s all for my projects today. I am having such fun branching out from my typical cardmaking, and I hope you’re enjoying it too. It’s fun to try new things, right? Thanks so much for stopping by today, and have a marvelous day!

Filed Under: simon says stamp Tagged With: alphabet dies, aurora blooms, banner, canvas, cosmos duo, die cutting, etched berry branch, etched meadow flower and leaves, felt, home decor, home deocr, layered pumpkin, leafy sprig, wall hanging

Primary Sidebar

  • Facebook
  • Instagram
  • Pinterest
  • YouTube

Favorite Shops

Secondary Sidebar

Subscribe

Enter your email address to subscribe to this blog and receive notifications of new posts by email.

Instagram
Something is wrong.
Instagram token error.
Follow
Load More

Archives

Tags

3D embossing folder alcohol markers better press birthday birthday card blog hop card kit christmas christmas card christmas tag colored pencil copic copic coloring Daniel Smith die cutting embossing folder embroidery felt giveaway holiday holiday card hot foil ink blending karin brushmarker pro layered stencil masculine my monthly hero new release no line coloring no line watercolor OLO marker olo markers original illustration pawsitively saturated rainbow shaker card slimline stamping stamptember stencil thank you thinking of you valentine's day video watercolor

Popular Posts

Simon Says Stamp Joy For You Blog Hop- Day 1!
Simon Says Stamp Joy For You Release-Now Available!
Frozen Fractals All Around with New Simon Says Stamp Joy For You Release!
Holiday Postage with New Simon Says Stamp!
Shaped Holiday Shaker Card with New Simon Says Stamp Jolly Season Card Kit of the Month!
Hero Arts Partners Blog Hop: Lawn Fawn!
Holiday Joy in Pink and Green with New Simon Says Stamp DieCember!
July My Monthly Hero Blog Hop+Giveaway!
Simon Says Stamp STAMPtember Tim Holtz Collaboration: Festive Holidays!
Greenery for Christmas with New Simon Says Stamp!

Disclosure

Some affiliate links are used in my posts. This means that, should you click on one of my links and purchase something from that company, I will receive a small portion of the sale at no extra cost to you. I use the money earned from these sales to help maintain my blog. I so appreciate you visiting and, if you do choose to use one of my affiliate links, thank you so much for your support!
Copyright © 2026 ·Brunch Pro Theme · Genesis Framework by StudioPress · WordPress · Log in
Loading Comments...